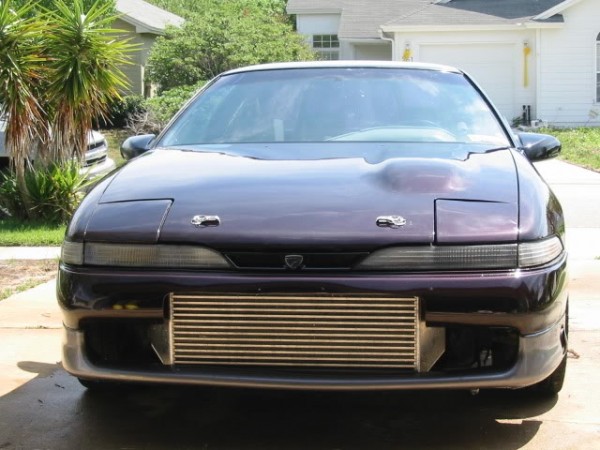
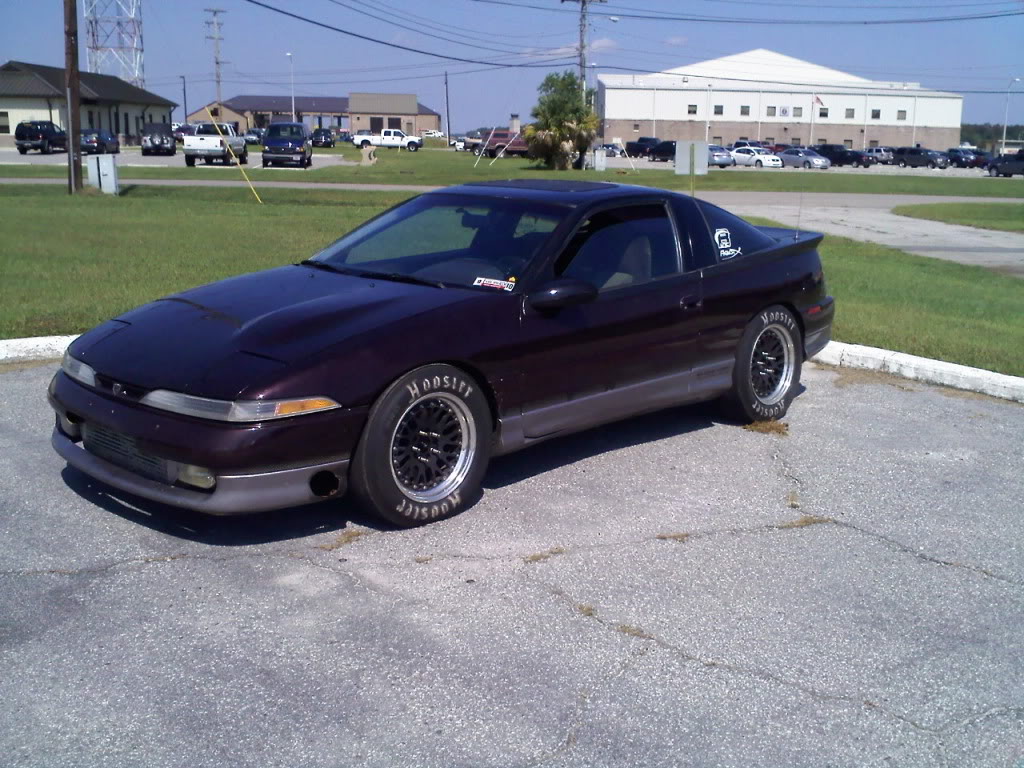
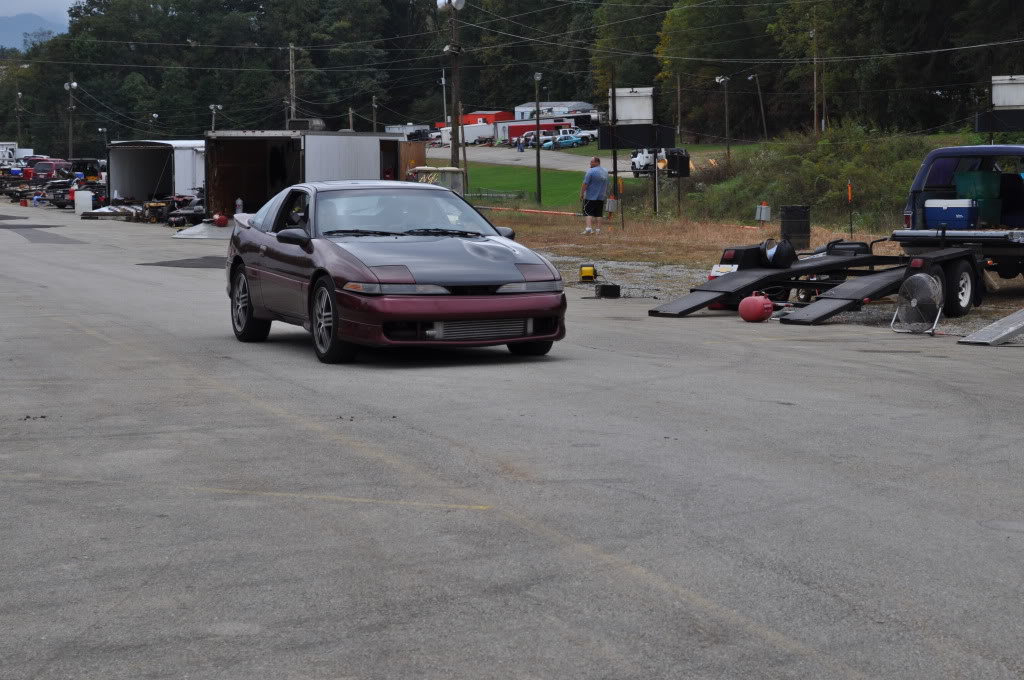
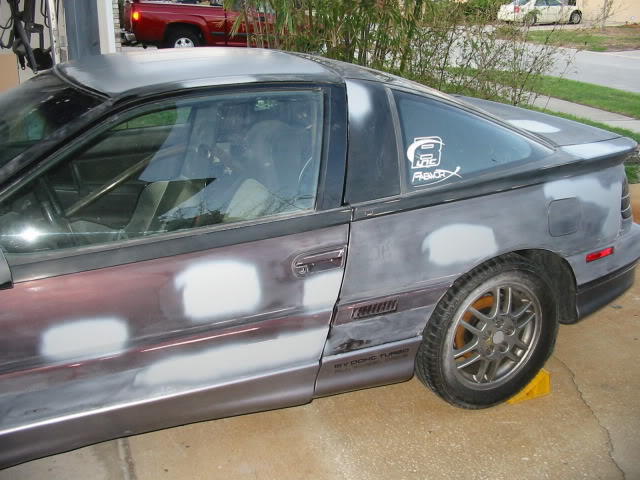
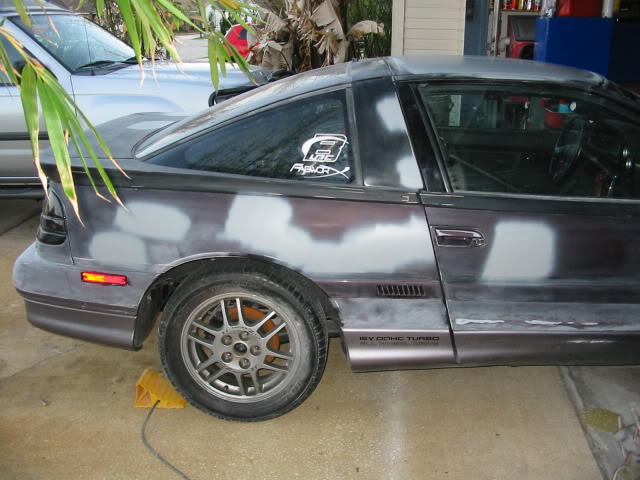
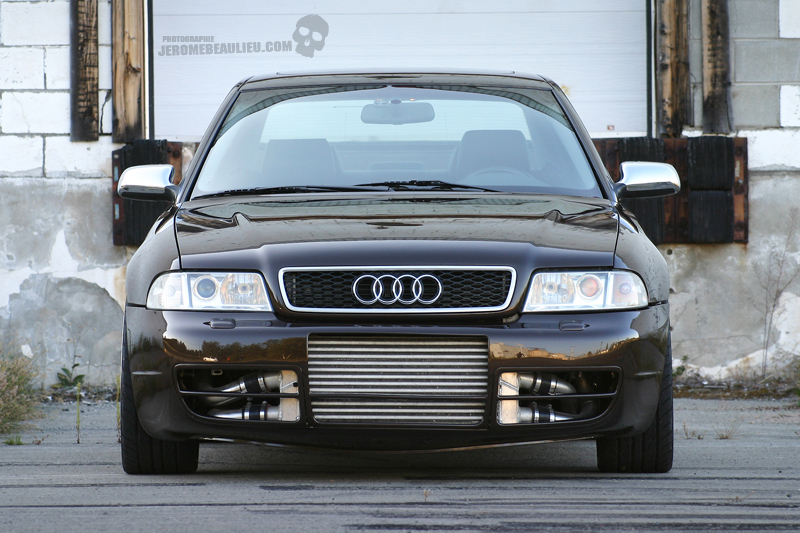
1990 Eagle Talon Purple Monster Build

Engine:
Block:
Wiseco 9.0:1 (.020 Over) custom specs
GRP Aluminum Rods
ACL Tri-Metal Race Rod and Main Bearings
Stock main blots
ARP Standard Head Studs
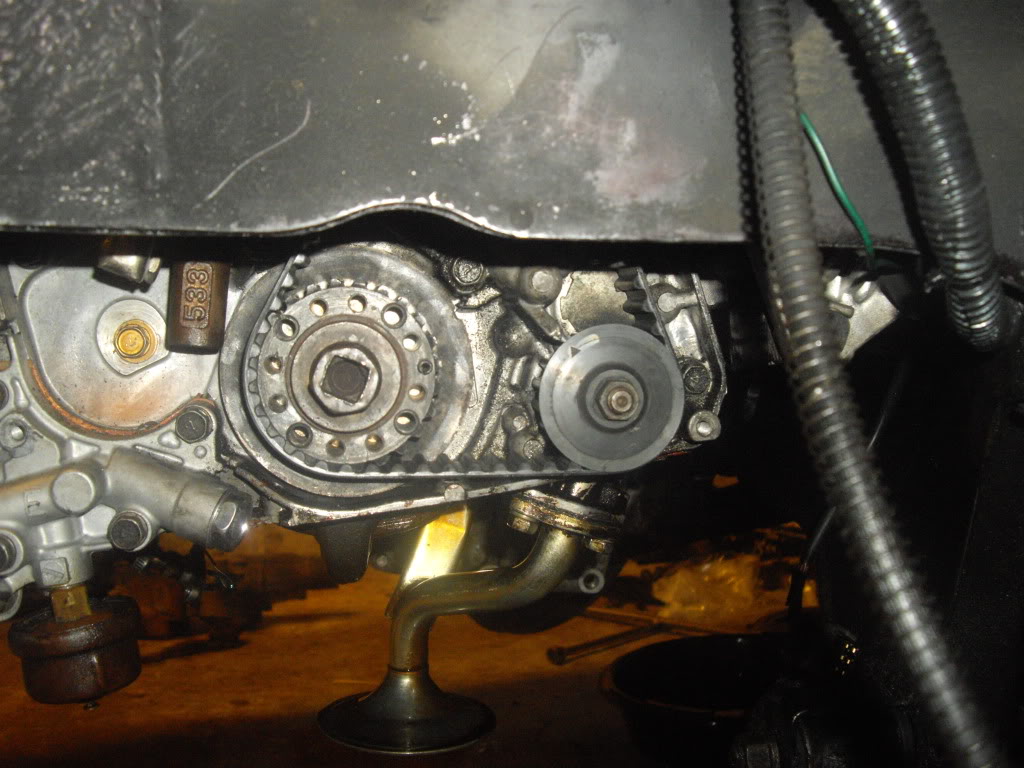
New OEM Front Cover w/Gears
New OEM Water Pump
New OEM Timing Components
Mitsubishi MLS Head Gasket
Forward-facing oil filter housing
New Knock Sensor
Head:
(Courtesy of Modern Automotive Dynamics)
Ported and polished
Kiggly HLA
Matched Exhaust and Intake manifolds ports
1mm oversized Intake and Exhaust valve
Brian Crower 280/280
Kiggly Springs and Retainers (good for 11,000rpms)
Revised Lifters
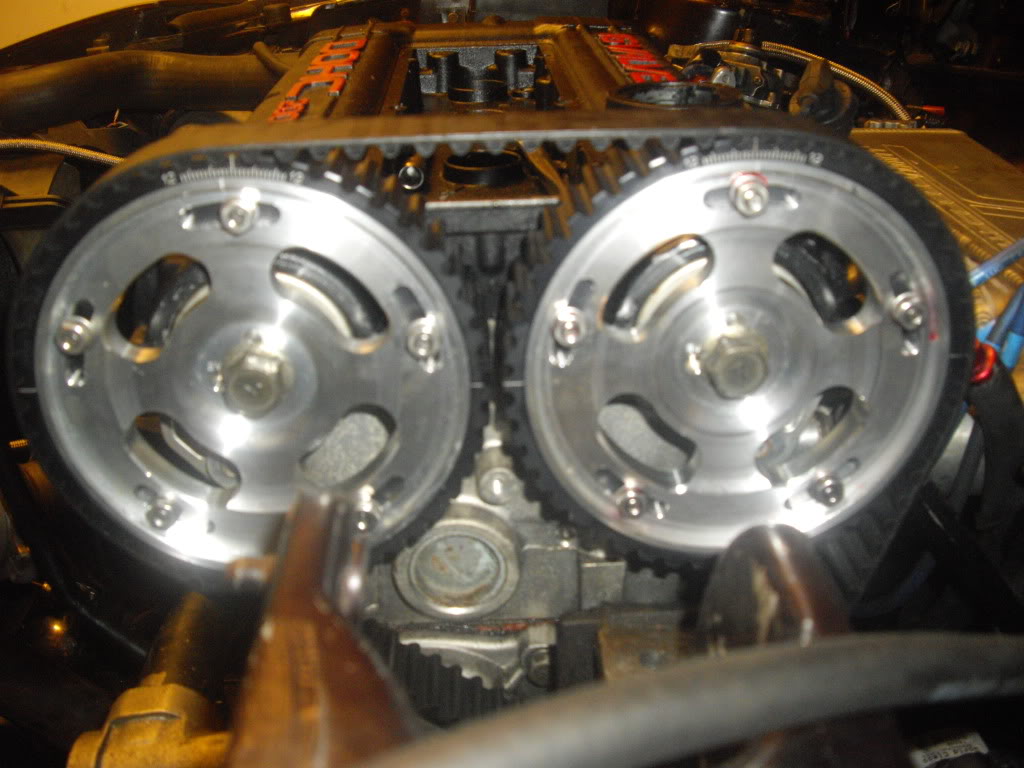
Fidanza Cam Gears
Fuel:
FIC Blue Max 2150’s
A1000 Pressure Regulator
-8 Feed Line
-6an Return
Fuel Lab Inline Filter
Walbro 255hp (being changed our for magnafuel pump)
E85 Fuel
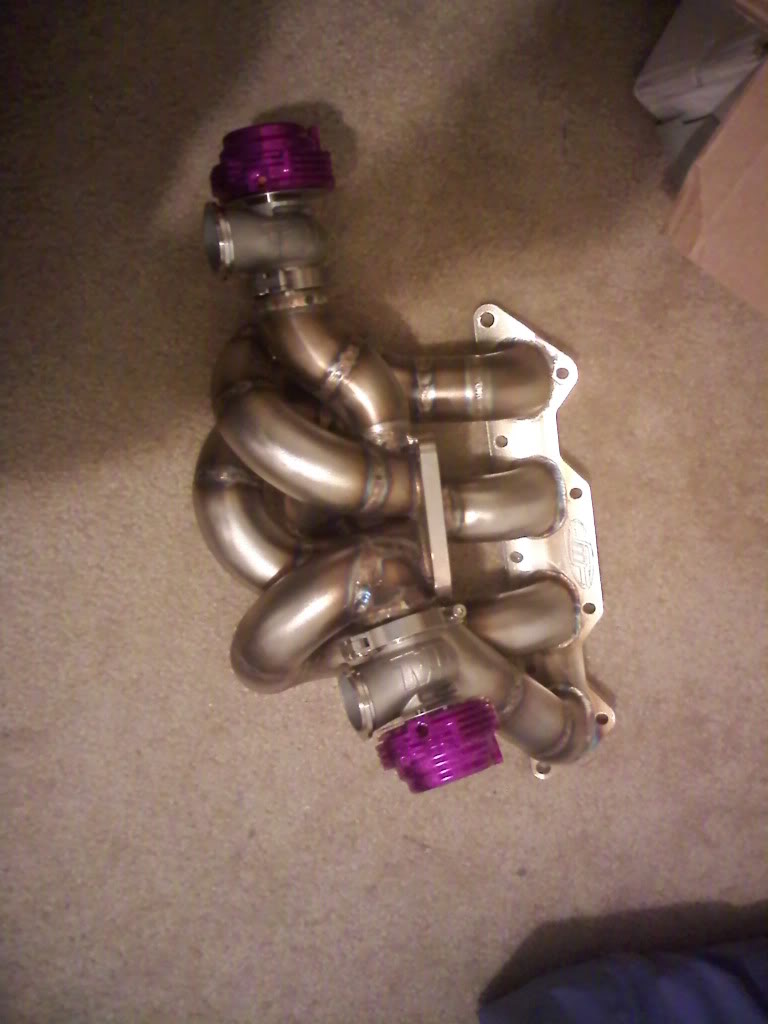
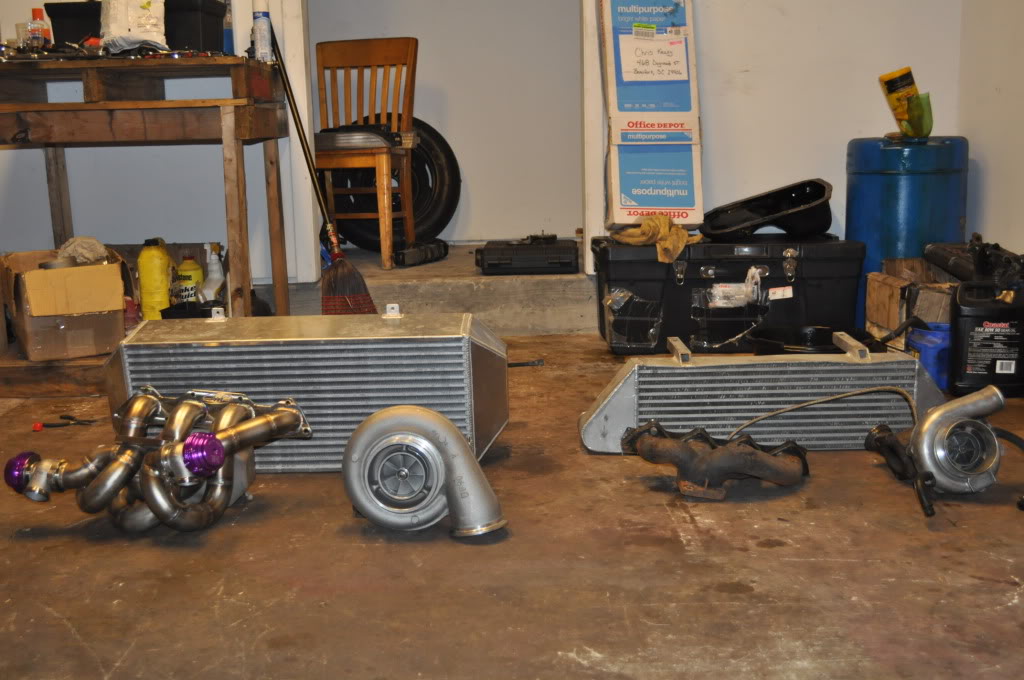
Turbo / Exhaust / Intake:
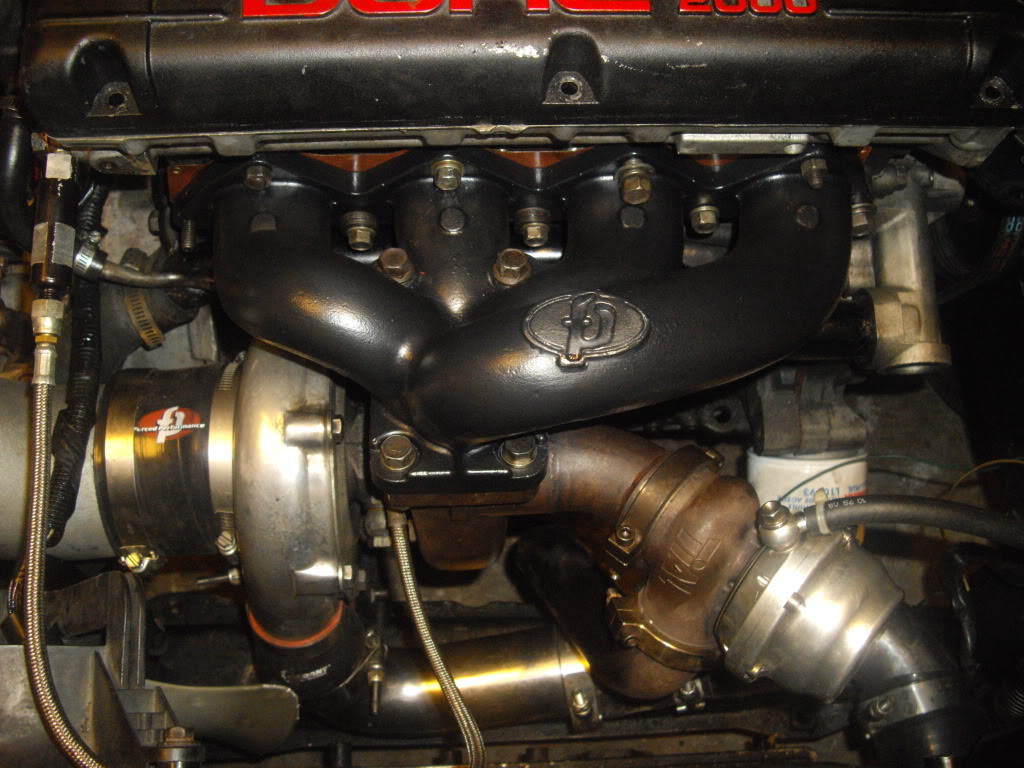
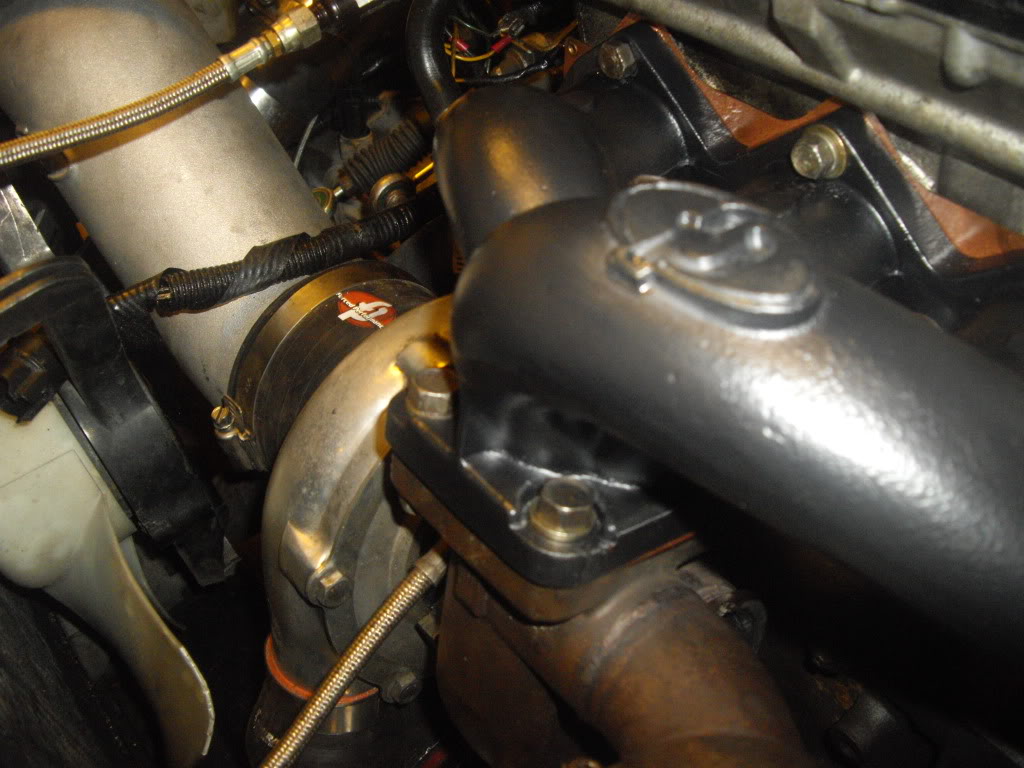
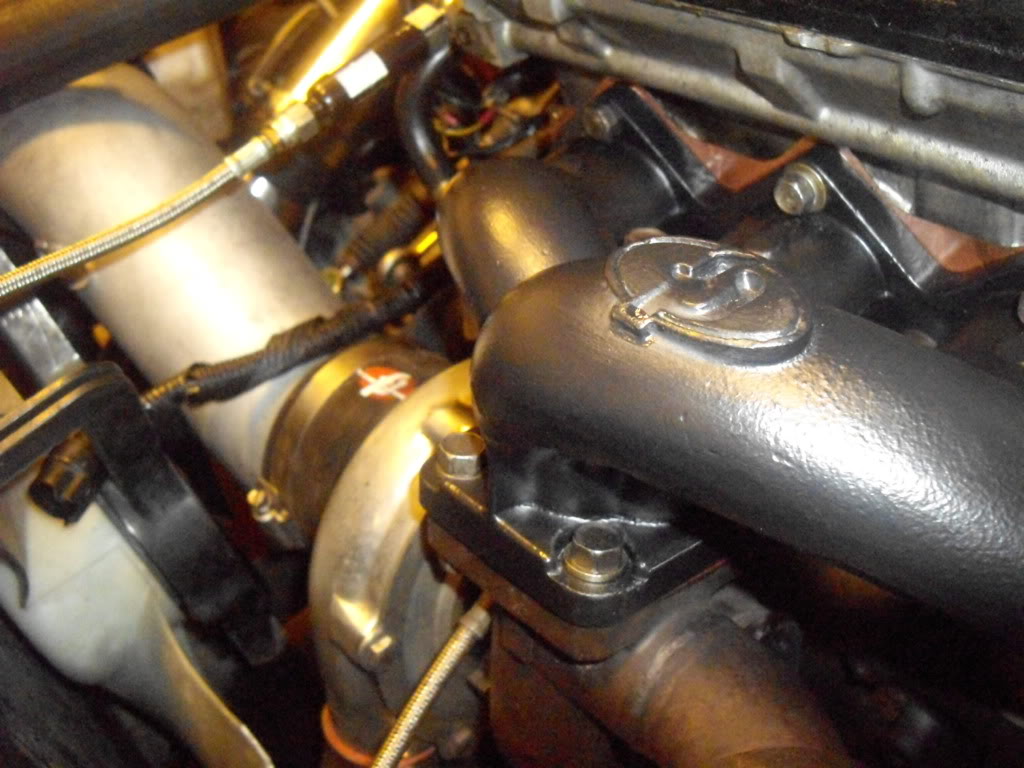
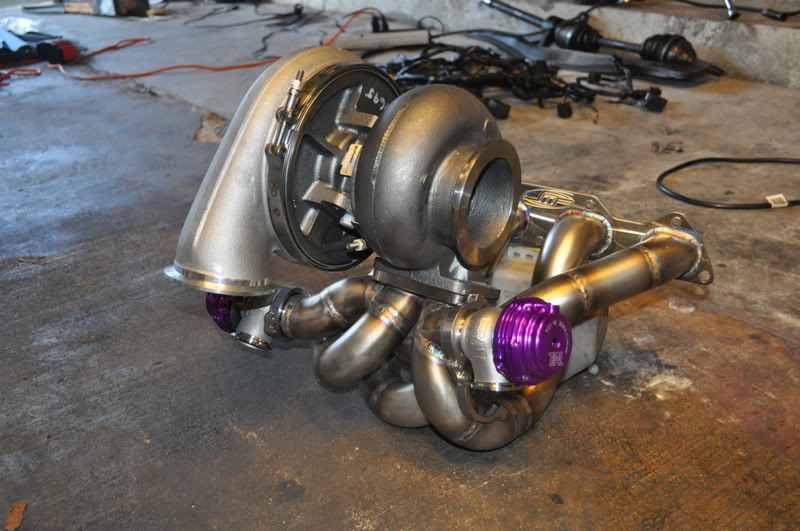
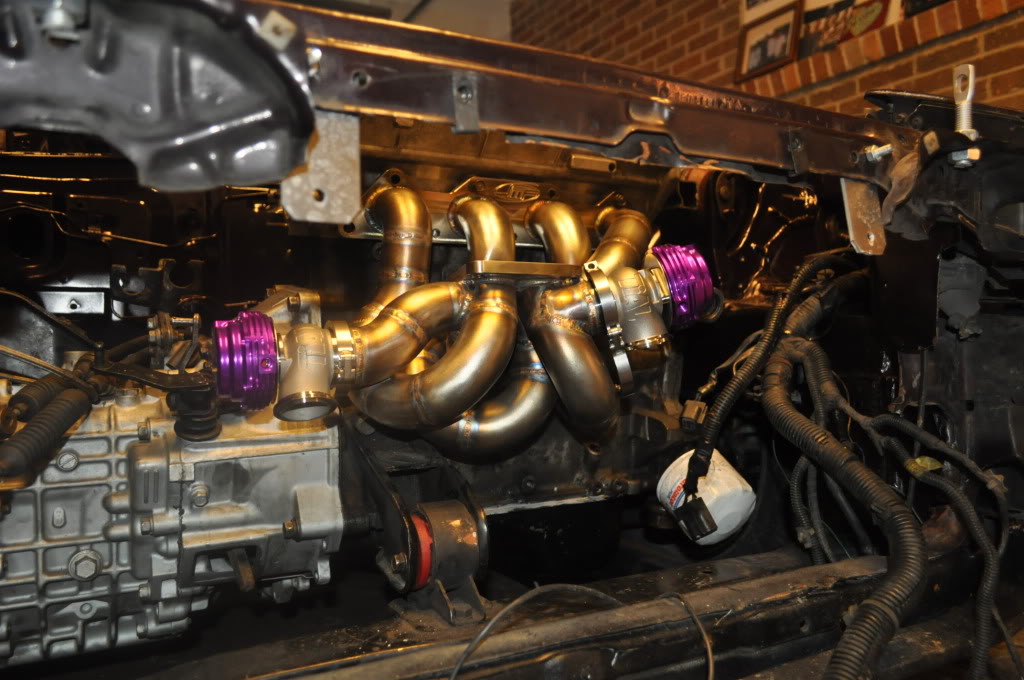
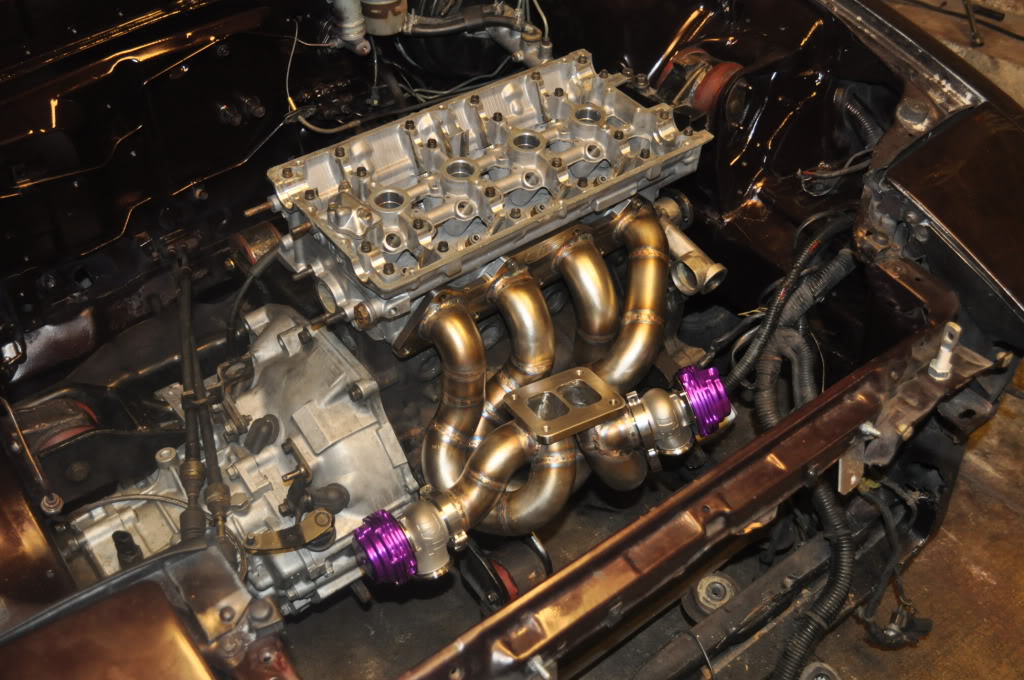
Borg Warner S374, T4, Twin scroll, 1.10ar exhaust housing
JMFabrications Top Mount exhaust manifold
Custom 4” Side exit exhaust (Courtesy of Fabworx Beaufort, SC)
ETS’s 6” thick FMIC
3” IC piping (Courtesy of Fabworx Beaufort, SC)
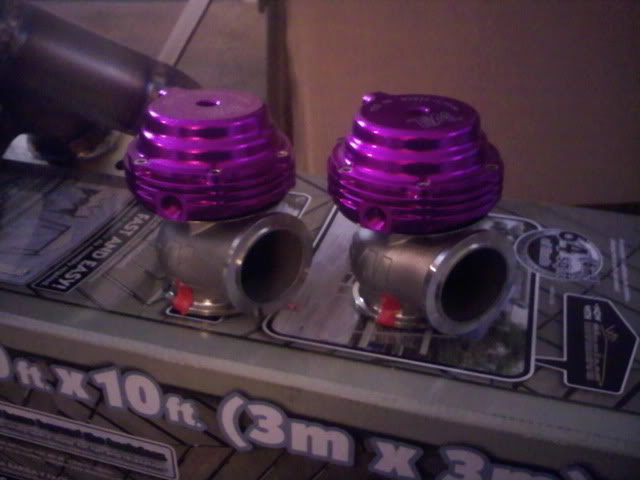
Tial BOV
Twin Tial MV-S wastegates
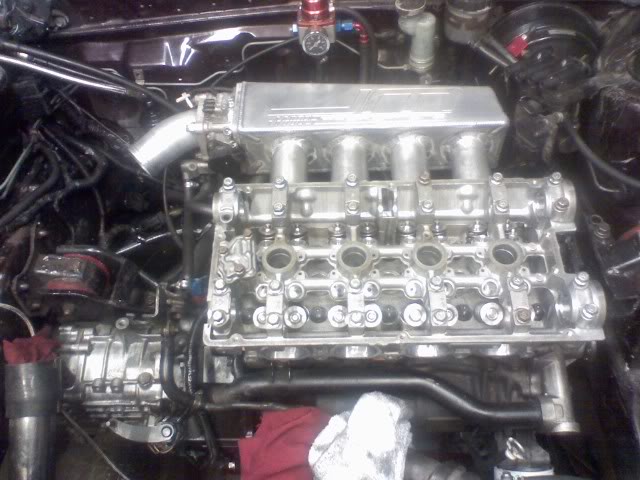
JM Fabrications Drag Intake Manifold
Heat barrier gaskets
SBR Manual boost controller
Q45 throttle body
GM IAT
AEM 5bar Map sensor
Drivetrain:
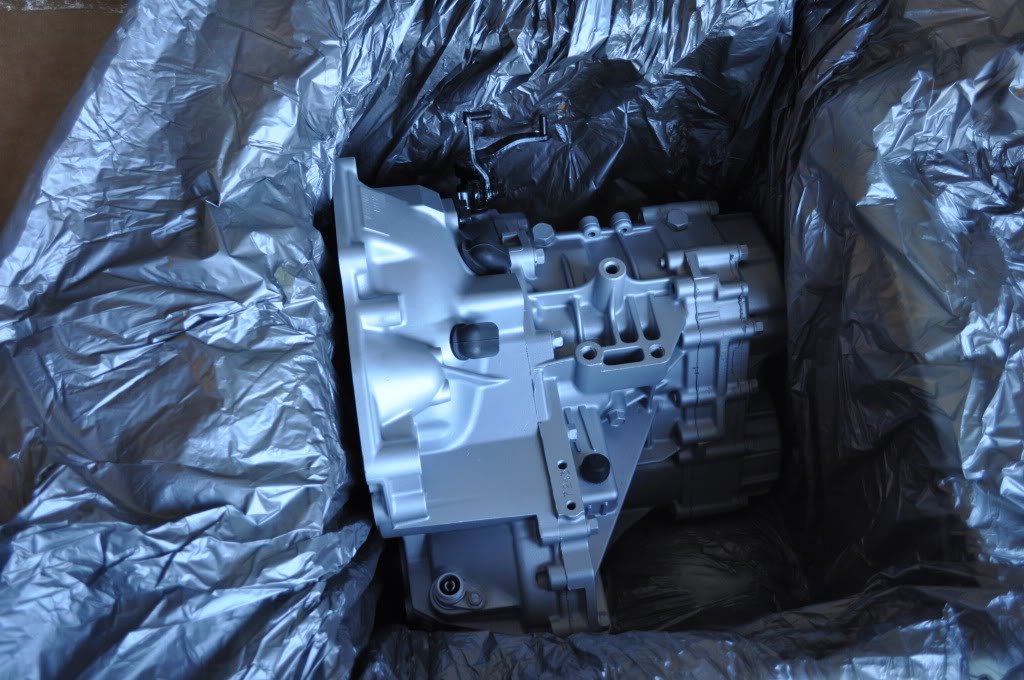
John Shepherd Dogbox transmission
John Shepherd Upgraded Transfercase
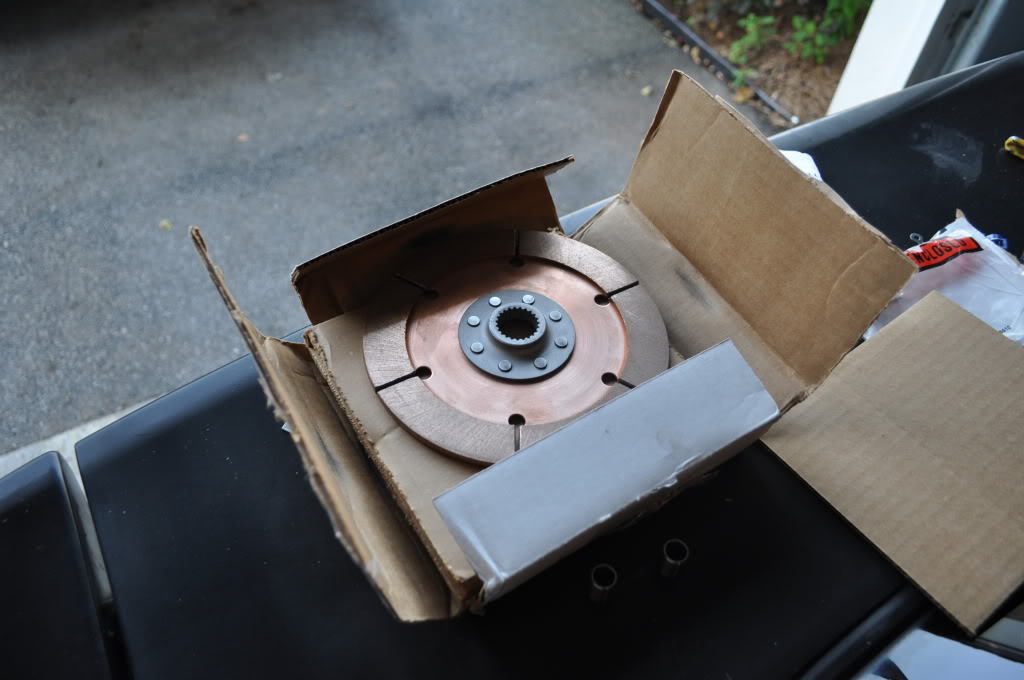
Quartermaster Twin-Disc
Solid Shifter Cable Bushings
Driveshaft shop 3” aluminum Driveshaft
Stock Front Axles
DSS Pro Level Rear Axles
Ignition:
Spark Tech DSM Drag Ignition.
Miscellaneous:
AEM Powered
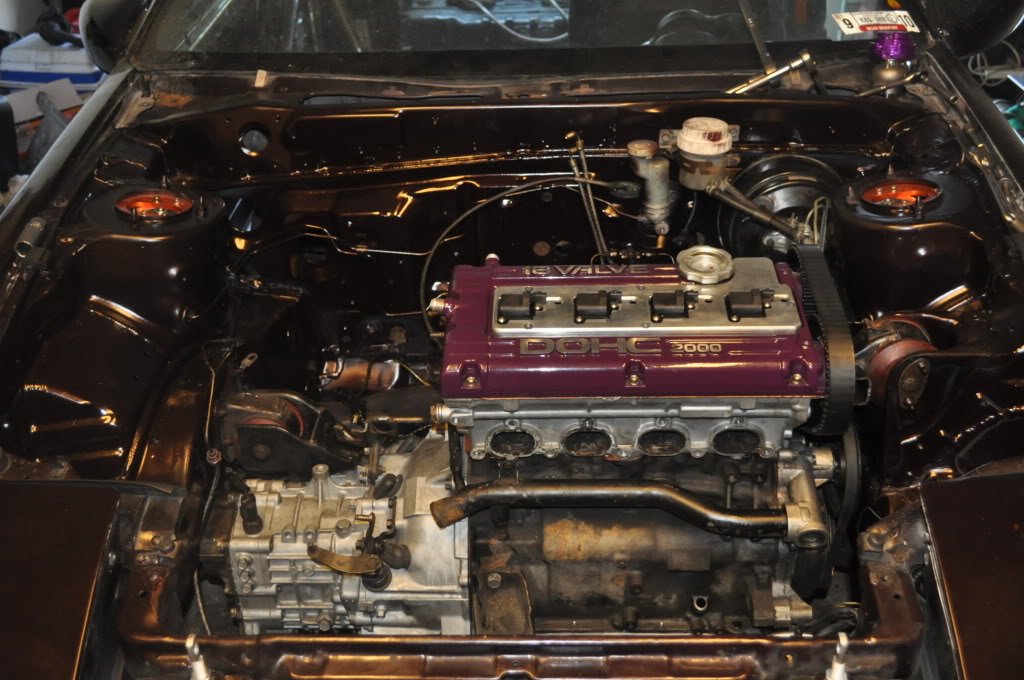
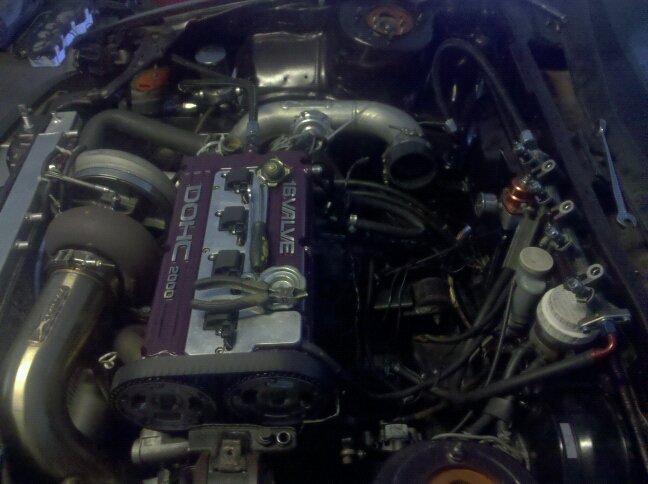
TCC Powder Coated Valve Cover – Purple Plum With -8an fittings
All-Star Oil Catch Can
Prothane Motor Mount Inserts
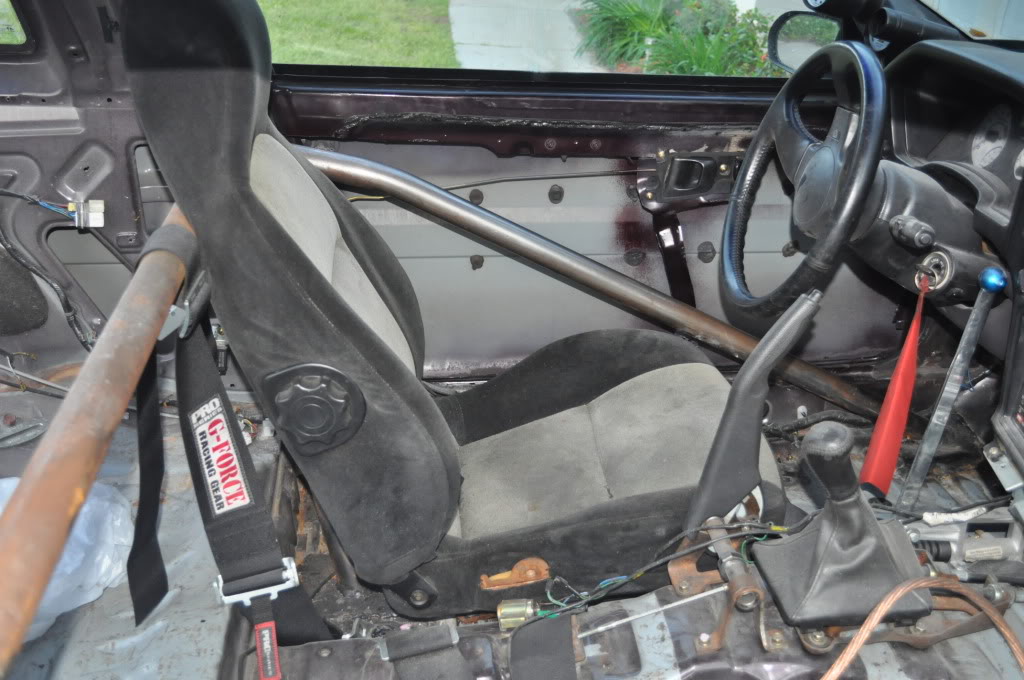
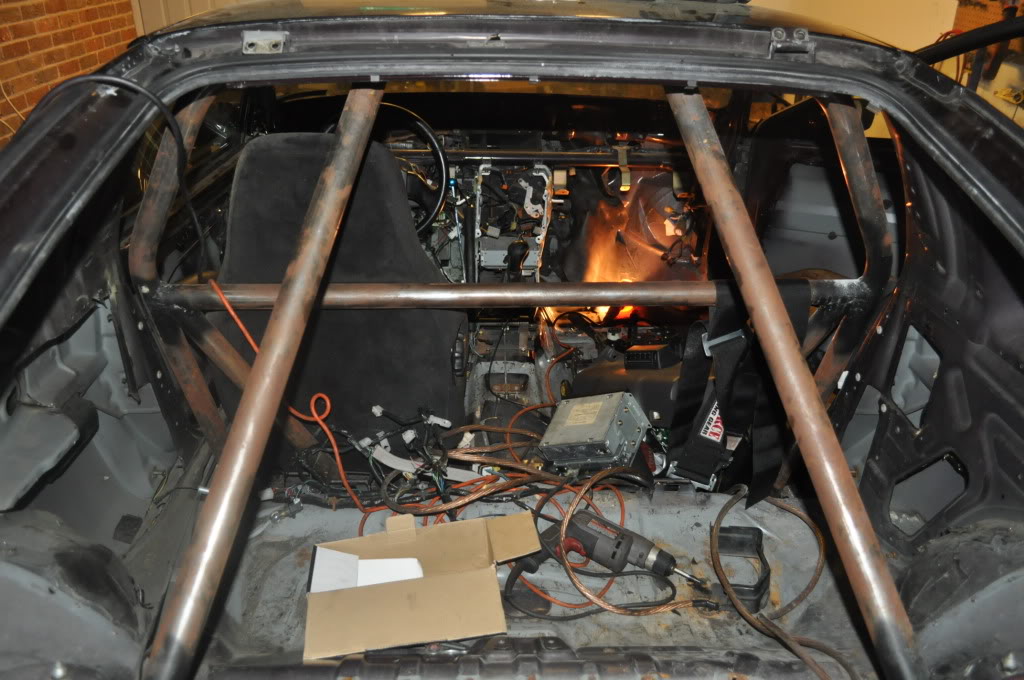
8point cage
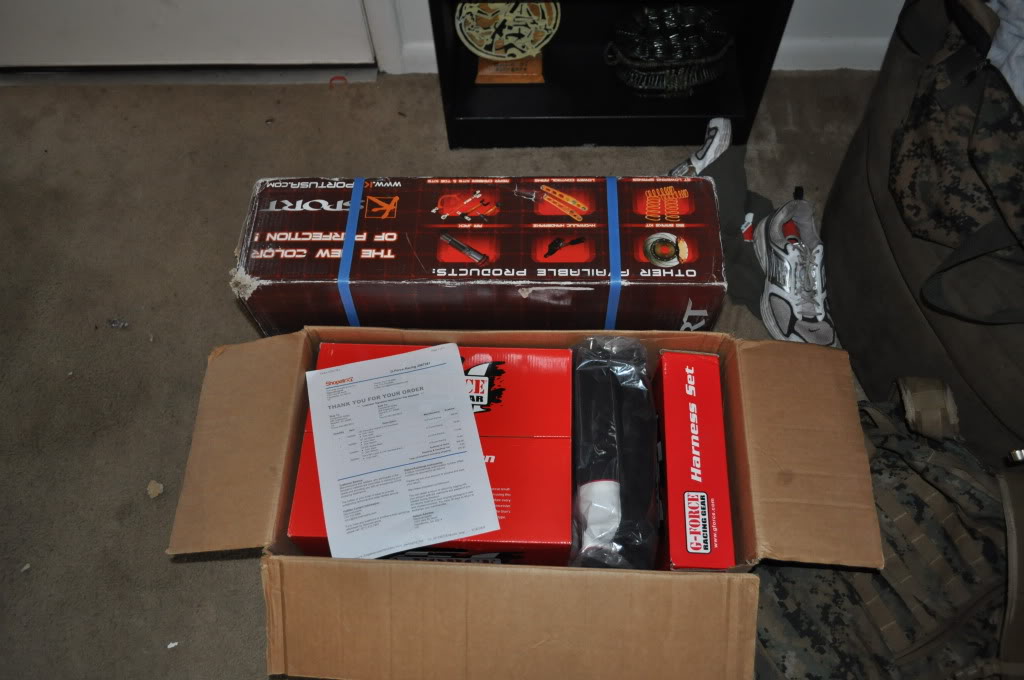
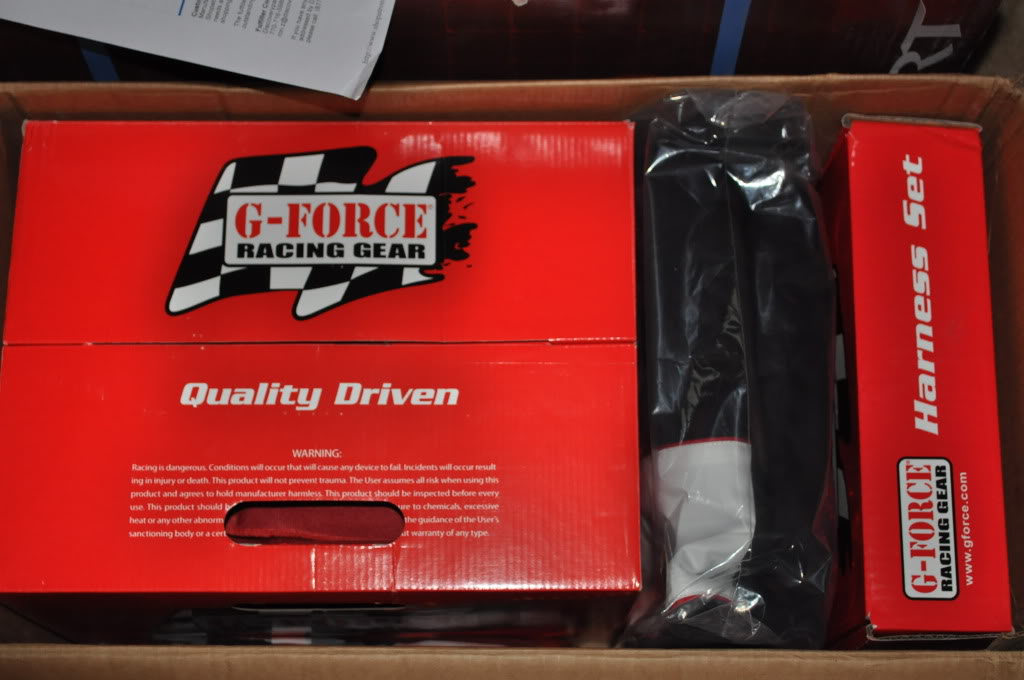
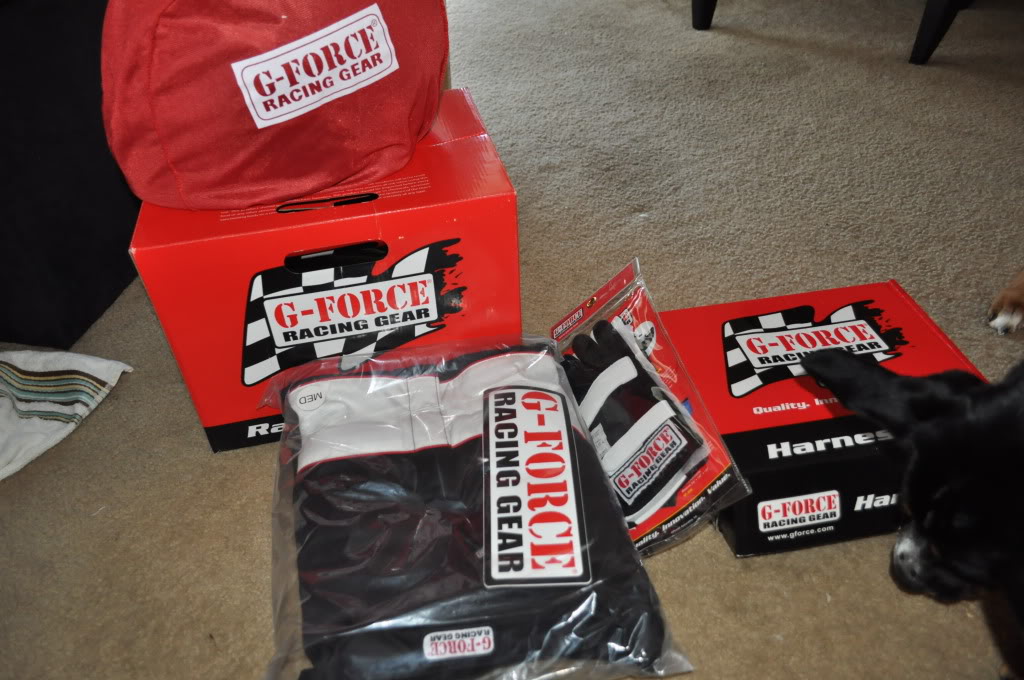
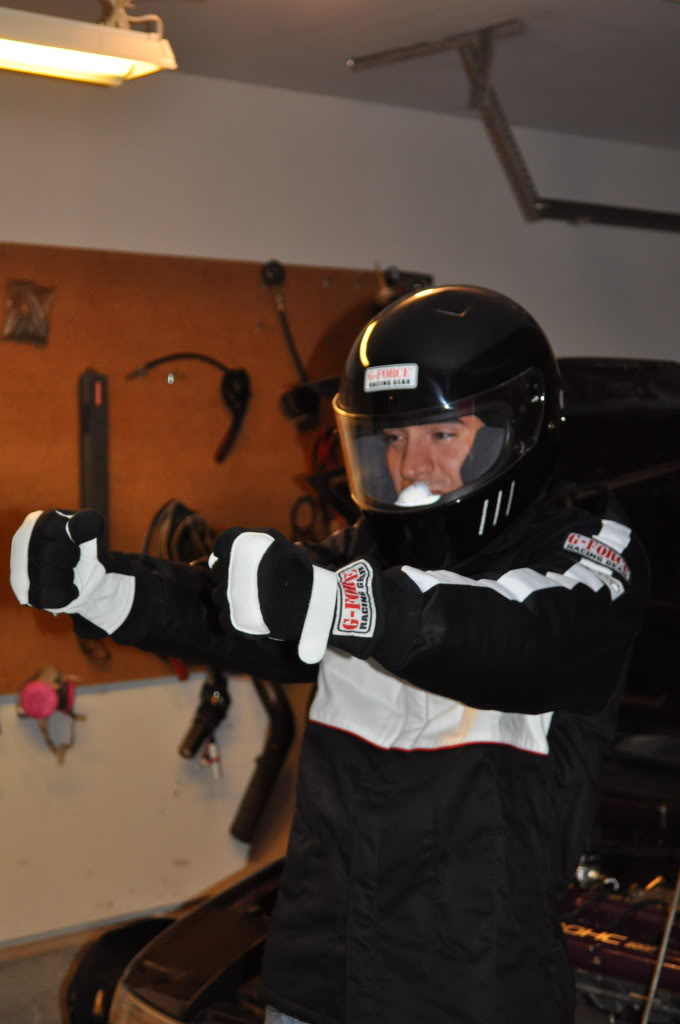
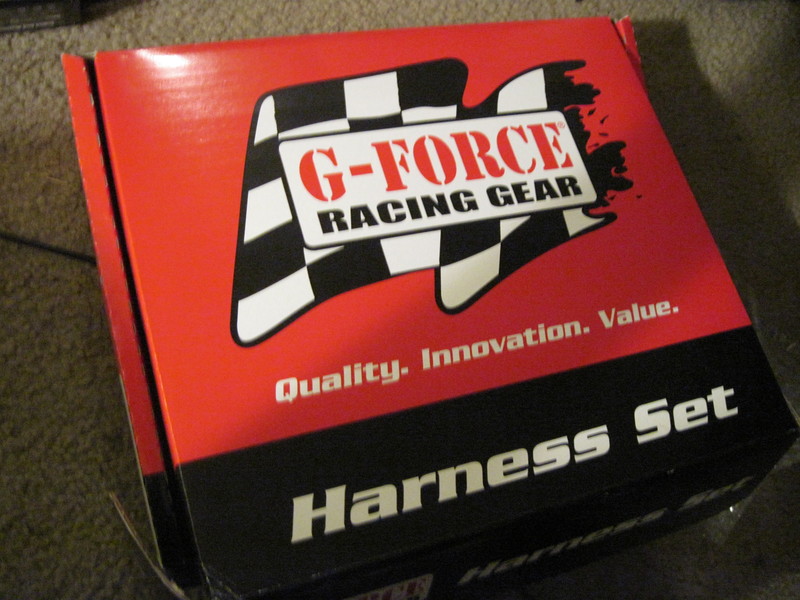
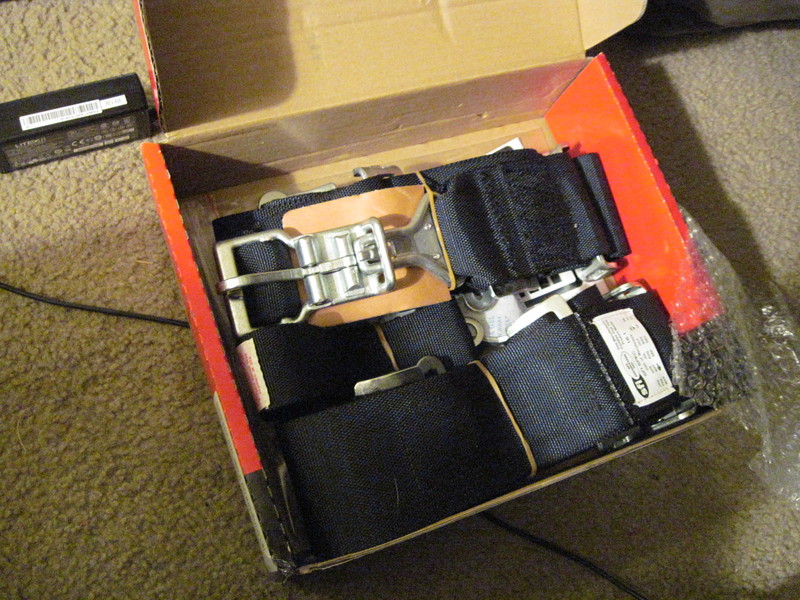
Gforce 5point harness
CNC Staging brake
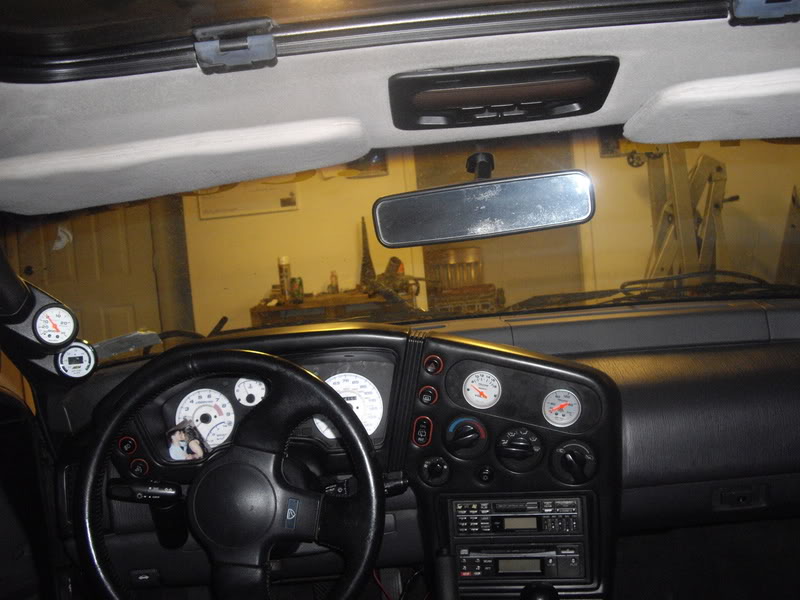
Interior:
Black Cloth seats
AEM UEGO Wideband
Autometer Boost Gauge
Autometer Volt Gauge
Autometer Oil pressure Gauge
Exterior:
NEW PAINT!! Thank you Mike! Modern Automotive Dynamics
OEM minus sun roof
Minus Mirrors. (in the works)
Suspension:
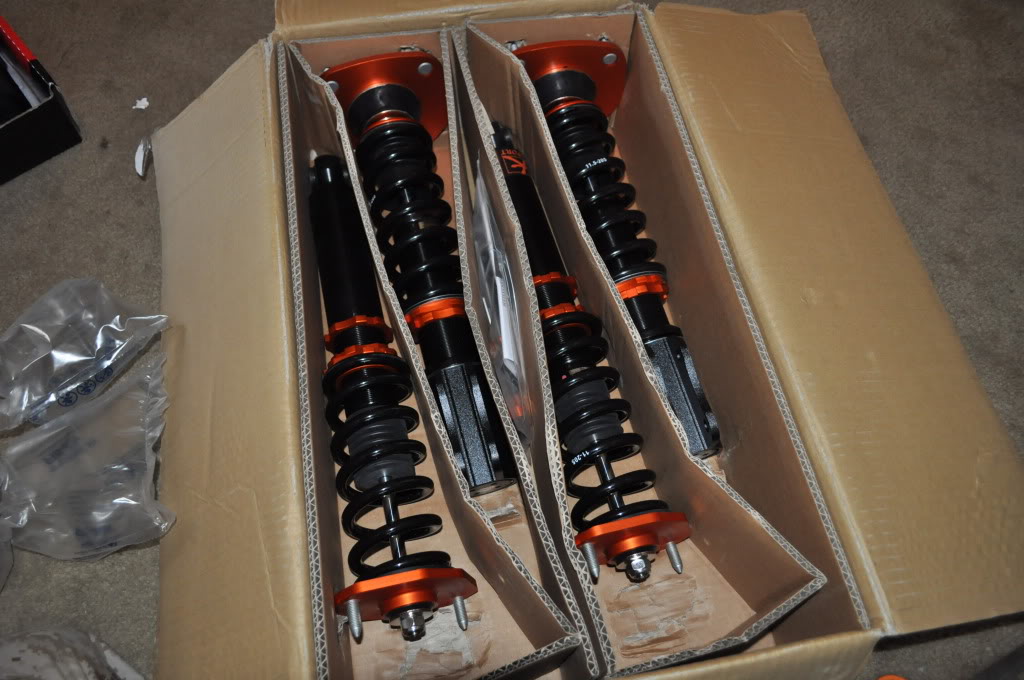
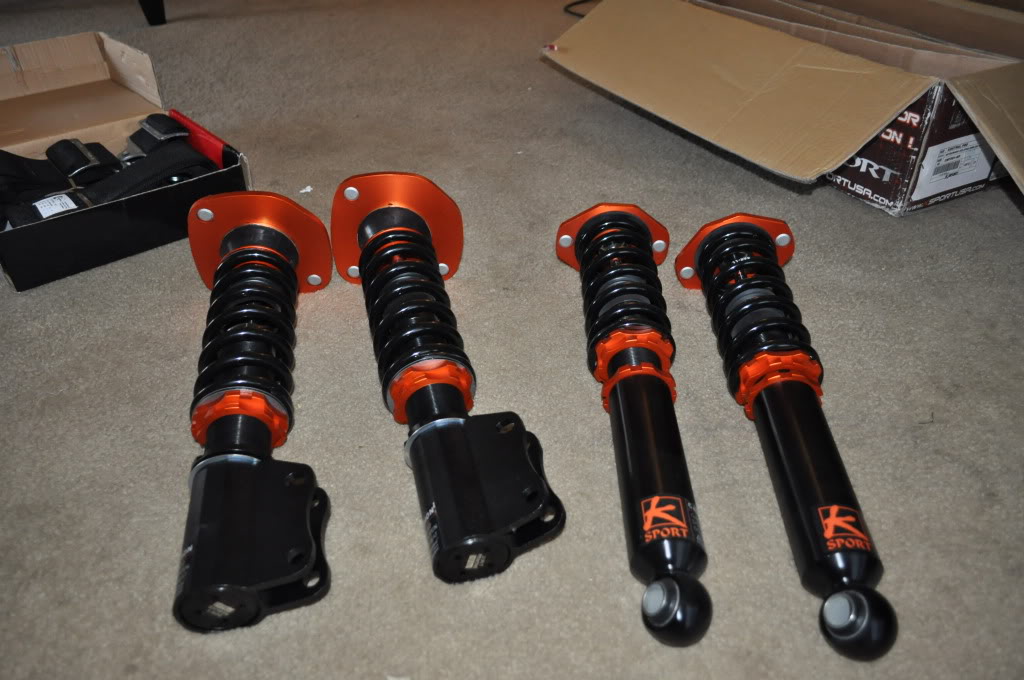
K-Sport Coilovers
Prothane bushings
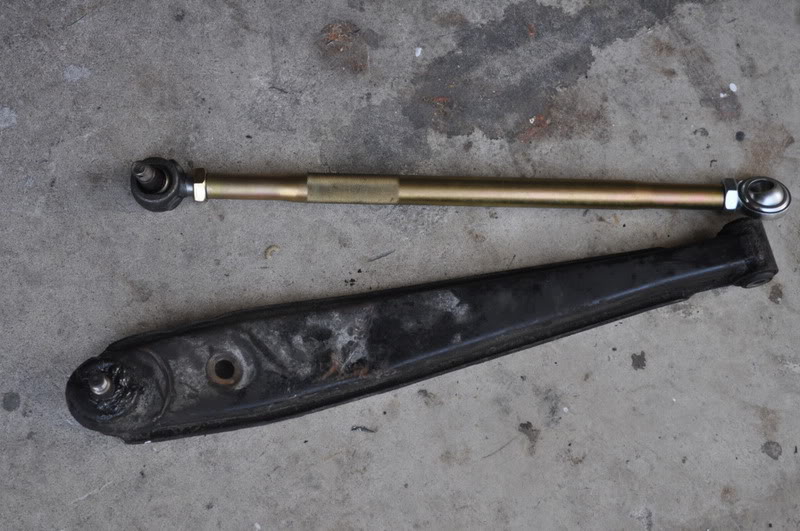
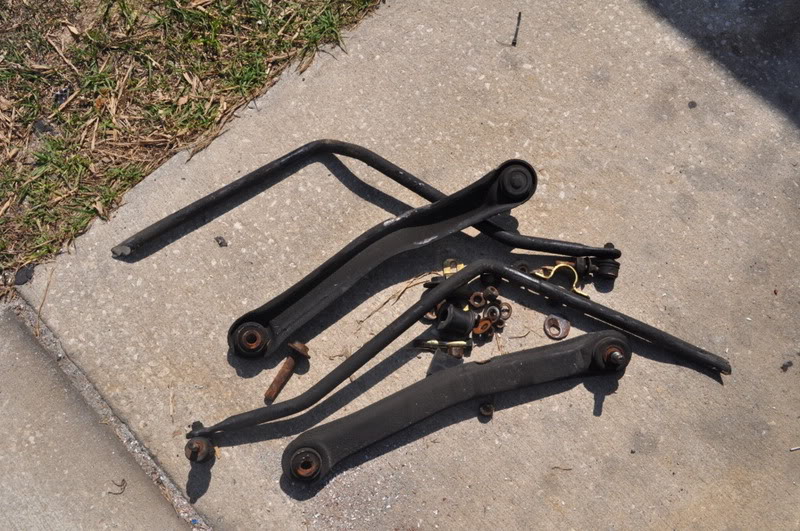
Adjustable upper and lower rear control arms
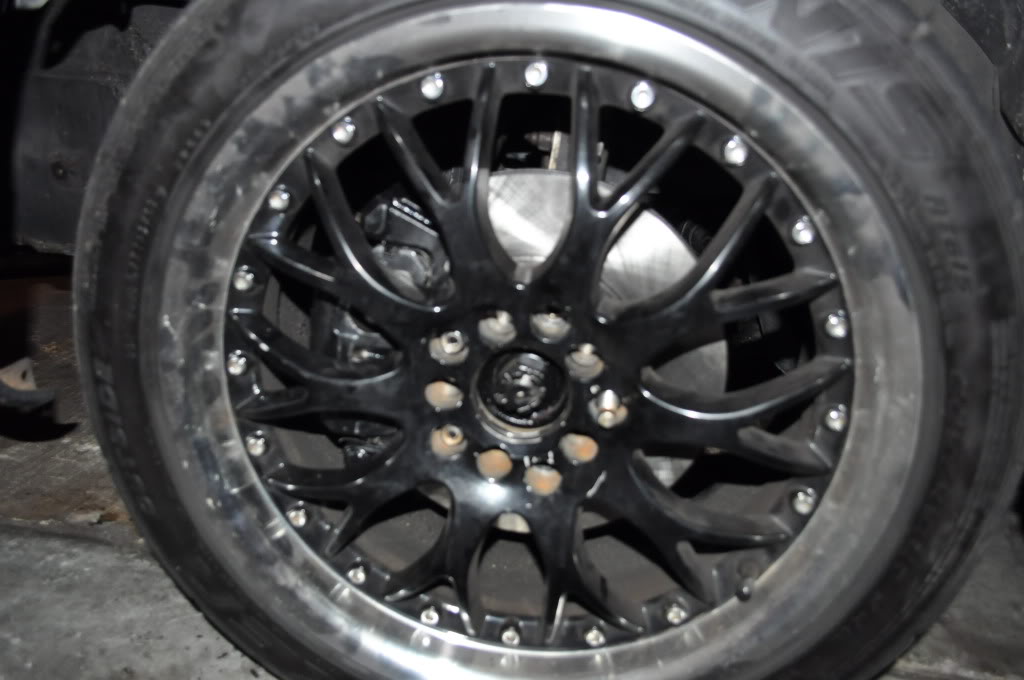
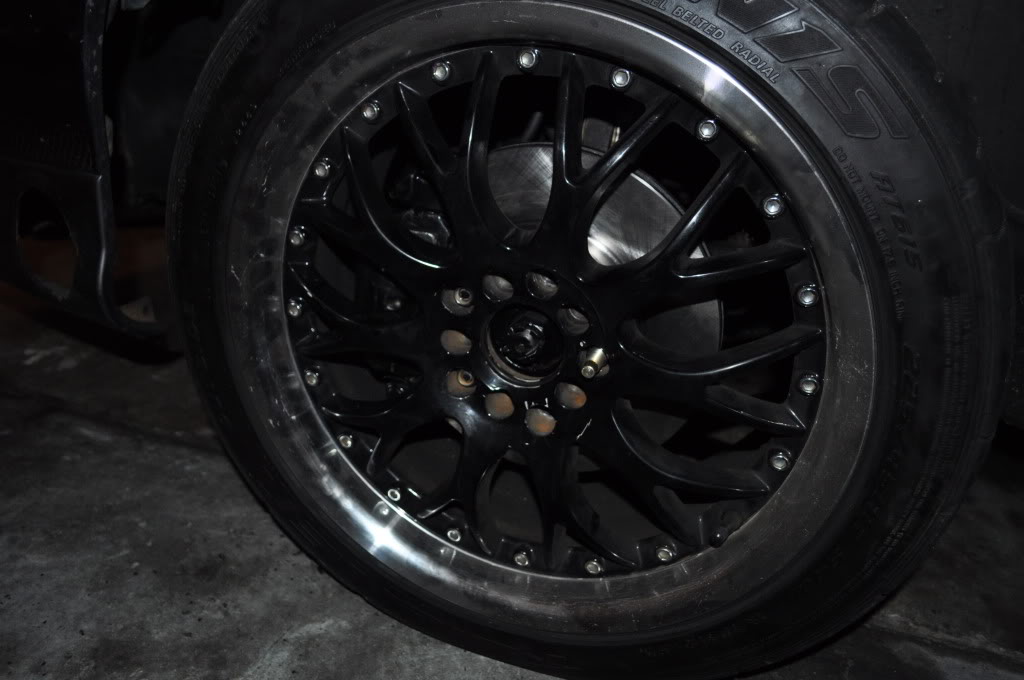
Brakes/Rims/Tires
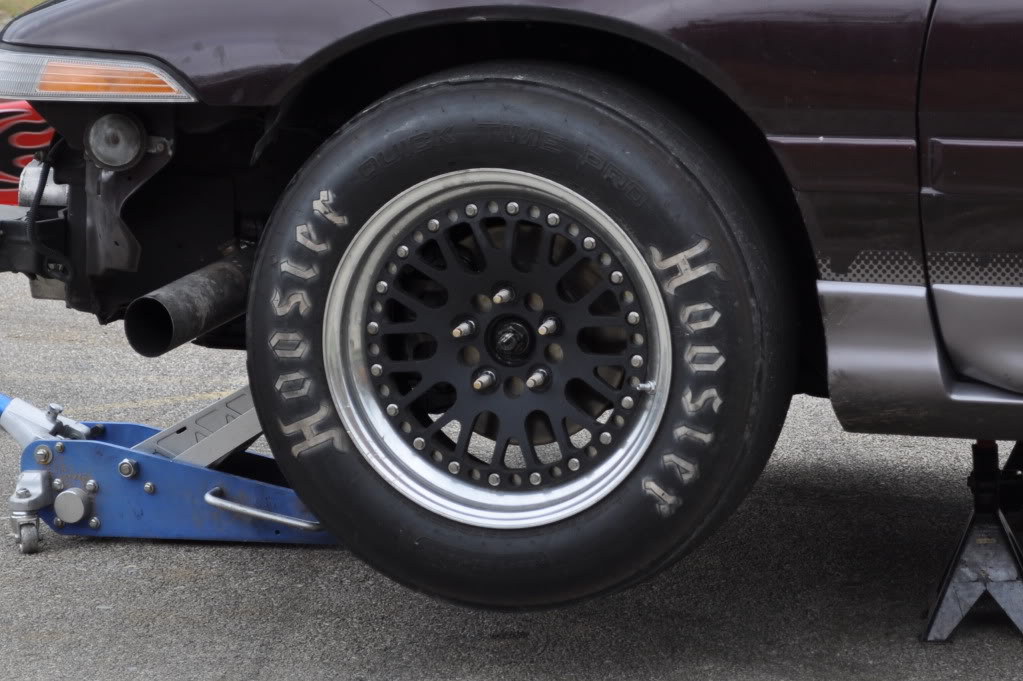
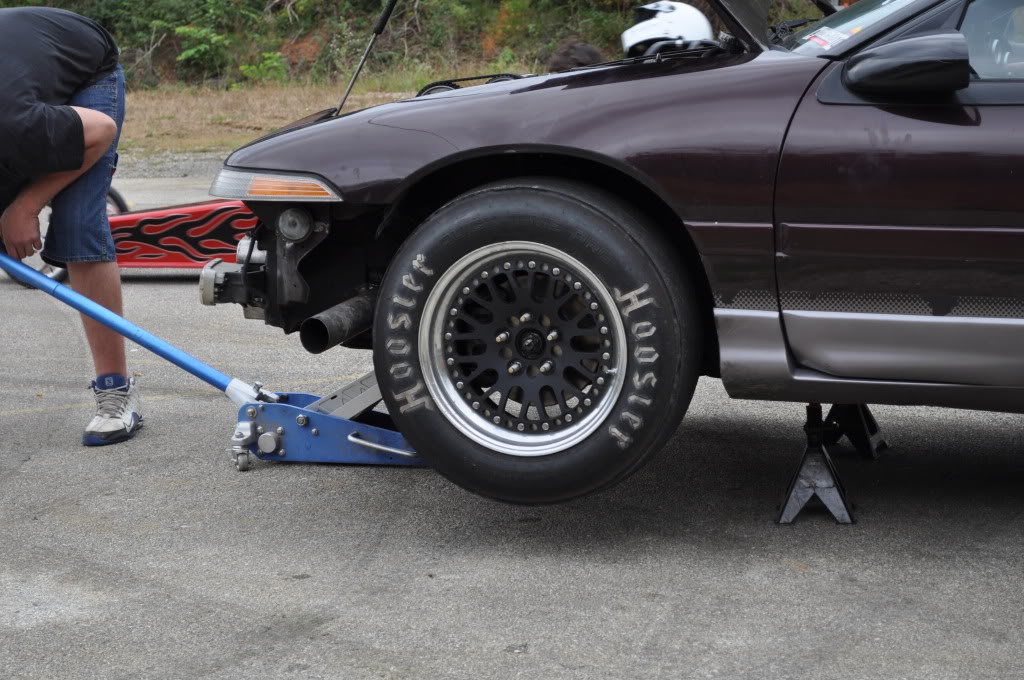
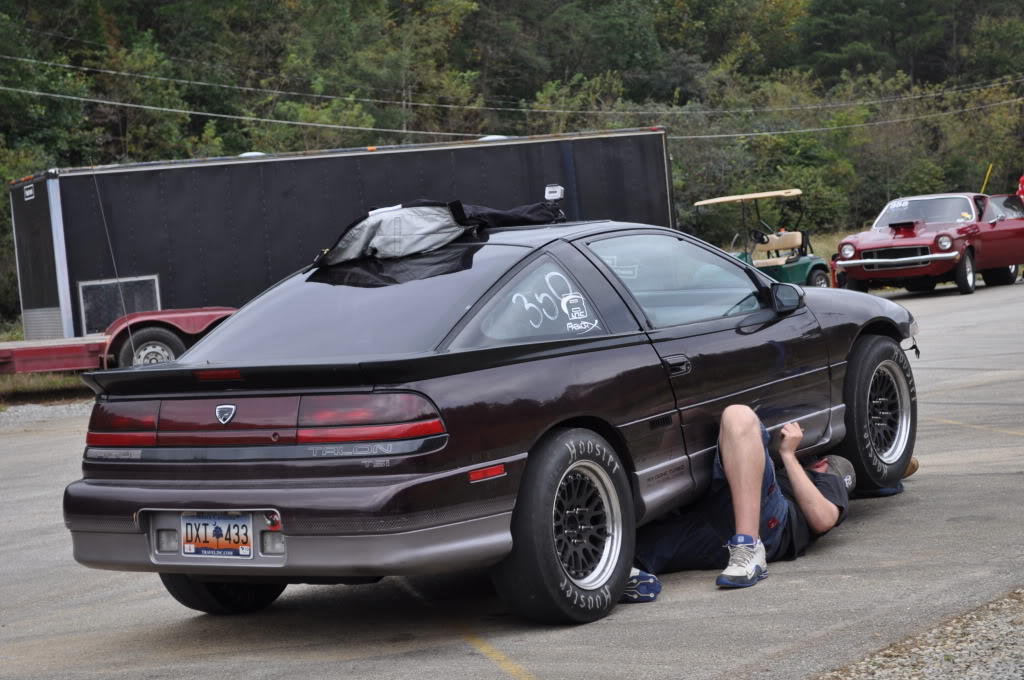
Extended wheel studs
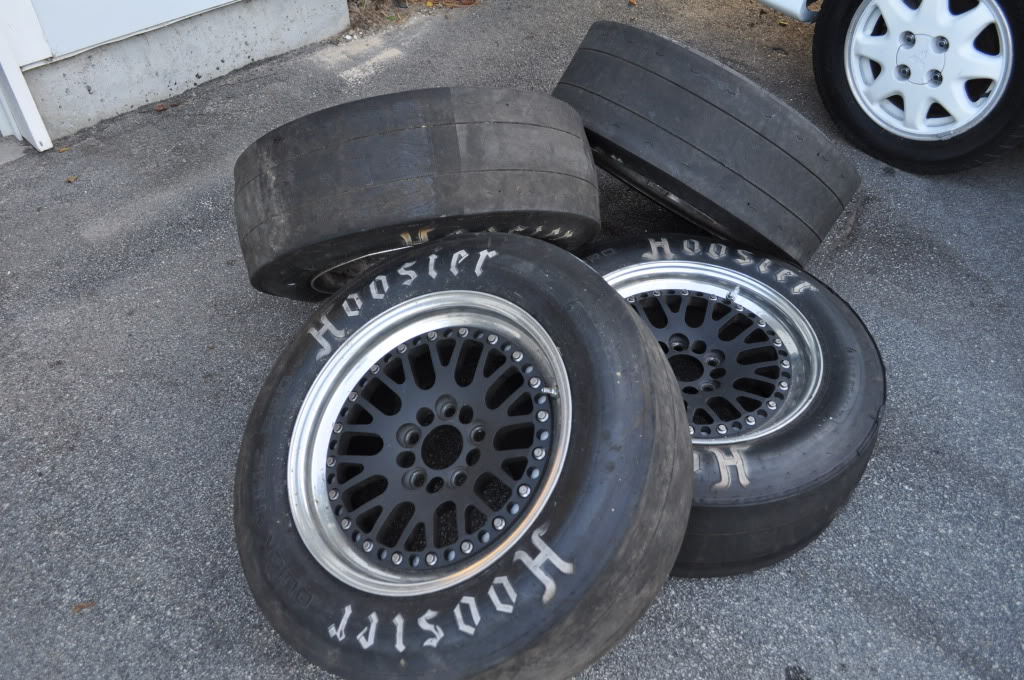
CCW Classic Rims
Hoosier QTP 26×9.5×16
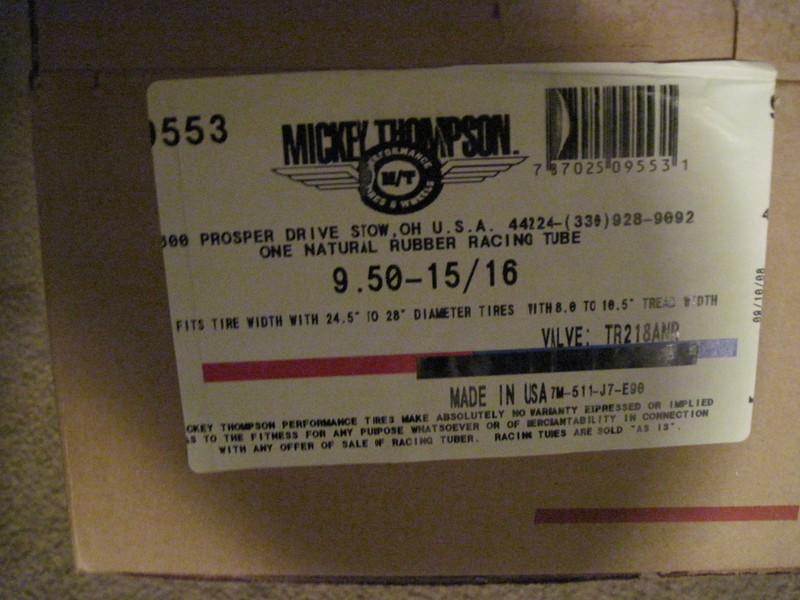
M/T Drag tubes.
2g Brakes
SS brake lines
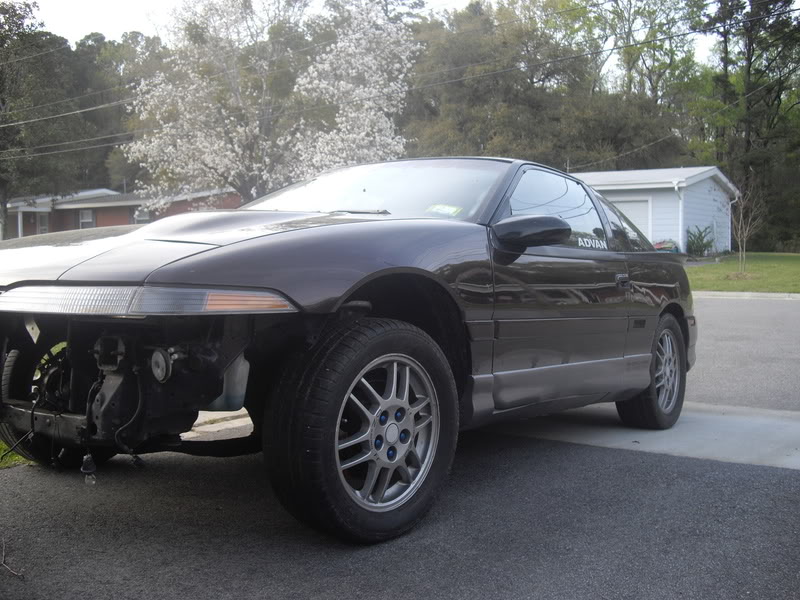
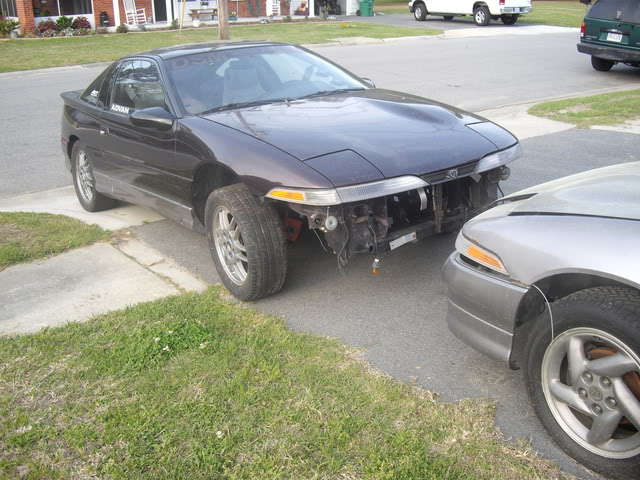
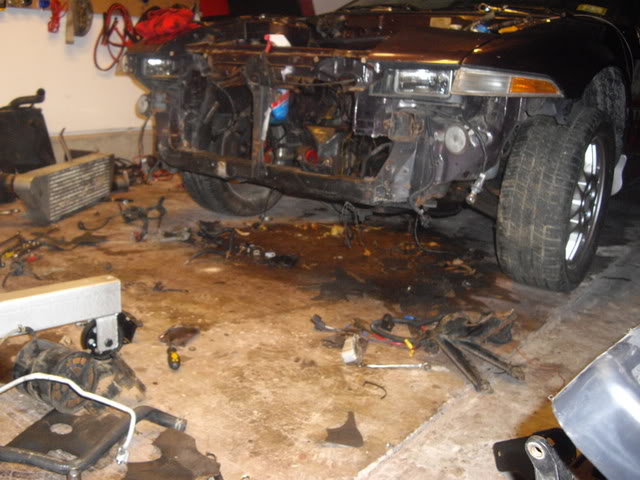
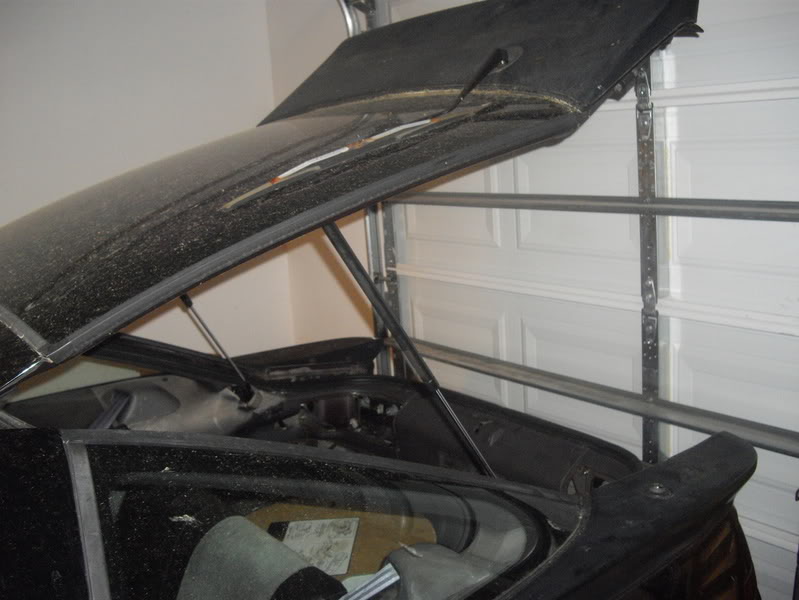
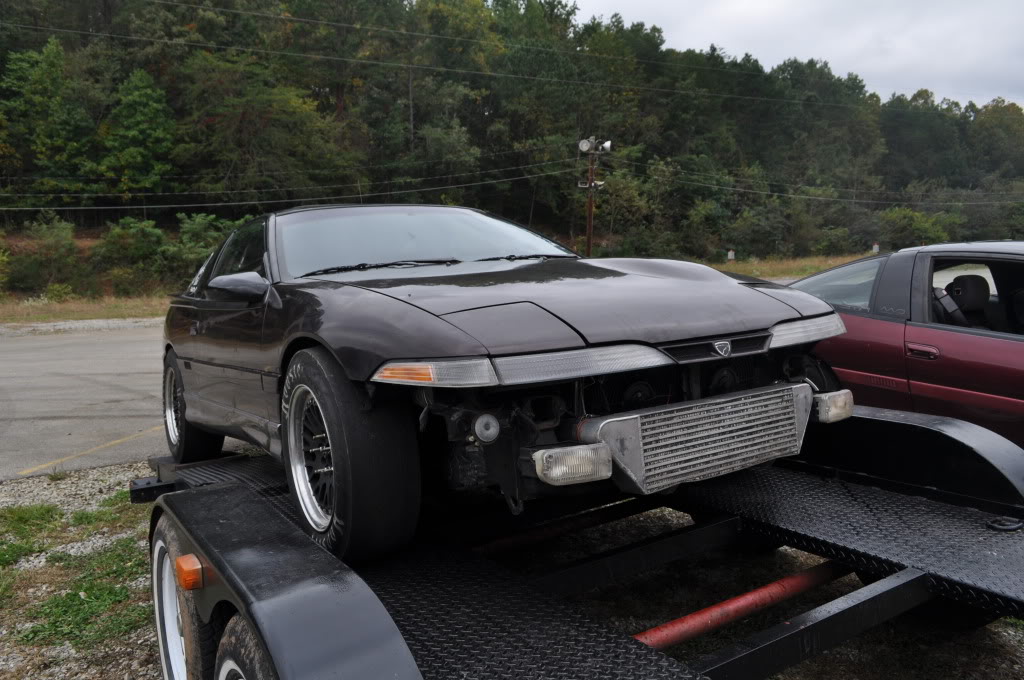
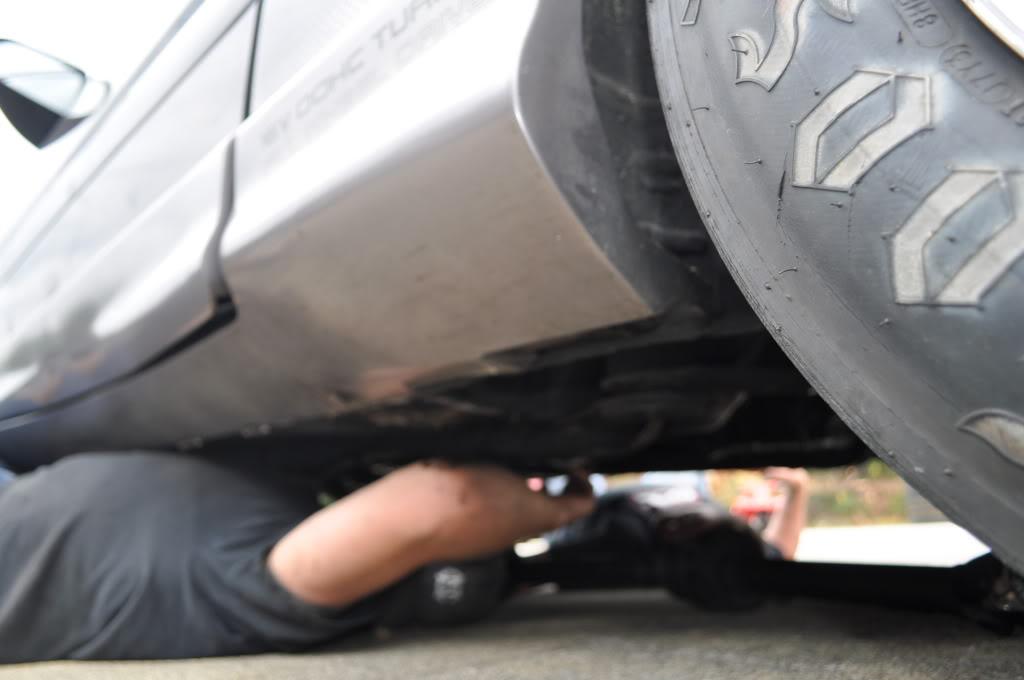
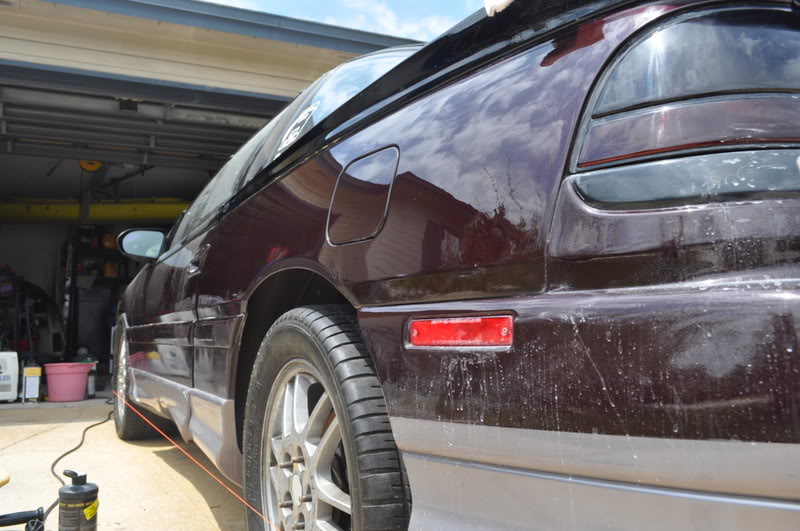
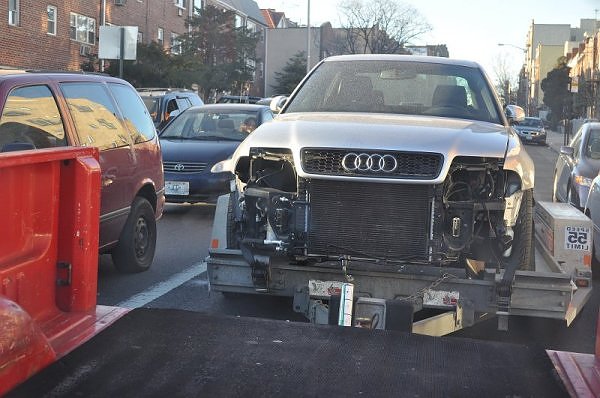
* The bumper is off because it was on a trailer.
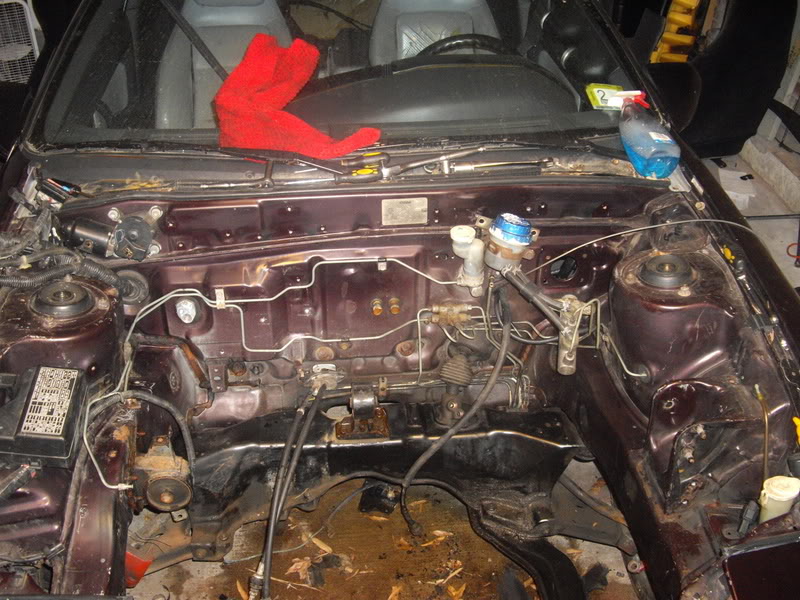
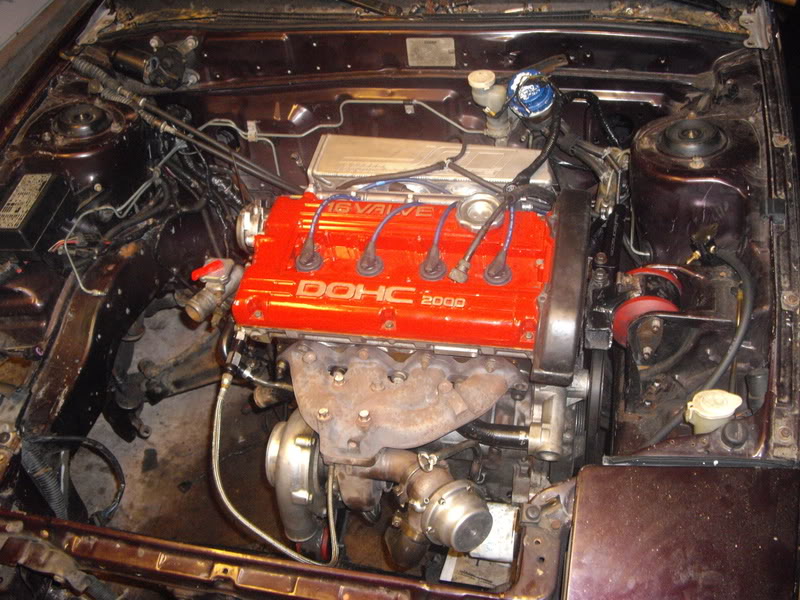
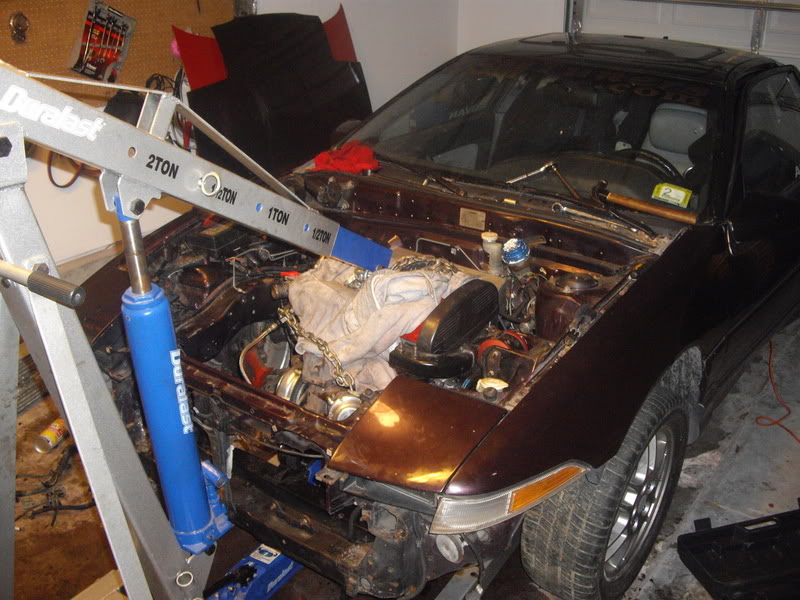
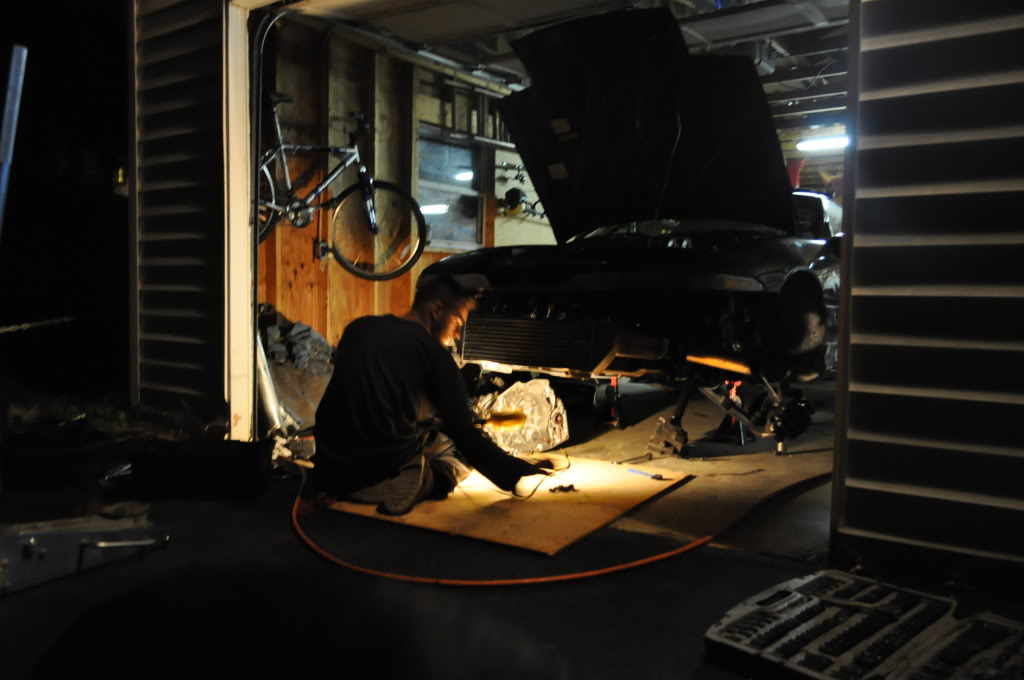
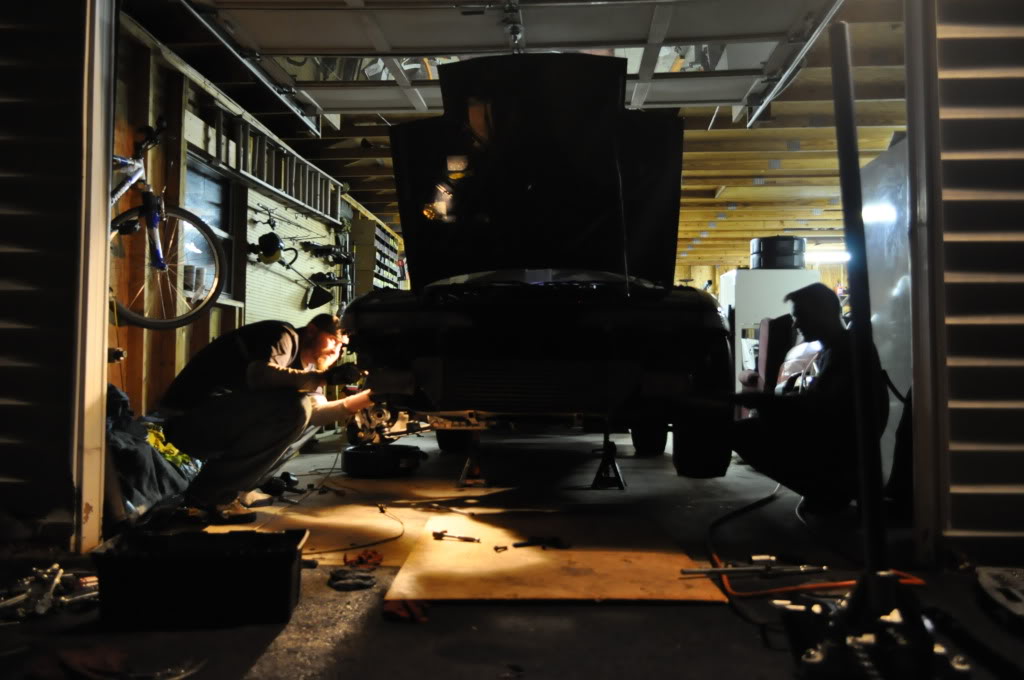
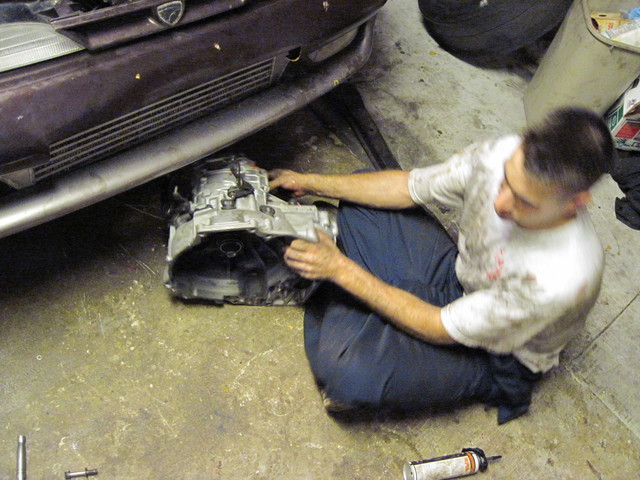
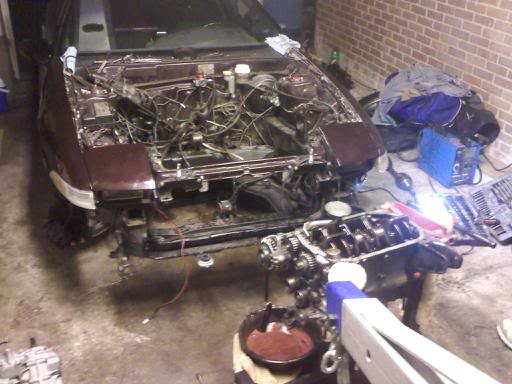
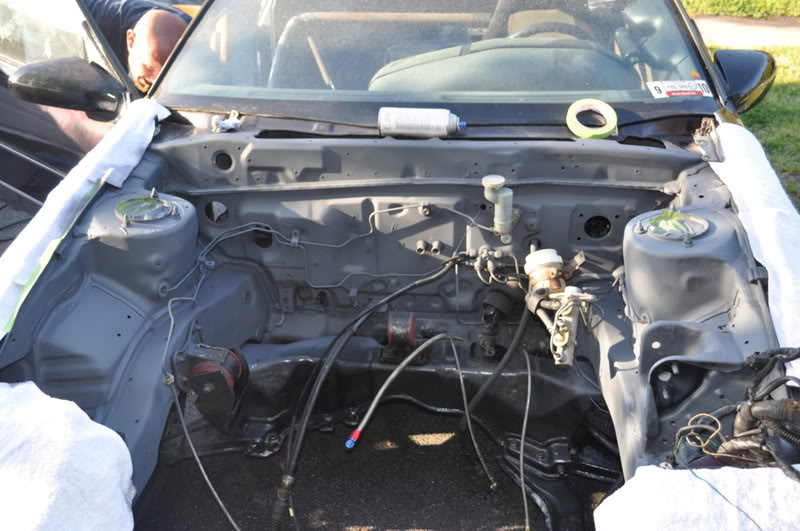
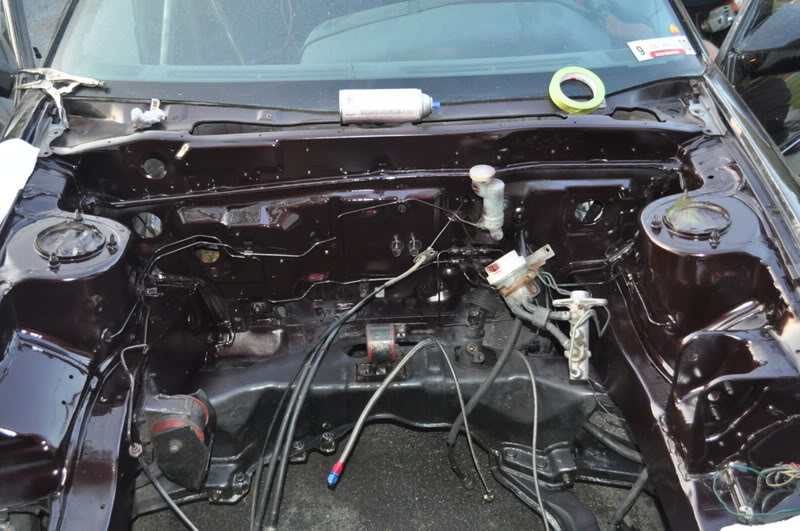
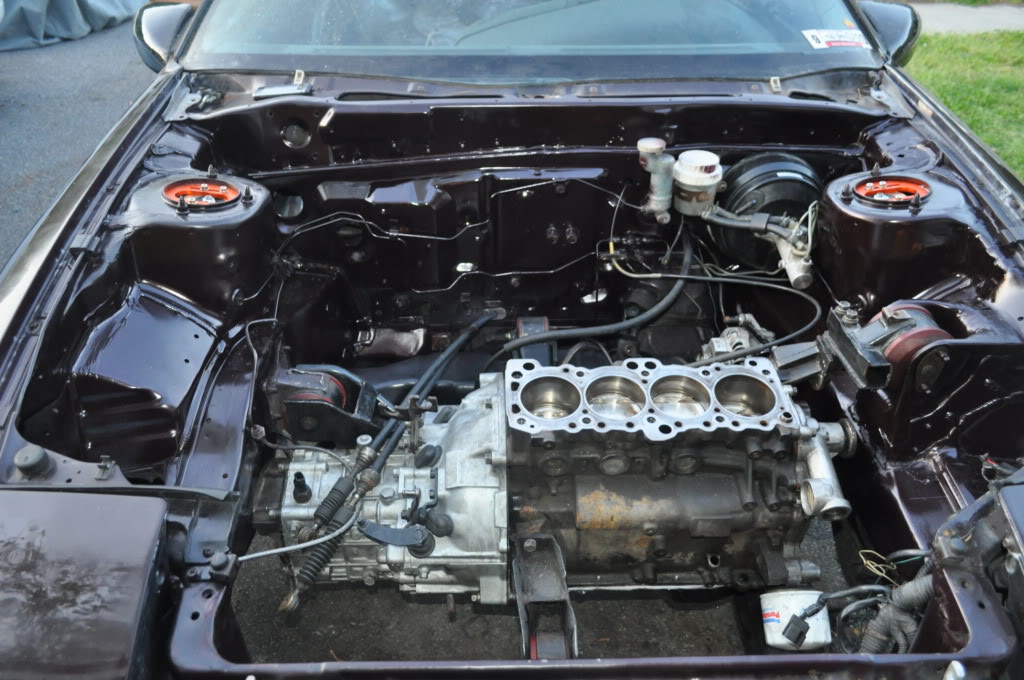
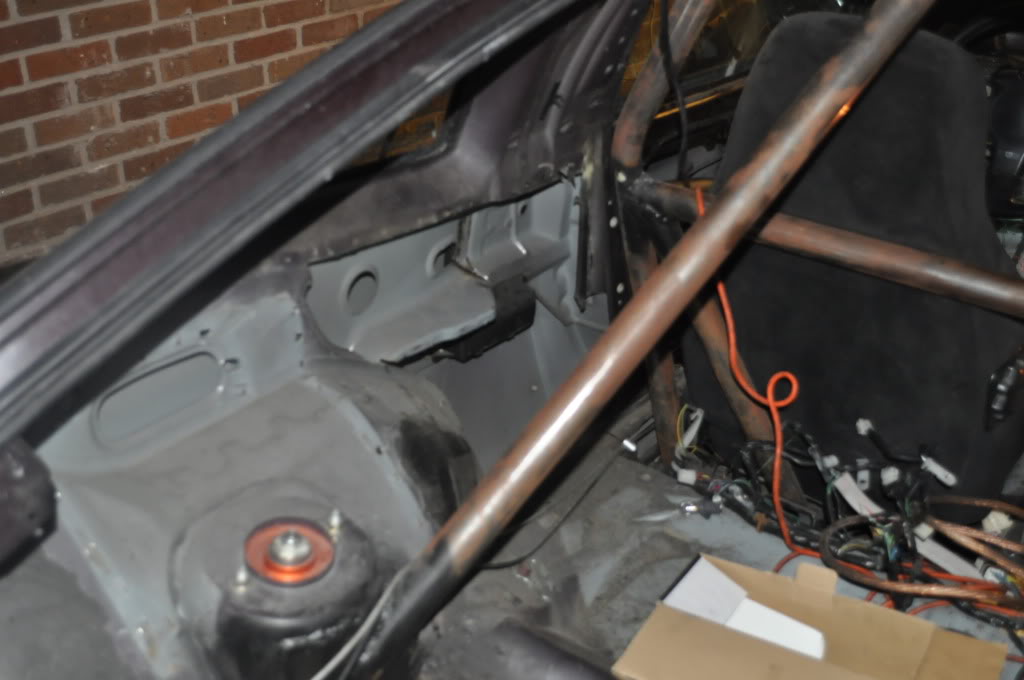
Updates. Got the bay cleaned up some, ran the Harness, Dropped the engine in.
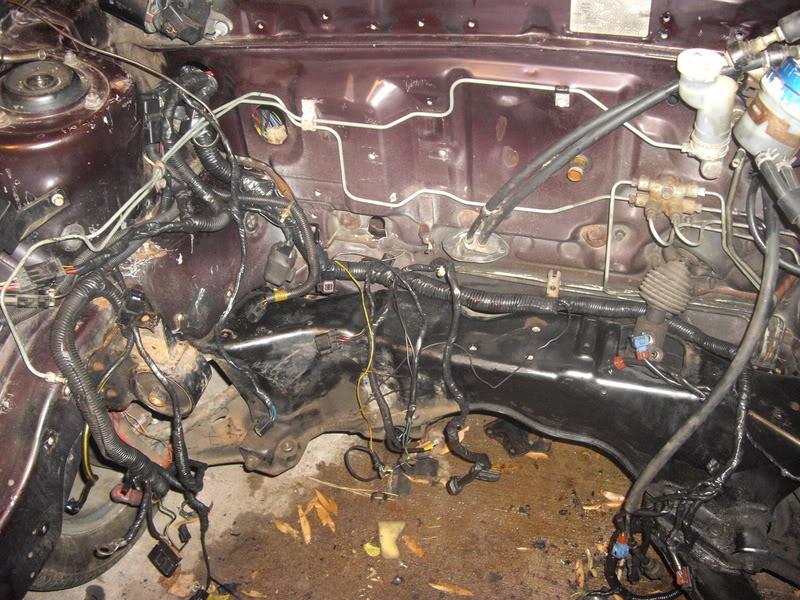
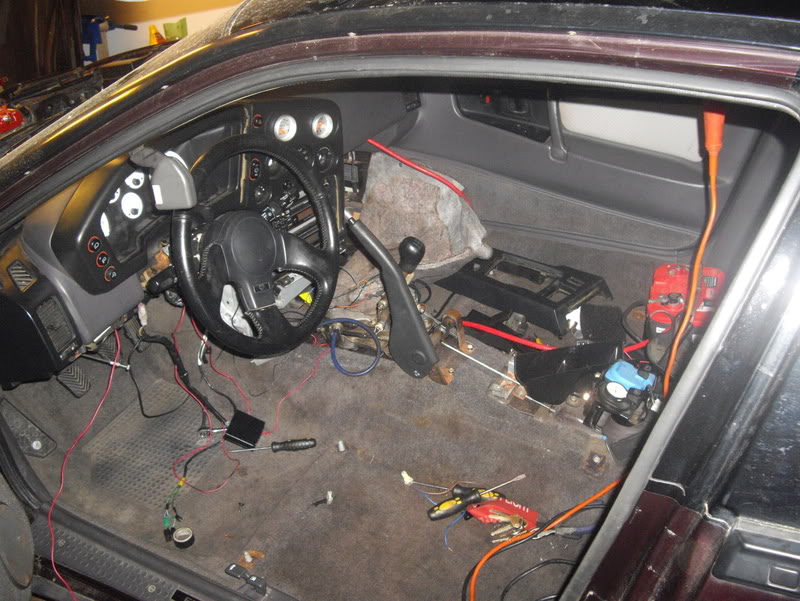
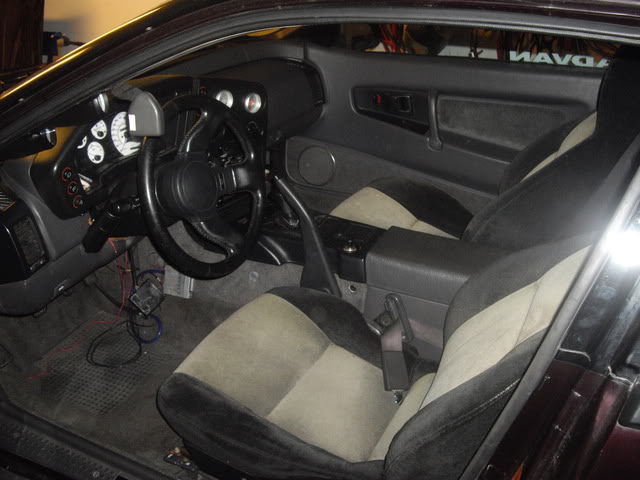
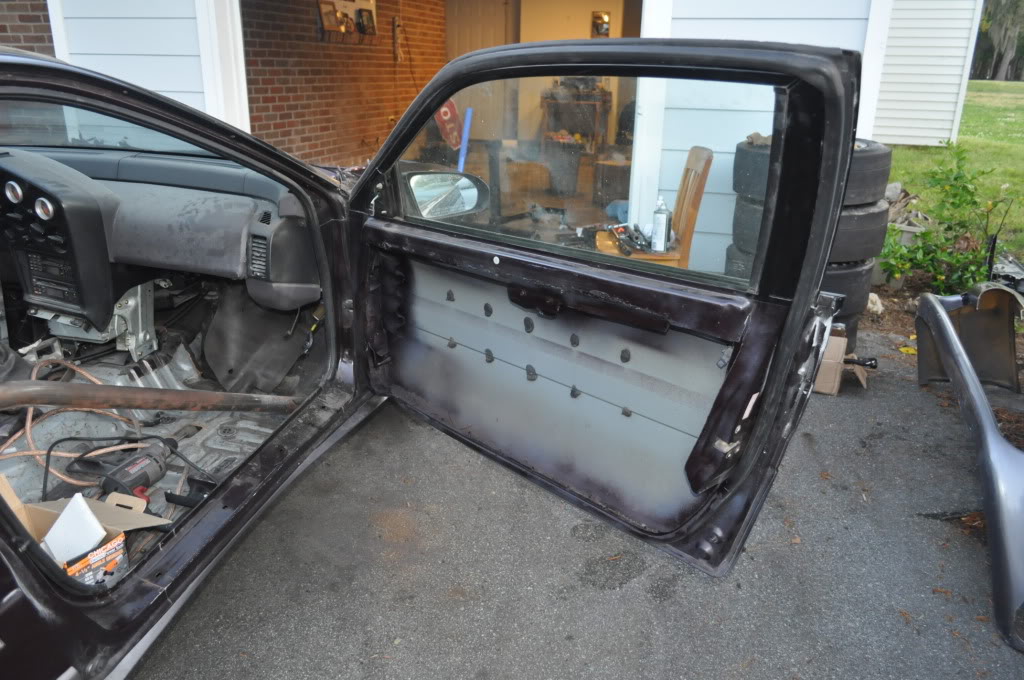
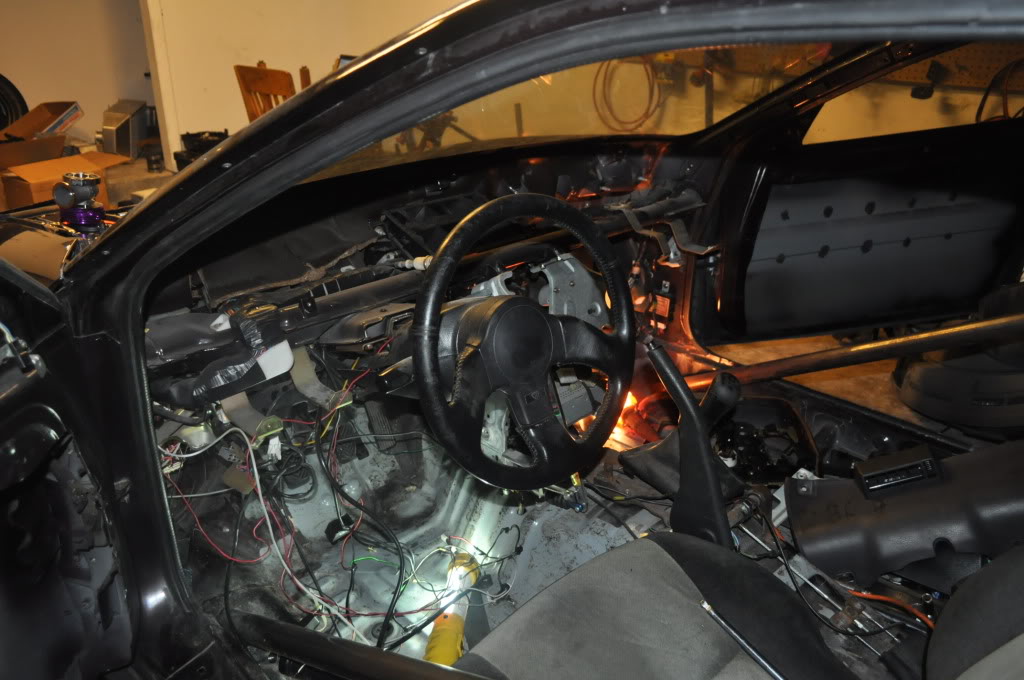
Did some more. It doesn’t look like much but believe me its a lot! There was a rats nest of wiring under the dash that Had to be taken out. Rewired the car for the gauges, vacuumed the car out, put in the black rear seats, put on working hatch struts, hooked up the lever that opens the hatch. I can’t remember everything but here are some quick pictures.
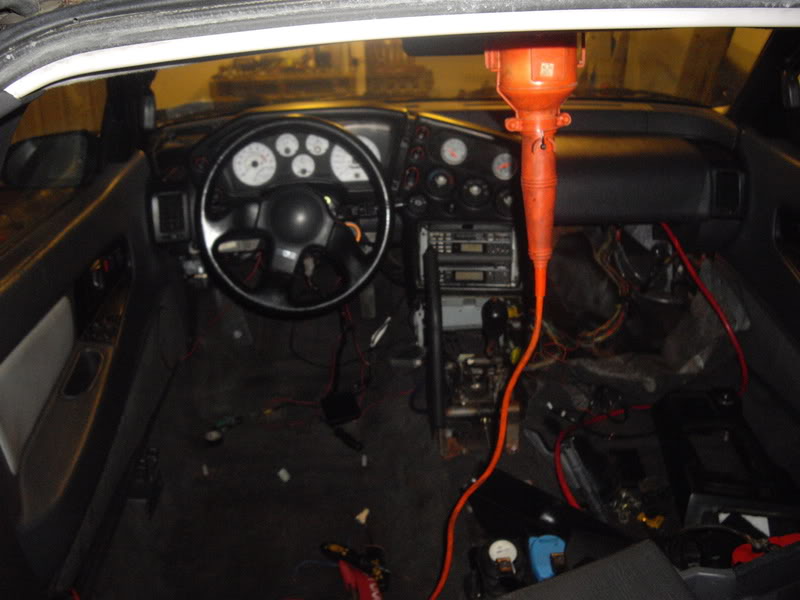
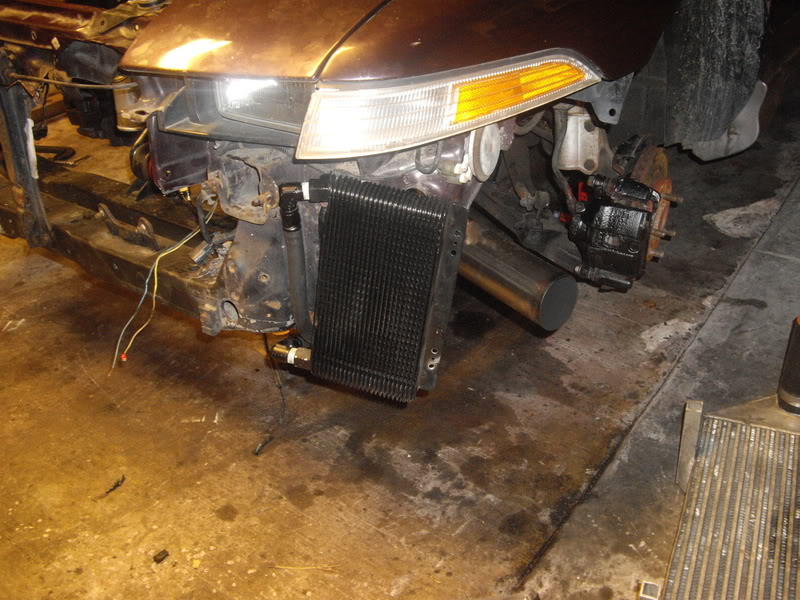
Ok well I did some more today. The interior is finished. I just have to mount the boost controller and turbo timer. I took the wing off and cleaned up the 2 pounds of dirt and leaves that were in there.
I also mounted up the oil cooler and exhaust. I wired up the alternator with the extended harness. As soon as I get a flywheel and sending unit I’ll be set.
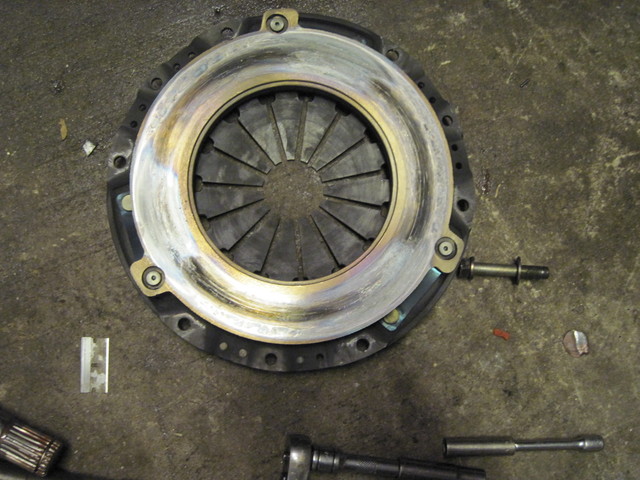
Well.. it’s been a little bit but the car is getting some changes. As most of you know the clutch disc and pressure plate took a shit. Well I’m in search for a twin disc for a decent price now. I have 2 brand new clutch discs for it so hopefully I can find a pressure plate and plates cheap!
Now other changes.
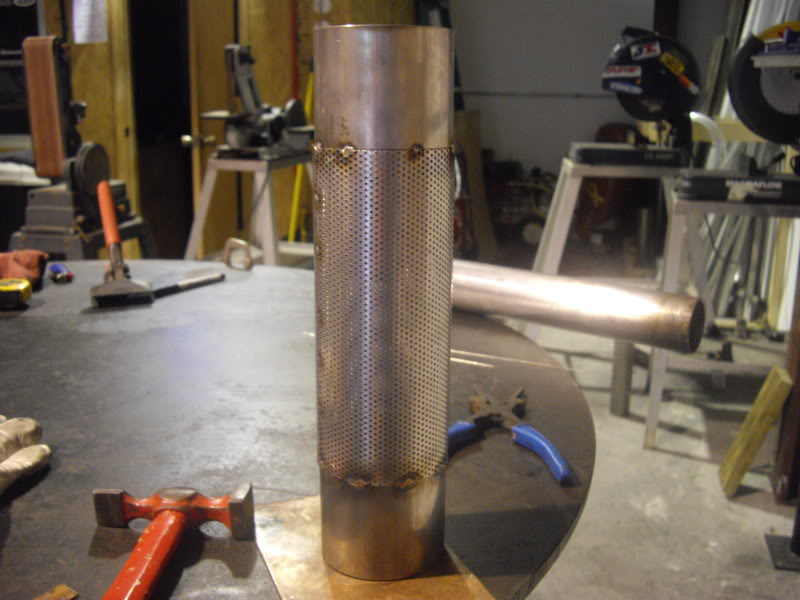
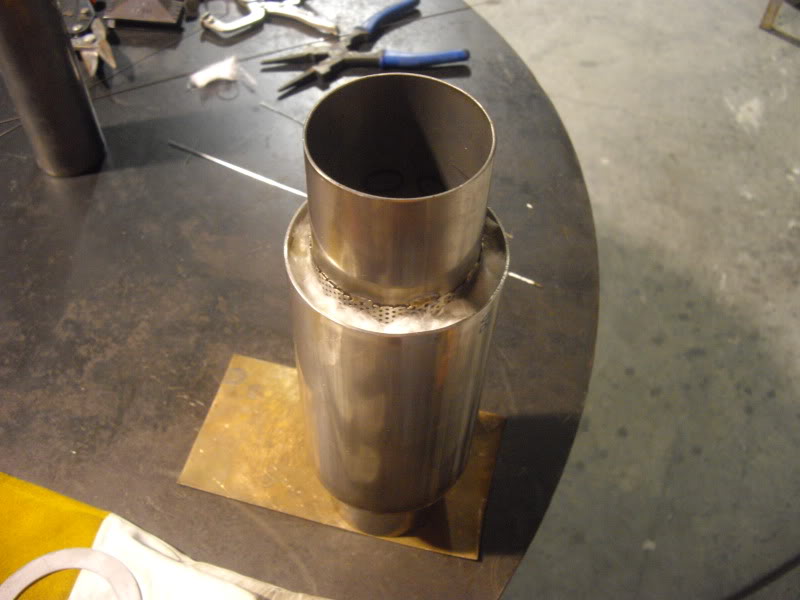
Rereading the rules for the classes at the show down basically states if you arn’t running Q16 you need a full exhaust. Well after a couple hook ups she’s getting it! It will be full 3″ V-band from the turbo back with custom muffler.
Some teasers. My custom muffler made curtasy of FabWorx.


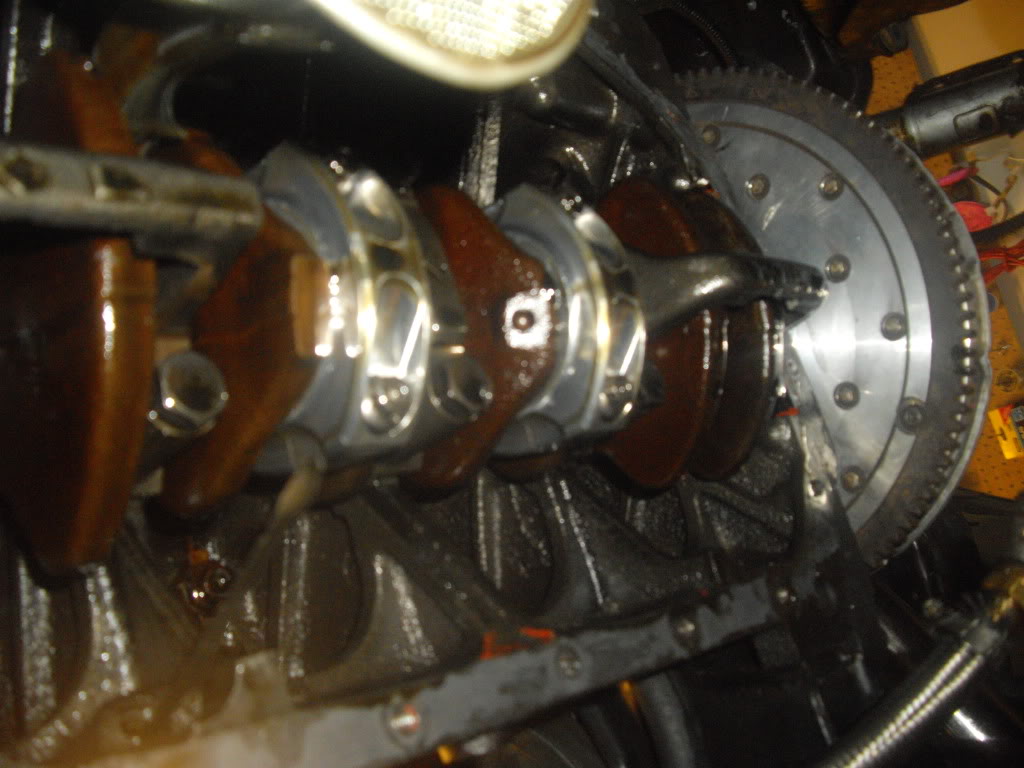
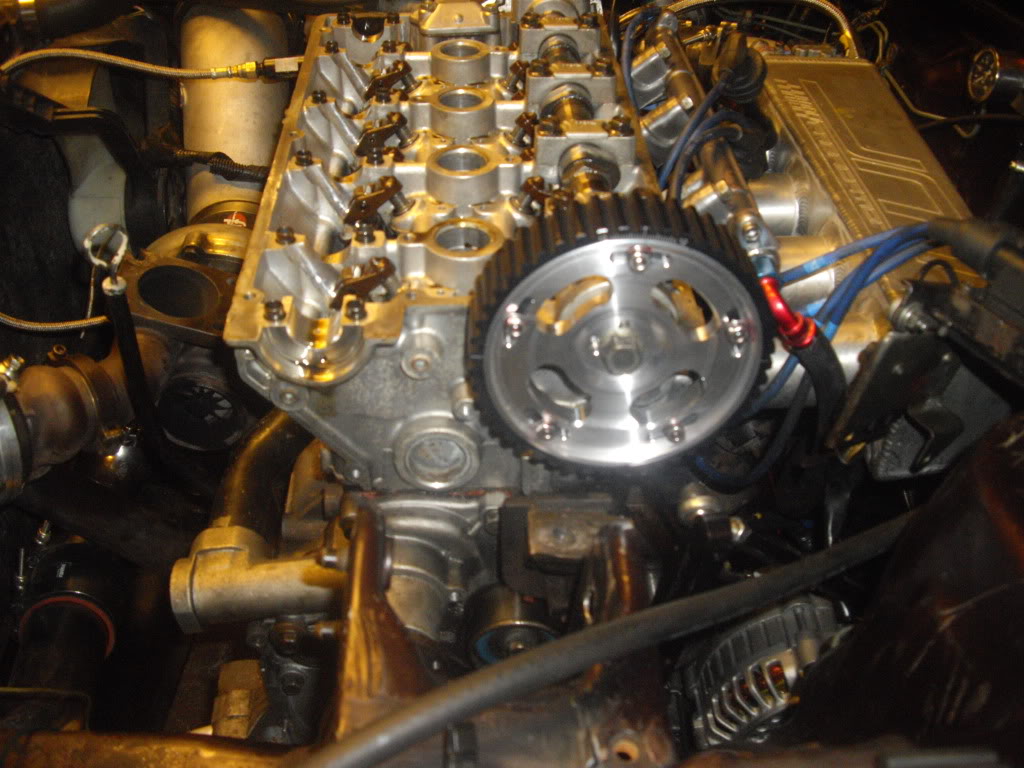
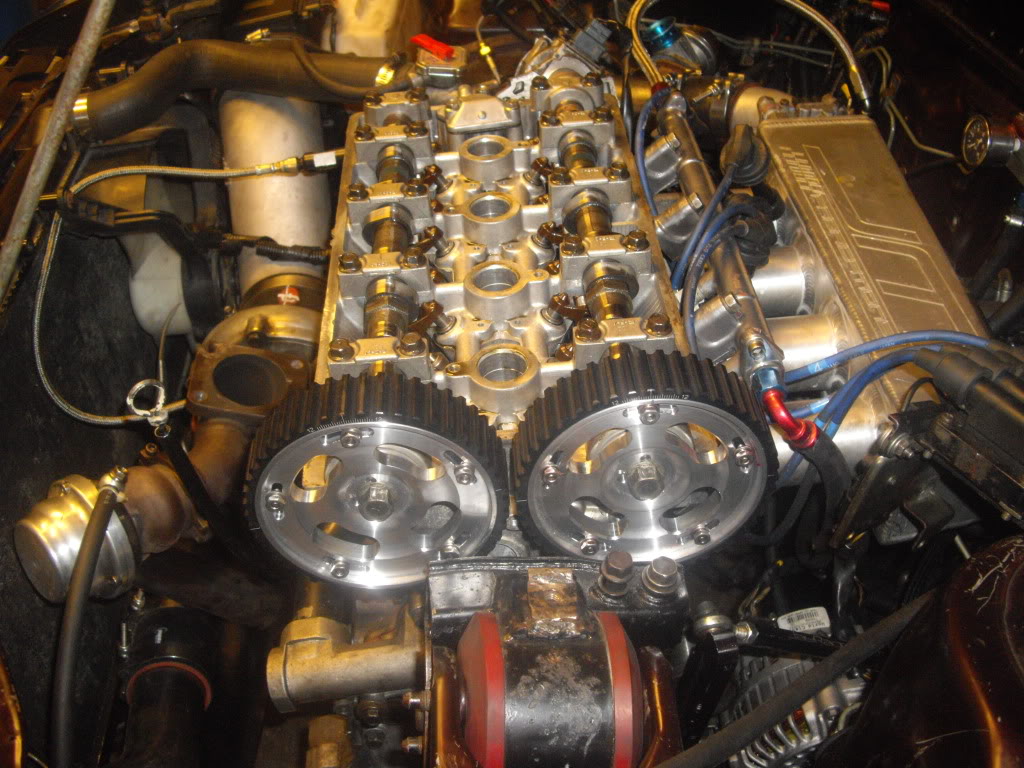
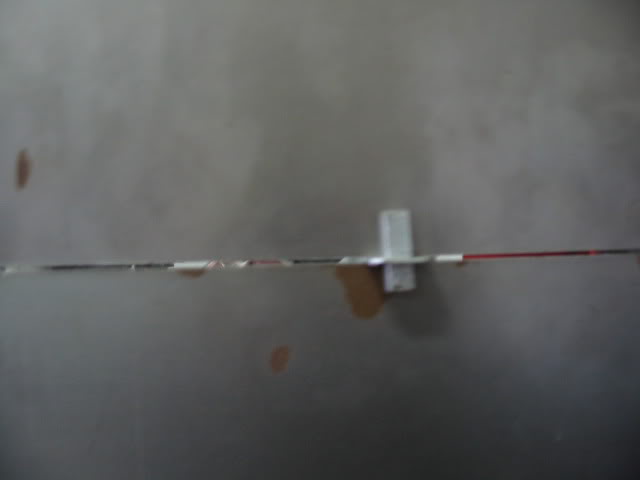
Yay for GRP action! Had to go looking for the rest of the broken rocker! They just look so sexy in there!
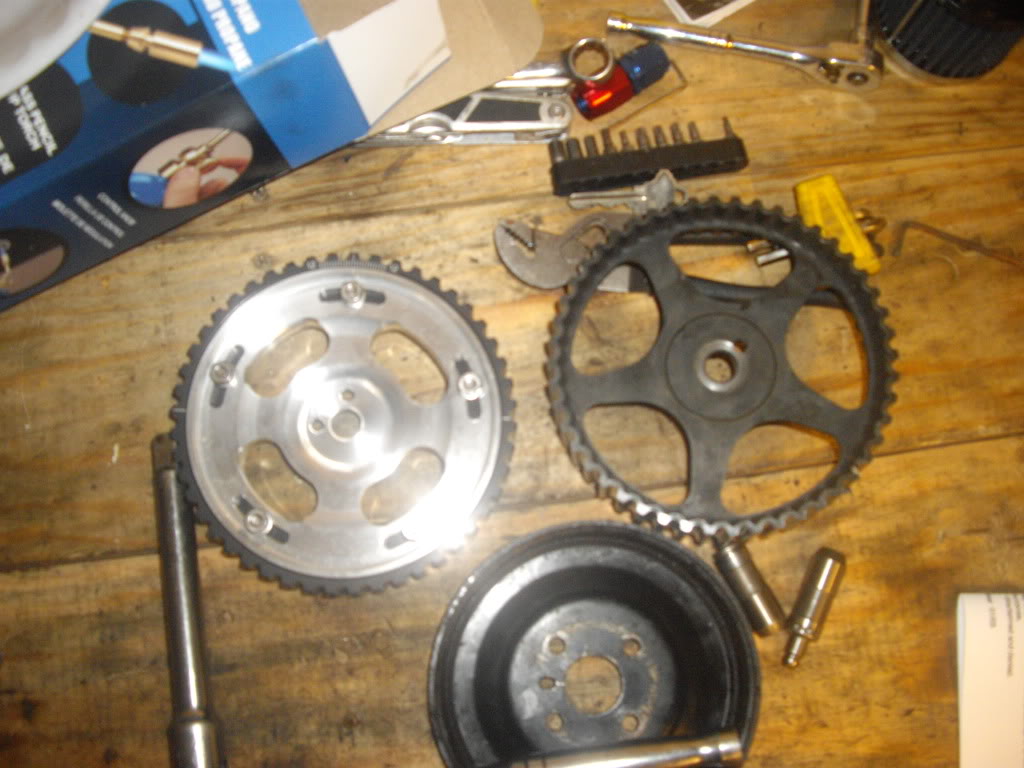
280 Exhaust cam removed!

Pair of pliers, Allen wrenches, 3/4 ratchet, filter 6an fitting oh and a Fidanza cam gear!
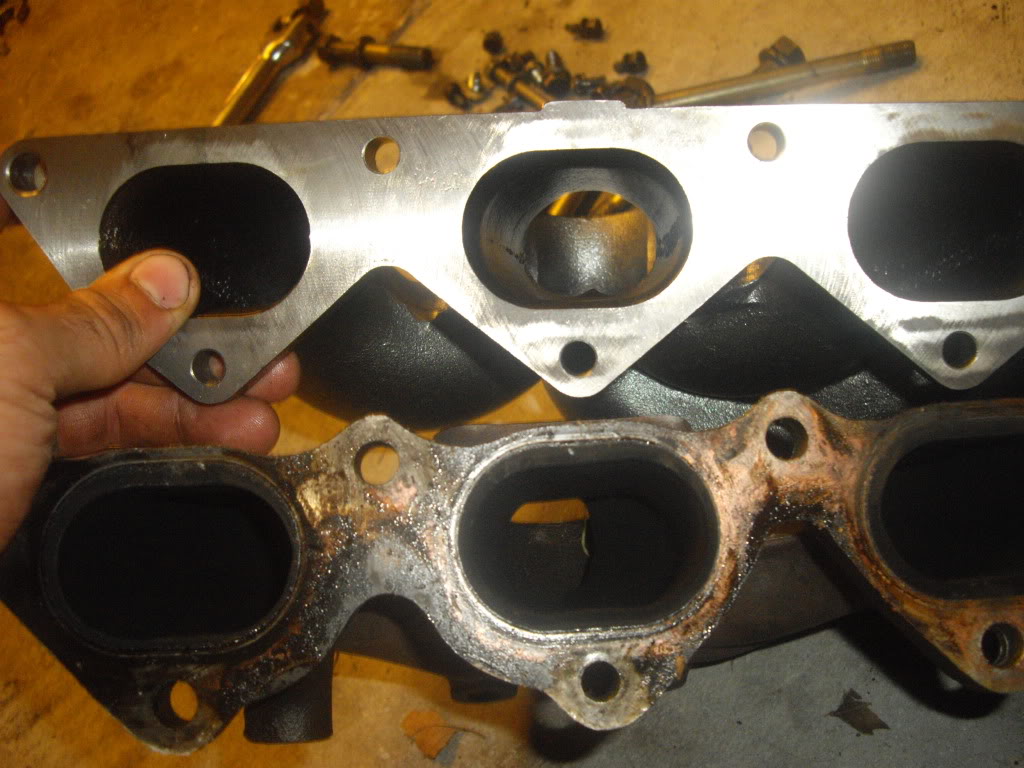
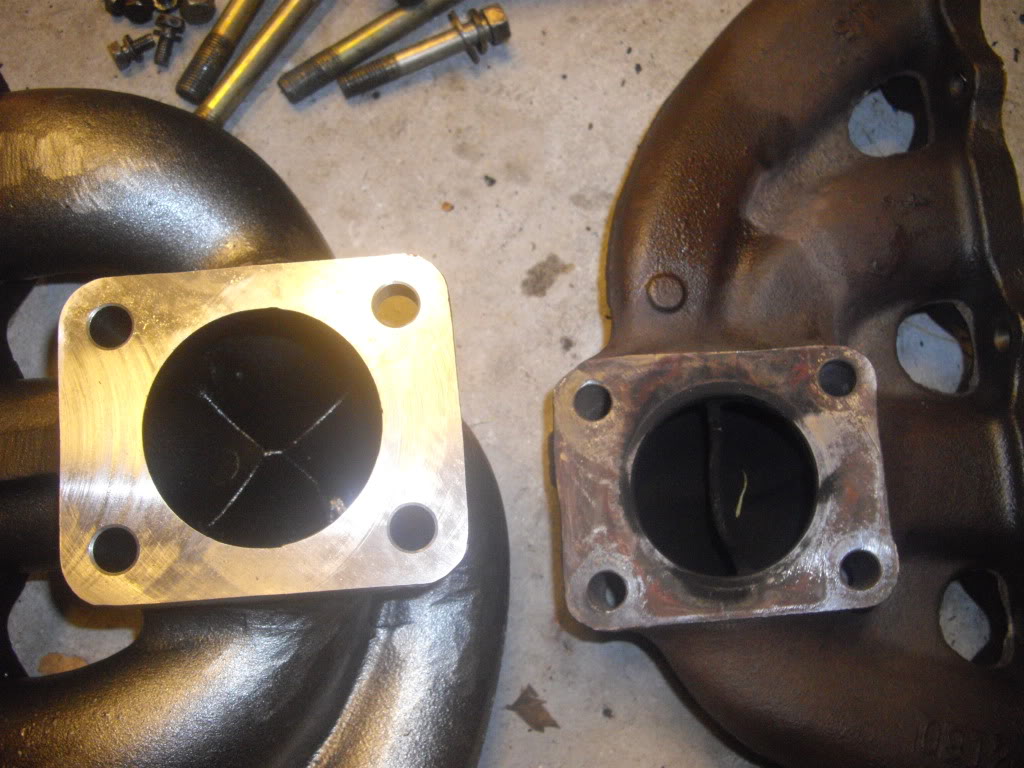
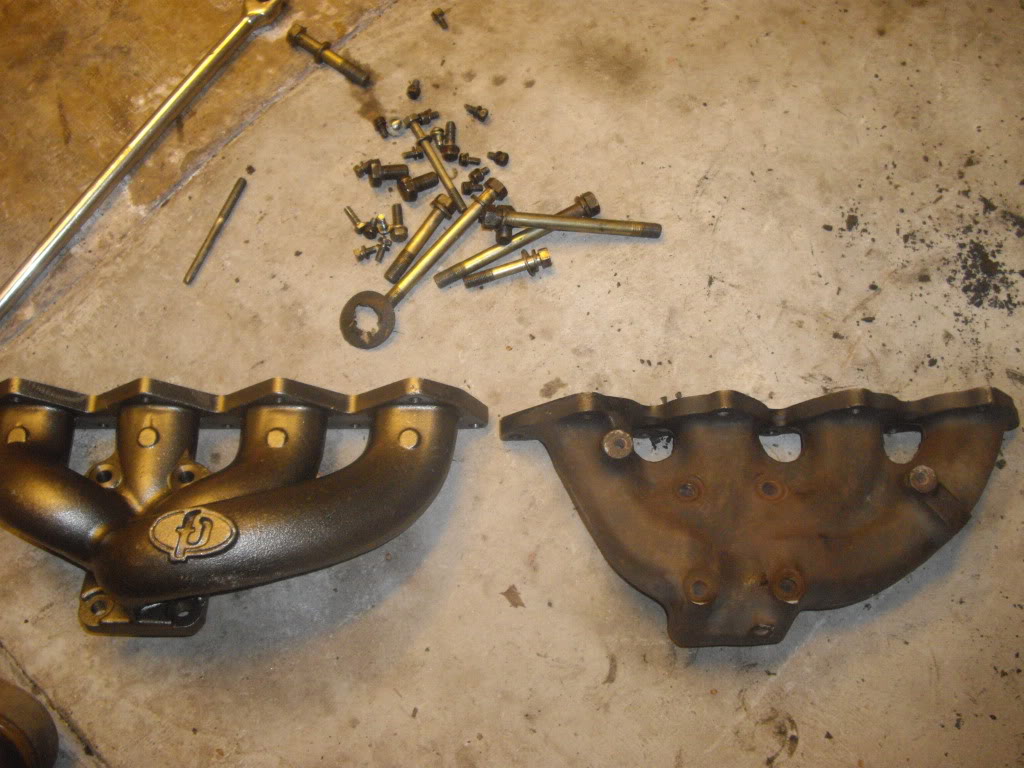
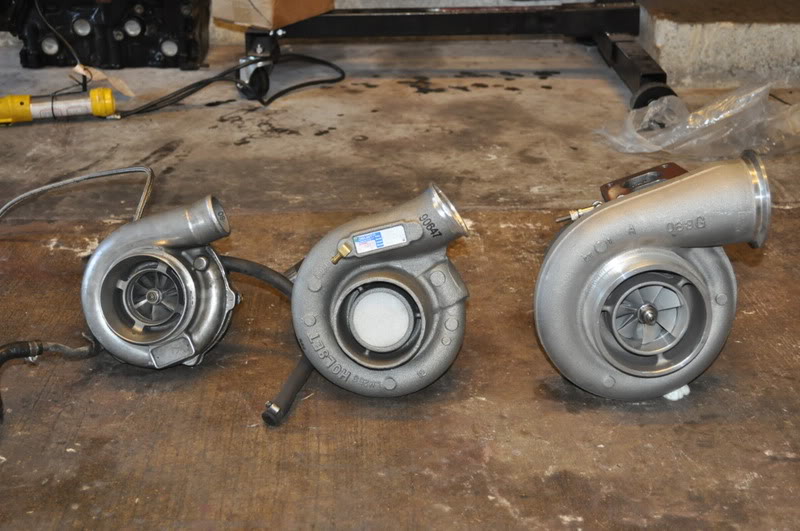
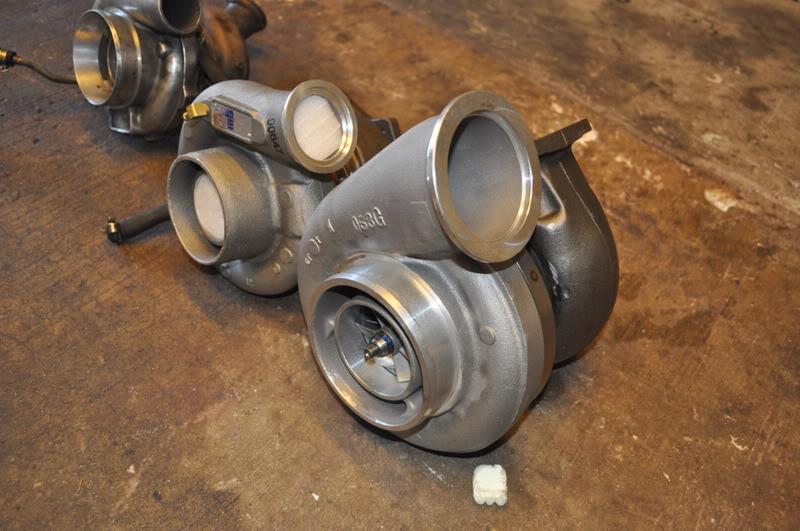
These are to show the comparison between the New FP race manifold and my current one Stock unported 2g manifold.
Just an update. These pictures are kind of late but hey oh well. The car is now waiting on me to finish up the rear bushing, Exhaust manifold installed, and waiting for my valve cover to get finished by TCC.
Bushings!
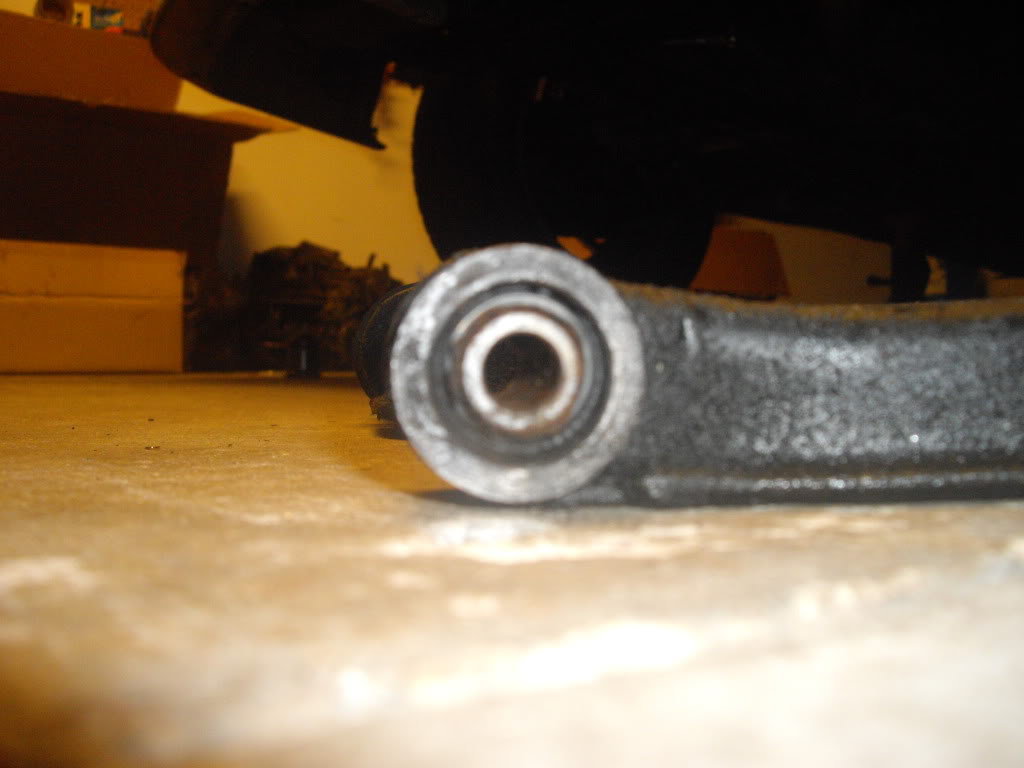
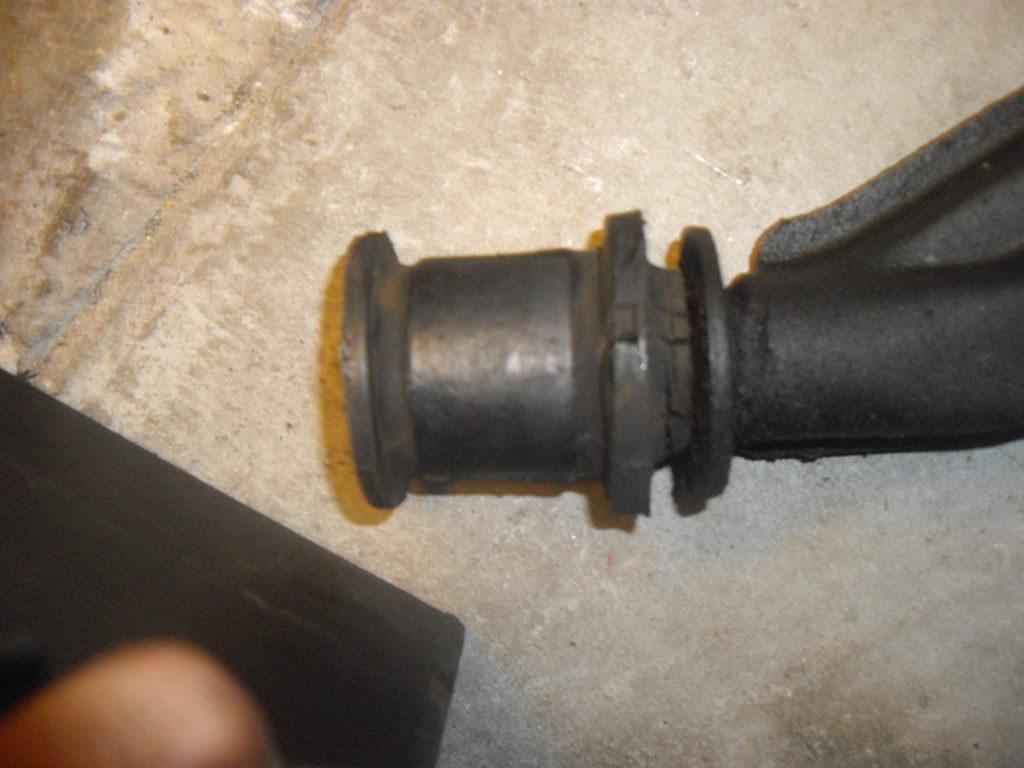
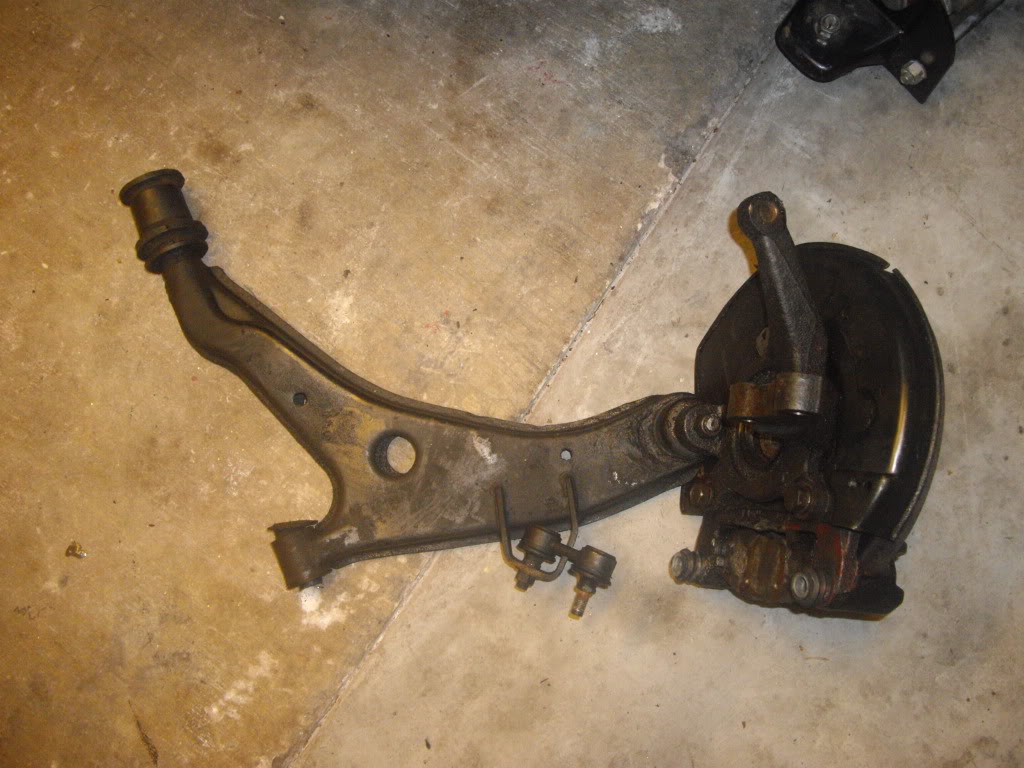
More parts in!
Fp Manifold Cleaned and Coated by Mike


Since the new parts I have done a good bit more work. The car destroyed a clutchmasters fx500 clutch. It is a solid 4puck.
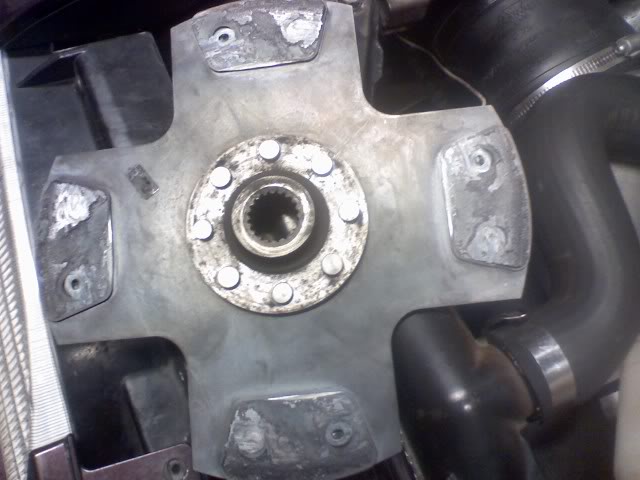
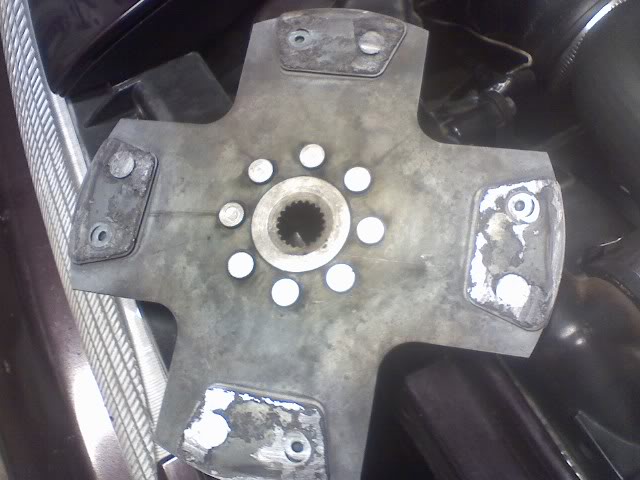
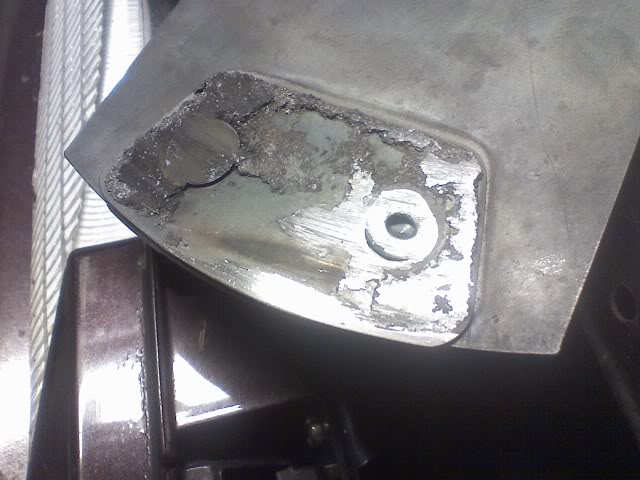
This clutch was basically brand new and only lasted 9 passes down the 1/8 mile.
With that clutch I went 7.4@105 and 7.5@103 and various other numbers.
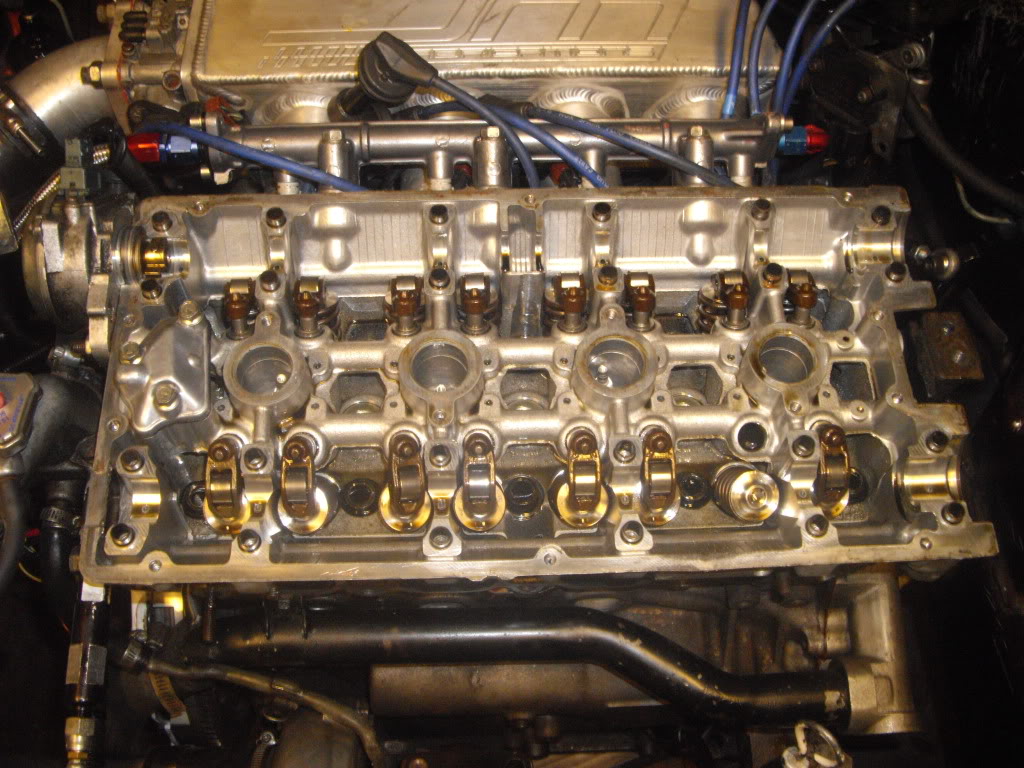
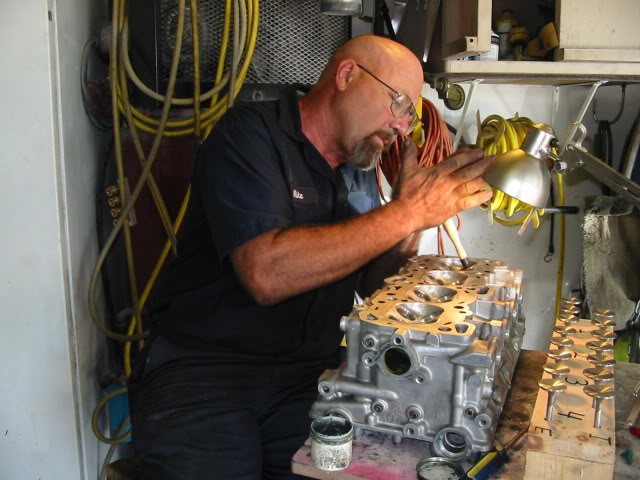
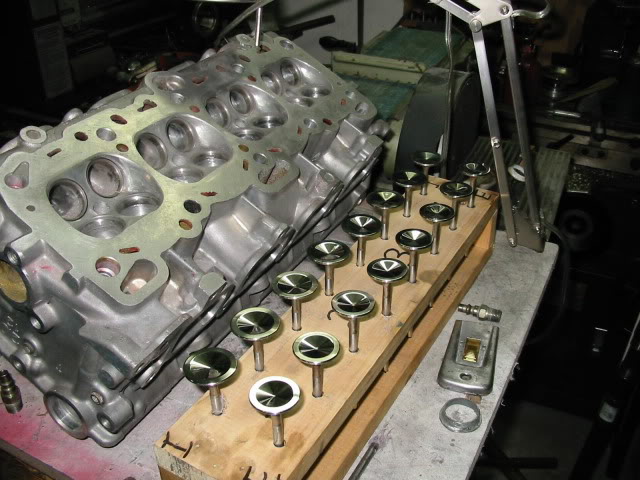
I have a friend Mike Ellis who is starting up a performance company and he offered to do a head for the car to do some testing.
The head has Enginebuilder 1mm oversized valves, Bowl work, ported runners, and Matched intake and exhaust manifolds.
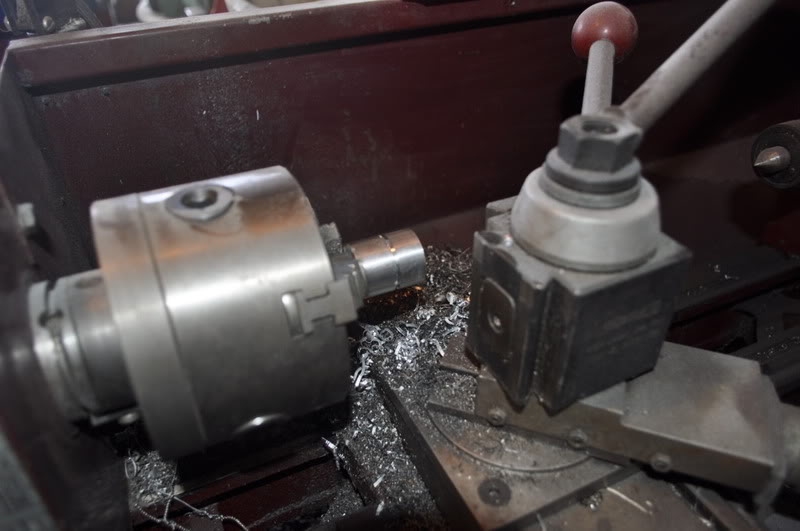
I started polishing the exhaust valves in this photo, the intakes were as shipped.

I couldn’t get the machine marks out without first turning them on the lathe with some oiled 1500grit sand paper.
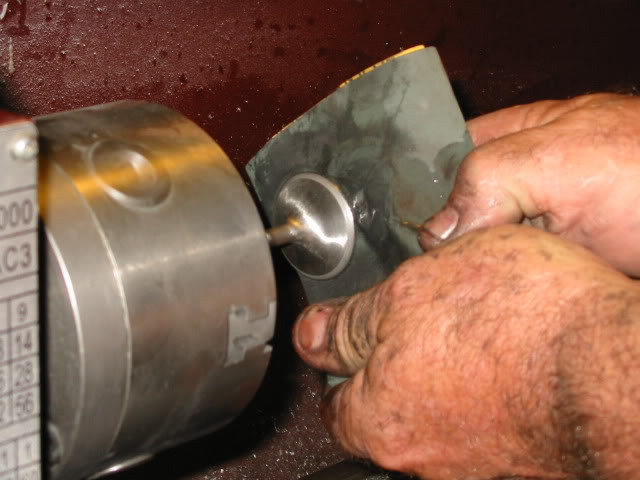
Then I buffed them with a small cone buffing wheel. I tried a larger wheel but couldn’t get into the concave part of the valve well so this worked better.
The final product.
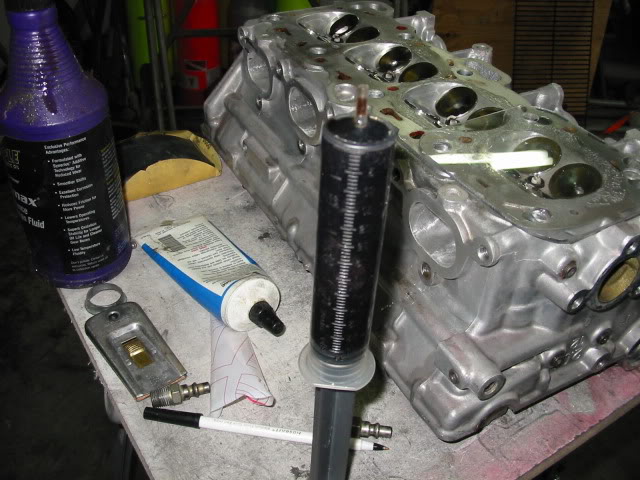
This head project is getting quite long but I think a lot of people like to see the process. Tonight I CC’d the head. This is how I do it. Cut a piece of plexiglas,drill two small holes in it one at each end of the combustion chamber.
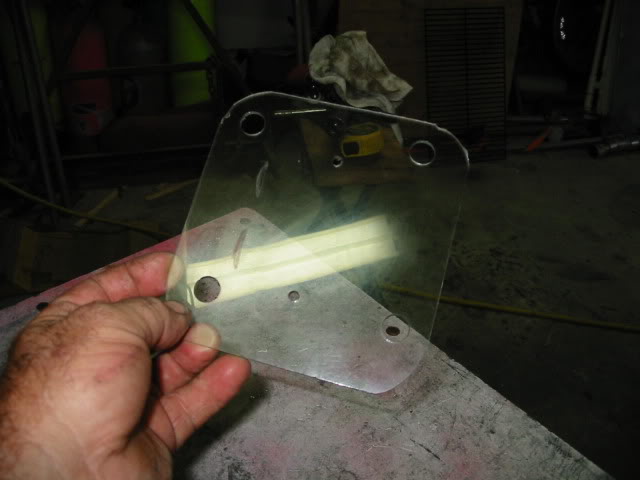
Put a ring of heavy grease around the chamber to seal the plexiglas and center it.
Don’t let the grease in the chamber just around the edge.
Fill a syringe with oil and check the volume and with the head tilted up slightly insert
it into the lower hole and fill the chamber until oil comes out the upper hole.
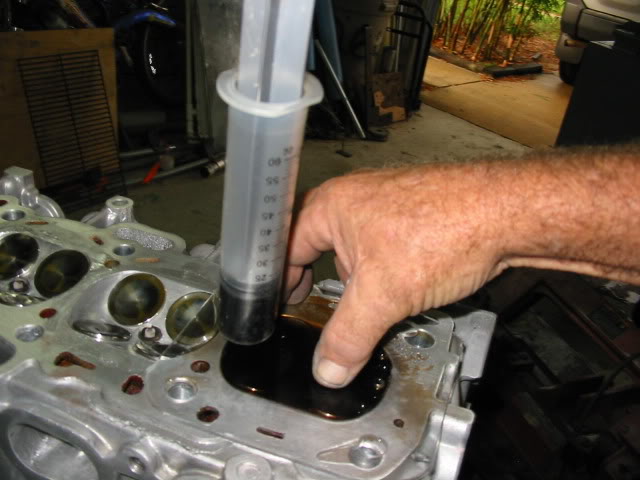 Check the volume that is left and subtract it from the start volume and that is the chamber size.
I had a leak on the first try because the valves were slightly above the surface. A couple notches fixed the problem.
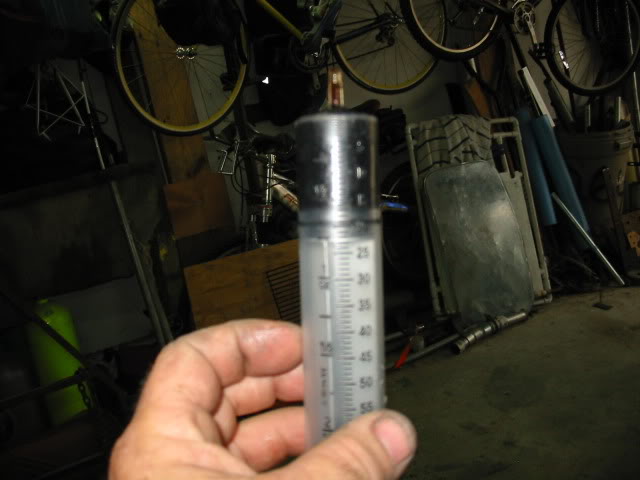
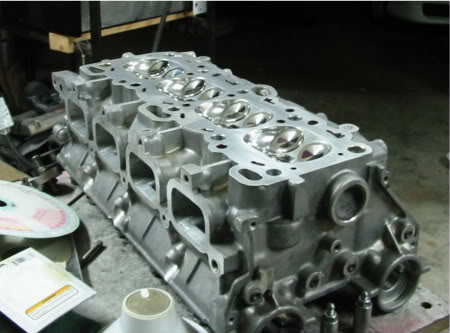
These are 44cc. I’ll do some polishing tomorrow and assemble and be ready head north friday evening.
The final product.
Twin Disc installed!

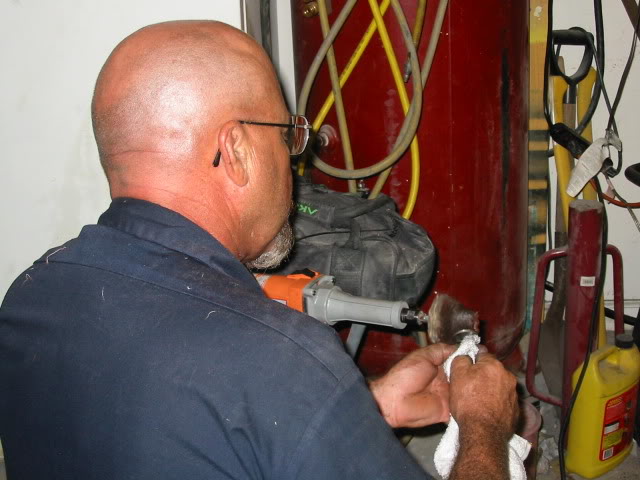
 Installed ARP’s, Ran on stock studs until this.
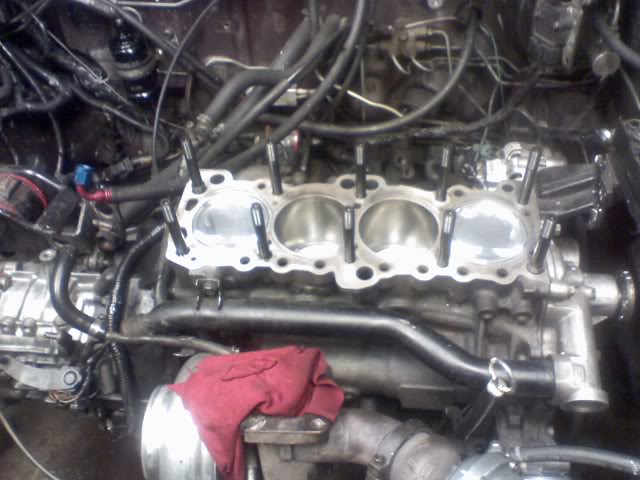
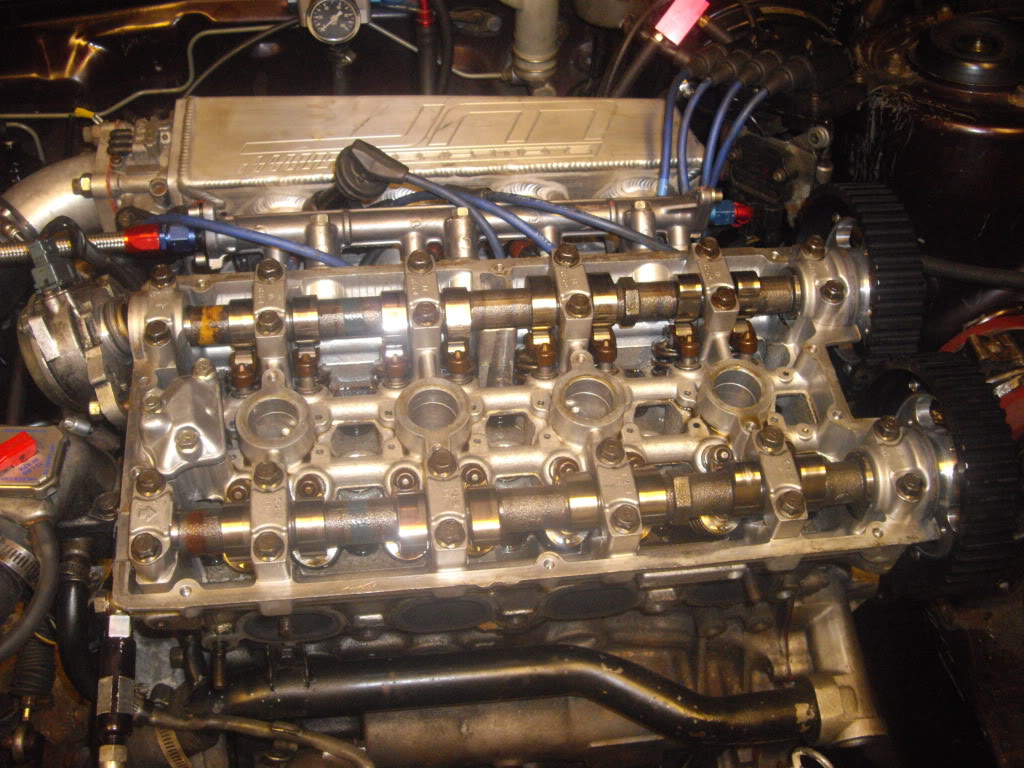
Head on!
Pictures during bathroom break!!
I should have taken more photos but got to involved. I’m sure you get the idea.

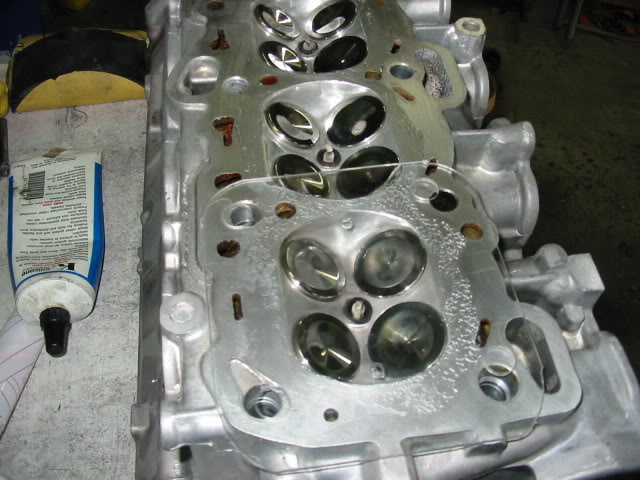
Do the same on intake and exhaust.

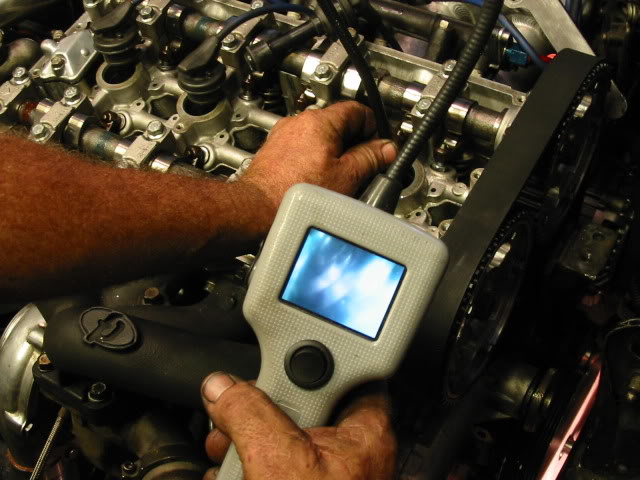
After we staked the manifold we quit for the night and when I returned Chris had it on and the trans in so we continued reassembly and degreed the cams. They were both 3 deg retarded probably due to shaving the head.


We trued them and checked valve to piston clearance with a bore scope then
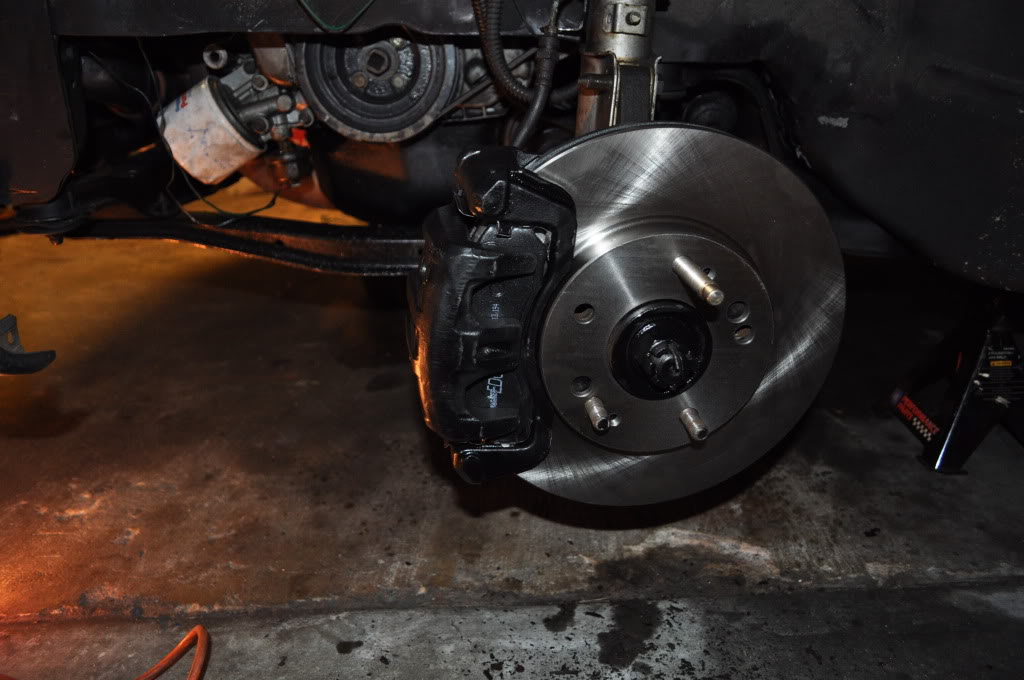
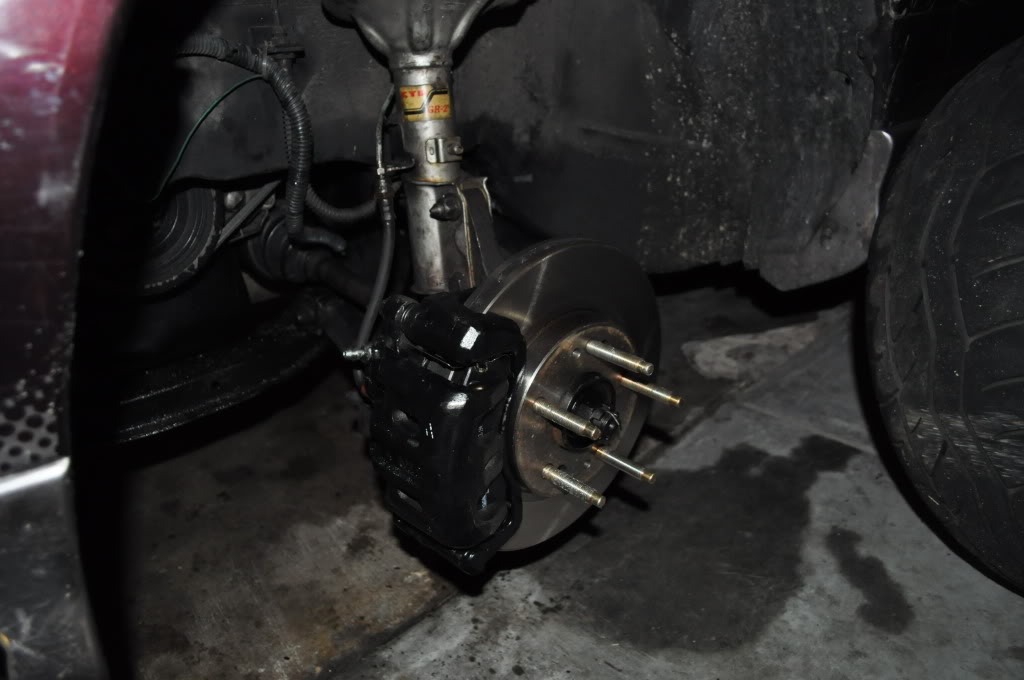
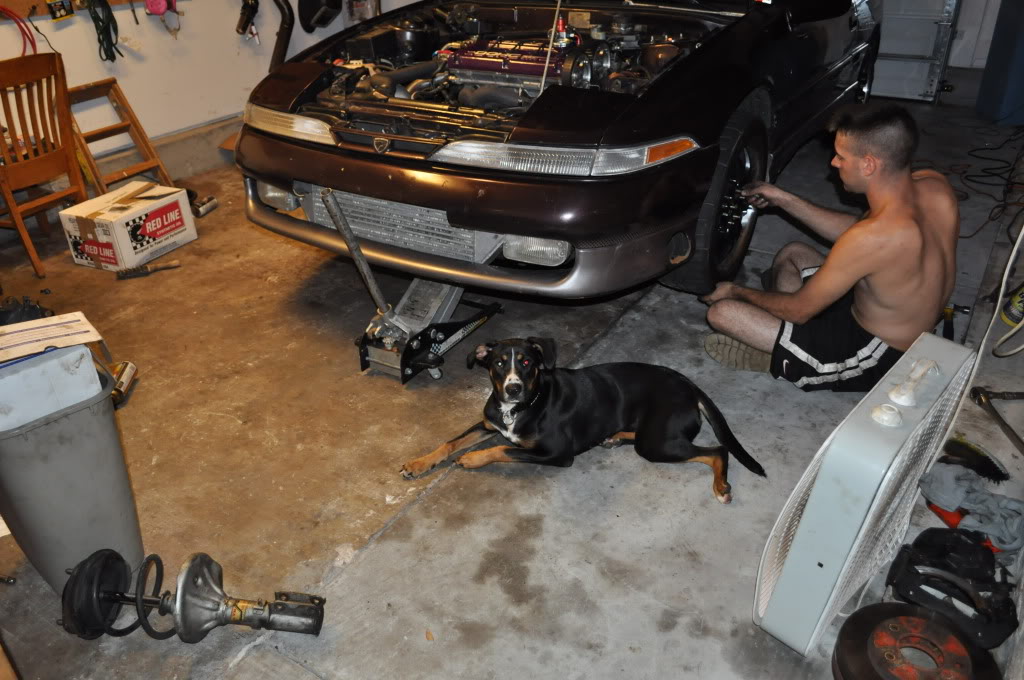
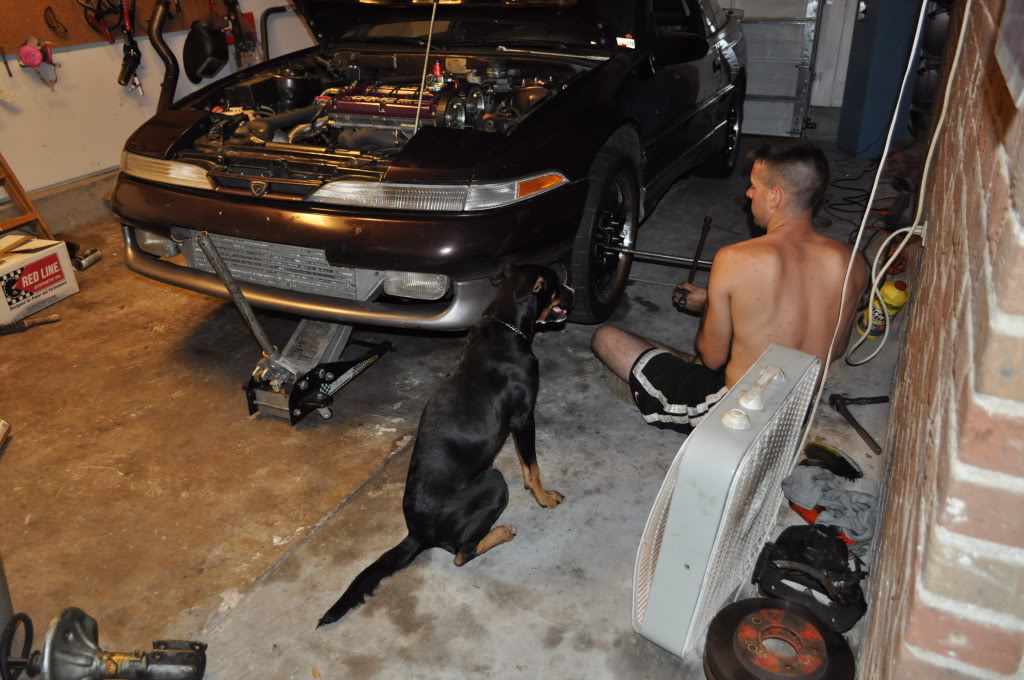
So at 130mph these stock brakes suck balls. So I got some bigger ones .
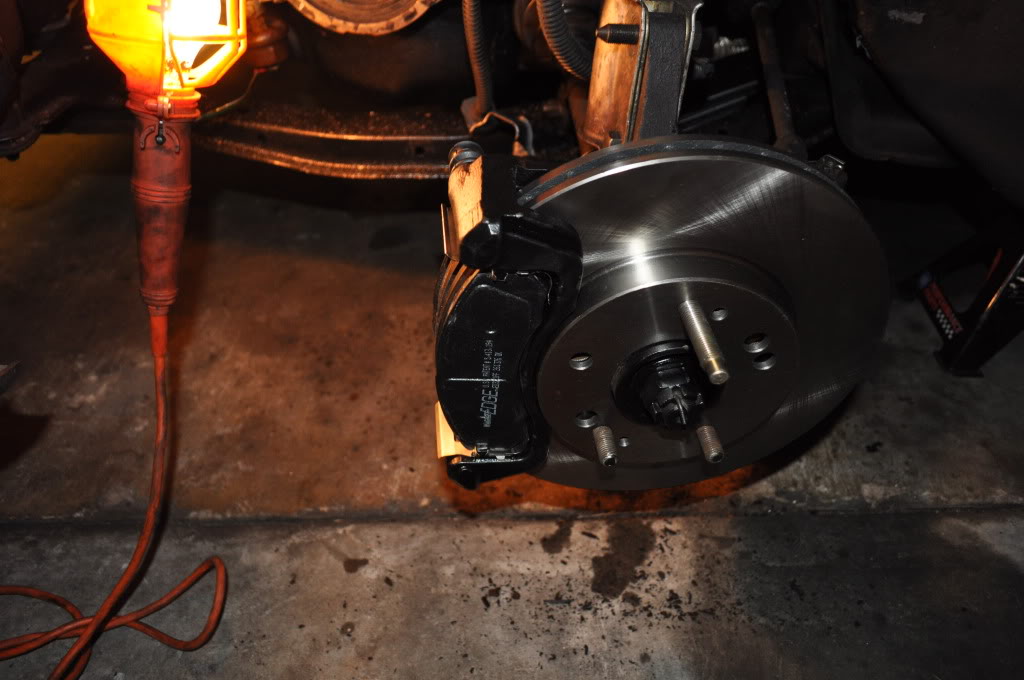
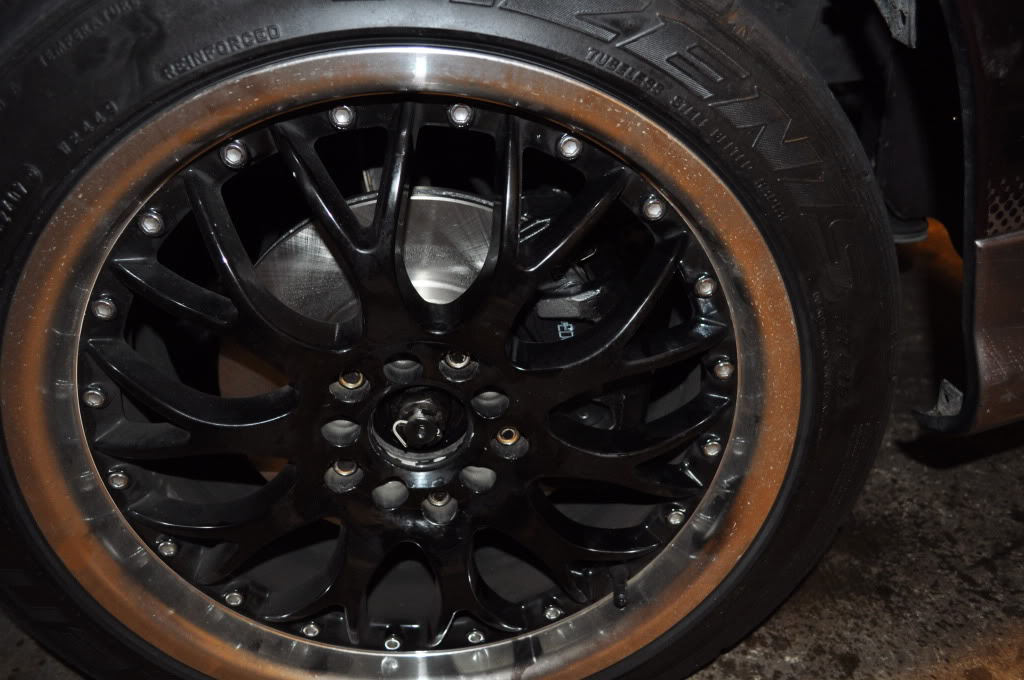
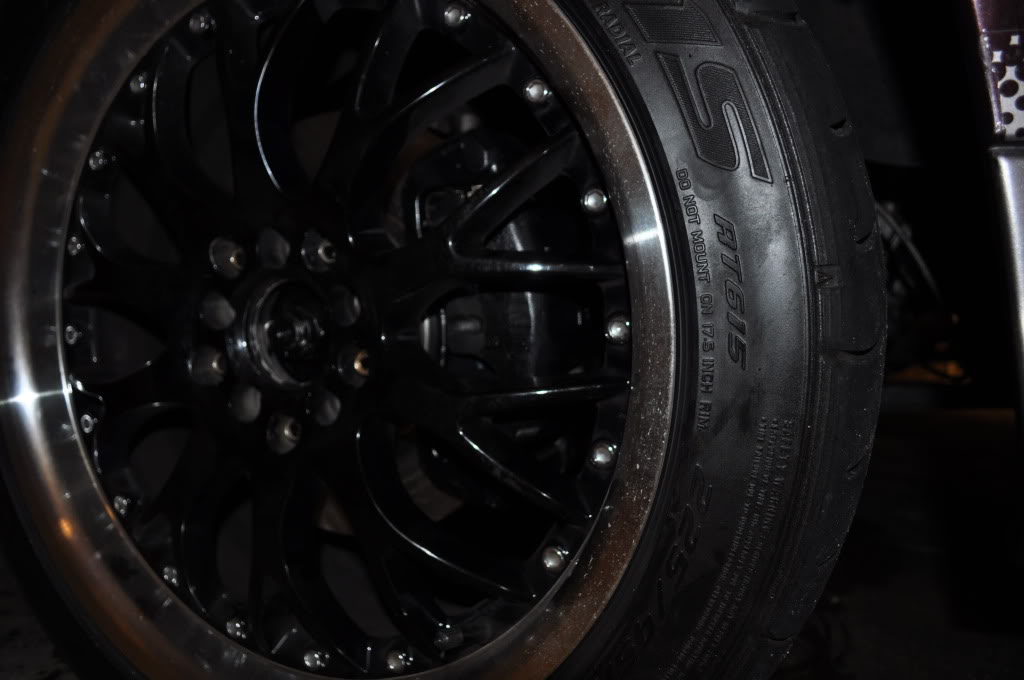
Don’t mind the single extended stud… lol. Those will be on tomorrow when I get a hold of a impact gun.
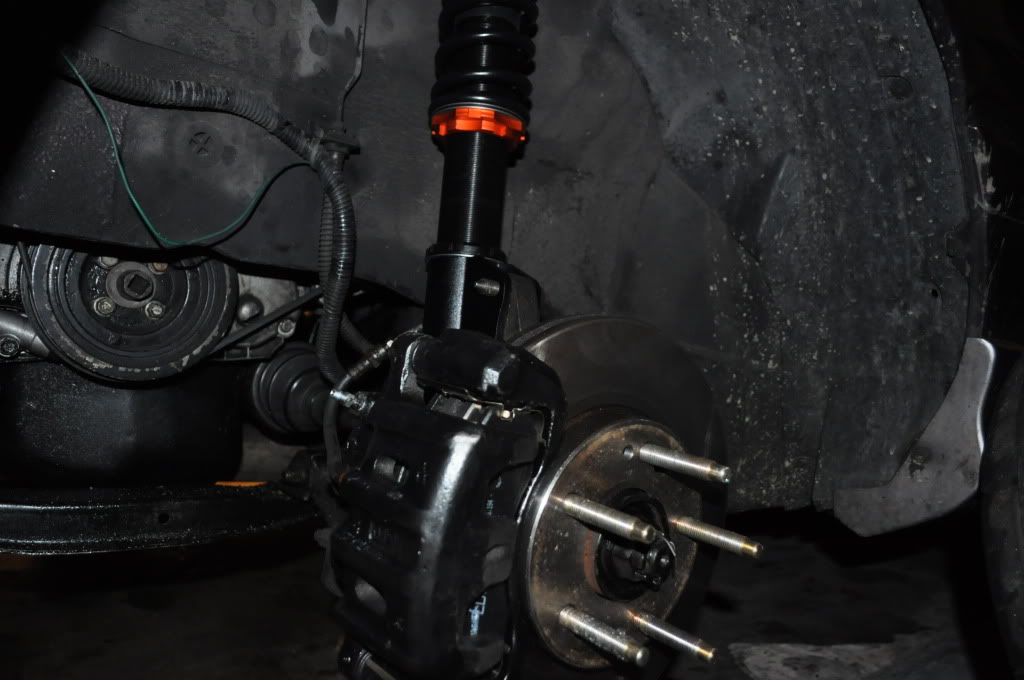
This made it onto me.

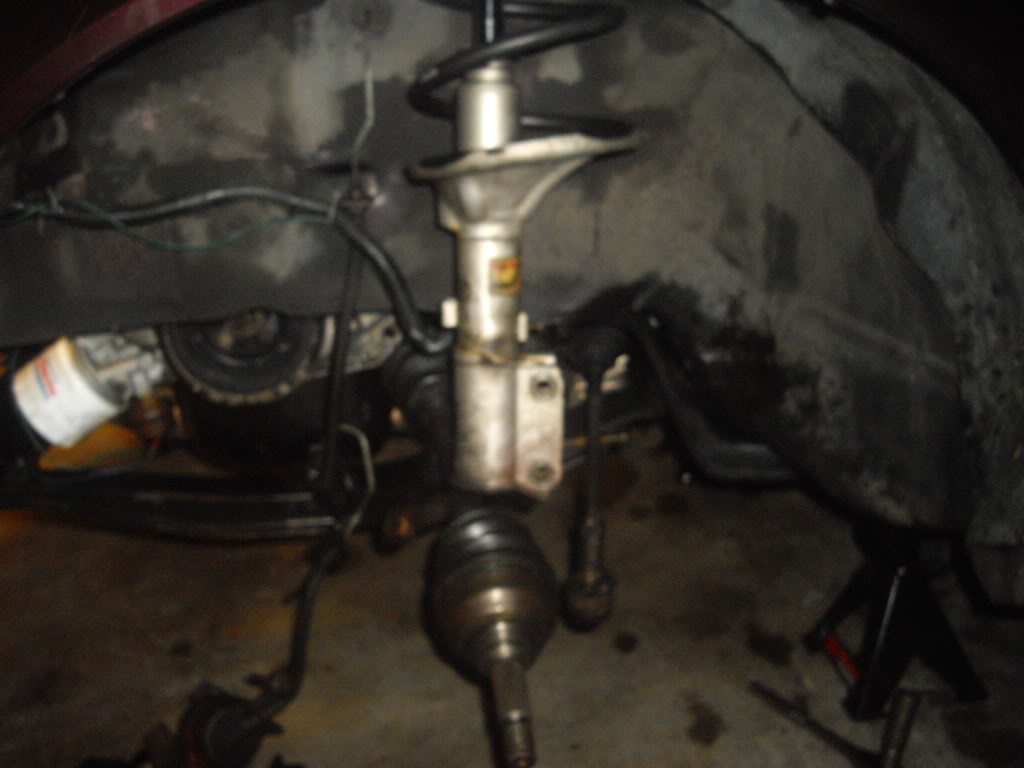
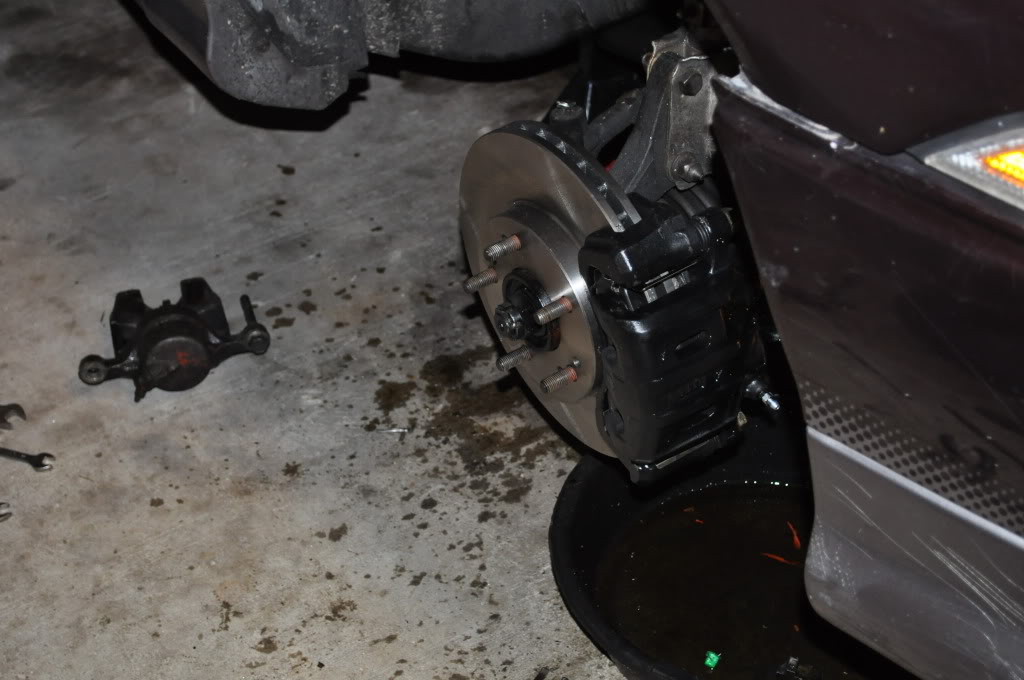
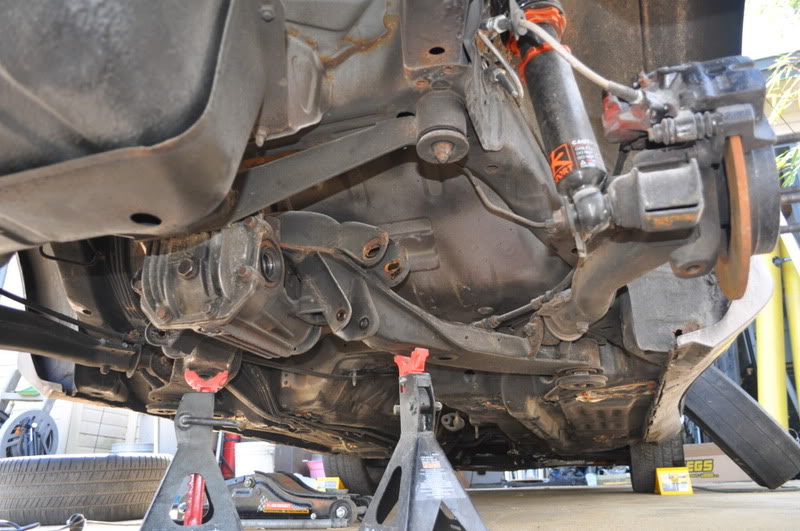
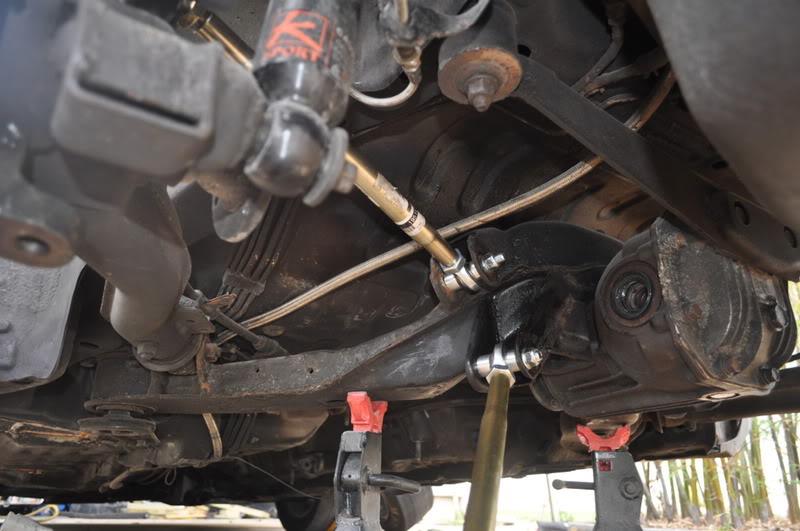
So I got busy today and got on all the extended studs and the front Ksports.
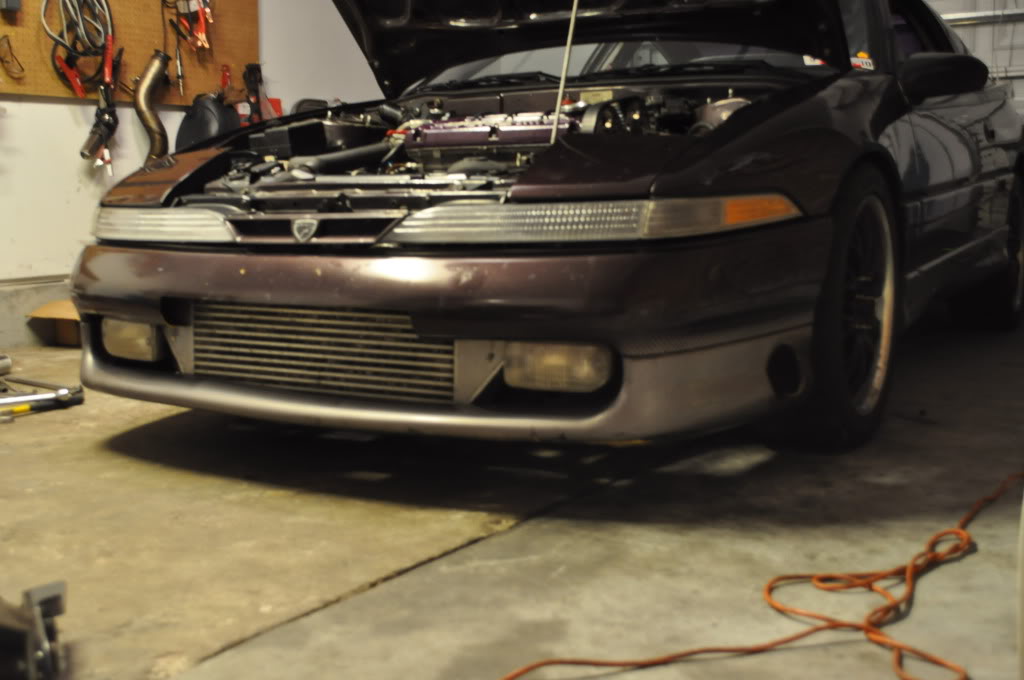
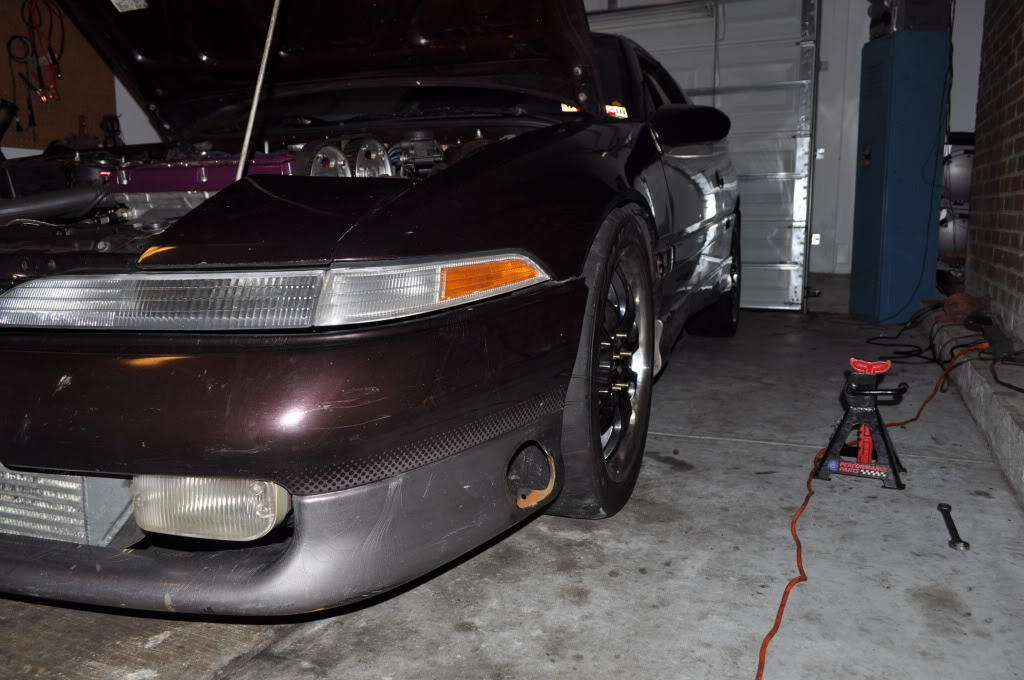
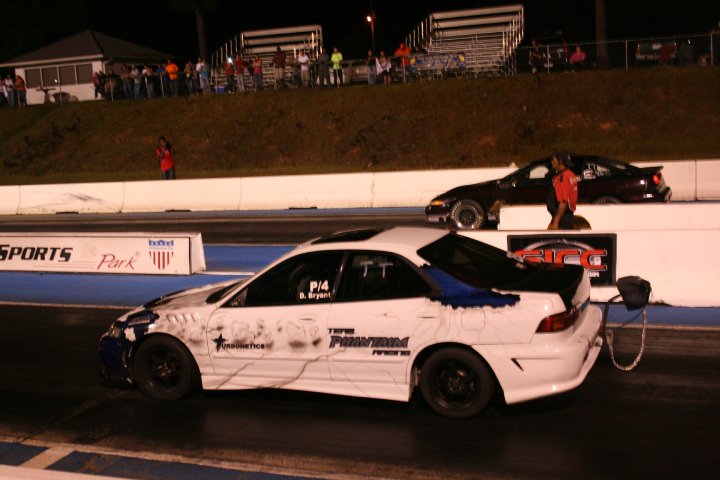
Talk is cheap!
Pictures say it all

I’m on 30psi with the 3052, I’m going to see if it will hold 40 steady this weekend.

First pass.
Car was set to 7200 launch, 7000antilag, 22psi at the line, and 8500 rev limit.
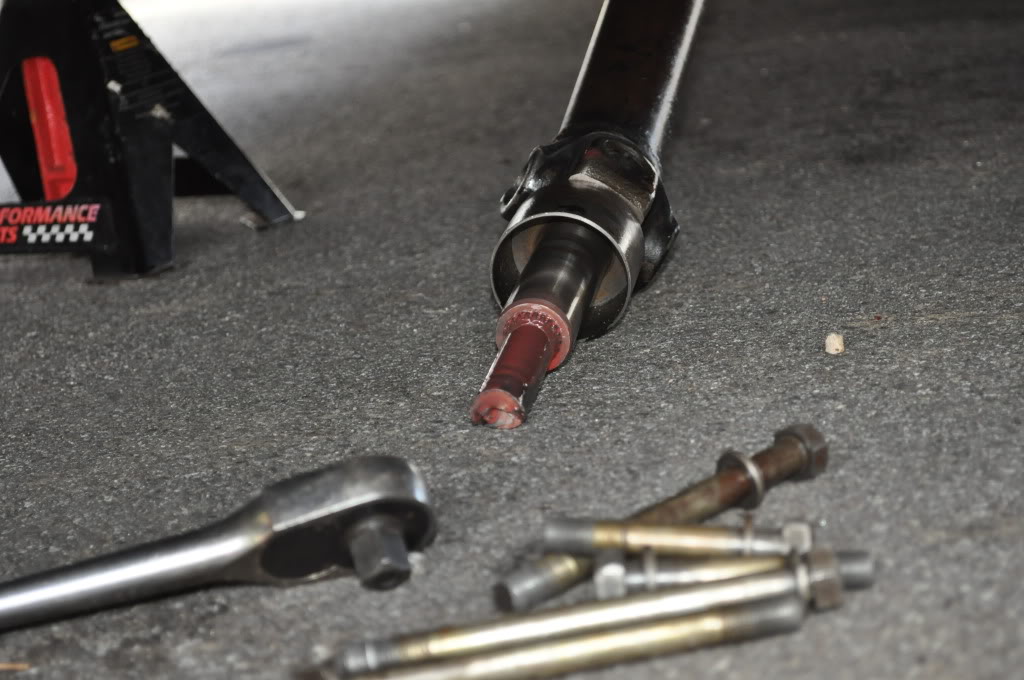
I made it about 60′ before It blew the driveshaft off the rear end. All 4 bolts that hold it onto the rear broke off. 
Got that fixed and set up for another pass.
This time it was all the same settings but I did not launch off of the 2step. I eased out of the hole and hit it as soon as I started moving.
Well right before the 1/8th my front right axle broke. WTF?
I couldn’t move at all no power anywhere.
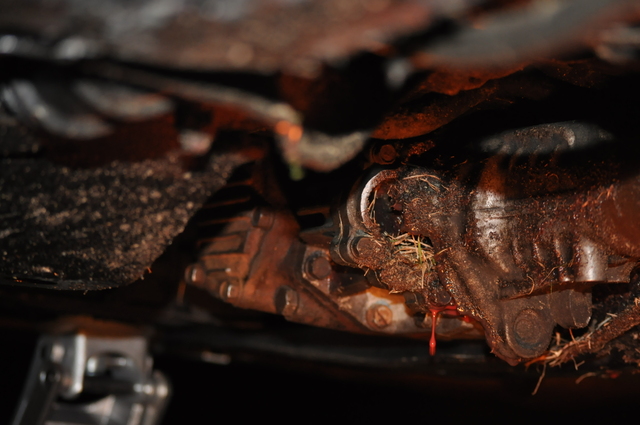
Comes to find out that the transfercase broke, front tires hooked and snapped.
But I did coast to a 7.01 1/8th
Another clutch down the drain….

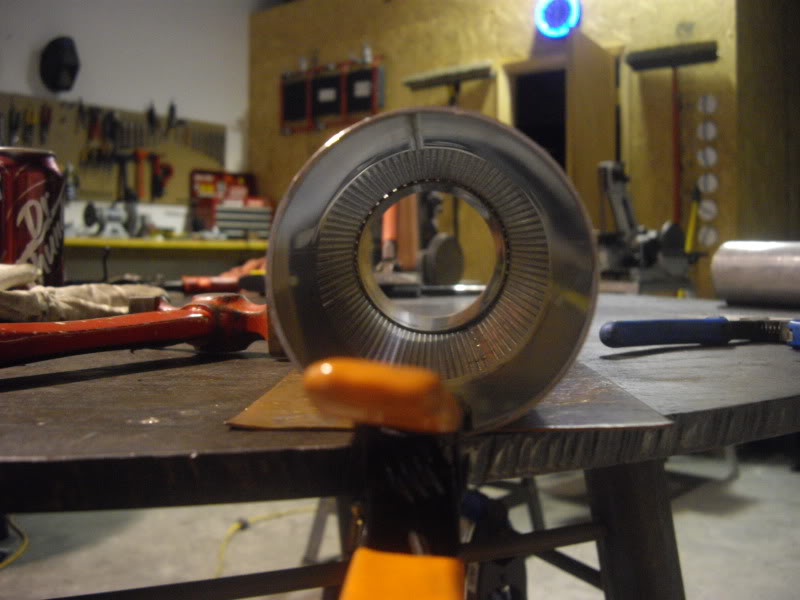
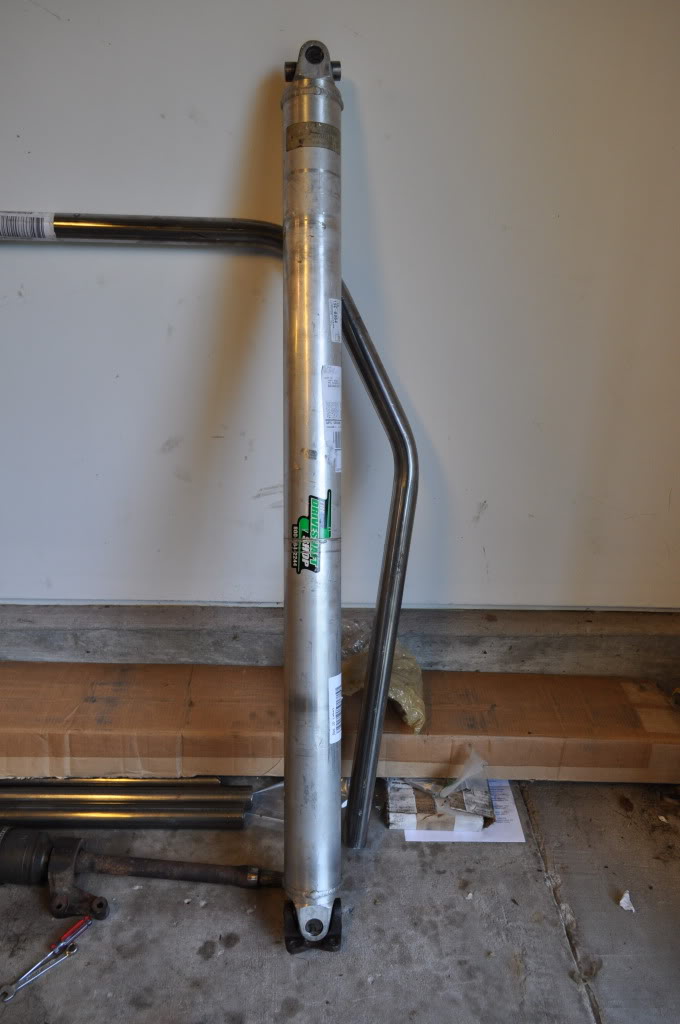
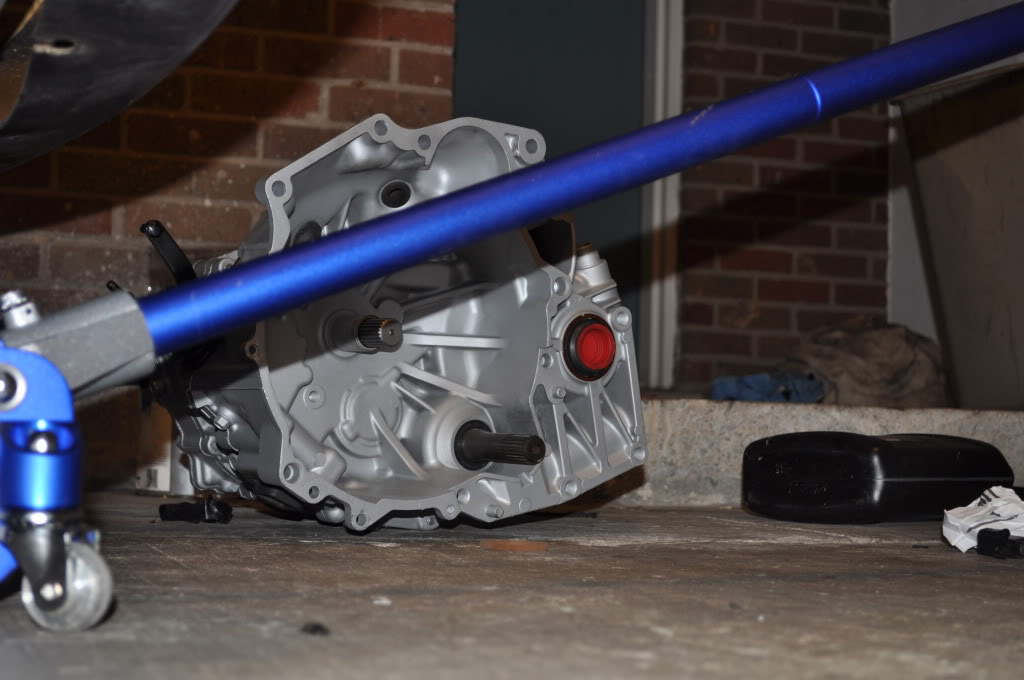
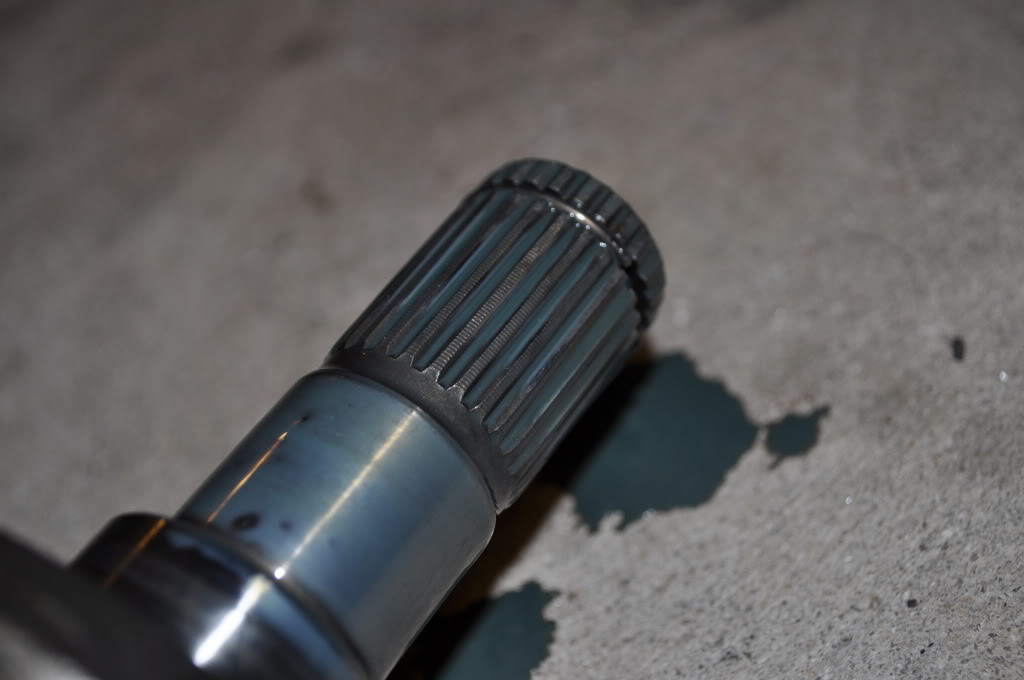
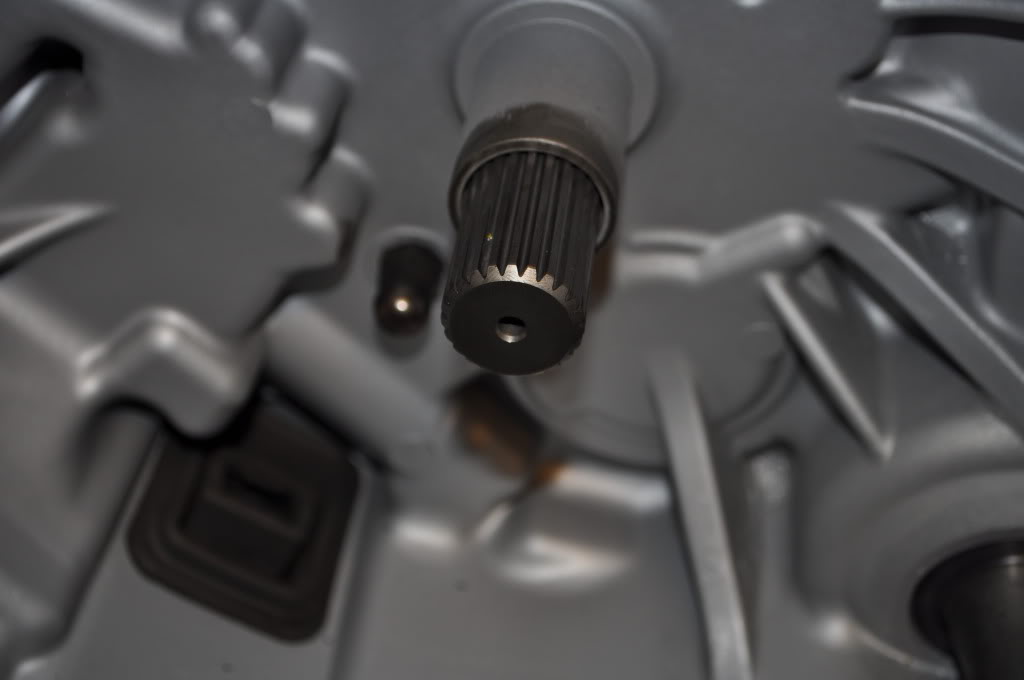
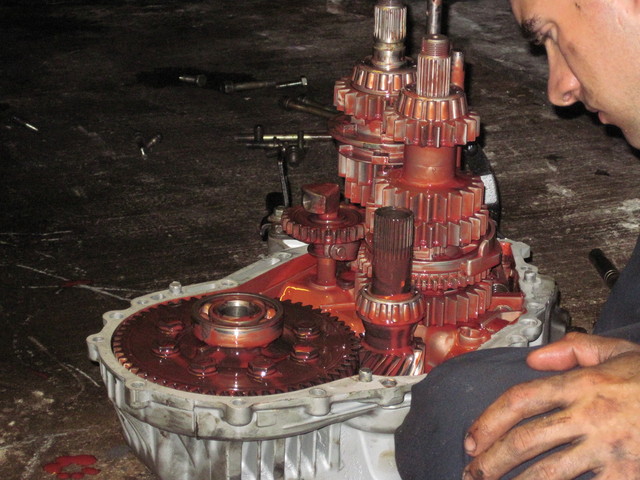
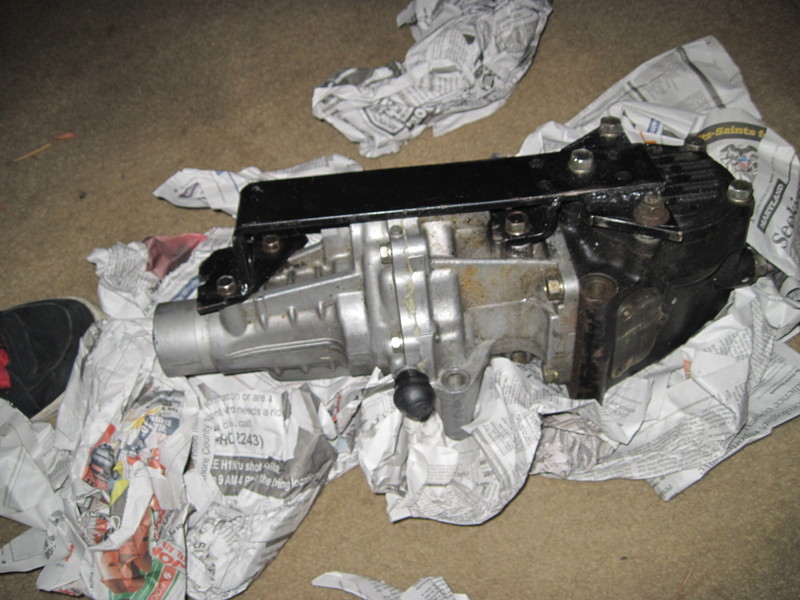
Inside of a dogbox:

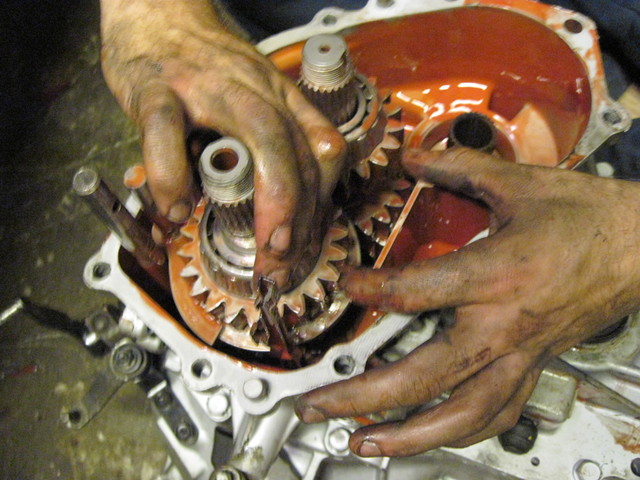
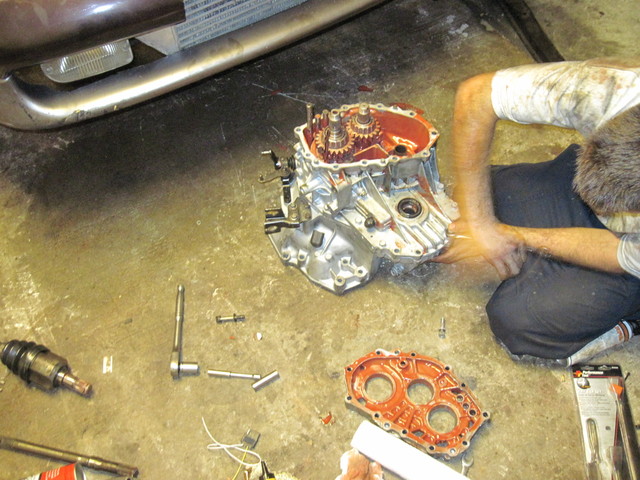
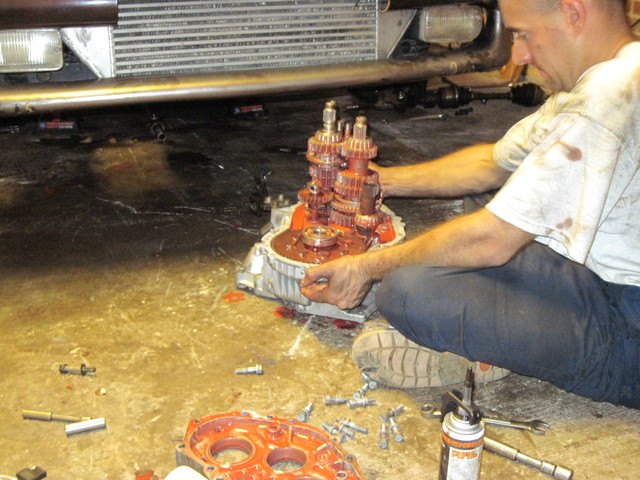
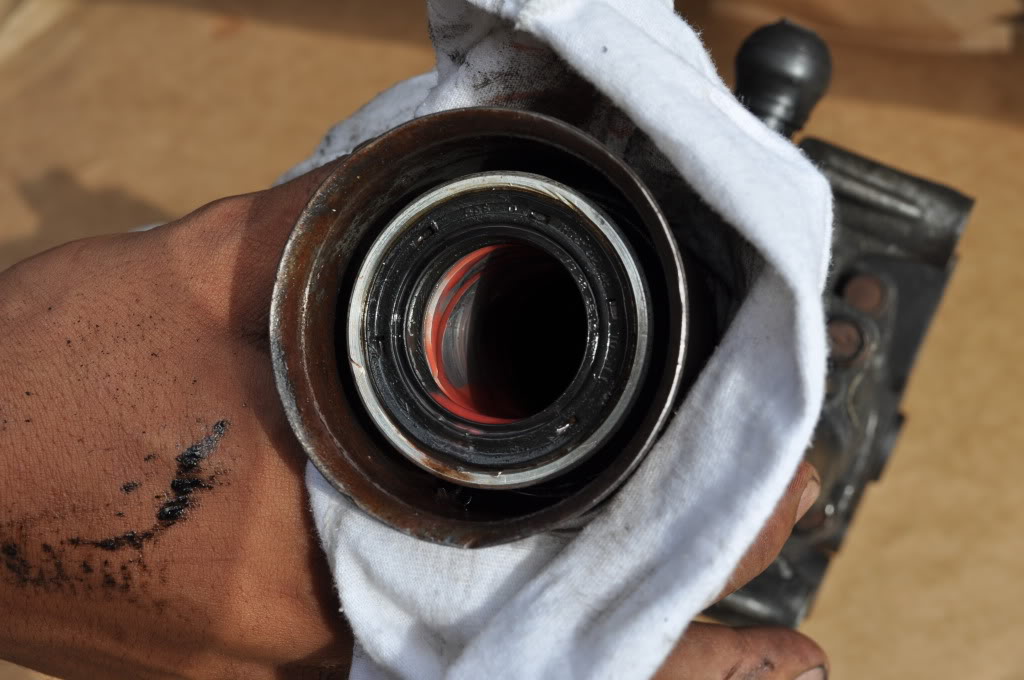
So I split a transfercase in half Thursday night. On street tires. And broke the yoke where the U-joint attaches. Also broke the driveshaft side where the U-joint attaches.
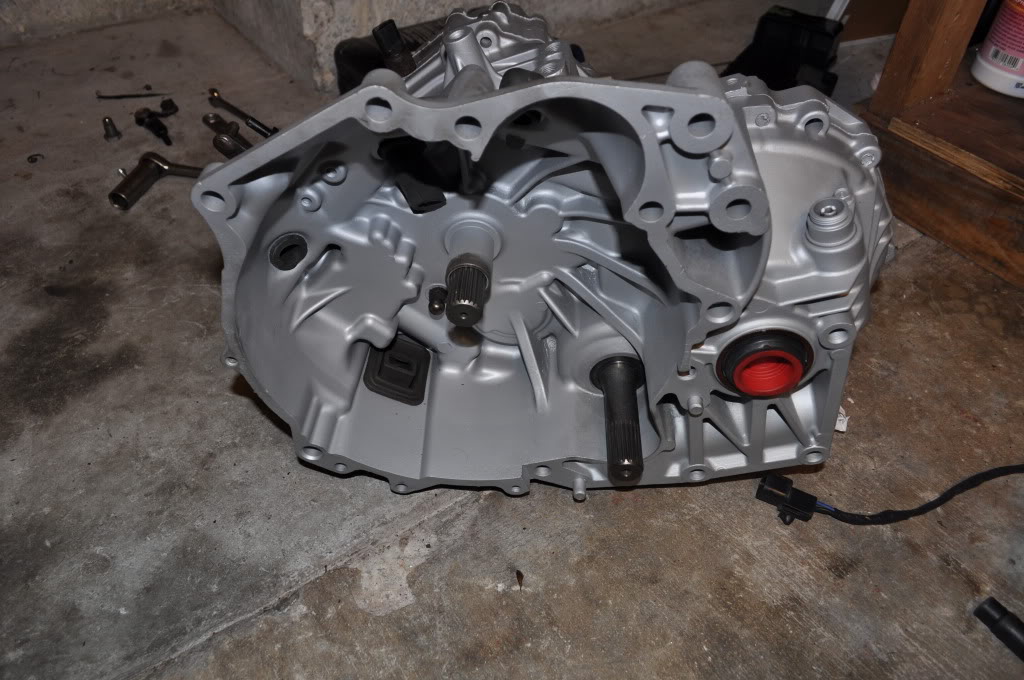
I am putting on a different stock drive shaft and it is currently drying from filling the carrier bearings.
I also pieced together a new 23 spline transfer case using a 22 spline and a 23 spline case. Yes you can mix and match


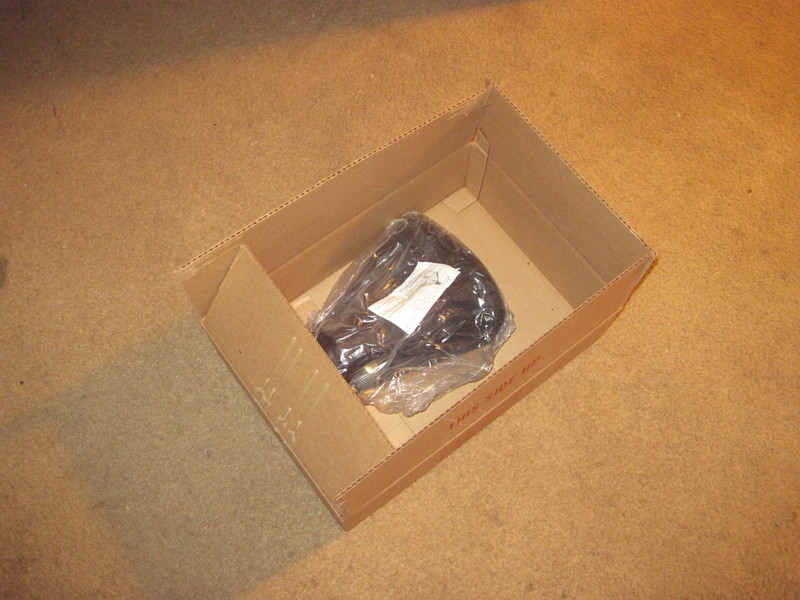
ust a couple pics of things that came in so far.
Tubes for the Hoosiers.
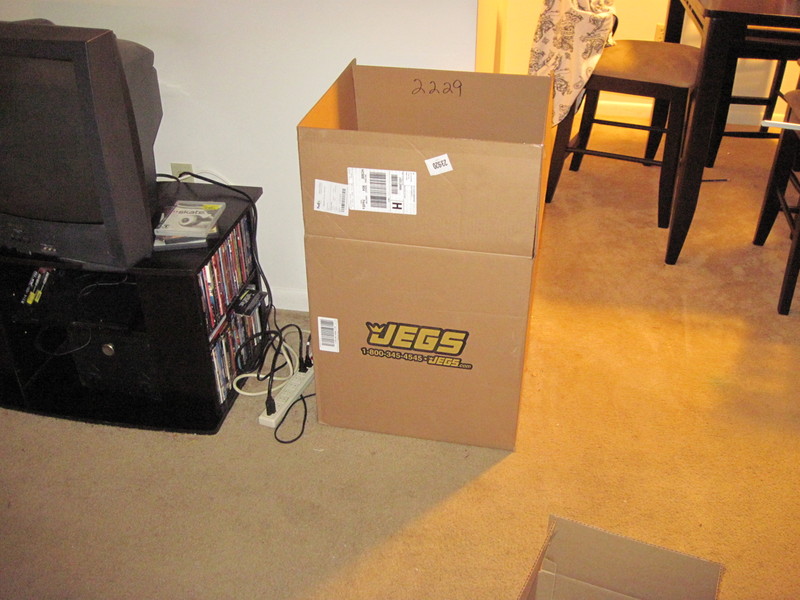
Jegs FTW!!!
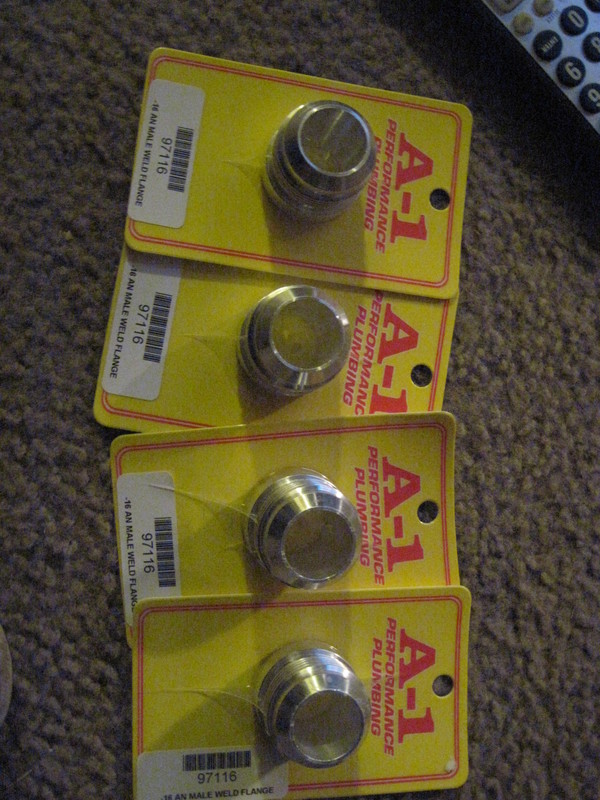
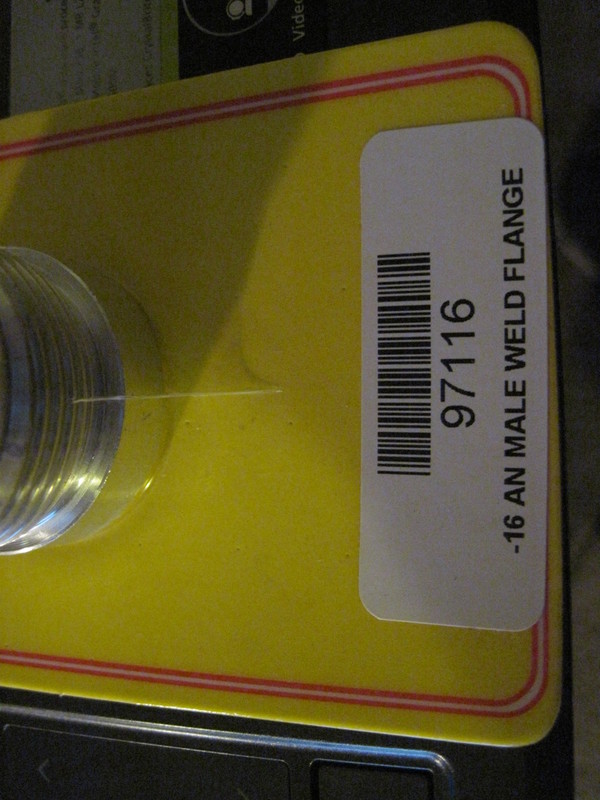
Some fittings.
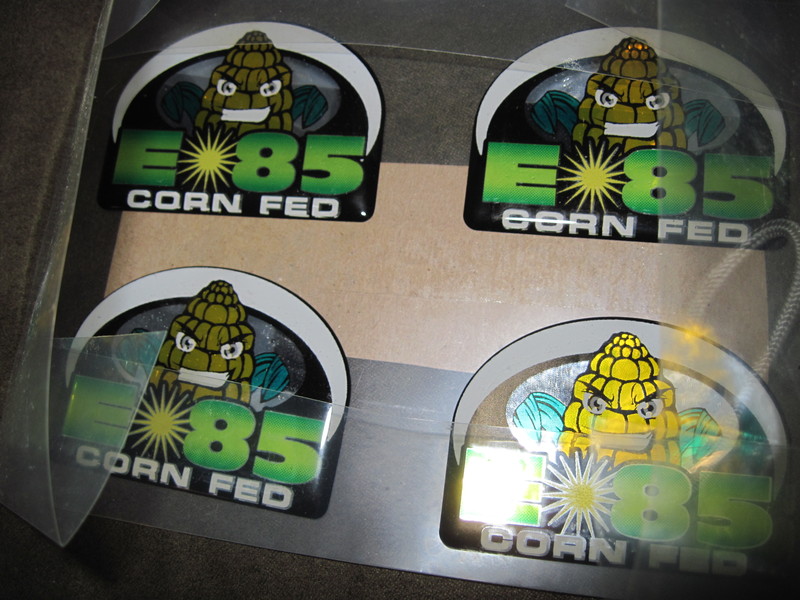
Bad ass E85 sticker 
New Parts.
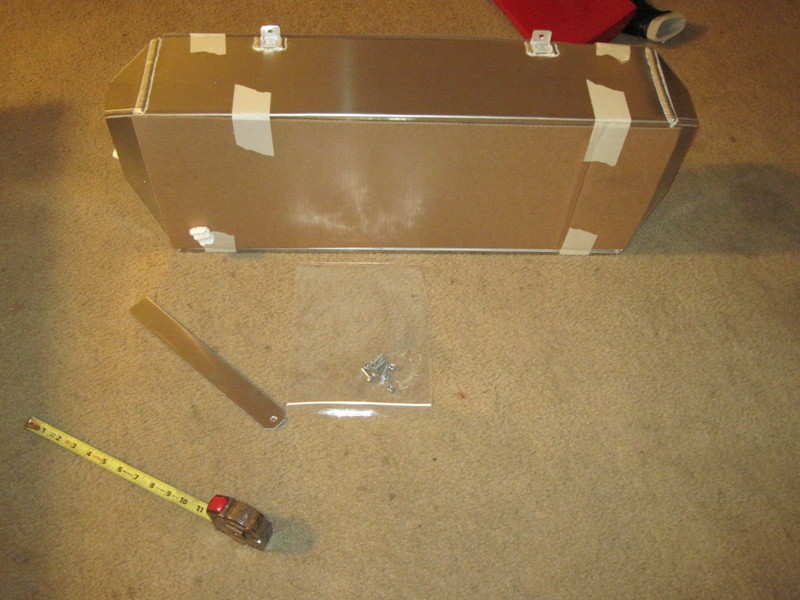


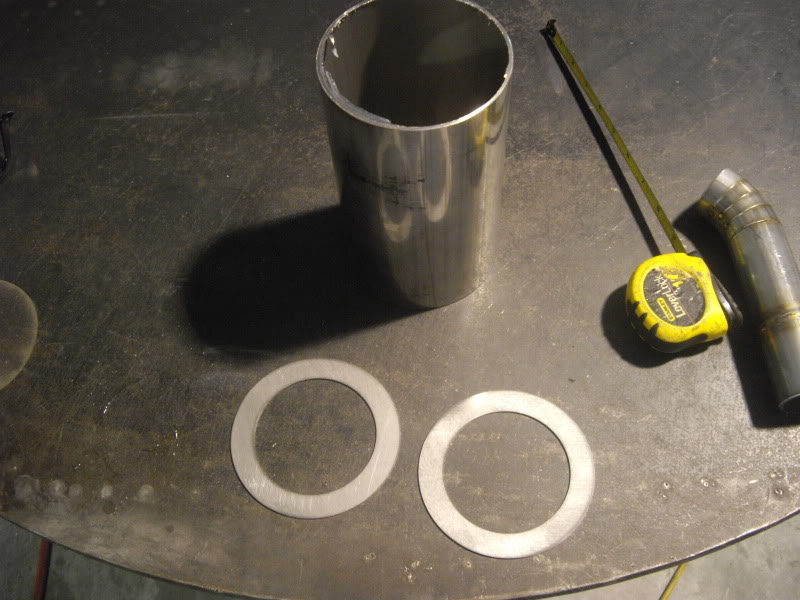
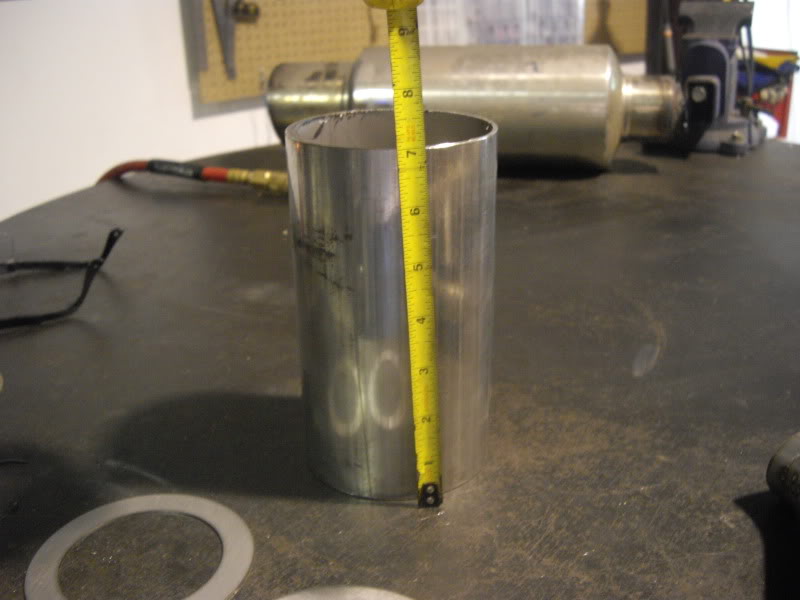
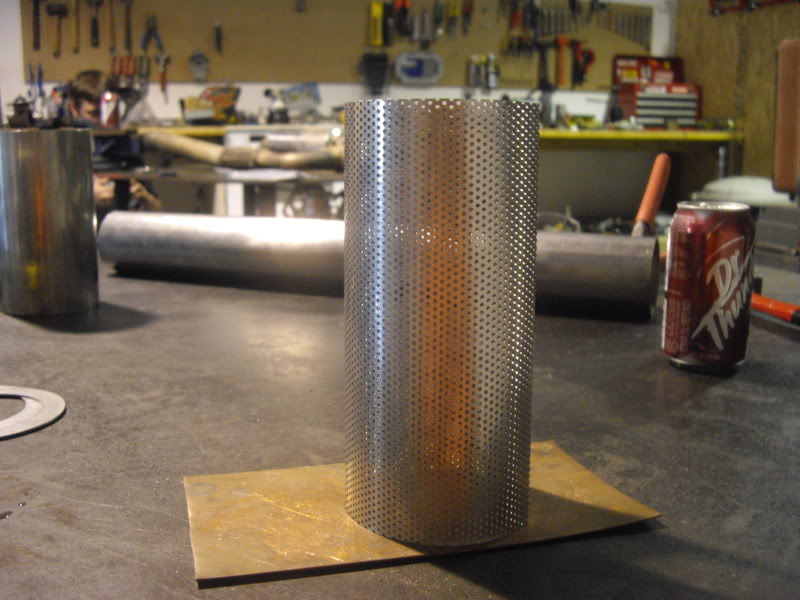
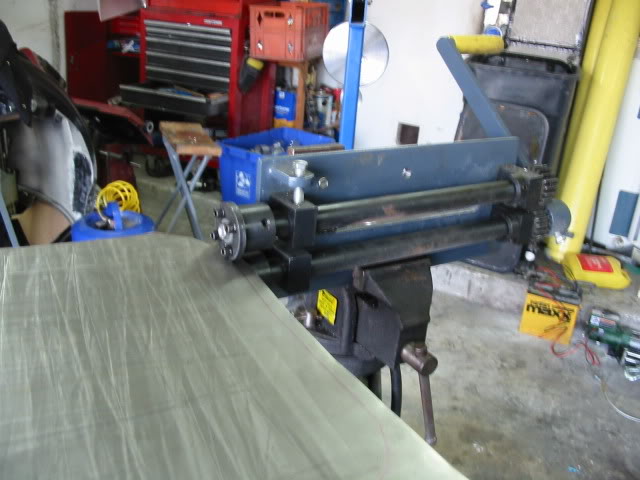
What I started with.
22gage sheet metal.
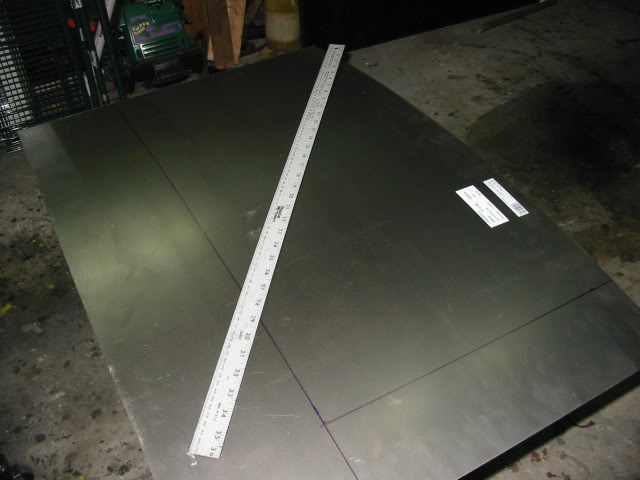
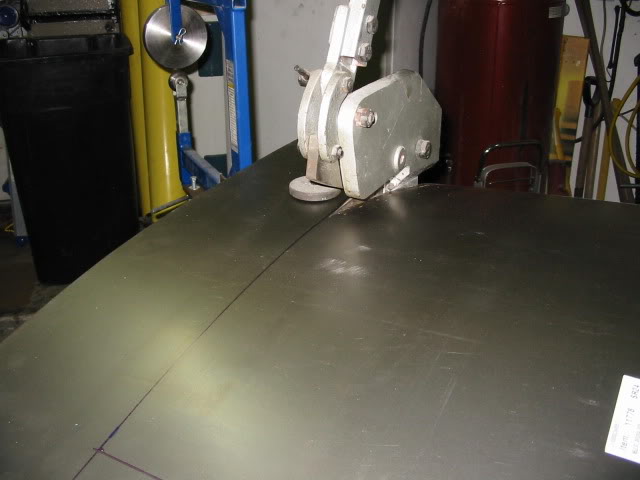
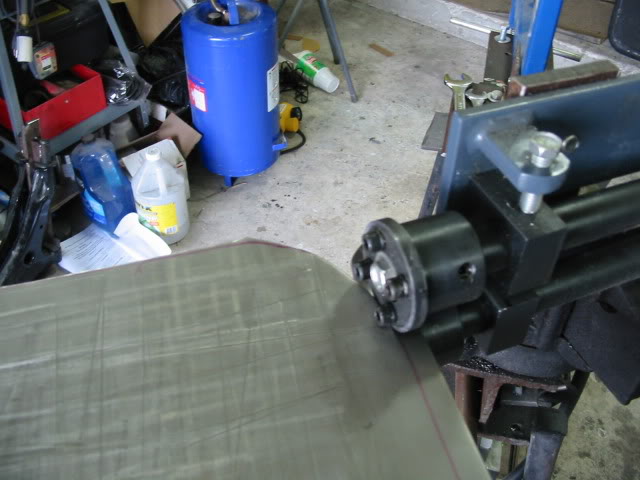
After rough cutting I did some shaping on the bench wheel.
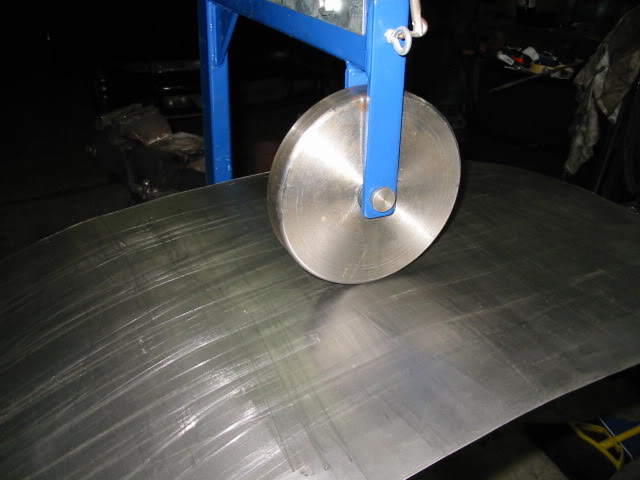
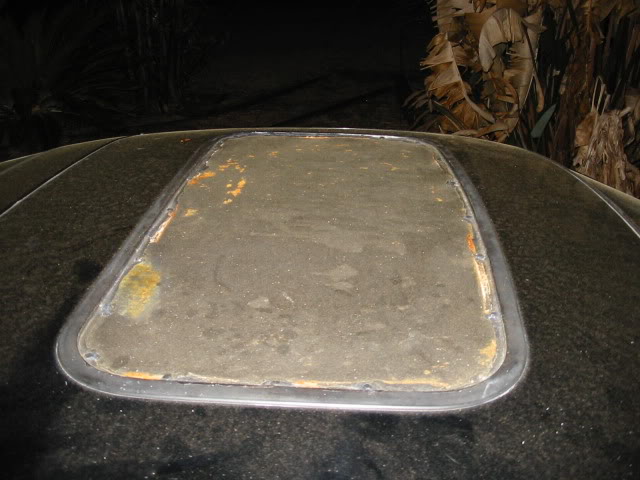
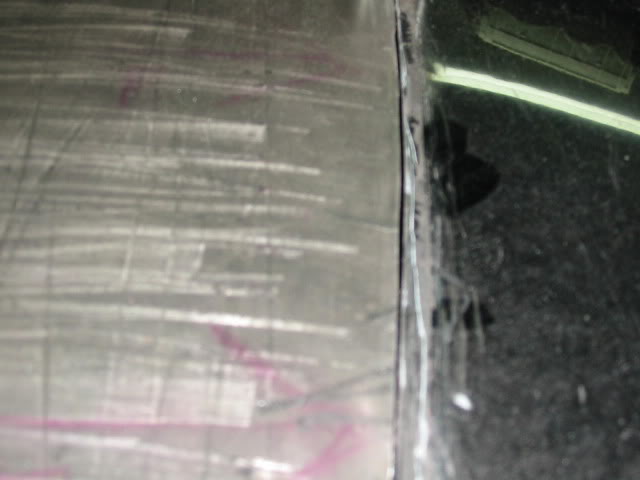
Laying it out on the top as I wheel to try to match the curvature of the roof.
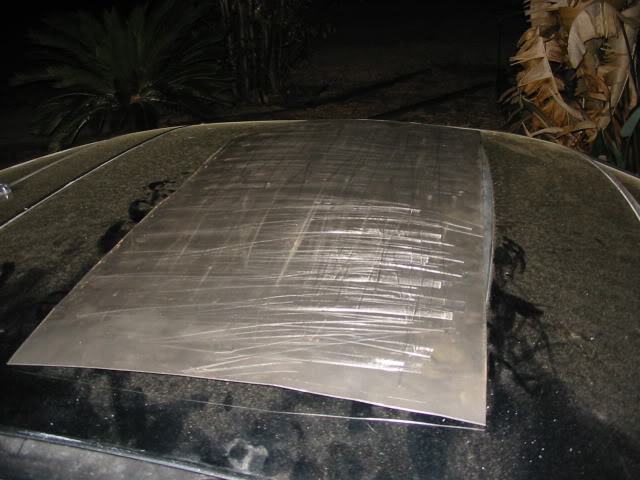
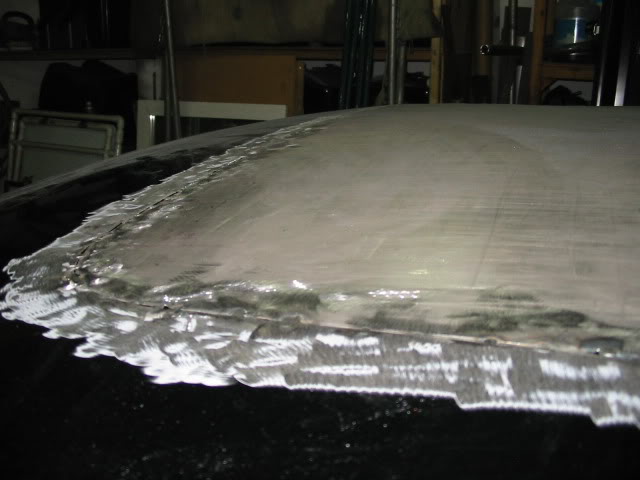
I removed the sunroof and continued shaping.

Then I taped it to the opening and drew a line around the opening.
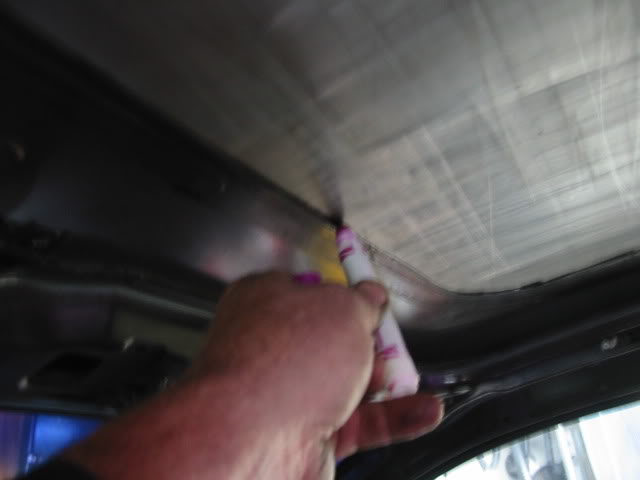
Using the bead roller / cutter. Courtesy of Jestoy7. I trimmed it to fit.
These are a neat little tool for sheet metal fitting and welding.
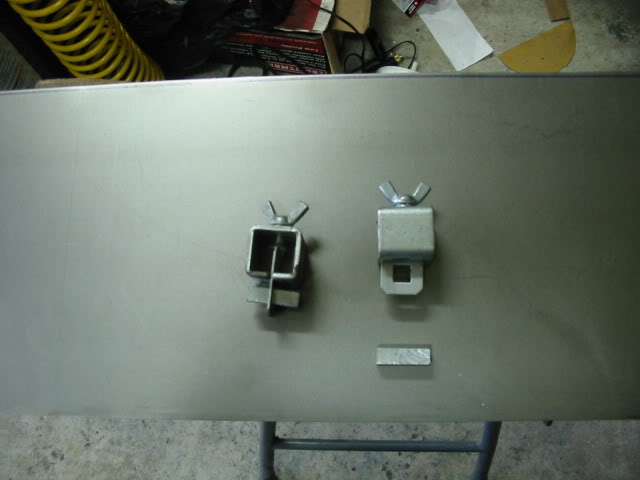
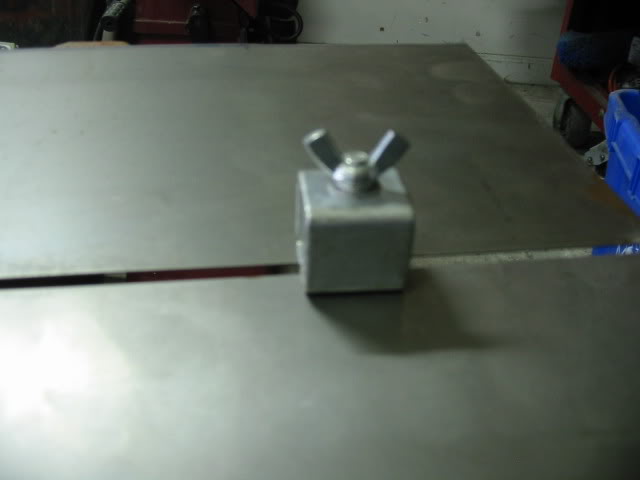
Due to expansion when welding there should be a 1/6th gap in the metal so it’s hand fitting and trimming from here on.

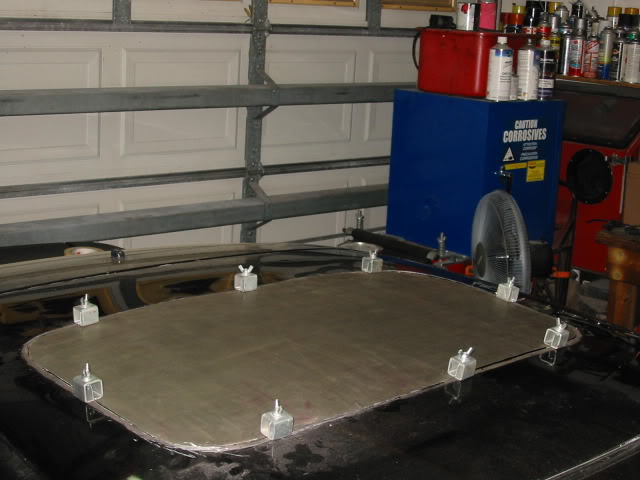
I need to grind the paint and start welding.
To be continued.
I don’t do well with photos or taking the time to shoot them. I get busy and don’t think of it.
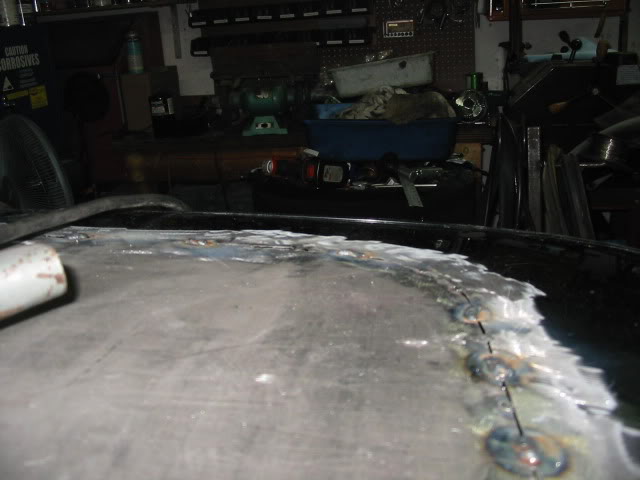
I started welding tonight beginning with tack welds several inches apart and working down to about a half inch apart.
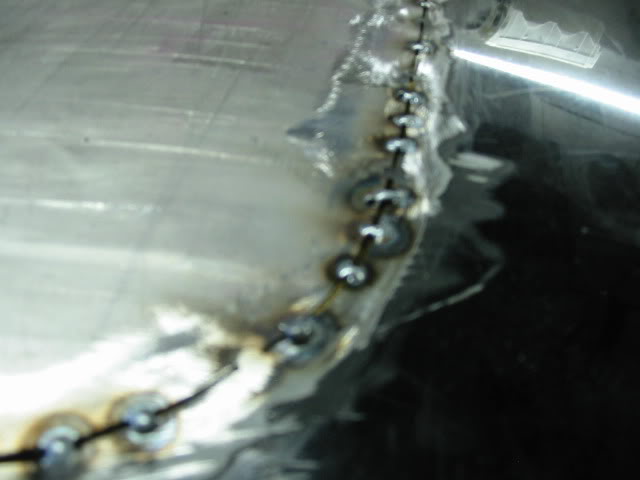
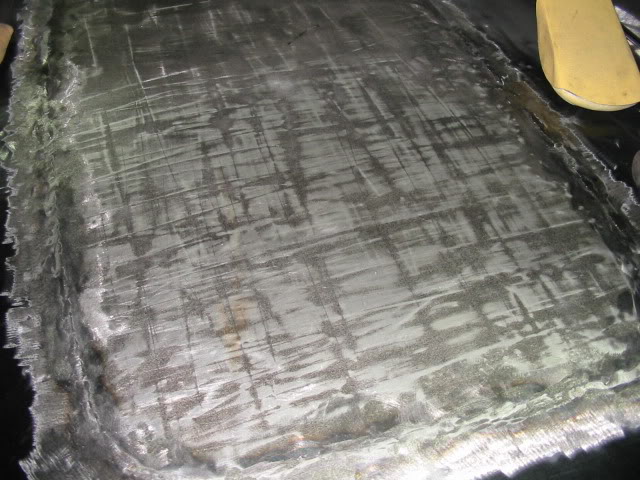
I then ground the welds and planished the seam .
Then weld the spaces between each tack weld skipping about 5″ continuing around letting the heat dissipate as you go and let it cool to the touch before you make another lap around.
There is always a lot of distortion when welding sheet metal so I will have to do a lot of planishing to get is smooth. It follows the couture pretty well so far.
My welder reached it’s duty cycle and had to cool down so I stopped for the night. Will continue tomorrow.
There are only 28 dents not counting the hood. Think you said you had bought a CF hood?
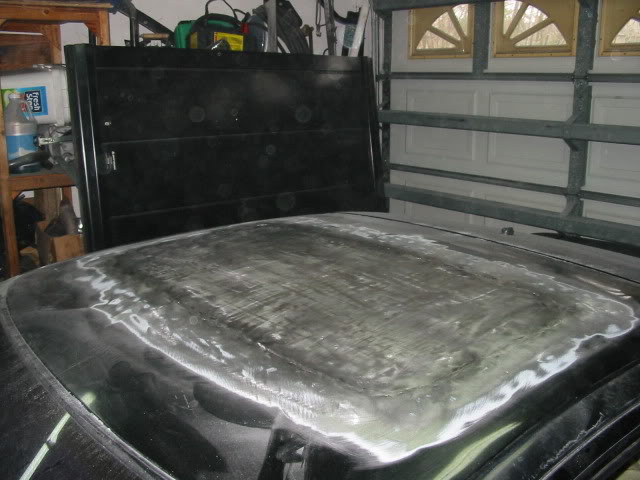
Tonights progress report. All welded in but got a lot of distortion from the heat.
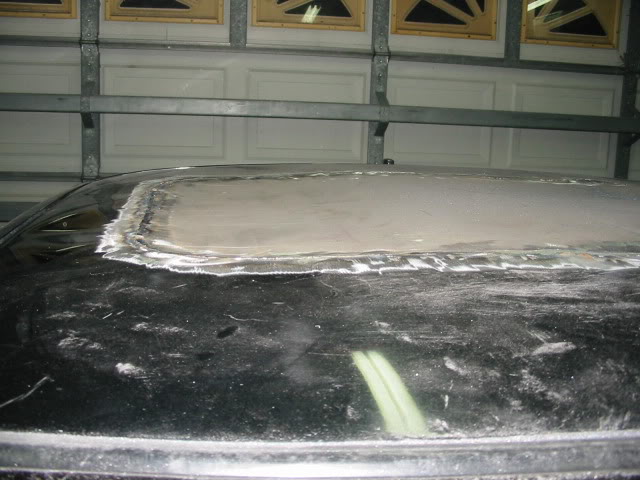
I did a little shrinking and stretching and it’s looking a little better.
Now the hard part begins. YES it will have bondo in it! I will do my best to keep it to the minimum. With a max of 1/16″.
eft my eye protection at work and got a piece of metal in my eye, had to run a run a rare earth magnet over my eye to pull it out. Decided to wait to do any more grinding.
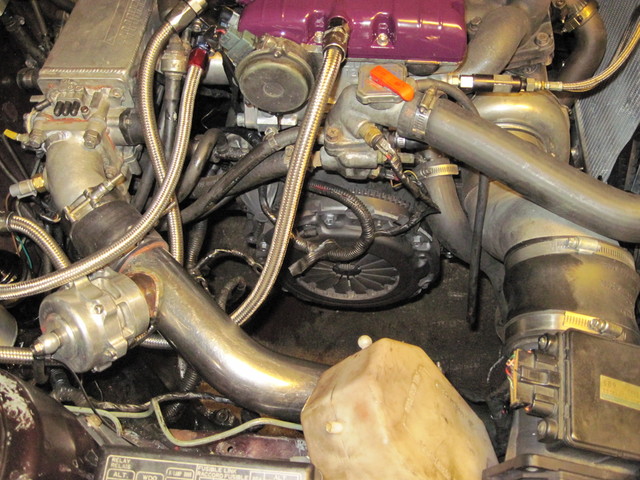
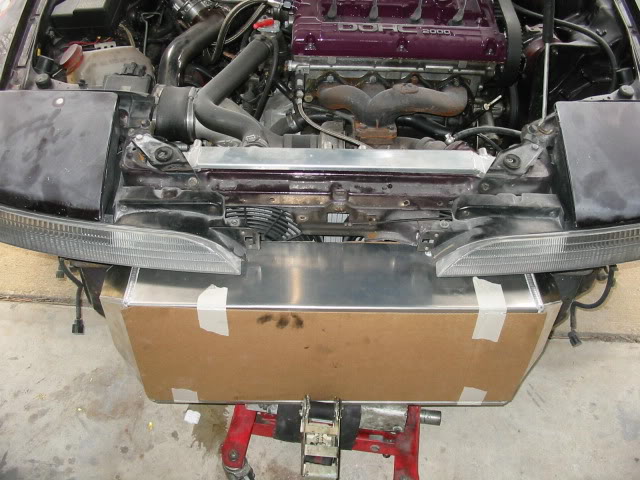
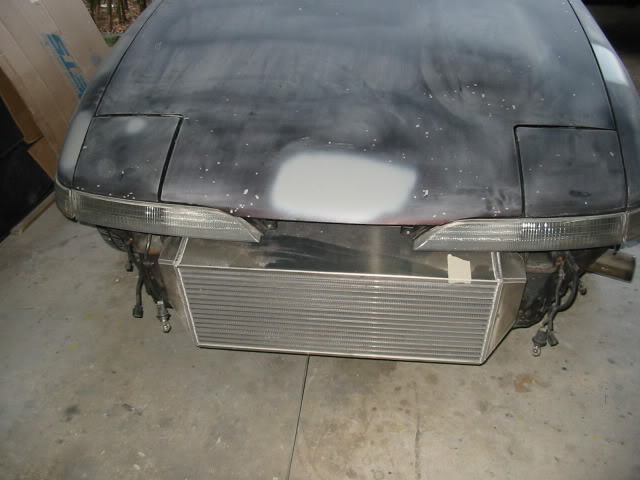
Decided to pull the front cover to plan the IC install. I don’t thing Zip Ties are NHRA approved for mounting a bumper cover so I’ll figure some other way.

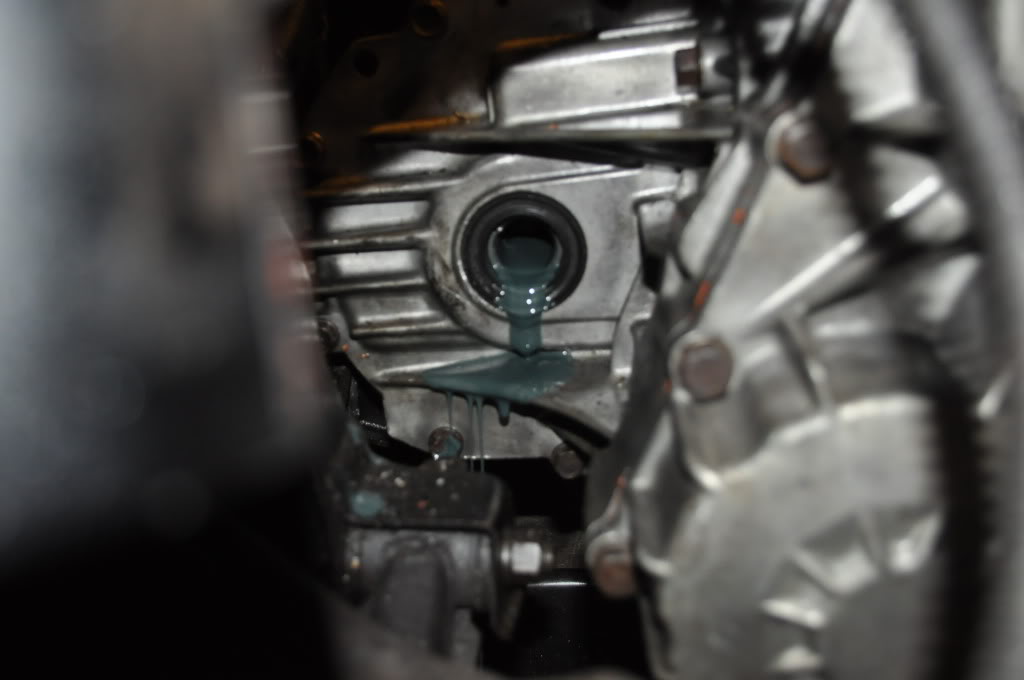
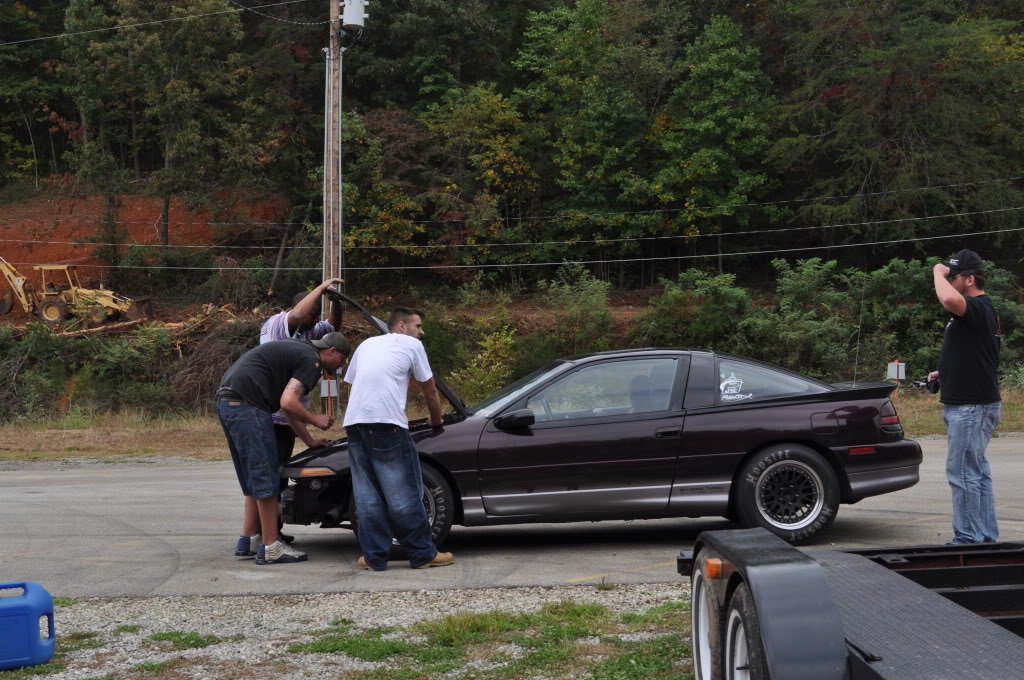
Here comes the problem. While removing the car from the trailer the engine had a hard time staying running at low rpm. Lots of steam and antifreeze smell. Figuring a head gasket is an afternoons work and a reasonable price I wasn’t to worried about it until now. Here is what I found.
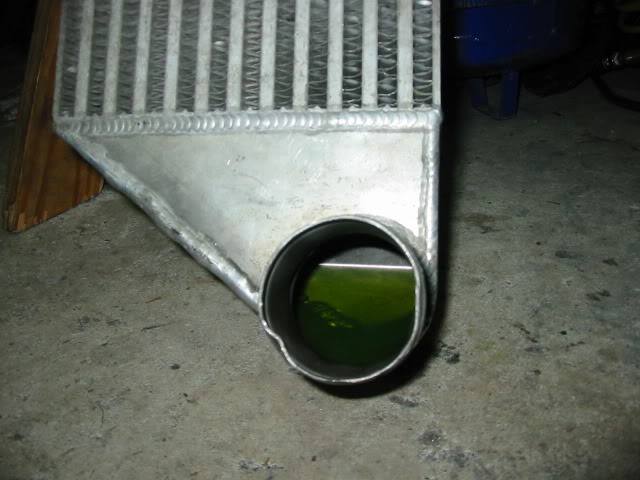
I haven’t read this whole thread, was a new turbo in the plans? Or someone correct me and tell me how water could get into the IC without a cracked center section.
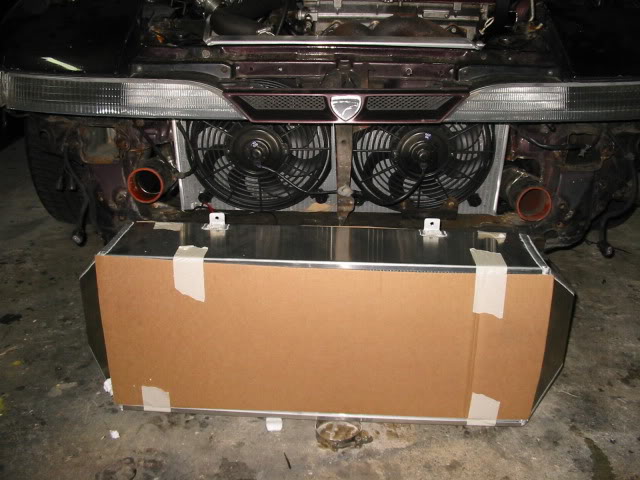
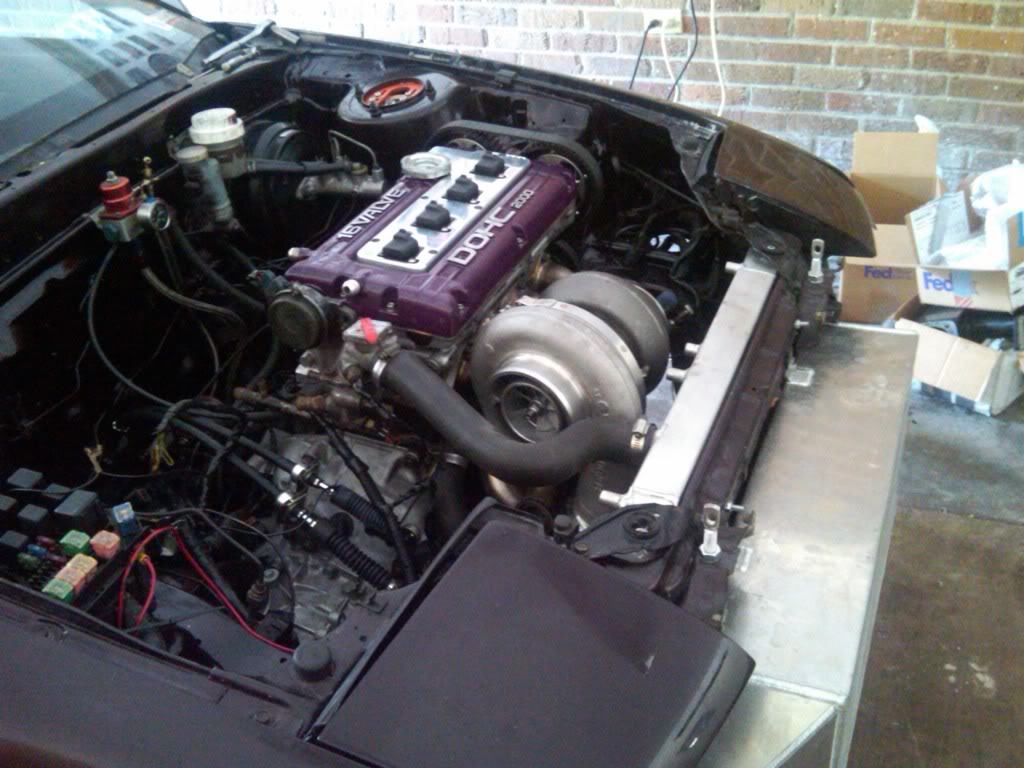
Now on to the new IC. This baby is heavy. Has to weigh 30 + lbs. Building a structure to hold it while removing enough of the radiator support so it will fit behind the cover will be a challenge.
I’m planning on having it ready for paint on the 27th.
OK some info someone might just use.
Tools of the trade. Shot bag, pick hammer, body hammer, spoon, slapper, shrinking dolly, sanding block. A simple spoon, dolly and hammer will do for a start.
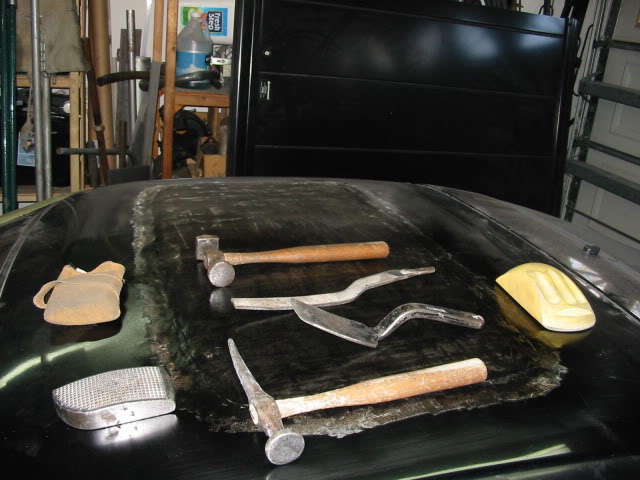
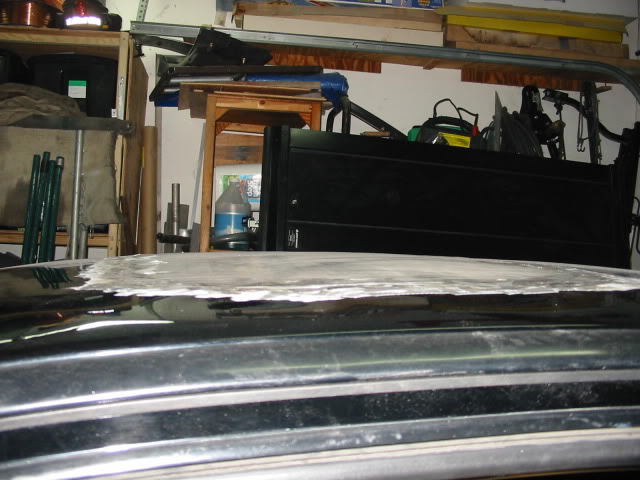
This process will work for any place you can get to both sides of the metal.
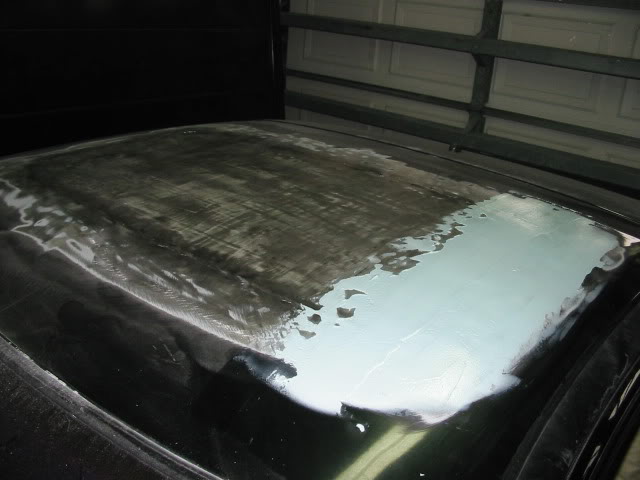
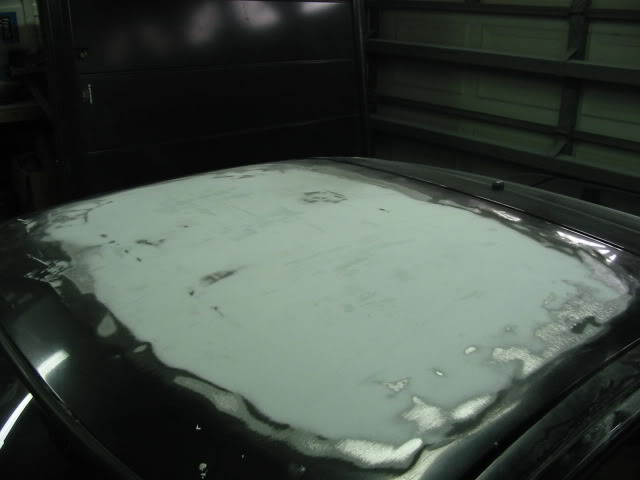
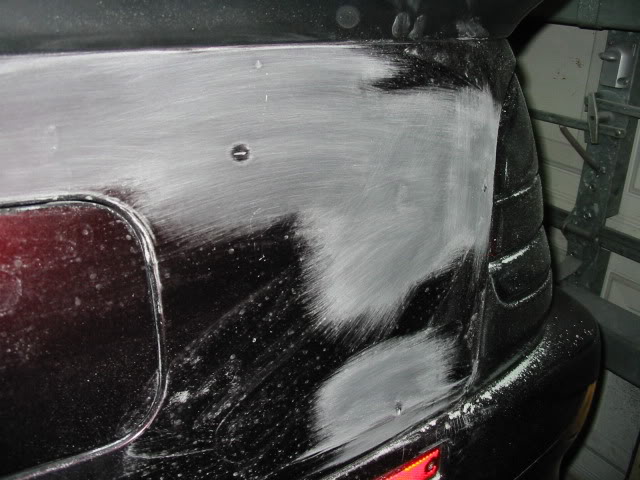
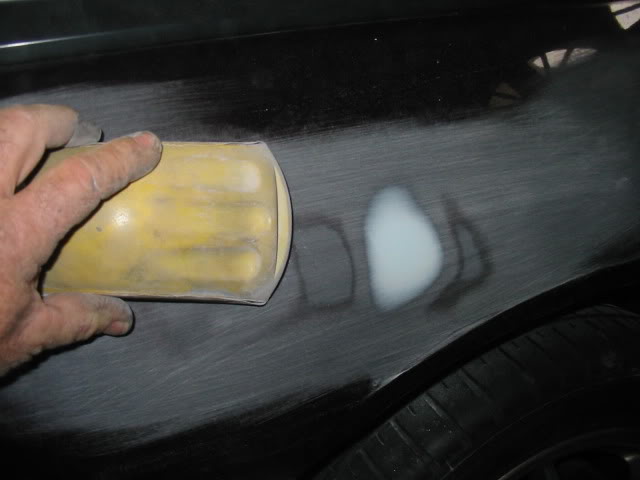
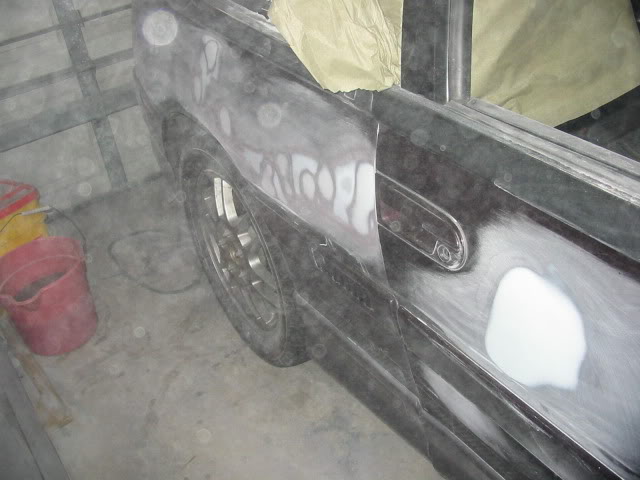
Spray a mist coat of contrasting paint or primer over the surface and let dry. Take a sanding block and lightly sand the entire surface. The high spots will show up by having the paint removed. Then tap up the low spots and down the hight spots using the hammer.
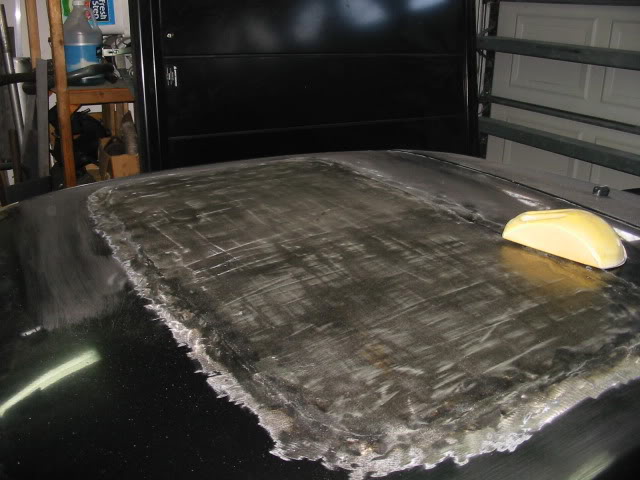
Another mist coat and sand again. This may / will take several times. Next use the slapper on top and the bag or dolly on bottom. Use the bag under and slap the high spots down or place the dolly under the low spots and slap the area around the dolly from above to lift the low spots. This does not take hard blows just light slaps. The pick hammer is used to drive up or down small areas again with light taps not hits. The closer you get to straight the smaller the contrasting spots will be until there are no more.
A few more rounds and would make it perfect, if this was a show car I would probably go farther but I’m about ready for the filler just a couple more spots.
To be continued.
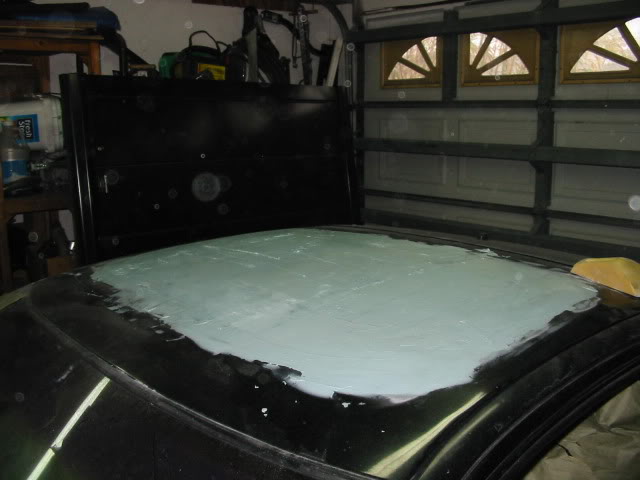
First the area was ground with 36 grit so the bondo will adhere.
Started laying it on, go light it’s easier to add more than sand it off.
Don’t think I have ever used so much bondo at one time.
Sanded, tapped down some high spots and another light coat.
Block sanded over the small dents to expose them and ground and filled them.

Block sanded them and am about ready for primer.
I found a couple more dents so it will be a couple more days for primer.
New injectors. FIC 2150s


I keep finding more dents in the Monster so I haven’t primered anything yet. Had to install the IC to be able to finish the front bumper for paint.
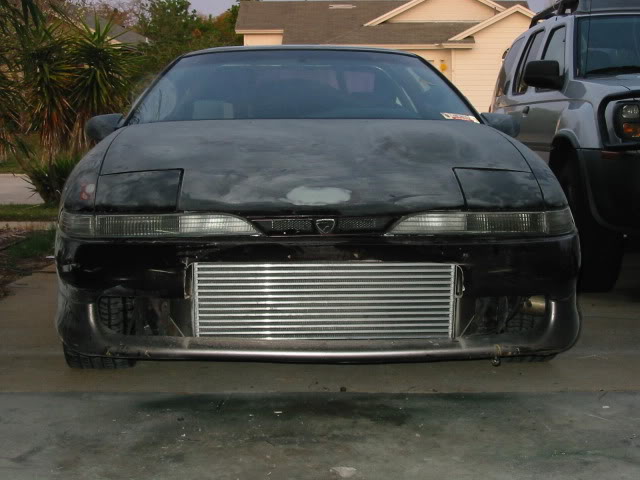
It has teeth now..
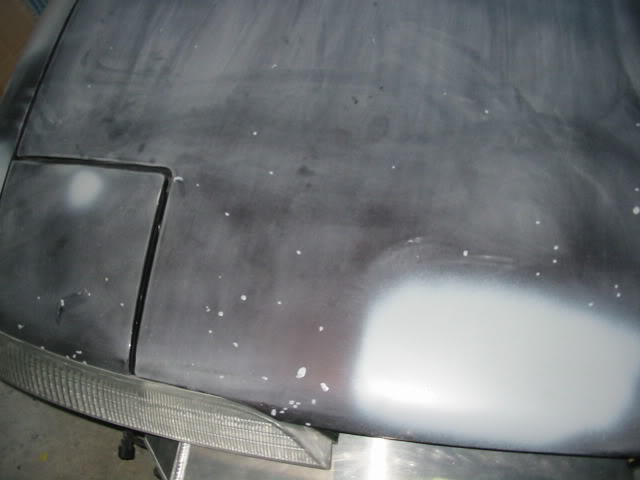
The Purple Monster is coming along. The front has a lot of rock chips. Sanding them out would require stripping the hood and leaving them in would really stand out so I’m trying to minimize them by filling them with primer. I took a tooth pick and dabbed a little on each one with a toothpick. I could have used spot putty but that is even more time consuming. Pretty close to ready for paint. There must have been a lot of greasy hands on this car because I got some fish eyes in the primer.

Oh yes one more of the IC.
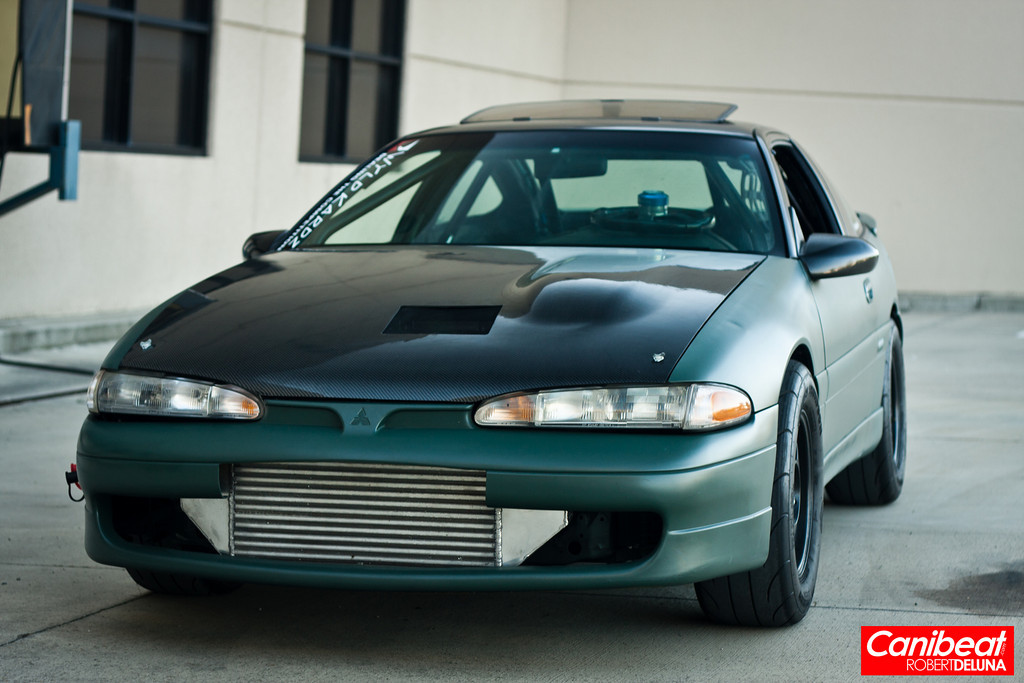
Ohh and here she is in the most reason update from Mike
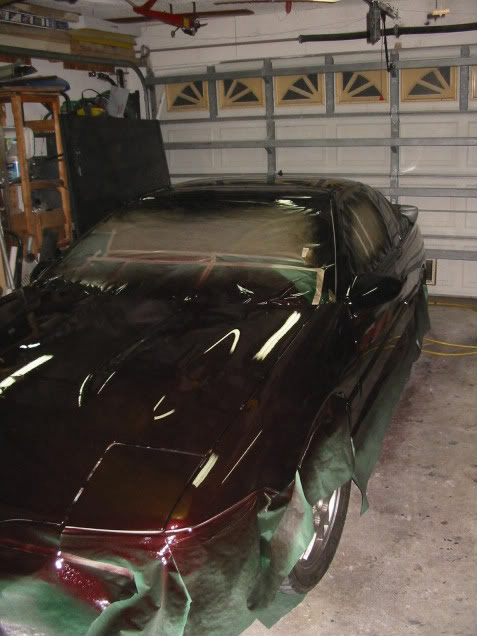
So I got busy today

Still wet sanding and buffing her out some. It got a couple runs in the clear because it was a little thin when he sprayed it on.
Did some wet sanding and buffing today.

I got her home tonight and with in about 2 hours……
More pics from today


Had to see what she looked like
First coat.
New / Old
Got in some work today. I have to wait for springs to get here so I got the block together, put it in, and got the trans bolted up.
Didn’t get much done today. Had a longer day at work .. then I ran out of cutting wheels.
Had to stop here for the night..
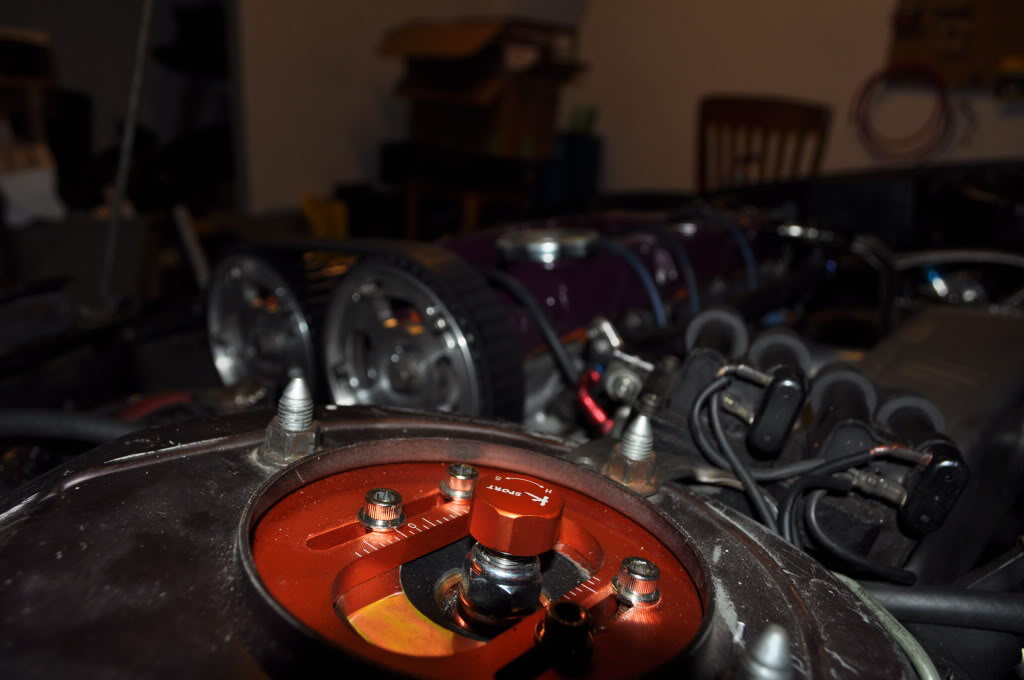
t’s a spark tech ignition setup  has a M&W Pro-12 CDi Box.
Some pics from the cell phone today :


More progress.


Not sure just yet we are going to get all the piping in the put it in a good spot.
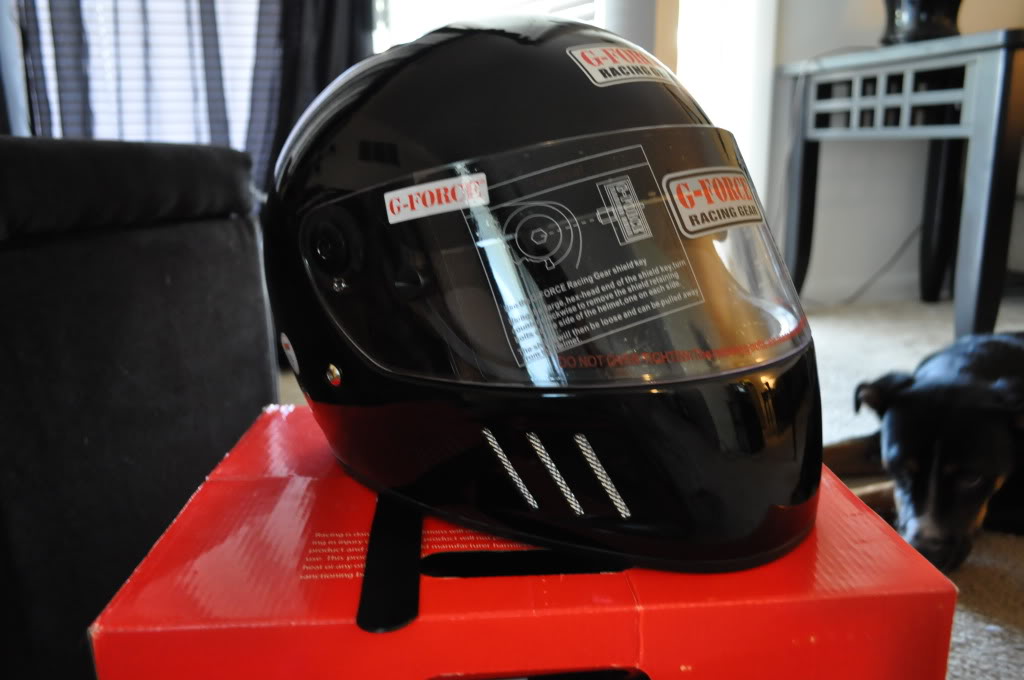
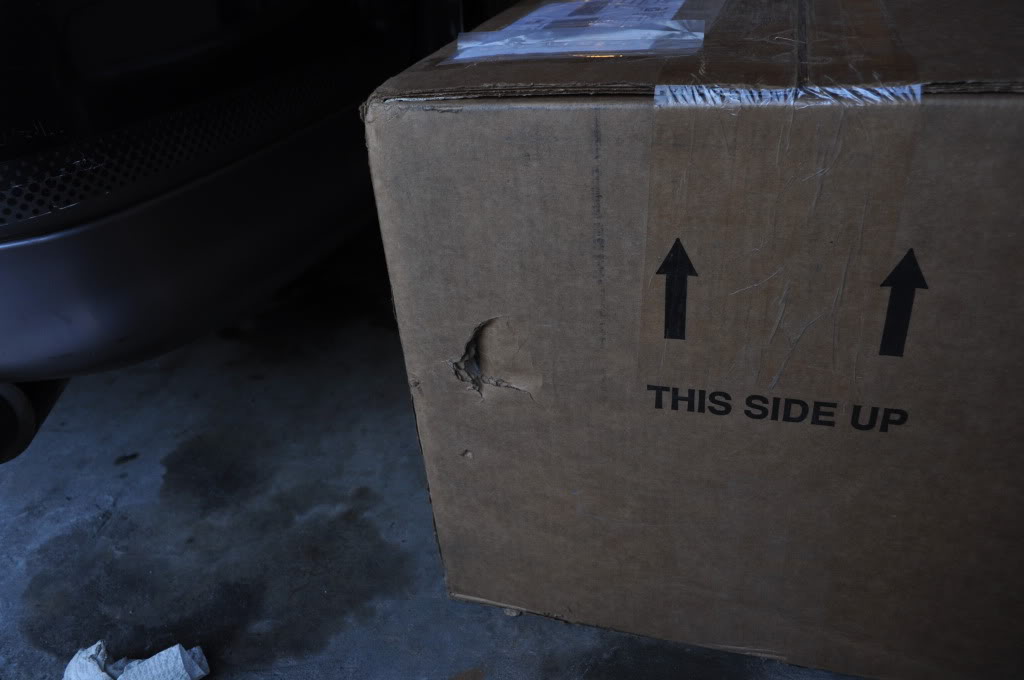
Hey look what came


Update for today!

Exhaust

Hot side IC Piping

Bling!


Small update. Finished my wiring harness. I’m saving money for a new 2nd gear so it will be a while until I pull this beast out.

Here is an update.
Got my ignition panel wired up.

First switch is Power for all components, kinda like the master kill switch on the rear of the car.
Second is the push button, or momentary switch for the starter.
Blue LED light above the starter shows power is being provided by the first switch.
Third switch is for my fans.
The last red switch will be for the check engine light.
Pics!


New exhaust 

This is a Dogbox center diff

New fuel setup.


Should do ok for now.
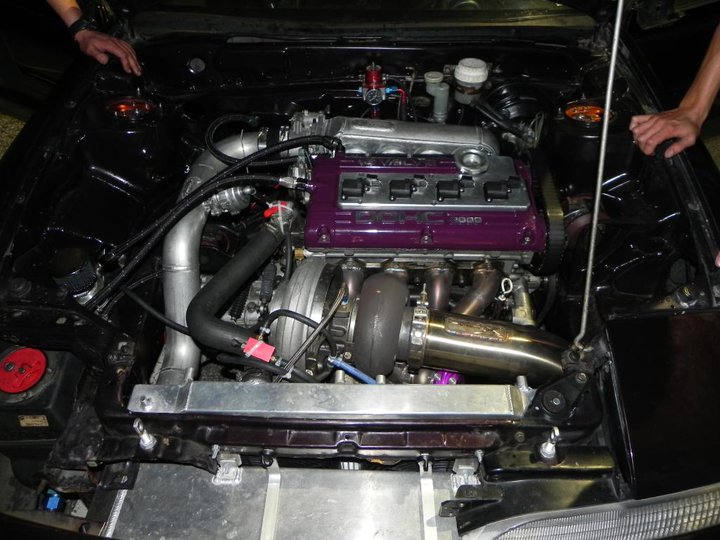
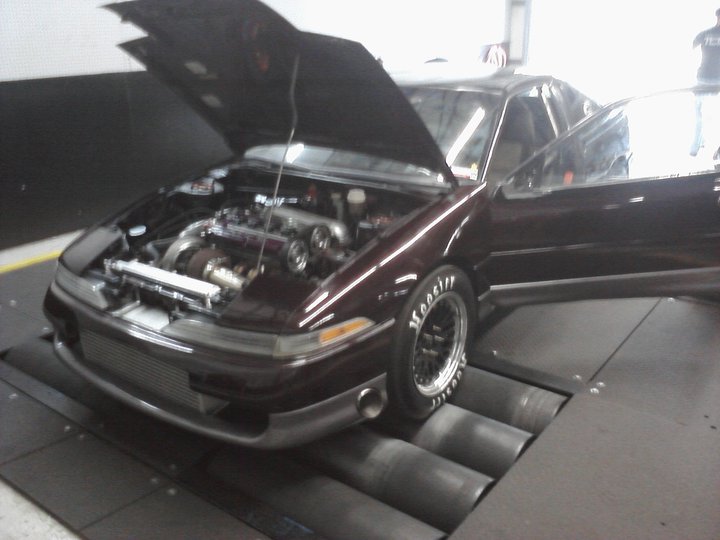
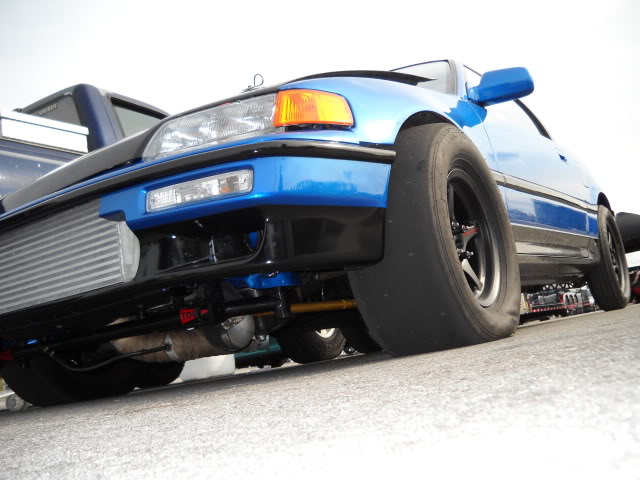
[youtube]http://www.youtube.com/watch?v=25-KyQNkFYY&feature=player_embedded[/youtube]Car is currently sitting at 730Awhp. 486Awtq
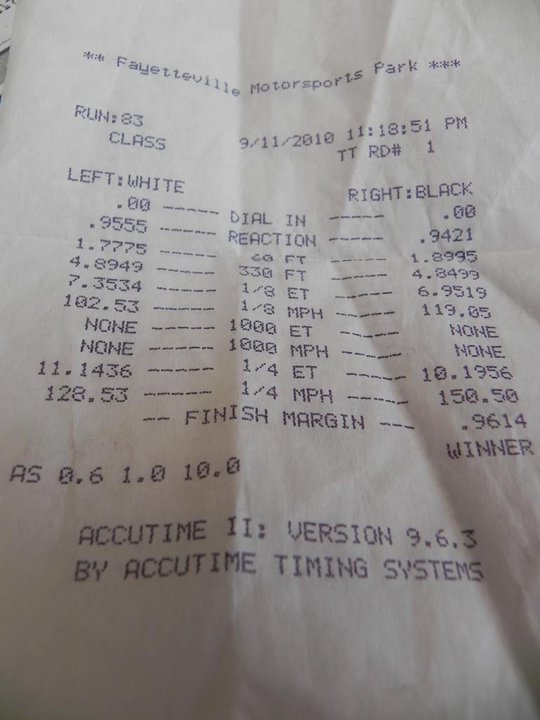
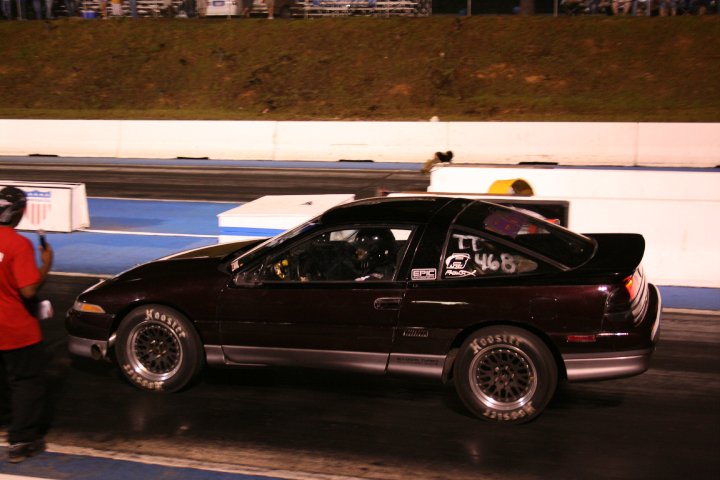
Went 10.1@150, 10.2@154 her first time out on the setup.
Proof… as you can see it has more in it
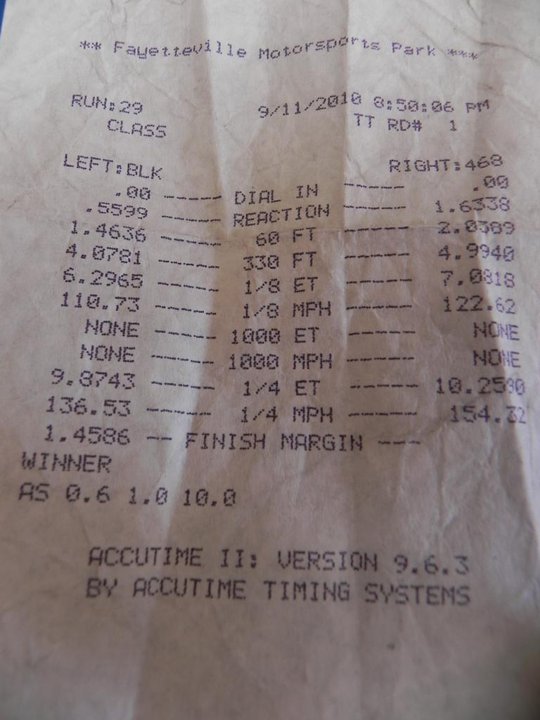 Right side (468)
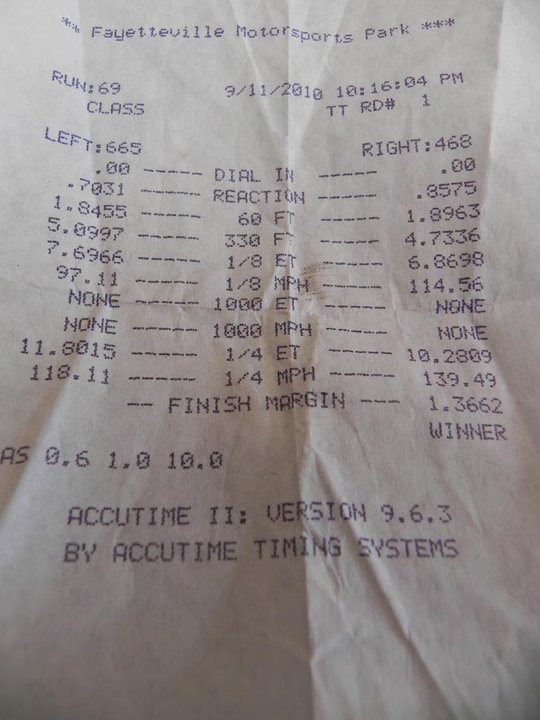
Right side (black)
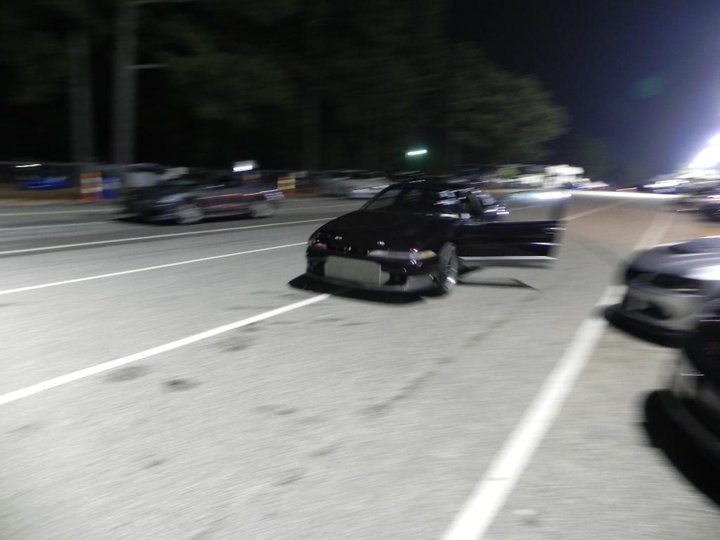
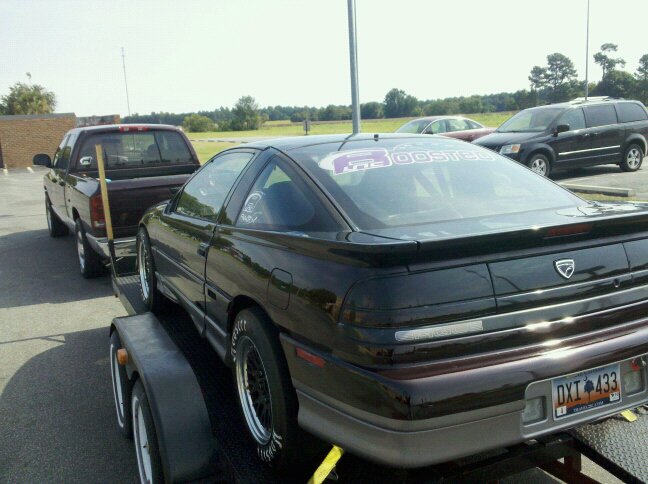
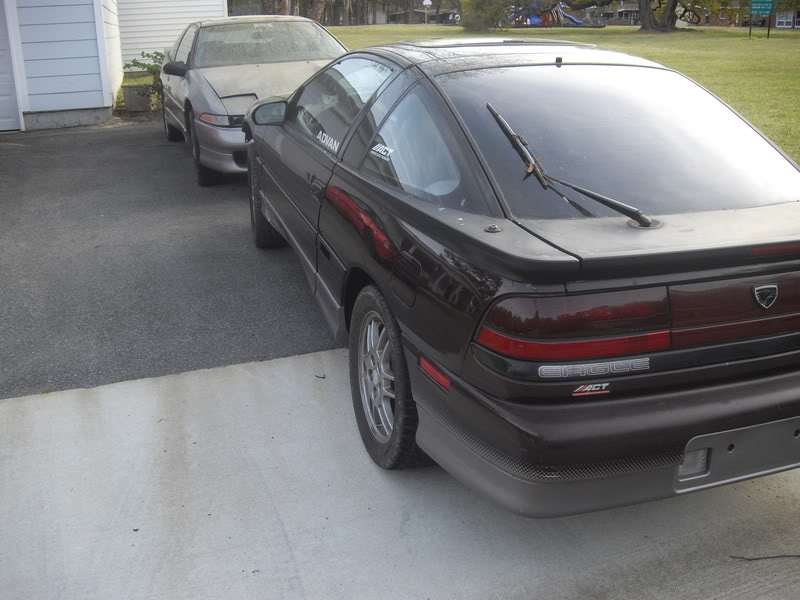
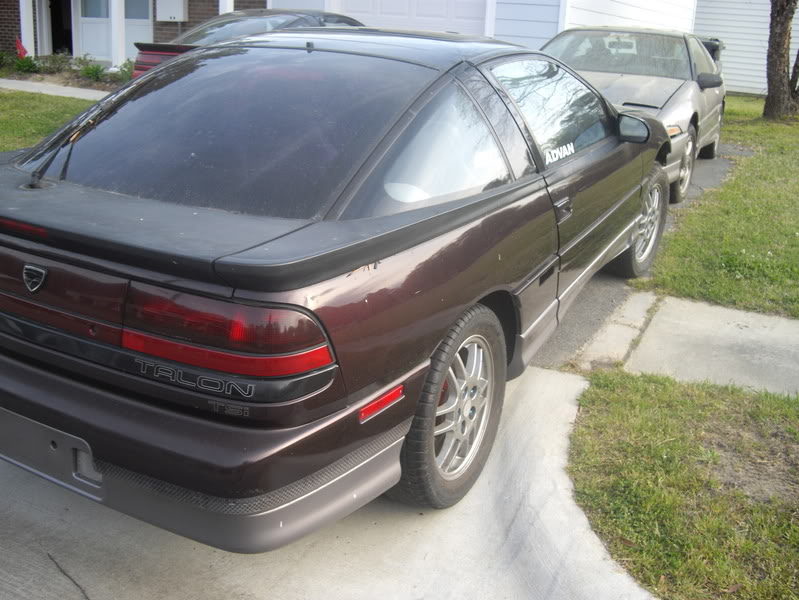
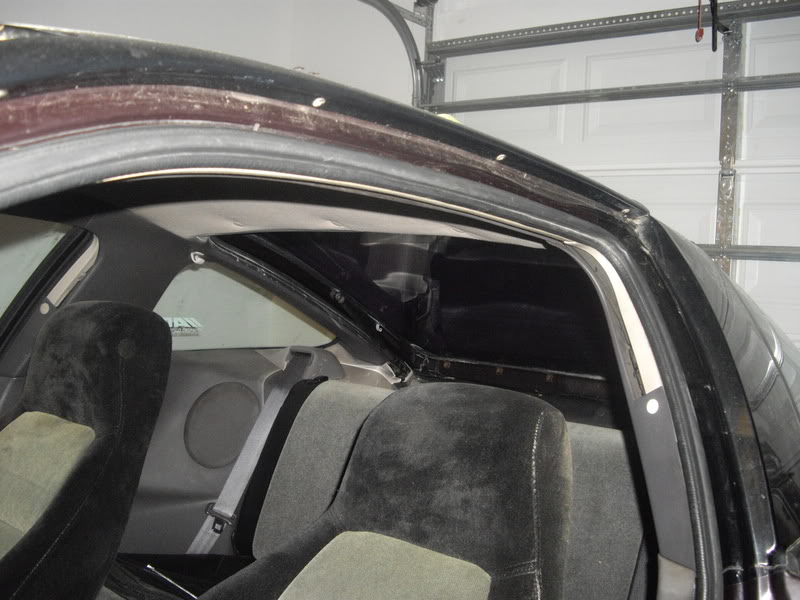
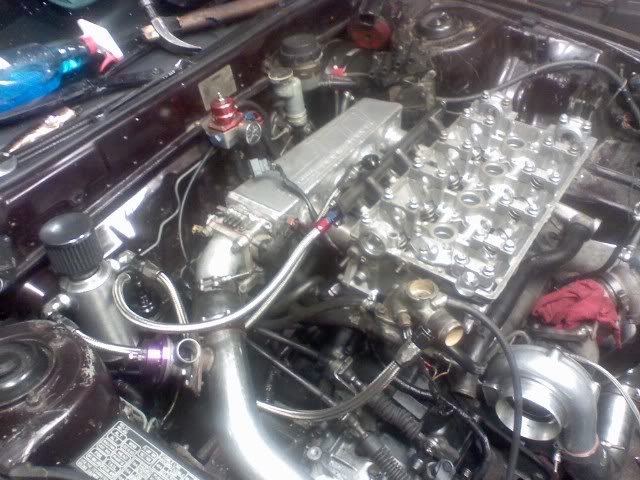
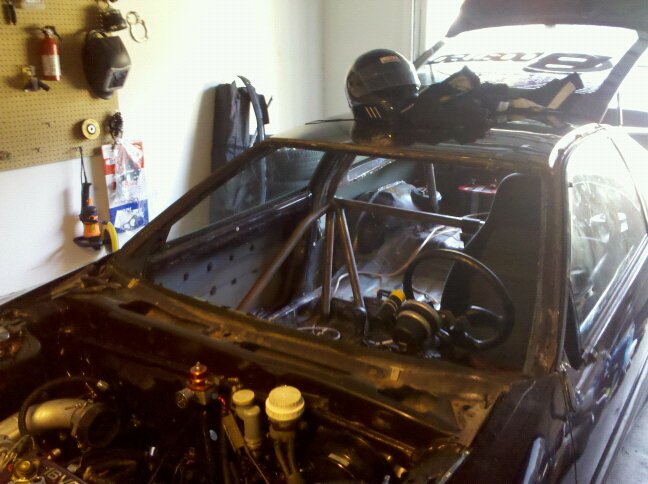
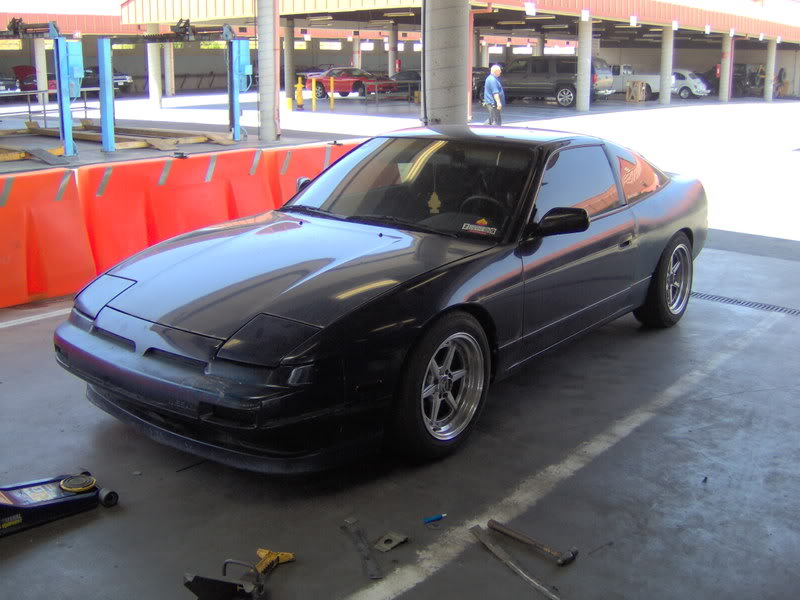
How it’s sitting now….
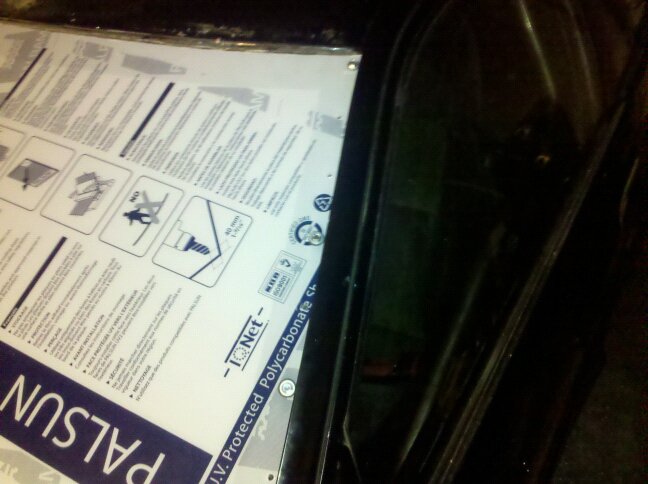
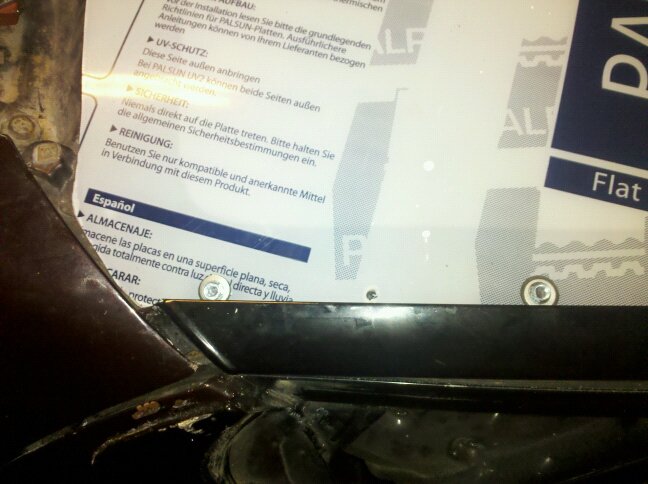
Lexan install.


I read a lot of blogs recently and yours is one of the best. I enjoy reading your posts – clear and well written. Your page goes straight to my bookmarks. I got some nice inspirational thoughts after reading it.
wow man sick car i would never do anything that crazy but i have a 92 tsi was racing a seleen mustang and blew my driveshaft from the trany to transfer and threw the bearings but he didnt break away from me till he hit the spray but man it was fun lol any idea on where i could finde that driveshaft so i can rebuild
Me English no better, but had to say me like what you say. Thank you from me.
thanks for this exellent written post. i am interested in any kind of car videos.
Excellent blog! I definitely love how it’s easy on my eyes and the facts are well written. I am wondering how I might be notified whenever a new post has been made. I have subscribed to your rss feed which need to do the trick! Have a nice day!
Very good post! We are linking to this particularly great
article on our site. Keep up the great writing.