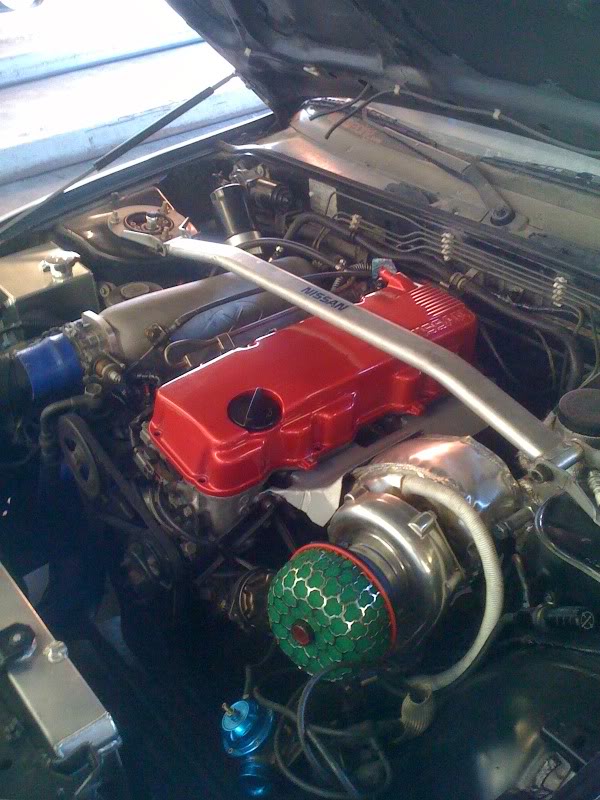
Nissan 240 True Pig Build Supercharged & Turbocharged


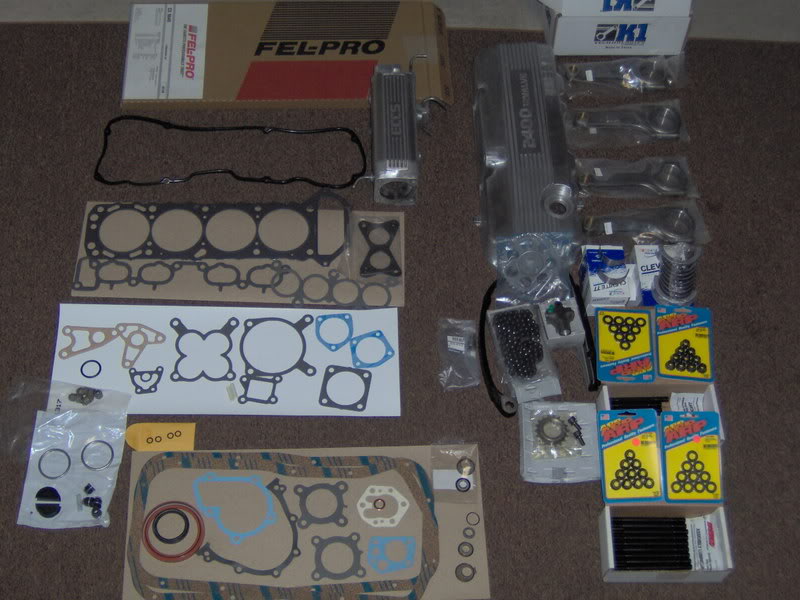
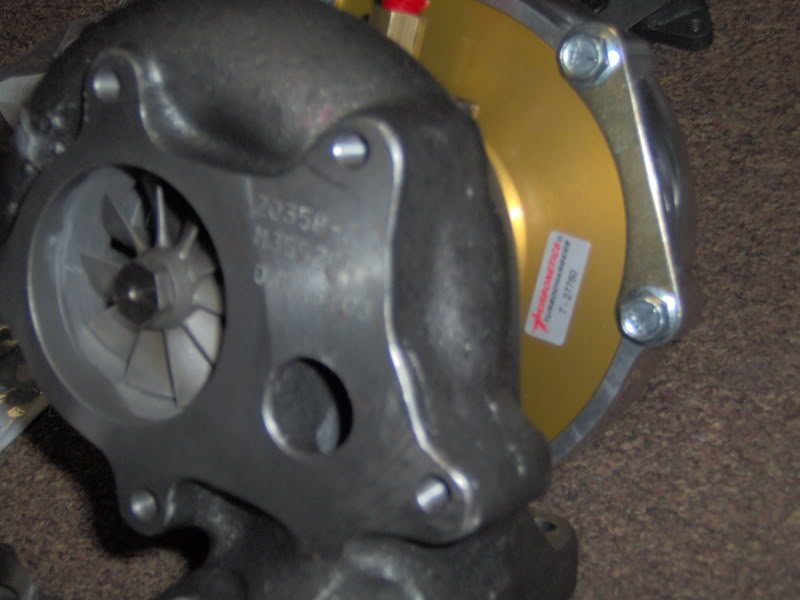
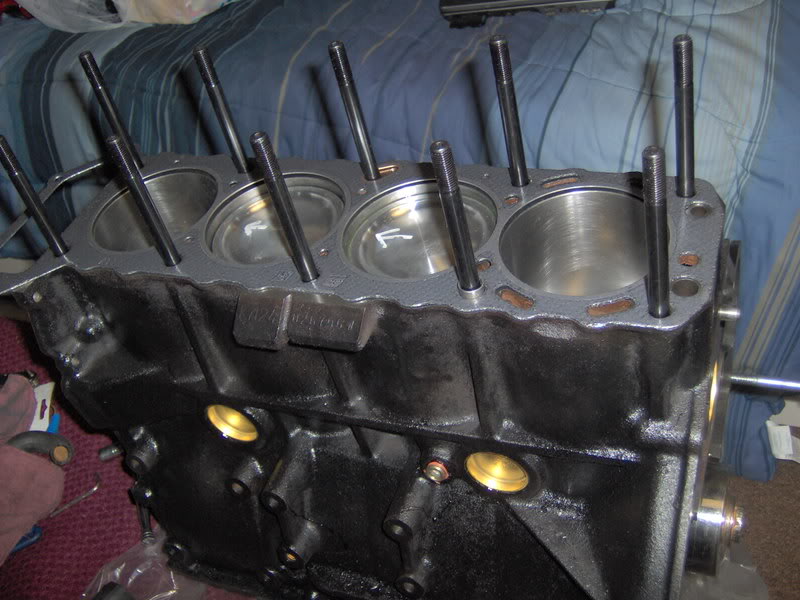
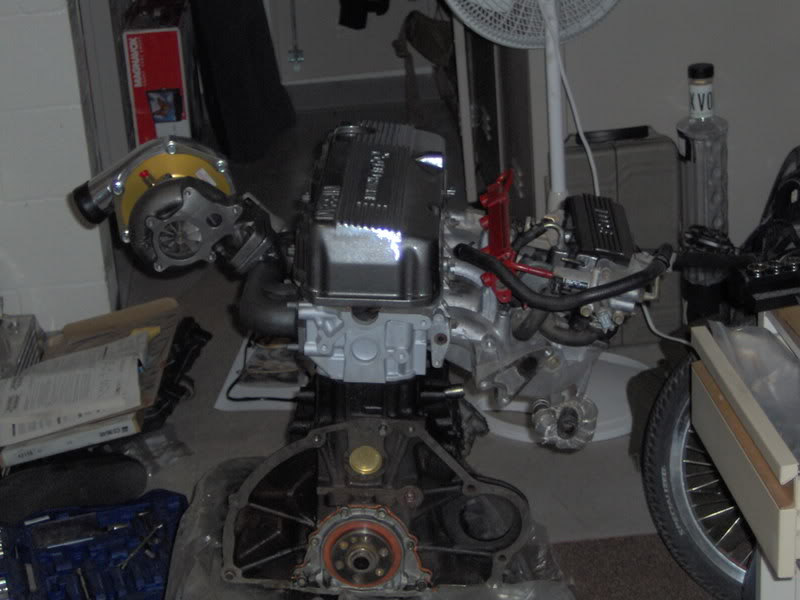
This is the begining of my piggy build Ive already got my donor engine stripped and ready to go to the machine shop, just waiting on the arias pistons. Okay well here is the ams engine build kit minus the pistons, cause they were back order…they should be here in a few days though…along with the jgs partial turbo kit and jwt ecu and injectors….
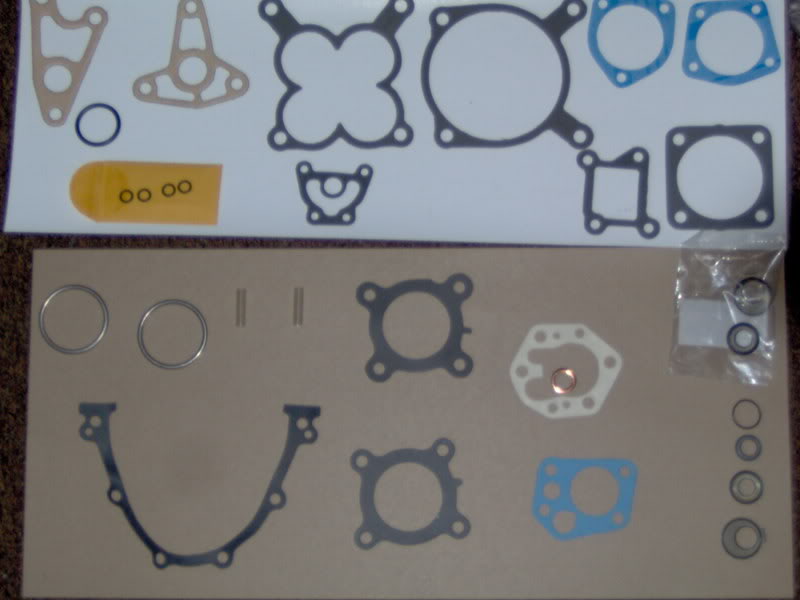
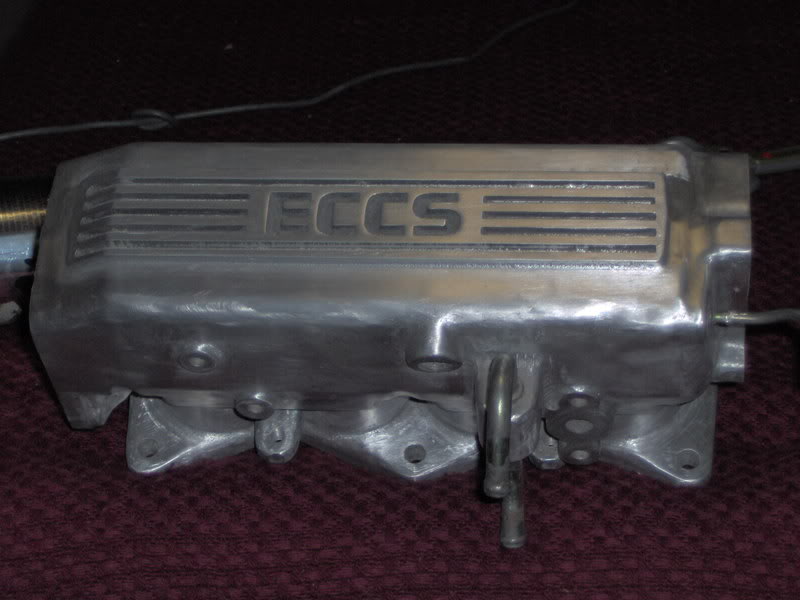
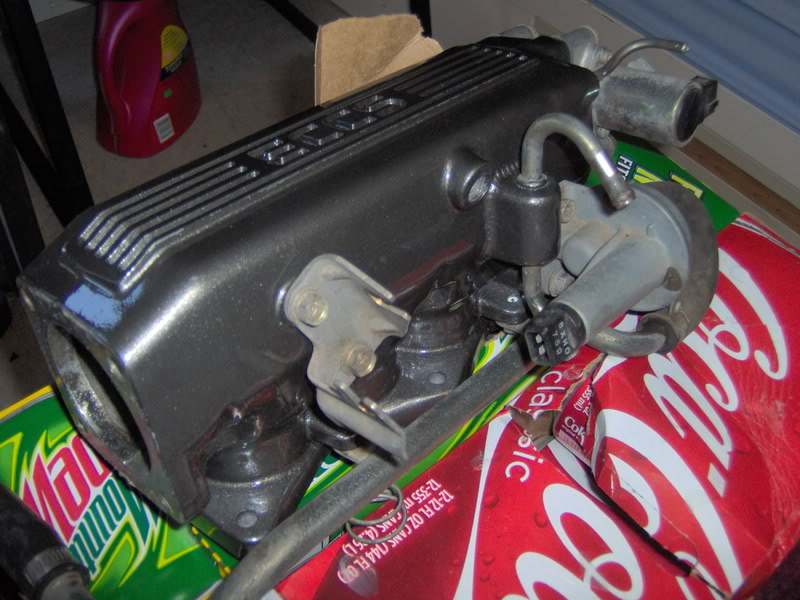
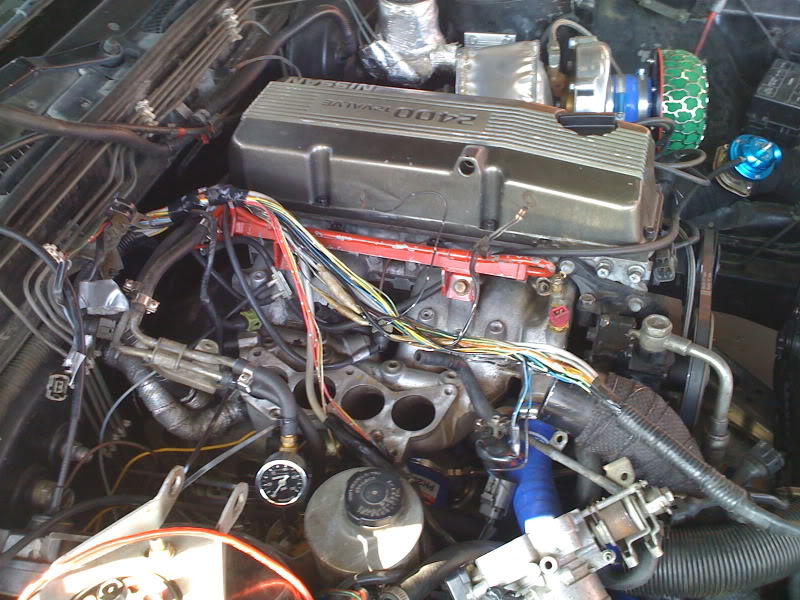
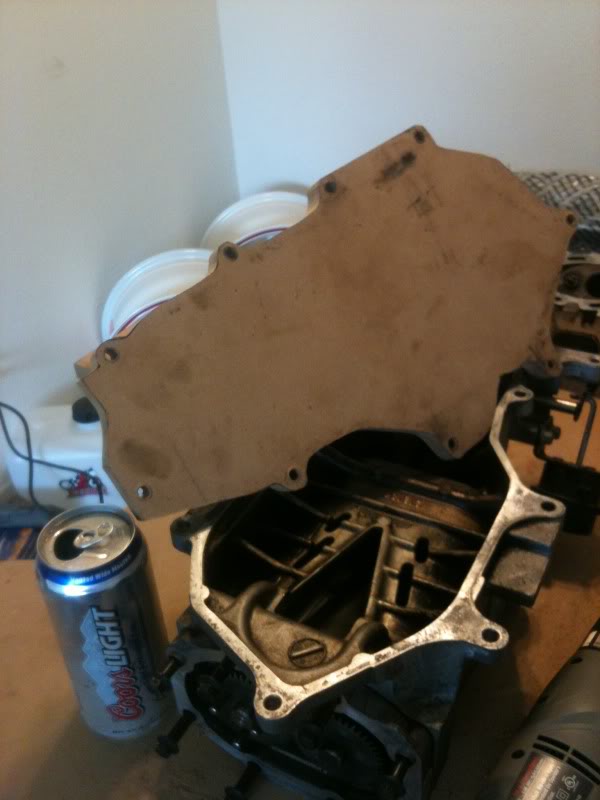
I have no Idea what most of these, in the second pic, go to, especially those little clear plastic things…if anyone could help me to figure out that would be great, none of this stuff was labeled.
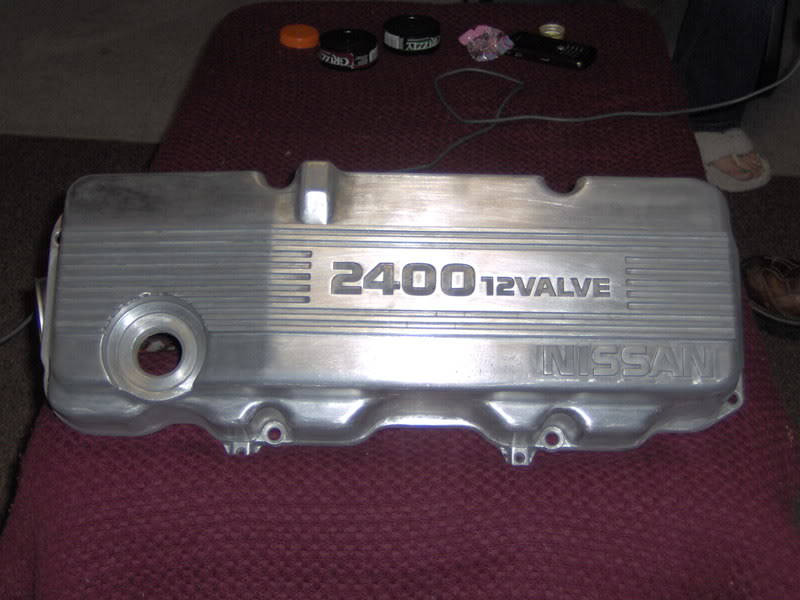
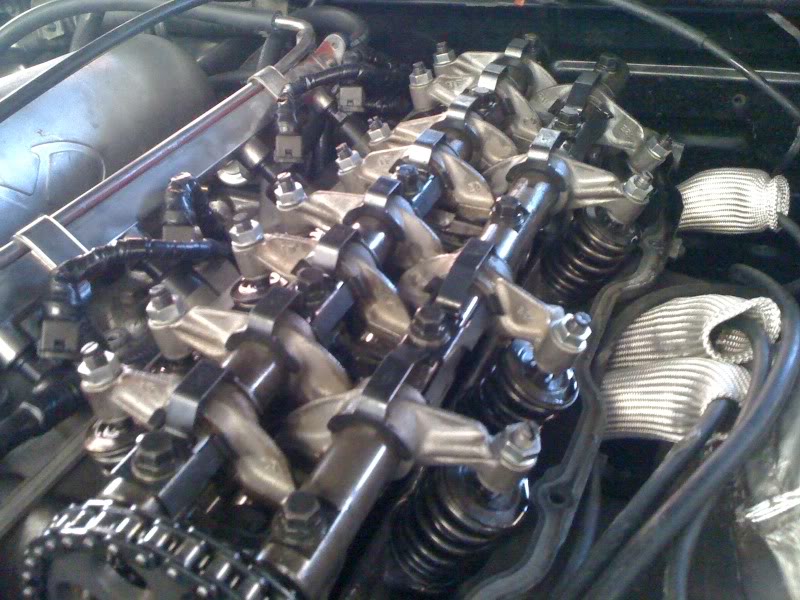
yes it is a sohc thats why I say true pig build…
This has taken along time to get to this point, cause as some of you might know, the military doesnt pay that well…Im just glad to finally see parts after so long of waiting for funds…
The plan is to be roughly around 310hp to the wheels…just a fun daily driver, with the ability to track it…
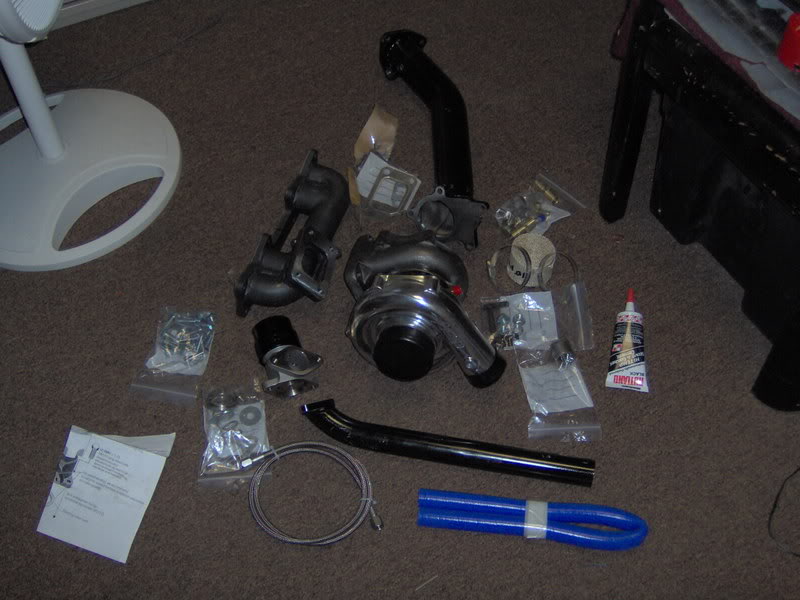
The pistons and turbo kit finally came. I sent the head and block off to the machine shop, hopefully it is done soon.
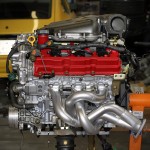
here is the kit
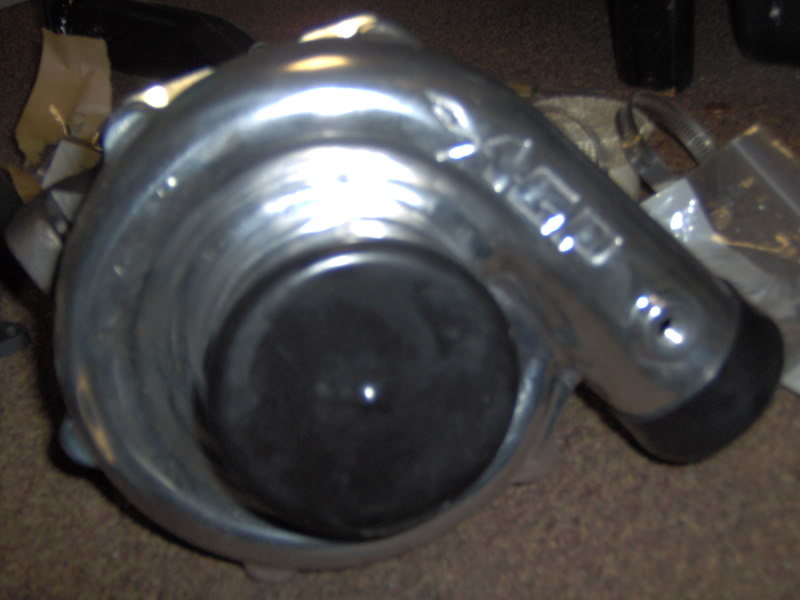
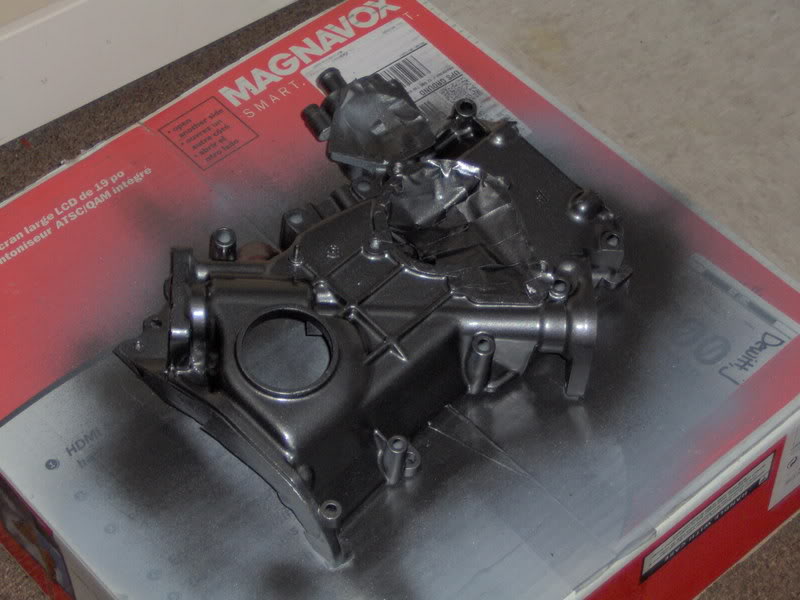
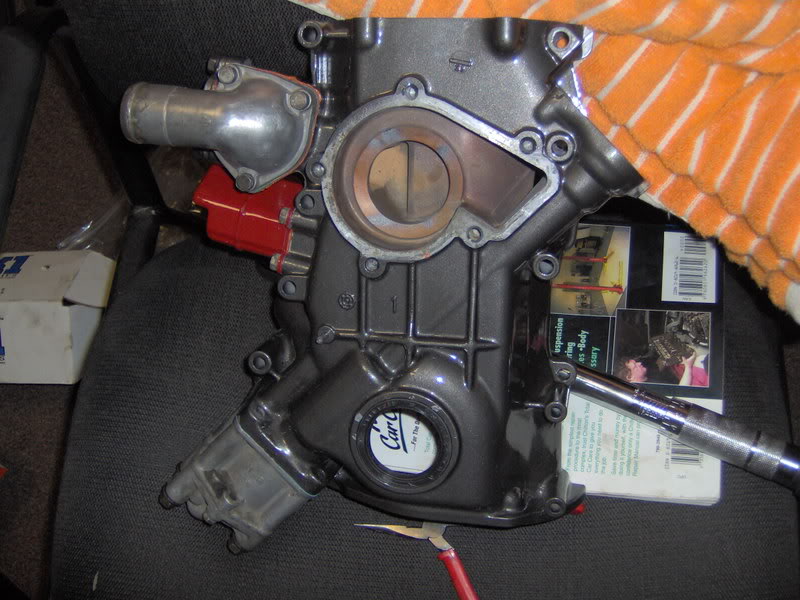
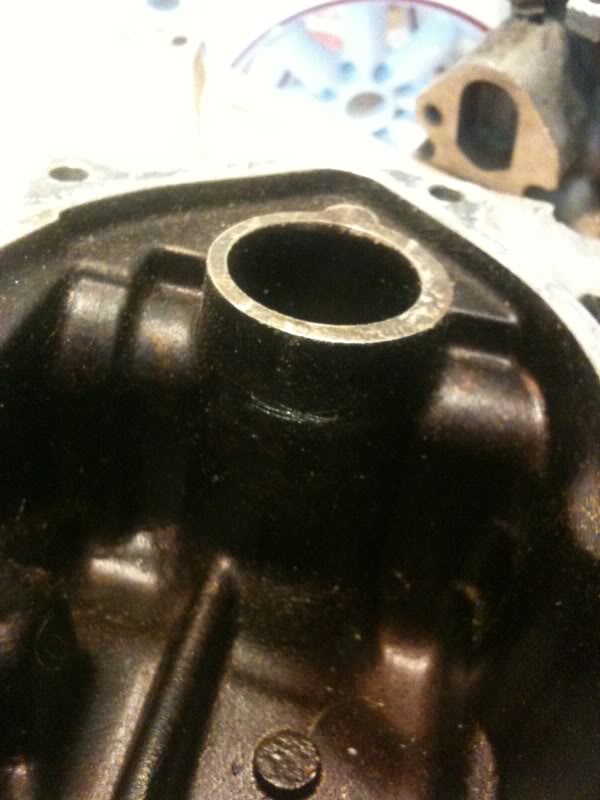
here is a little engine beautification notice I already welded the oil rerturn bung…
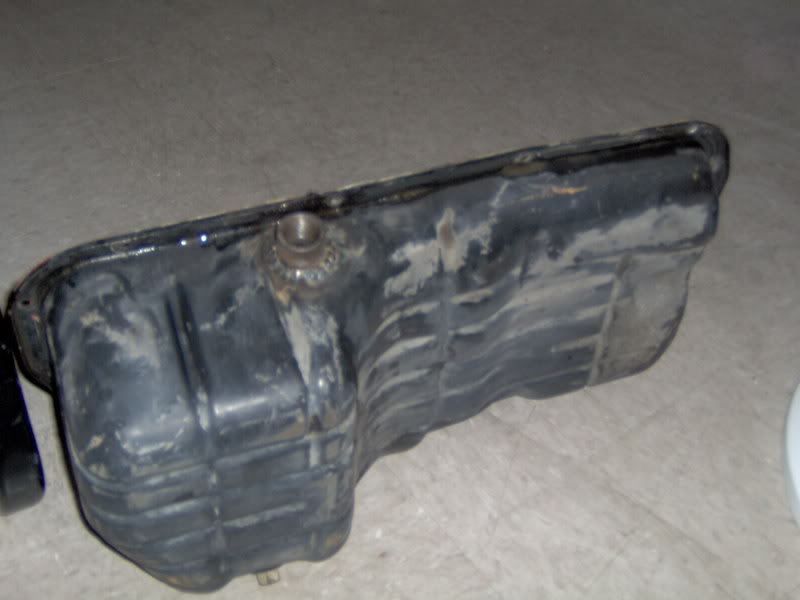
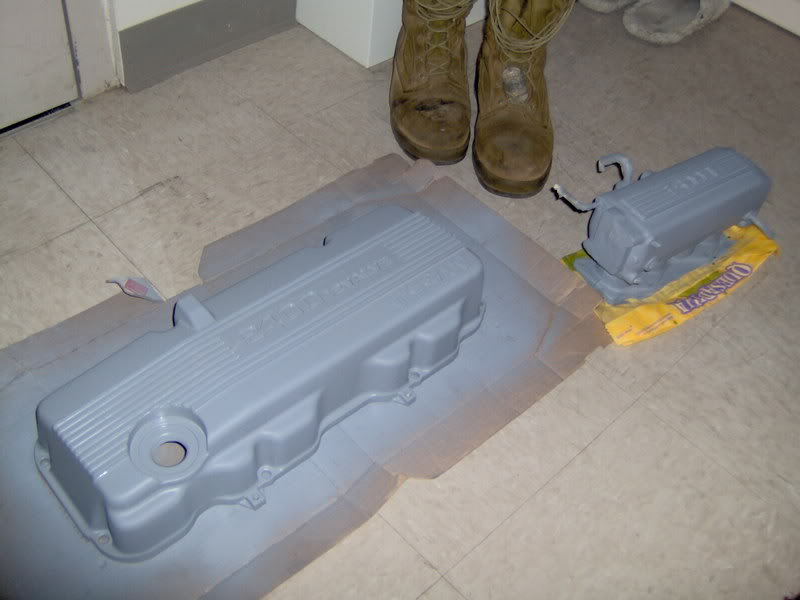
Im not sure what the blocks color will be…I was thinking the color of the oil pan drain bolt…red…but Im not sure if it will mesh….the head and intake manifold will stay silver.
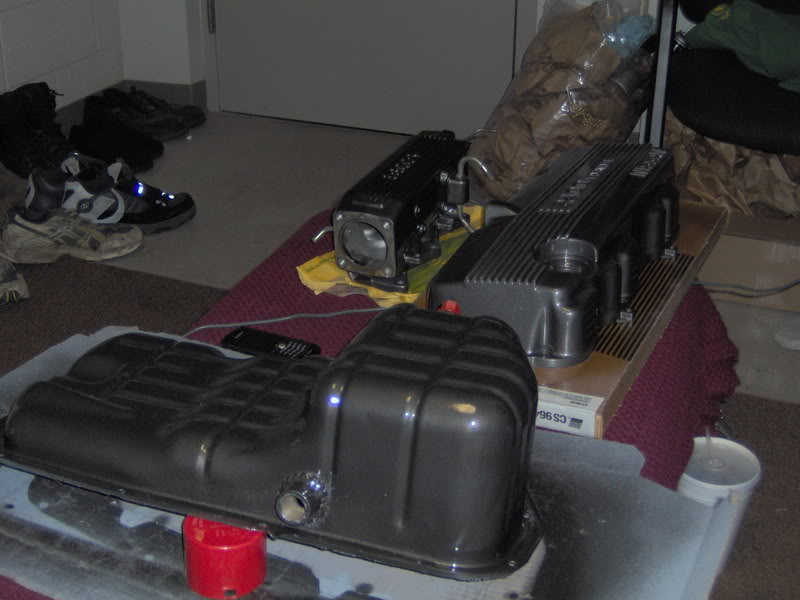
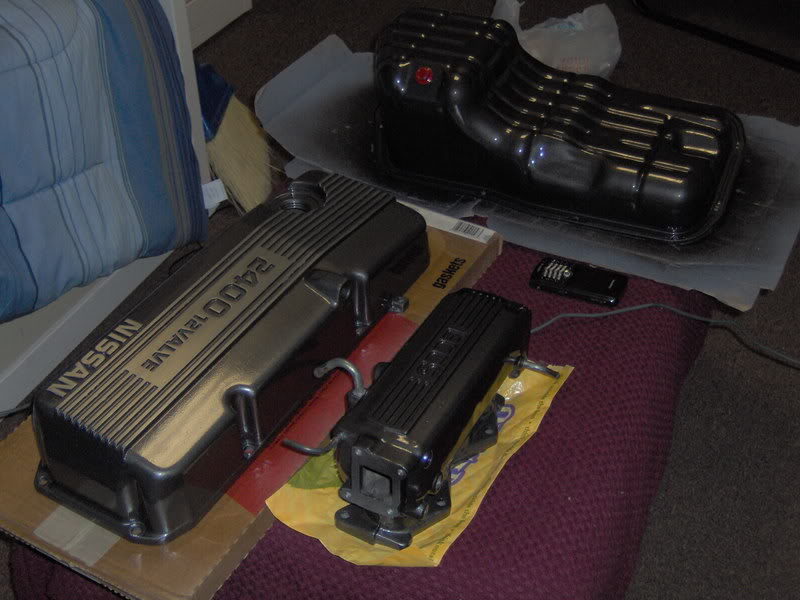
more pictures!!!!

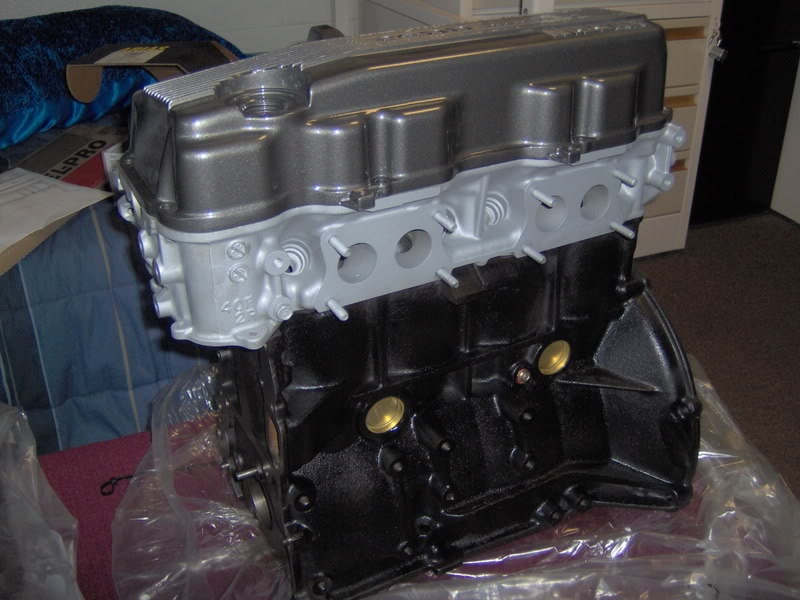
This thing is shinny as hell….this will be the color of the block and timing cover….still not sure if it will blend well with the valve cover and throttle body.
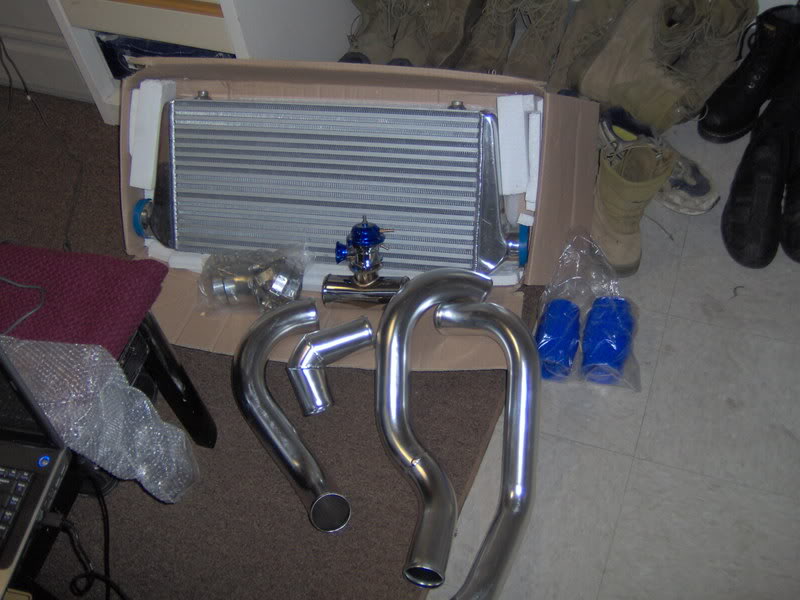
I have an intercooler, its dimensions are core 20×6-3/8×2-5/8 overall length is 28 and its inlet and out lets are 2-3/4….will this work for my goals of 310hp
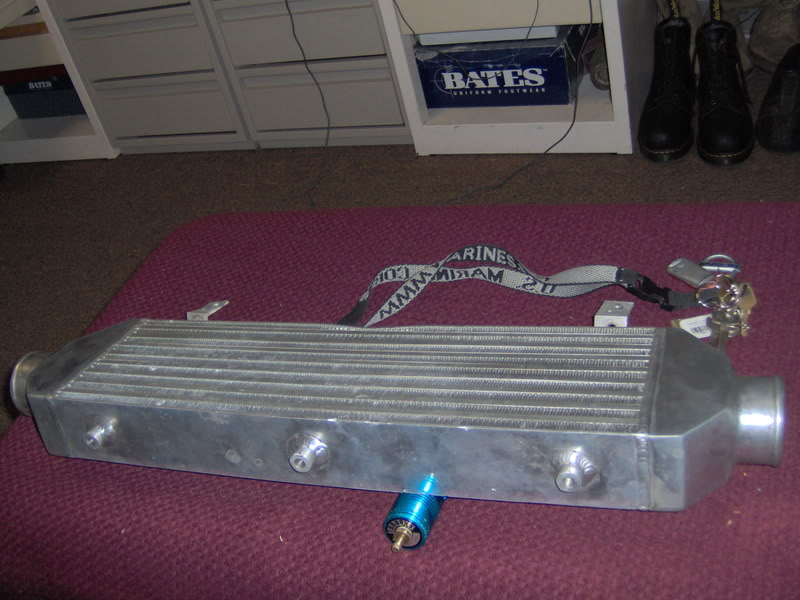
and my second question is, I have this bov it says it turbo xs Im not sure if it is any good..If I blow on the end of it I can feel it is leaking air….how do I test it and how do you adjust it for boost…is it automatic or what? Im a little lost someone help
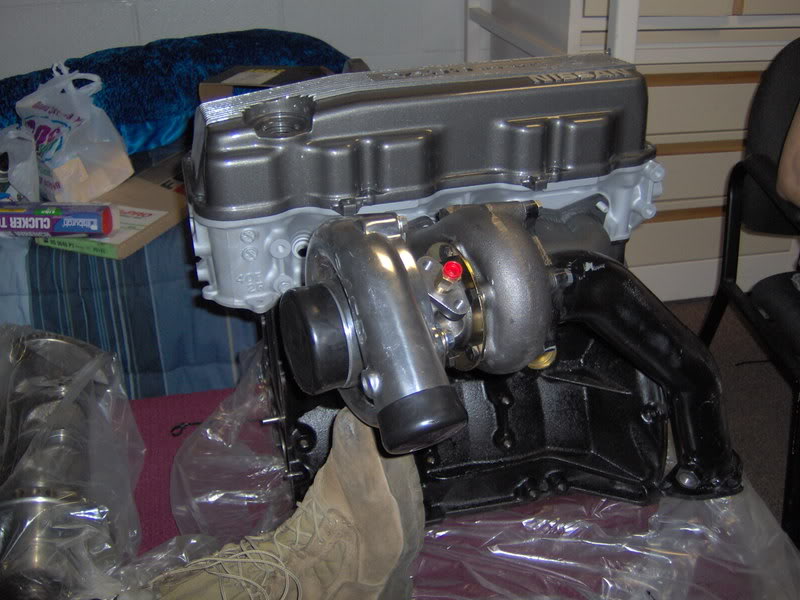
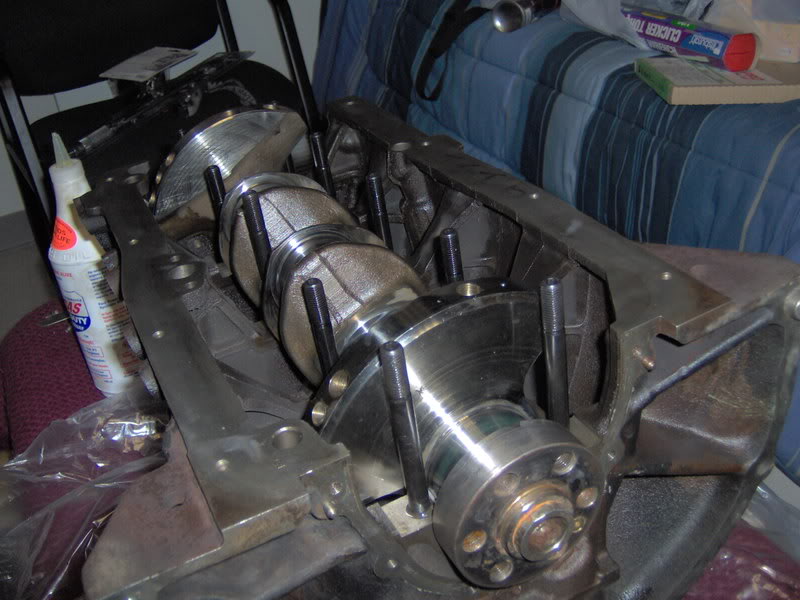
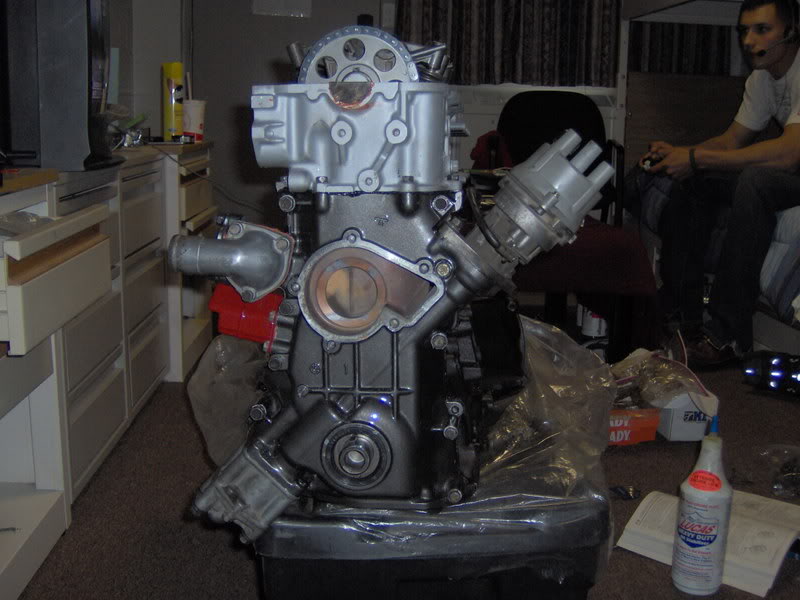
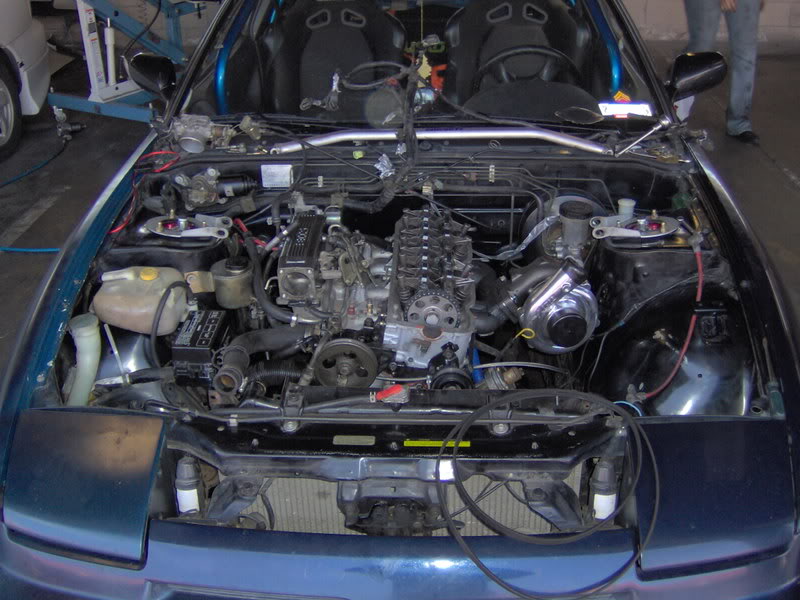
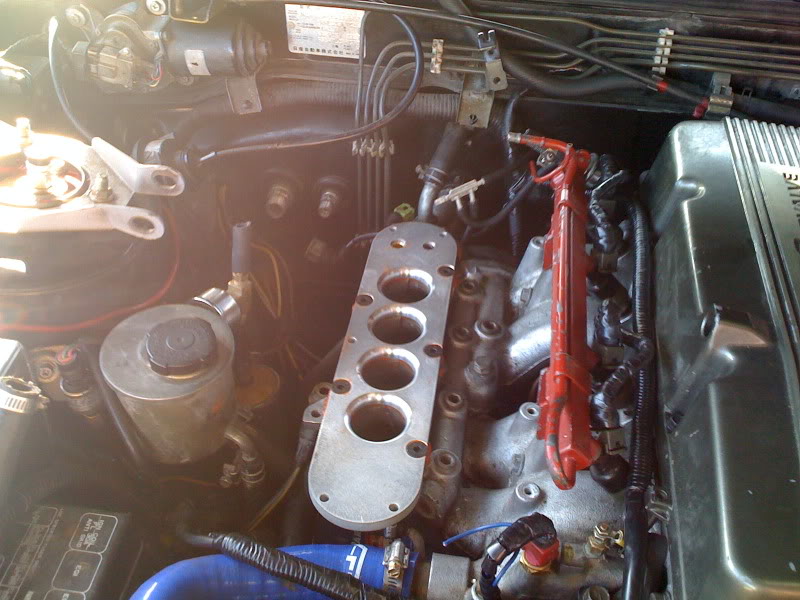
I got my head and block back today and did a little mock up

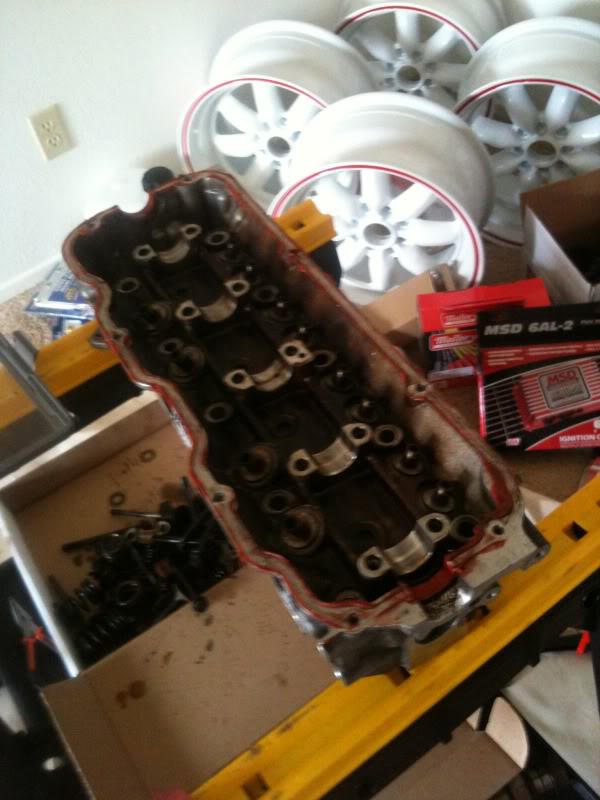
Just one thing to add… never trust someone who says, motor ran perfect before I pulled it. when the said pefect they ment; I spun a bearing and I have two bad lifters and every valve needs to be replaced and oh yeah I stripped out a spark plug hole and busted some studs…runs like a sportscar  but 876.89 dollars later she will run perfect.
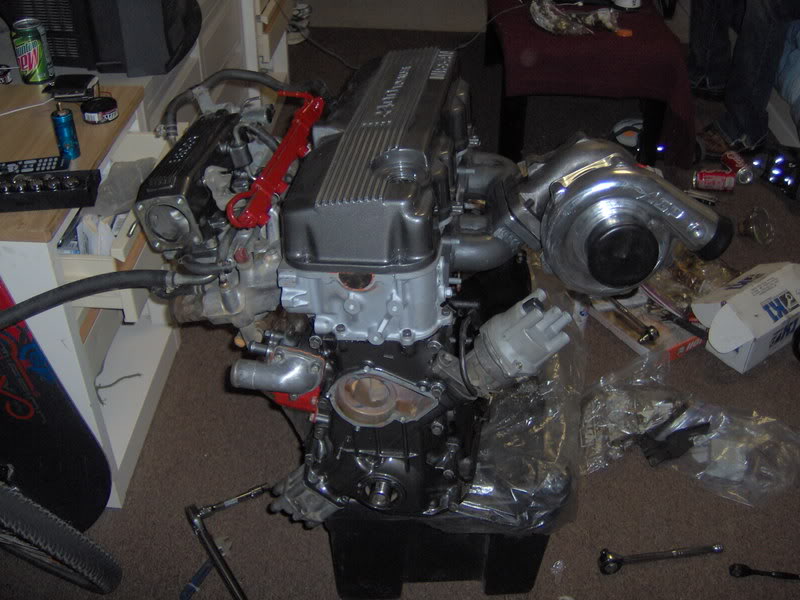
Went with graphit instead of red since when I got my block back they had already painted it black
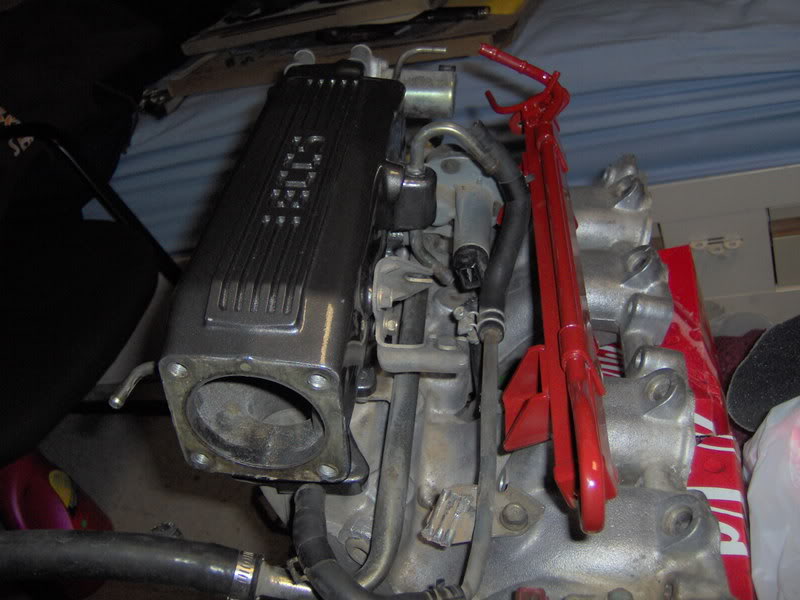
this is the throttle body being put back together, I also removed the secondary butterflies on the manifold along with most other smog.
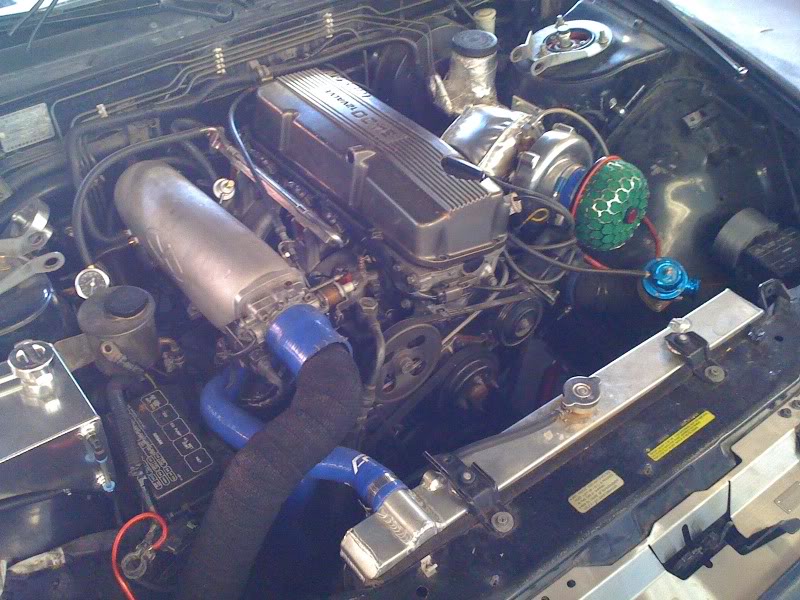
and Ive got some pics of the engine coming together
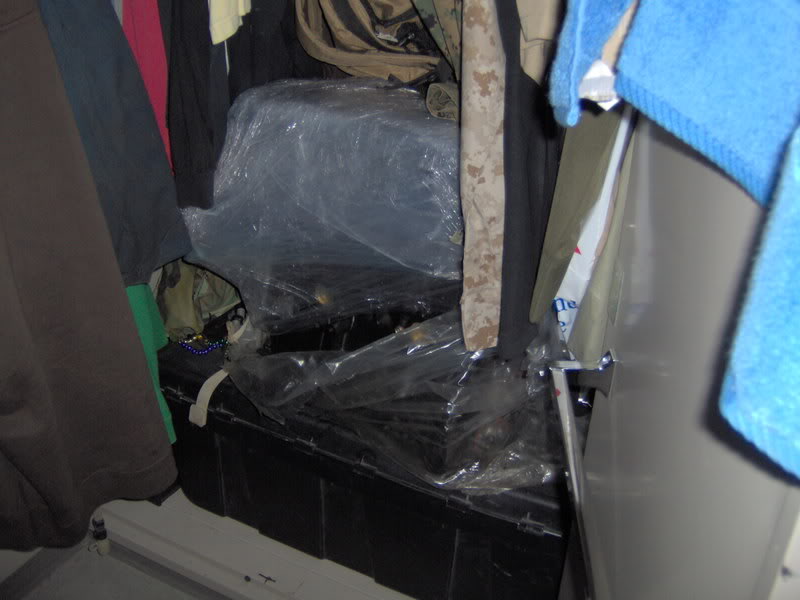
and into my wall locker for the next three weeks
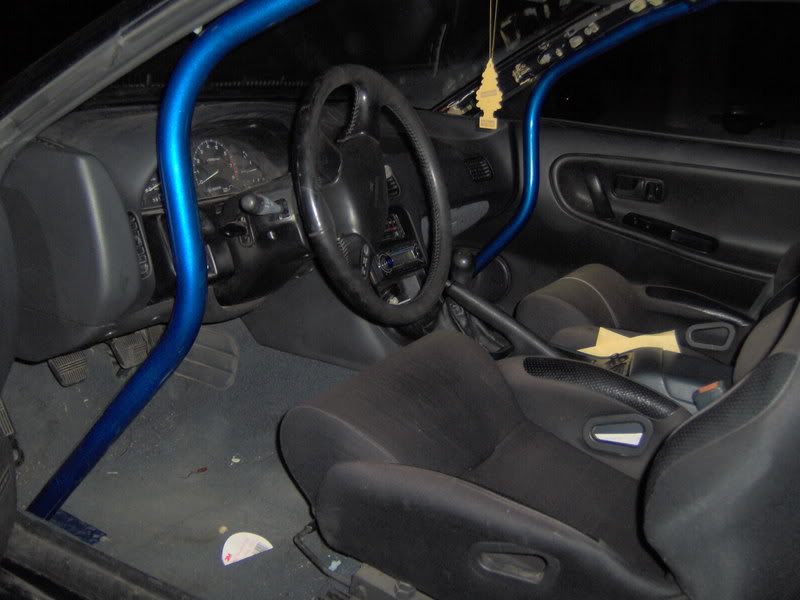
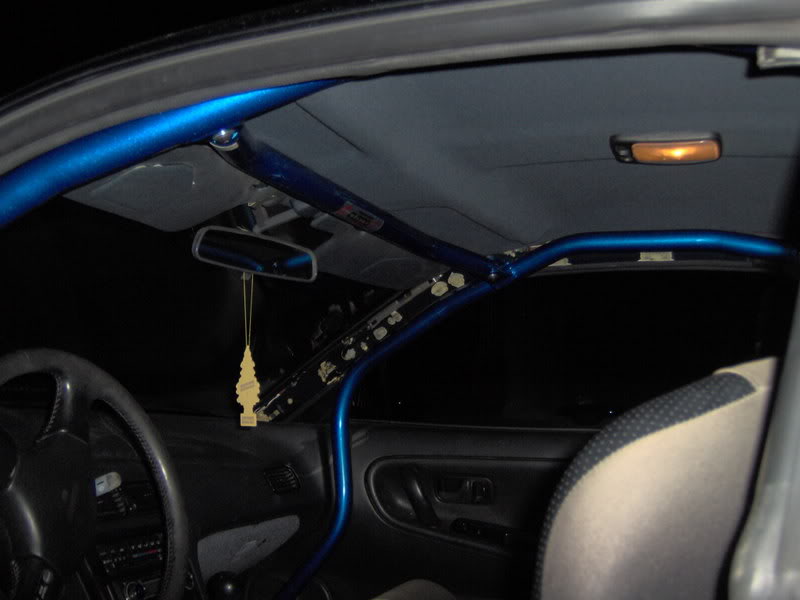
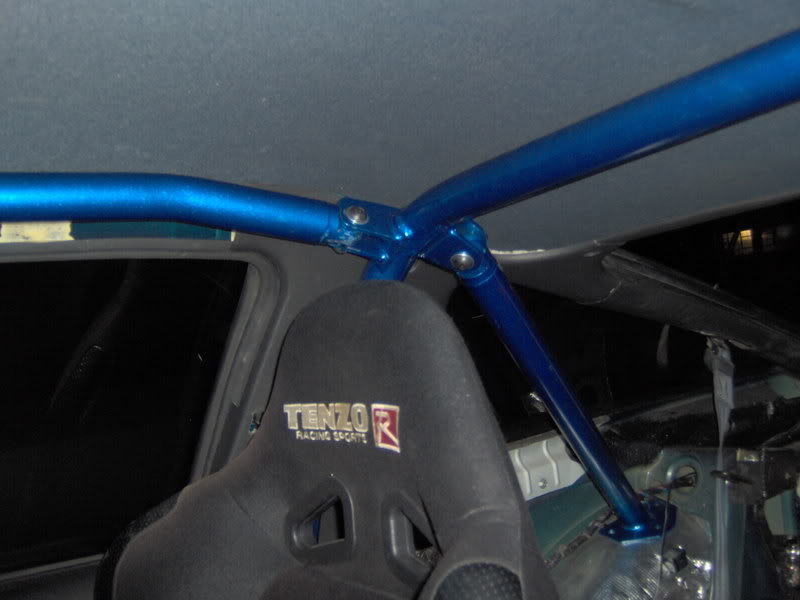
I realized I never posted my cage, it is in the car now
my new bigger than last intercooler and bov greddy look alike…the old one is also for sale!!!
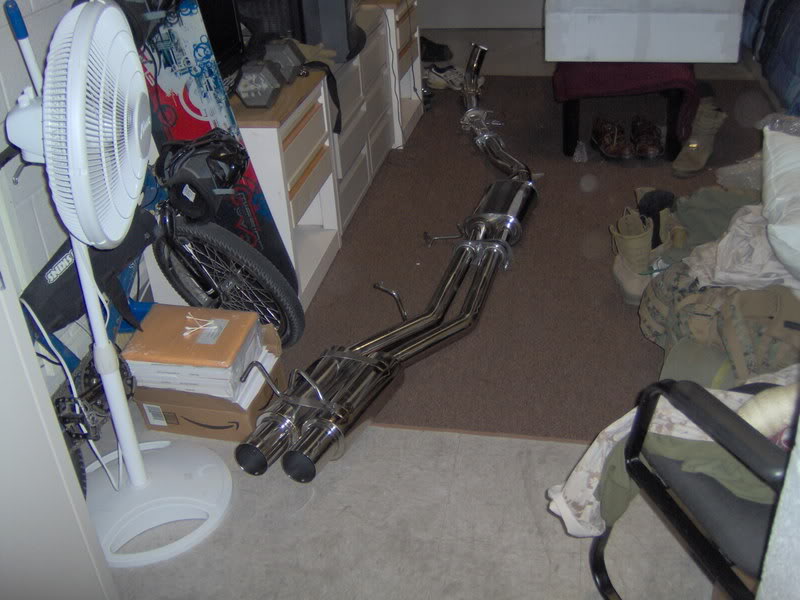
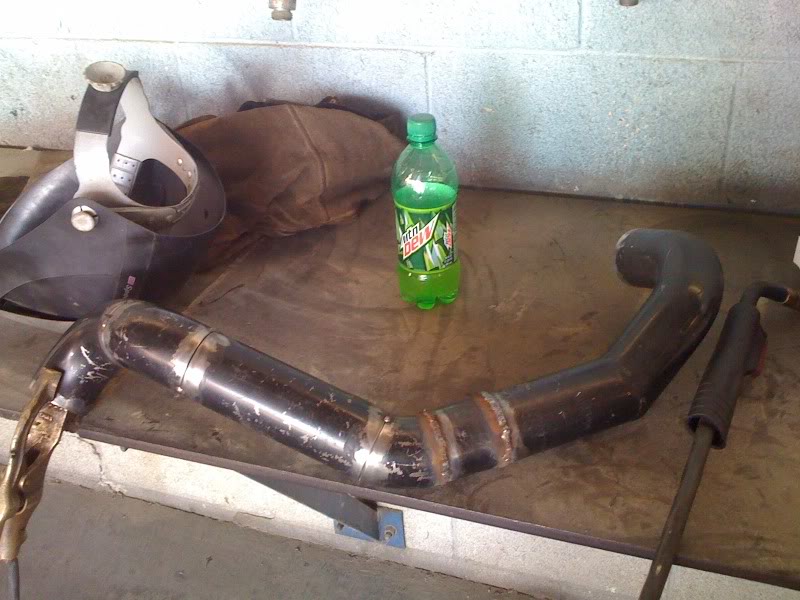
and my new downpipe 3″ with test pipe 3″ and xspowered turbo exhaust 3” to dual 2.5” it looks pretty tough and the welds are perfect only thing is there might be a problem with the rear hangers hooked to that flimsy band…weak?
Here it is semi installed, I havent bolted it down yet cause I just got back from the field and my car is dirty so excuse it…oh and the panels are going back on
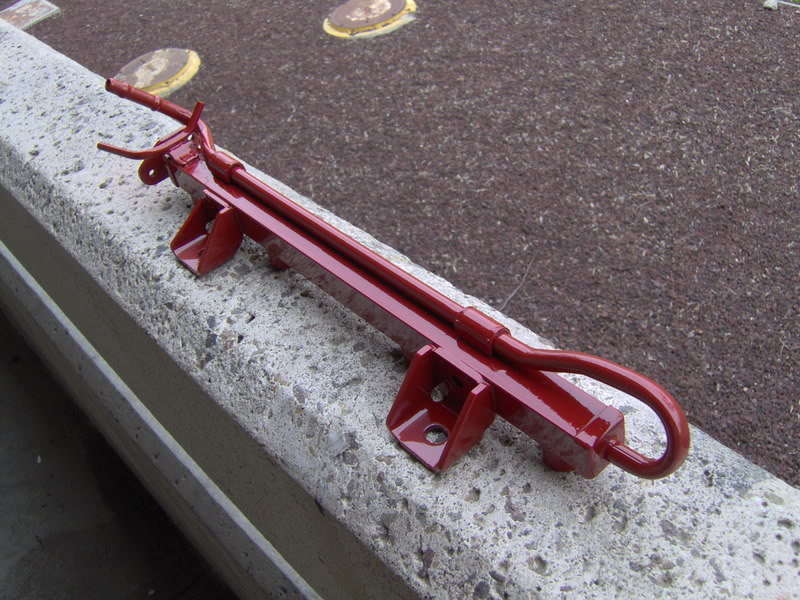
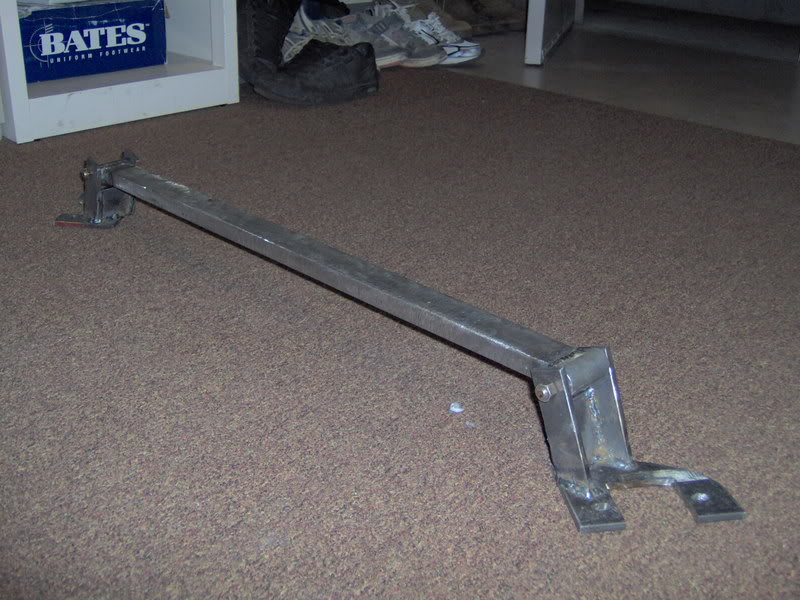
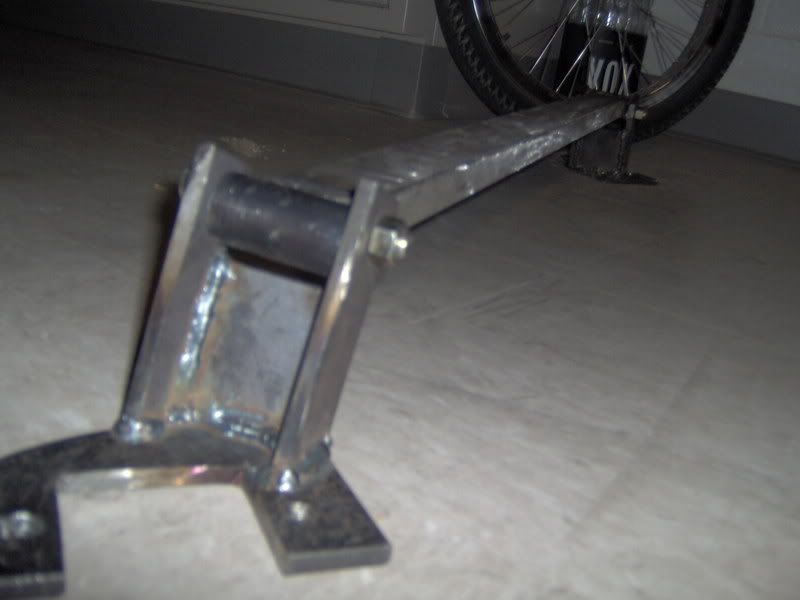
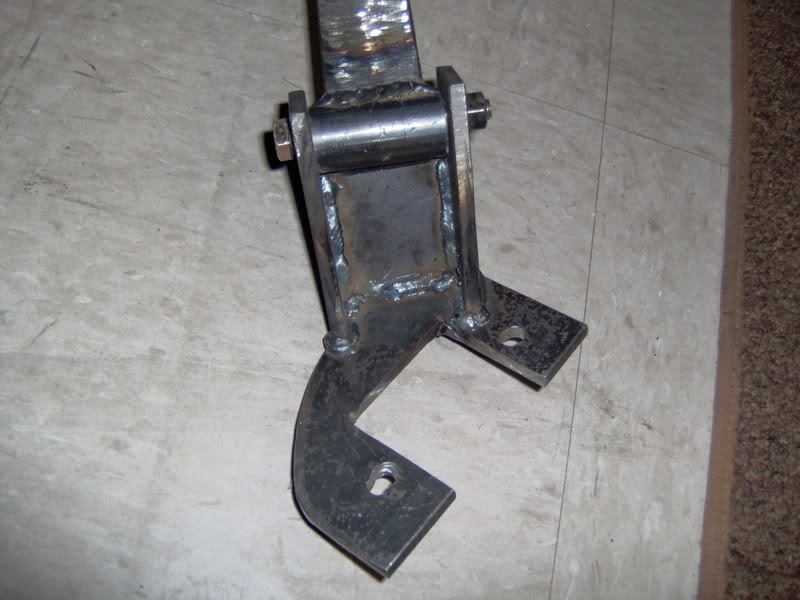
I am no welder, I actually learned to weld on youtube…then I practice at my second job welding random car parts for Marines/Navy…there is a certified welder that also gives me advice and such…I made my rear strut bar….oh and I used a mig welder
Heres a before and after of my rear wheels
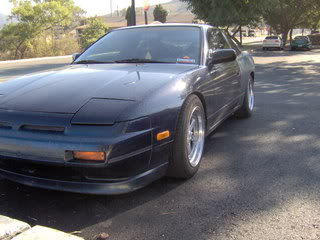
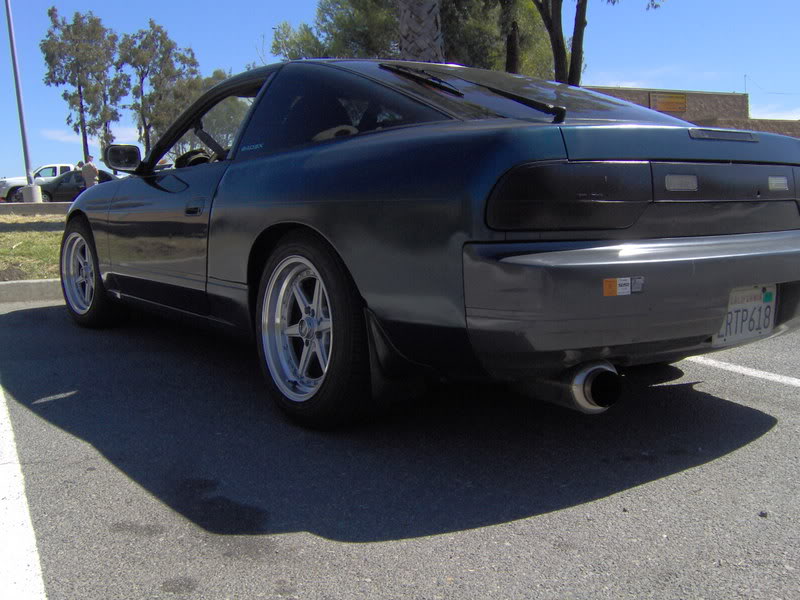
after
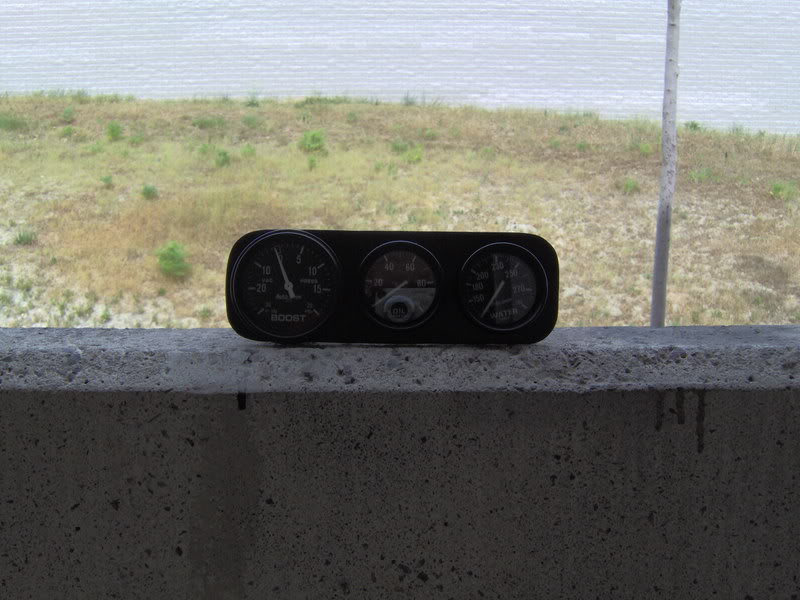
first off is my coolant contact point for my temp gauge. I still have no idea where im gonna put it.
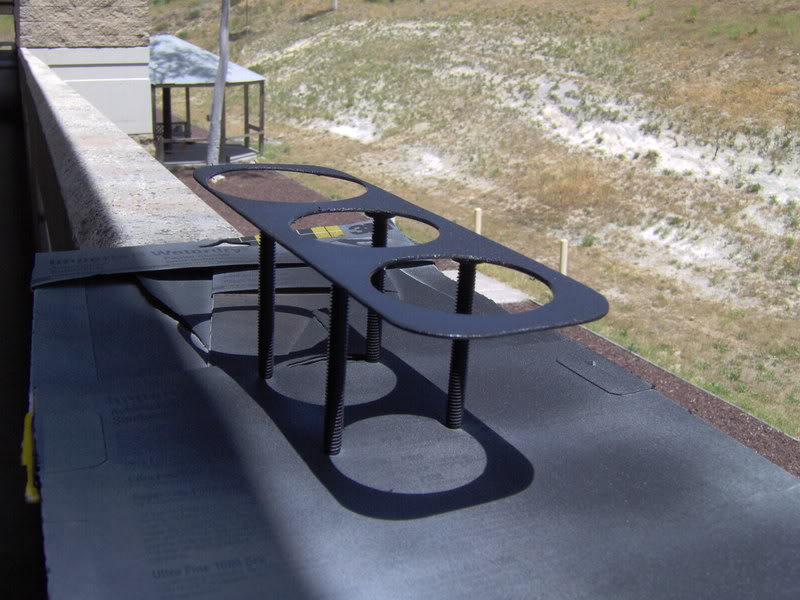
 next is my failed attempt at making fiberglass gauge pod
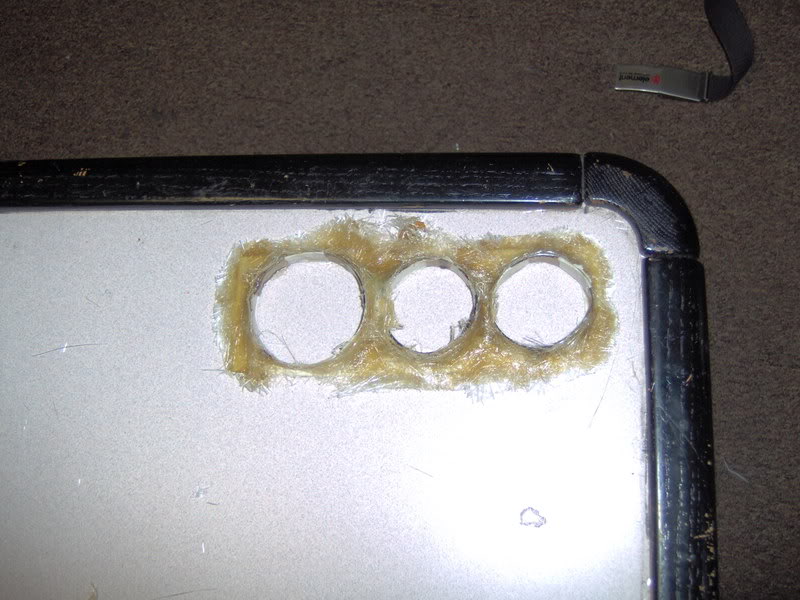
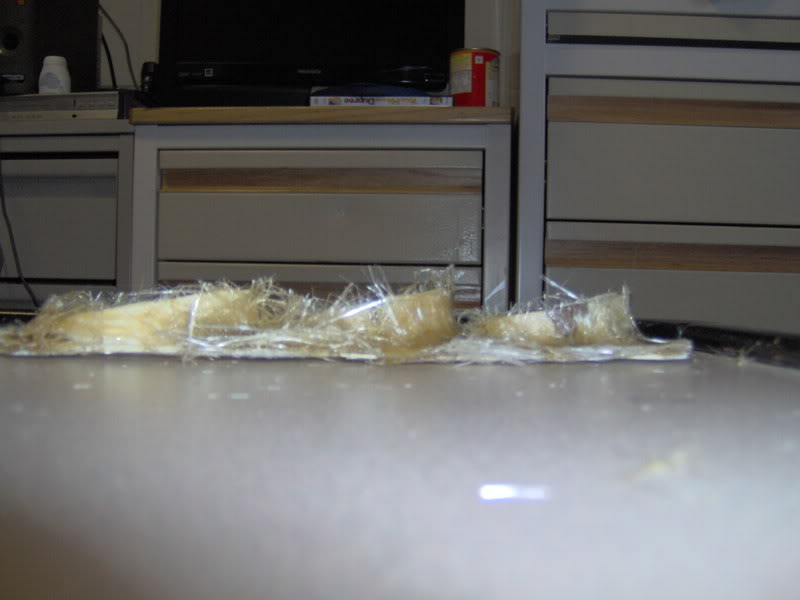
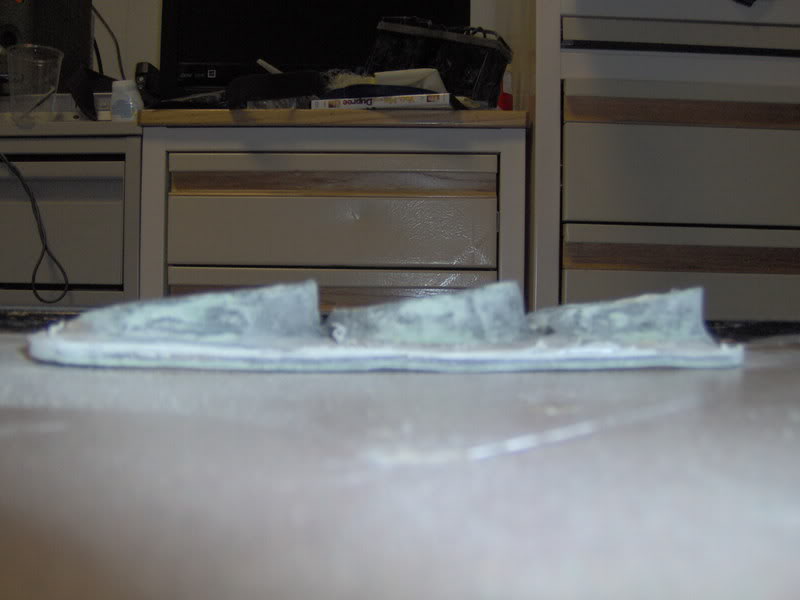
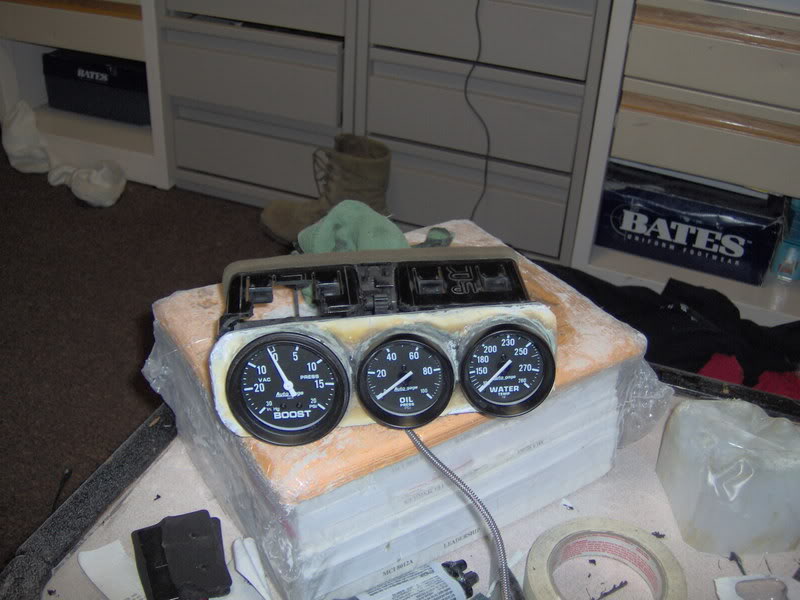
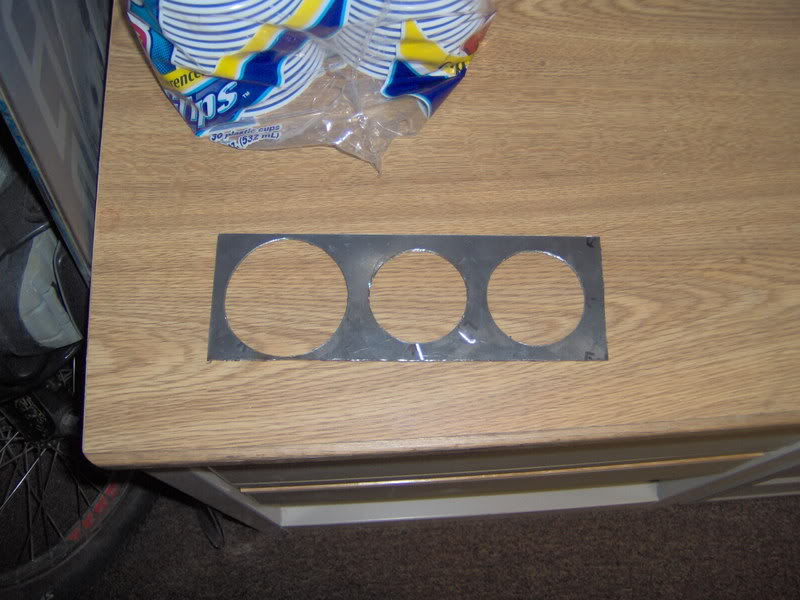
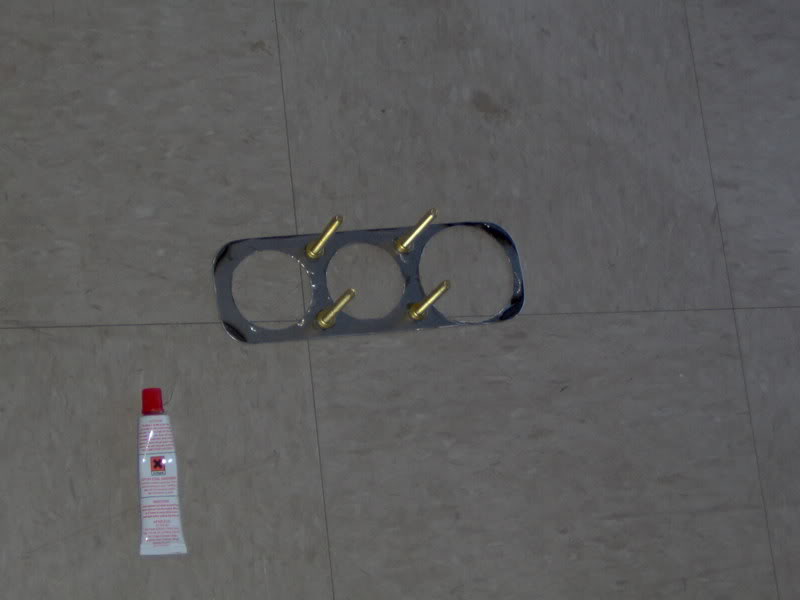
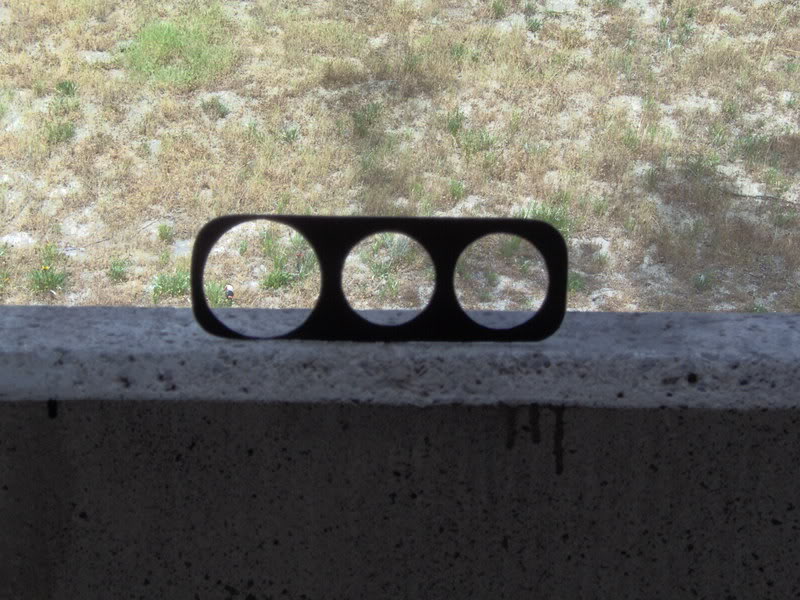
It worked pefectly, I just didnt like the ending look of it. so I made one out of steel!
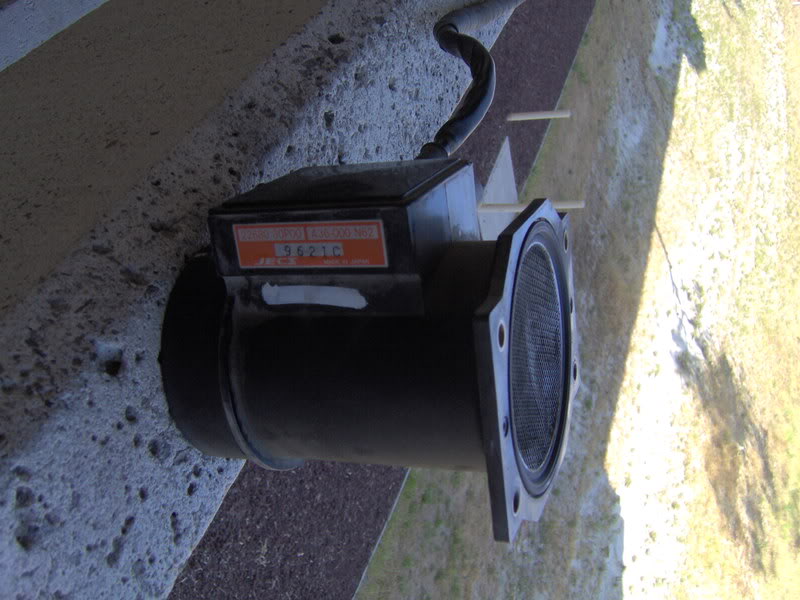
Got my mafs today…for only 90bucks at the junkyard…it still seems like alot but I know it works cause I watched them run it on the car before I bought it…
I installed my rollcage all the way today….the car is very solid feeling now…and I installed my new exhaust. it sounds perfect. the only thing is on the cat delete flanges there are exhaust leaks…I will prolly take that to an exhaust shop to fix…

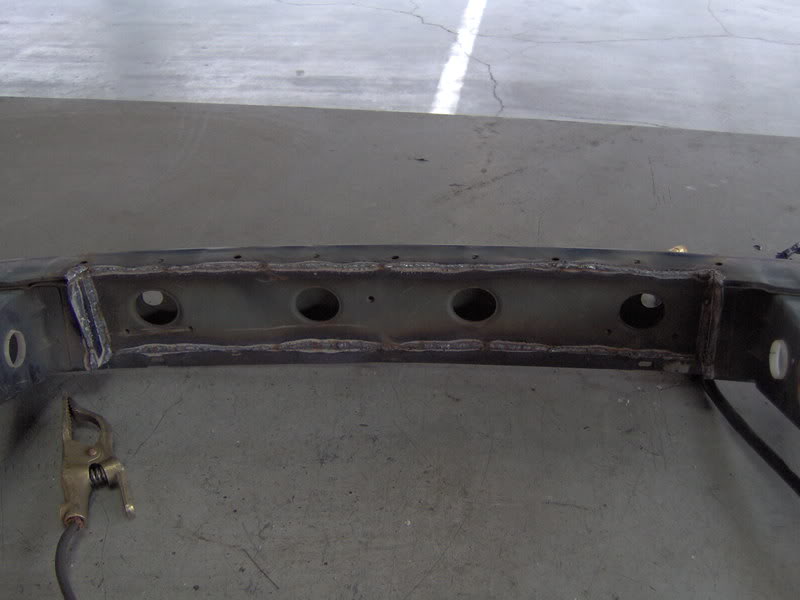
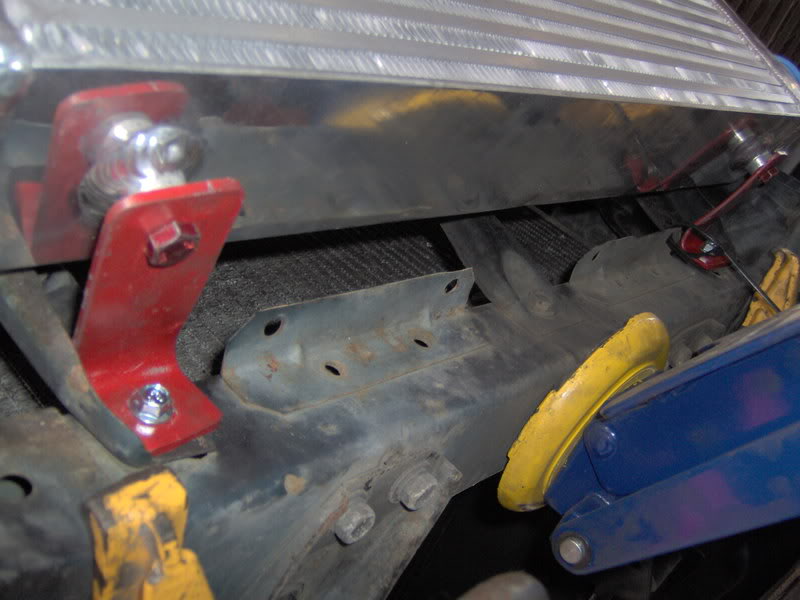
what a busy couple of days…here is my intercooler install kinda tutorial…
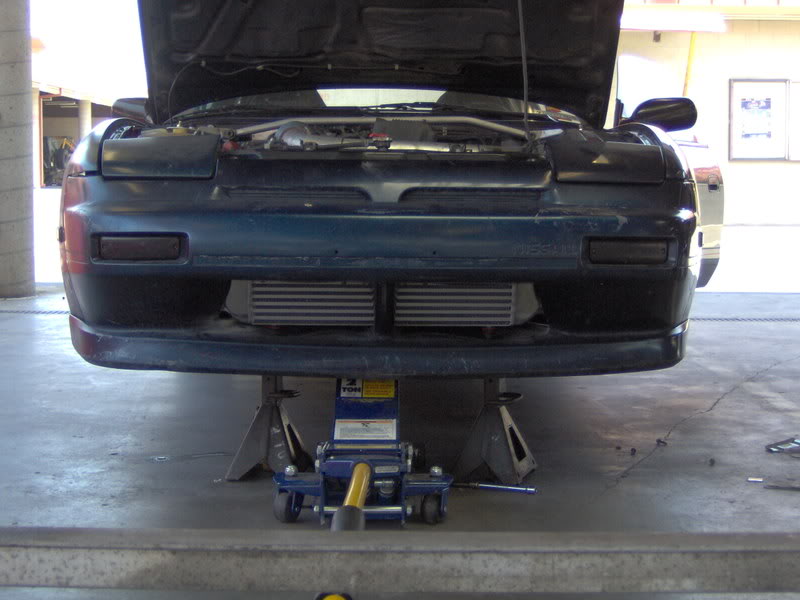
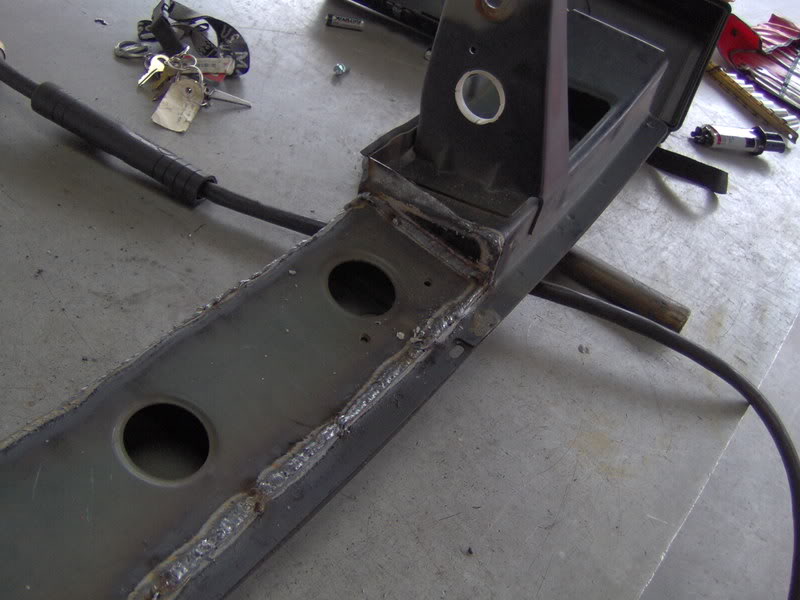
it doesnt fit so you have to mod things up a bit. I had to notch my bumper support…
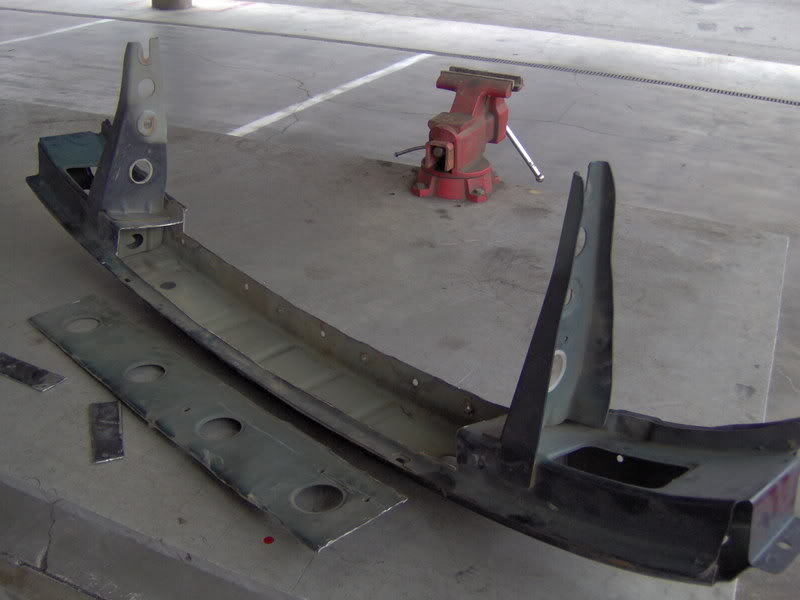
everthing you remove you need to put back…
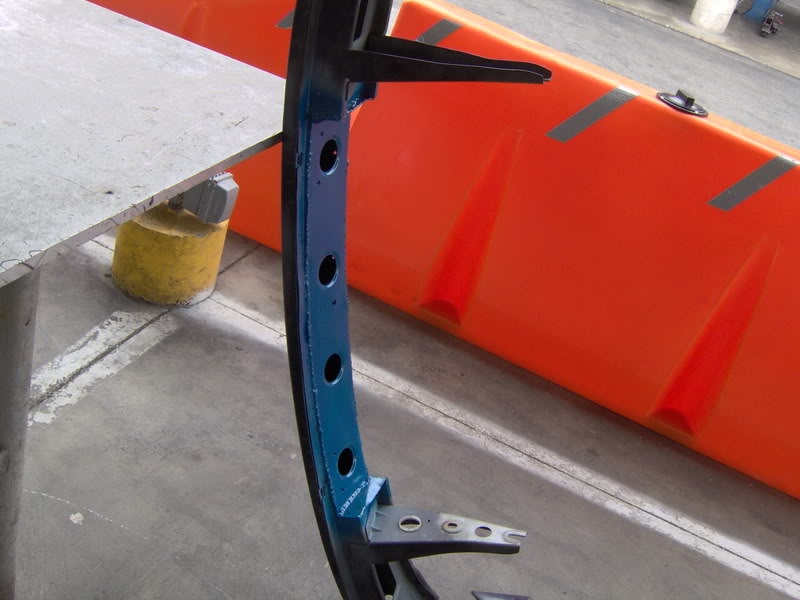
paint so it doesnt rust..
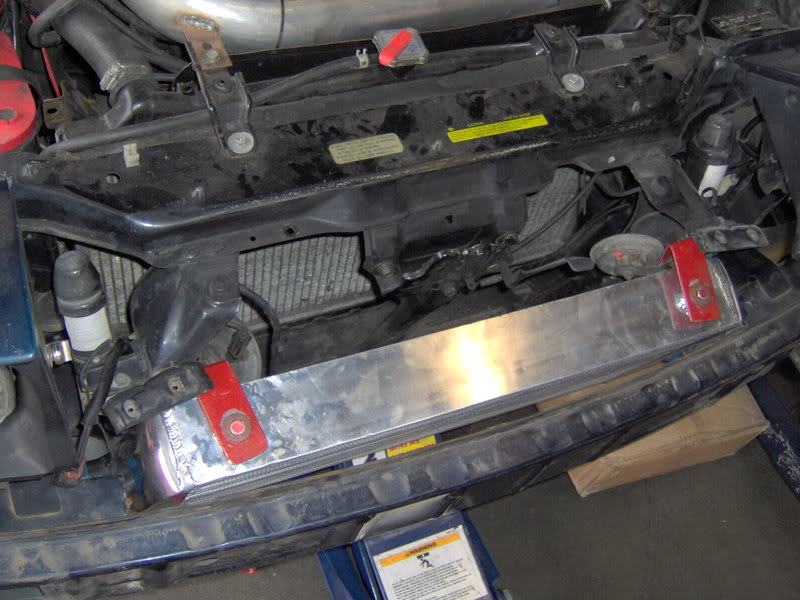
here it is installed notice the red things, those are my interfooler mounts.
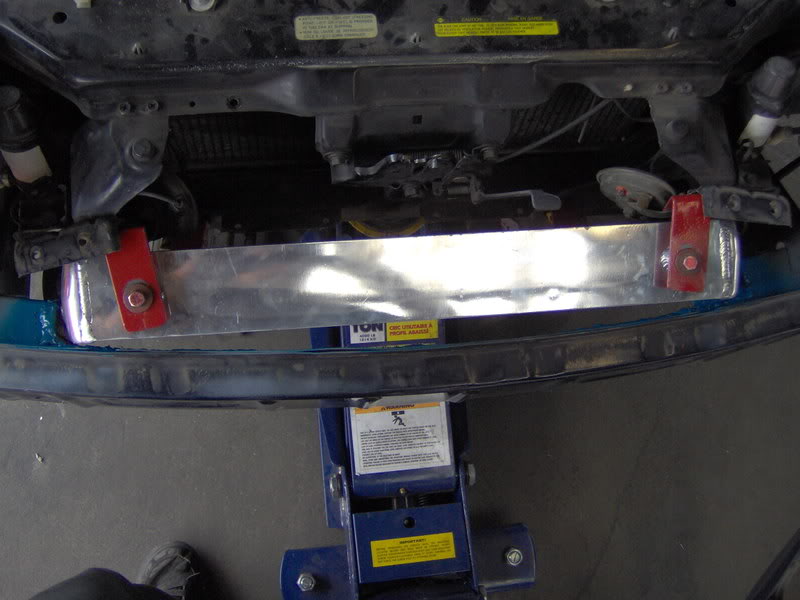

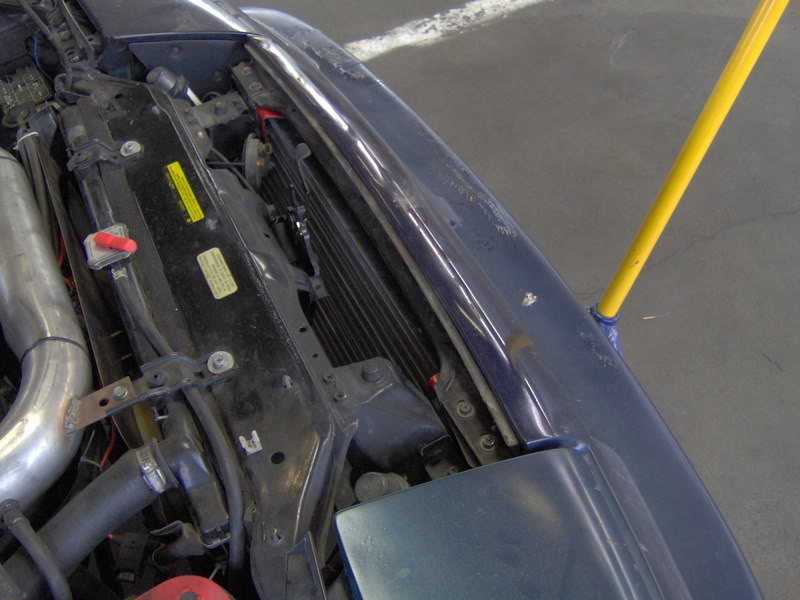
you also have to trim the plastic part of the bumper so that the bottom of the cooler fits.
I also lowered it some more in the front and addaed some neg camber.
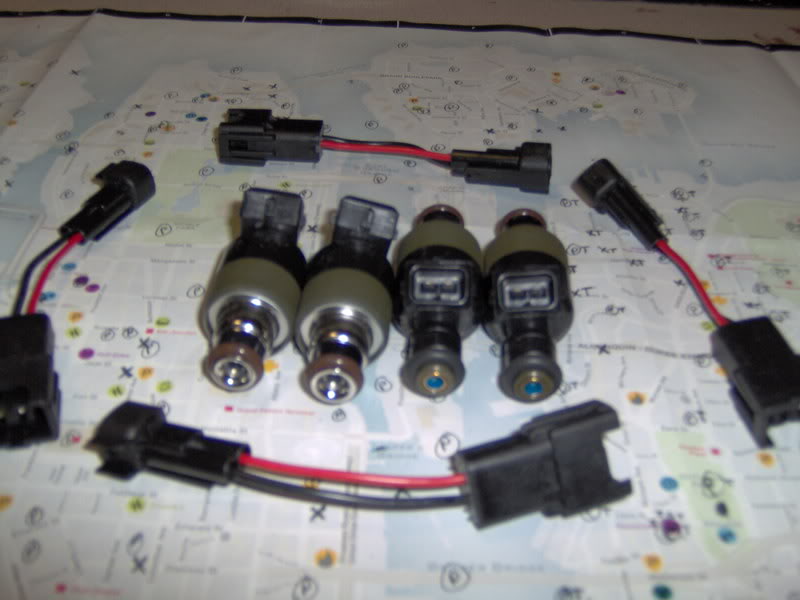
I also got my injectors…correct me if Im wrong but it looks like they will just clip into the stock incector clips.
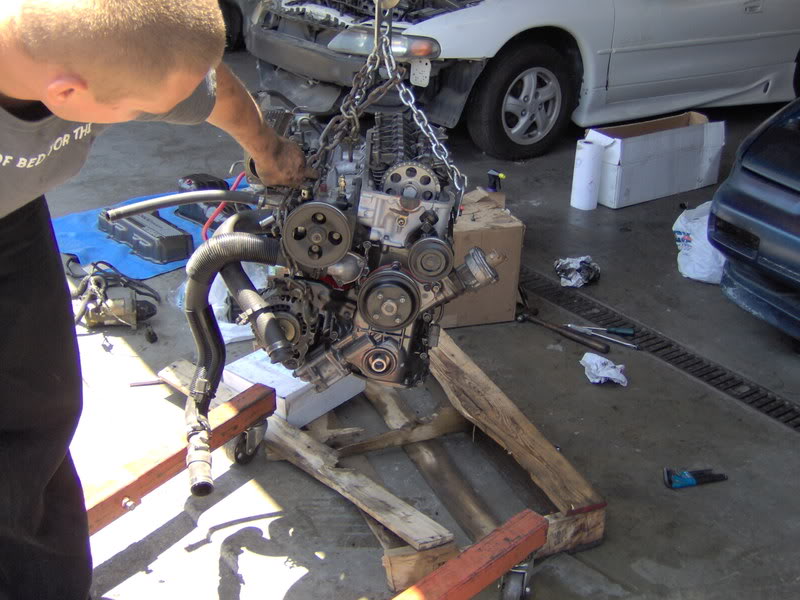
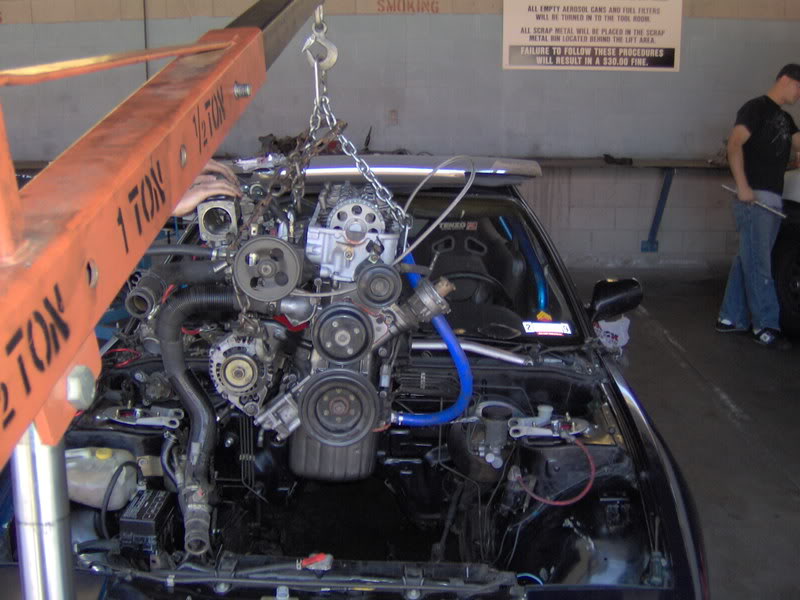
i have some updates…. I pulled my engine out and tommorrow im putting the new one in…only things is my tranny broke…
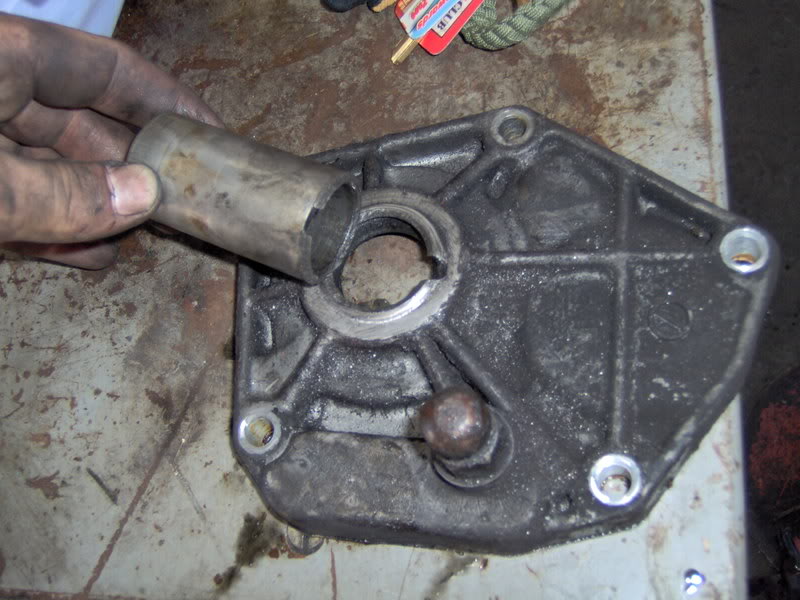
so now I have to find or repair that….


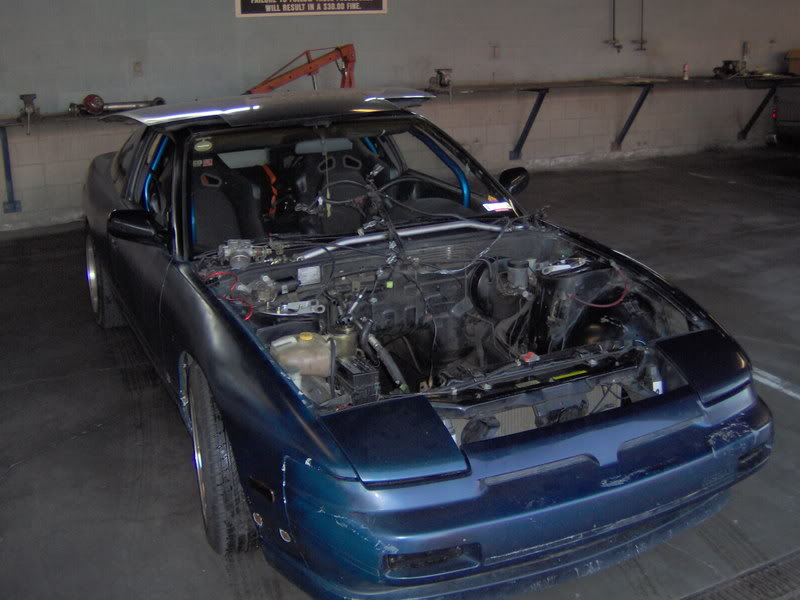
got some pics…
well i got both sets of sway bars today…ill post more pics on the install
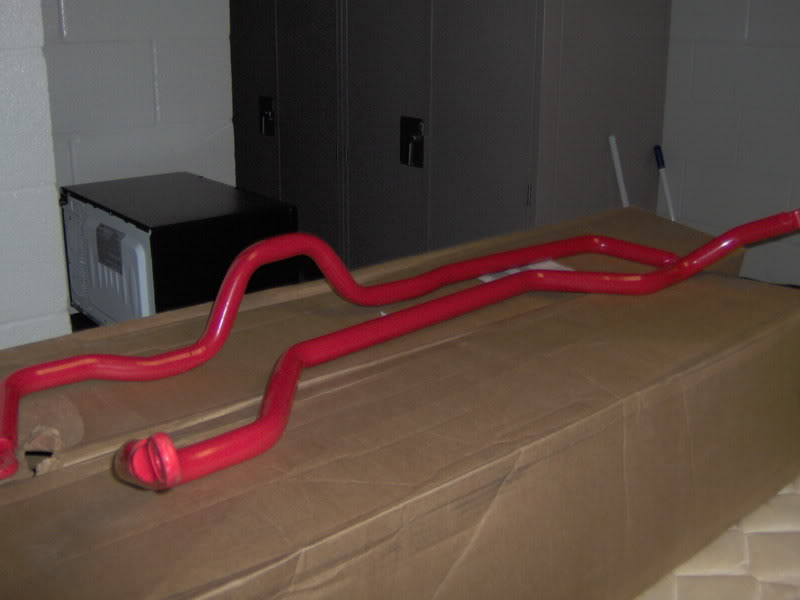
sway bars…notice the gap in the bushings
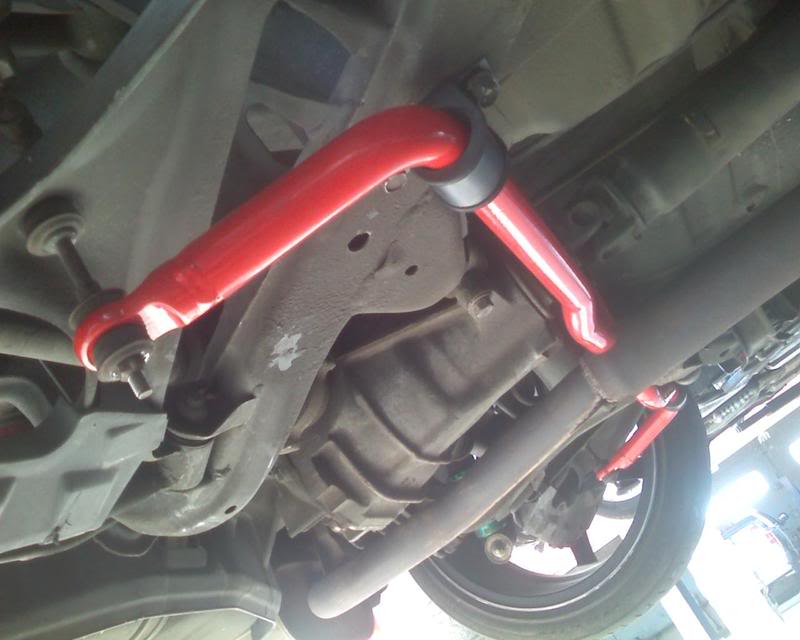
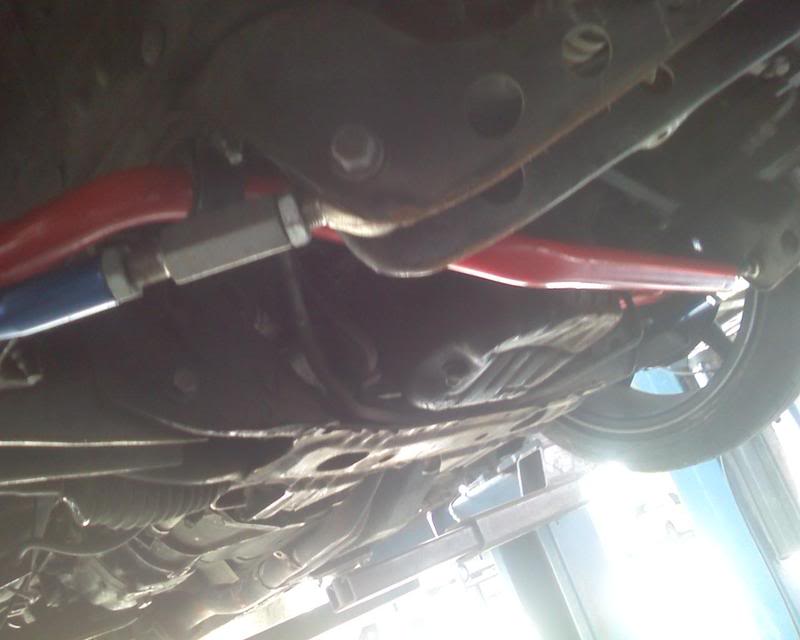
I dont even want to talk about the fitment in the front….but overall big improvment….now into the wheel bearings write up……
1. first you must take off the wheels.
2. Now remove the caliper and then slide off the rotor.

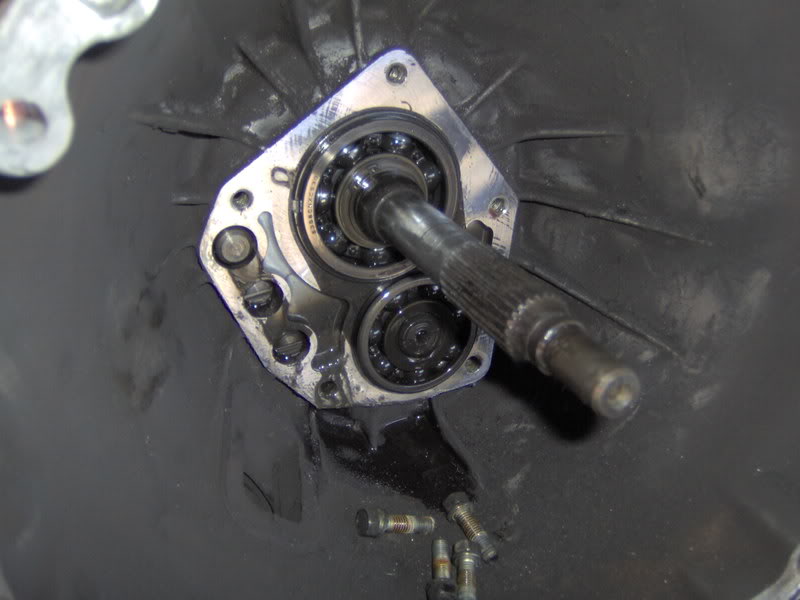
3. remove the cotter pin on the hub and the lock collar then with a impact remove the 36mm nut on the shaft.

4. there are 4 bolts on the rear of the hub. rotate the axles so that you can remove them.
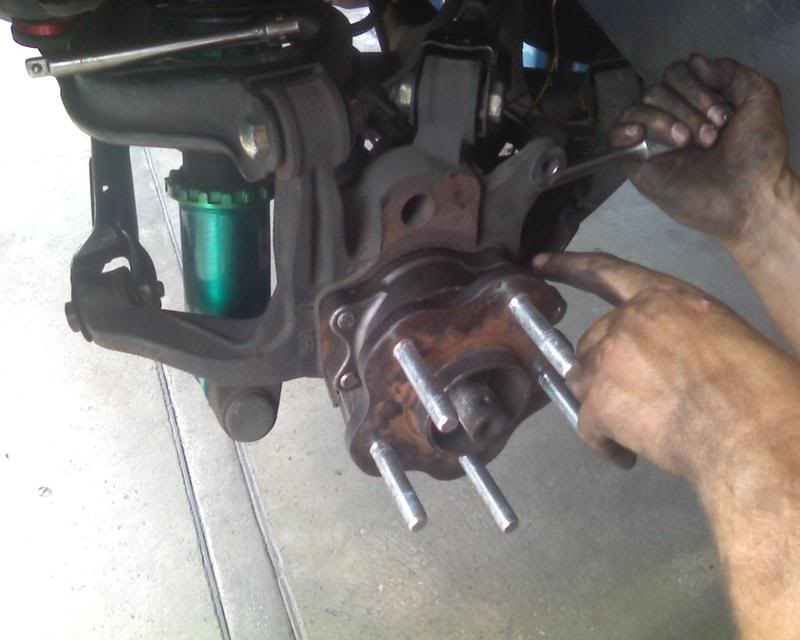
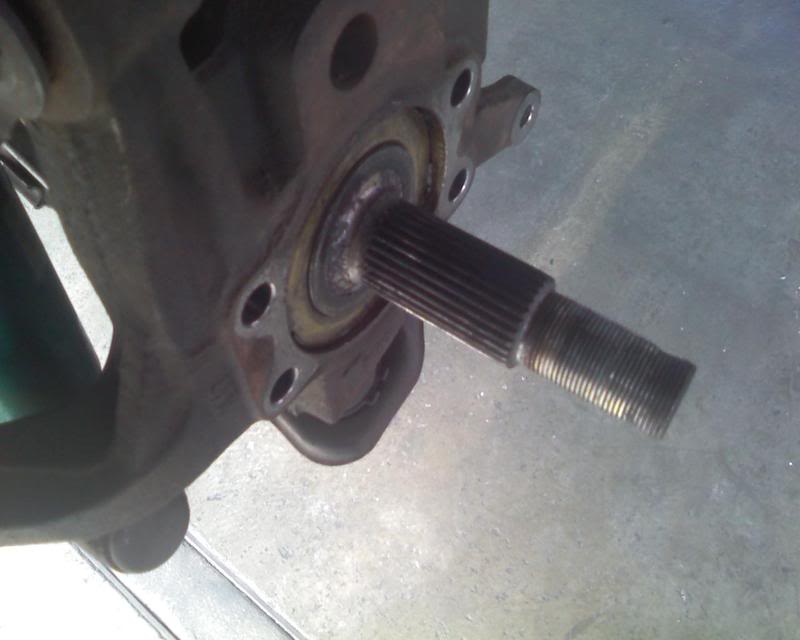
5. once these are removed, grab the spindle and shake it loose off the splines.
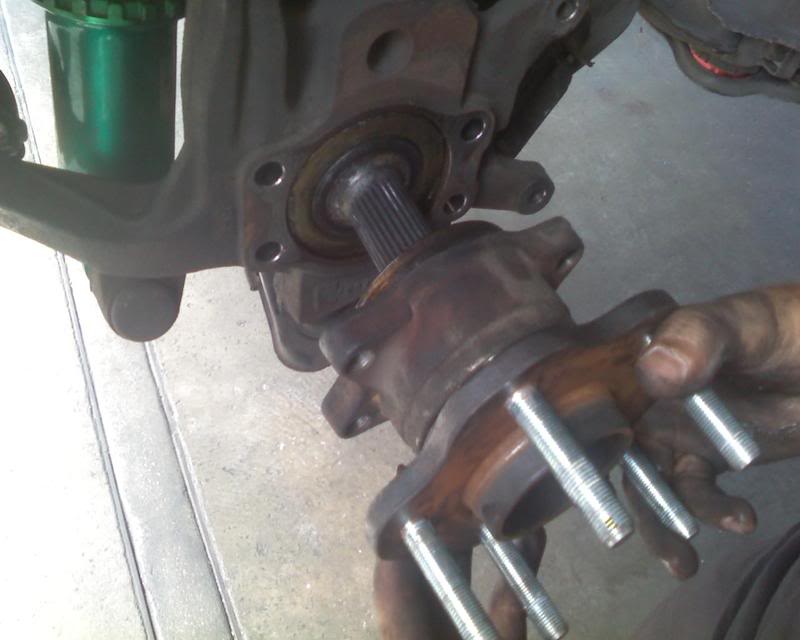
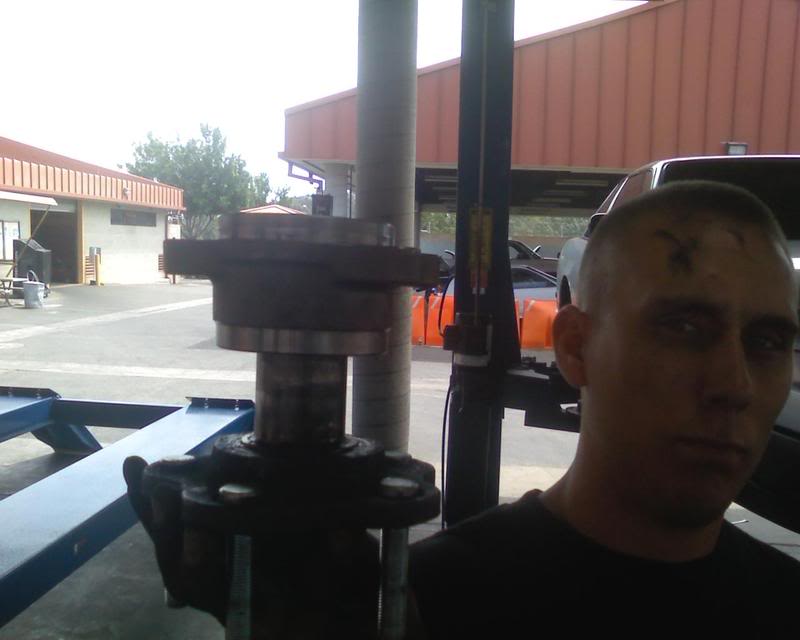
6. the tuff part is pressing the bearings off the spindle. I used a hydralic press to do it. the only pain was that the inside race of the bearing wouldnt come off so I had to cut it off.
7. now press it all back together. make sure it is all the way to the stop of the spindle.
8. reinstall it back to the hub. those 4 bolts.
9. Now the spindle nut must be torqued down to at least 206 ftlbs and no more than 276 ftlbs. after that is down add the lock collar and install a NEW cotter pin.
10. Reinstall rotor and caliper and wheel.
after the long wait….here are some pictures…
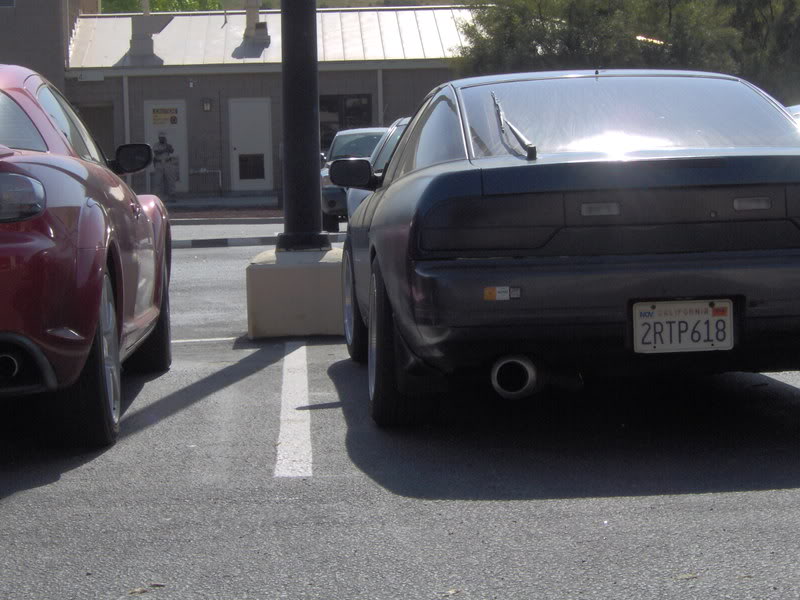
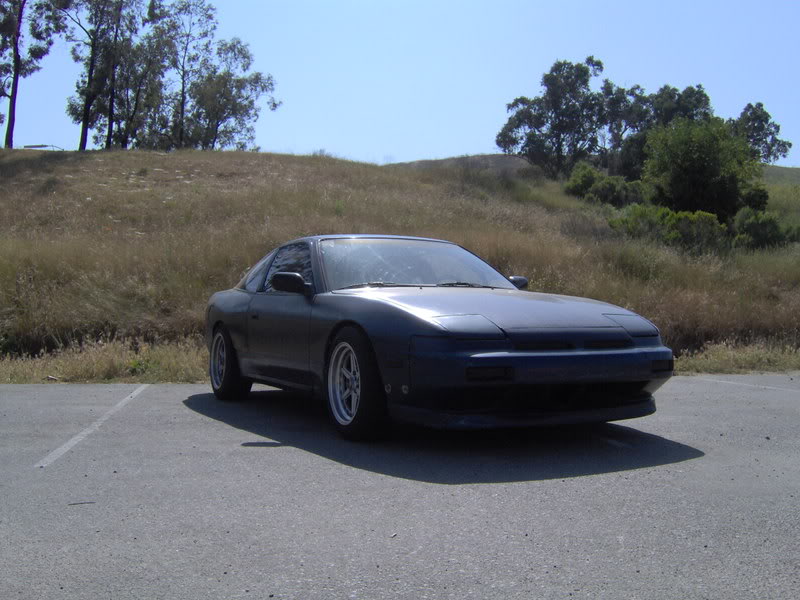
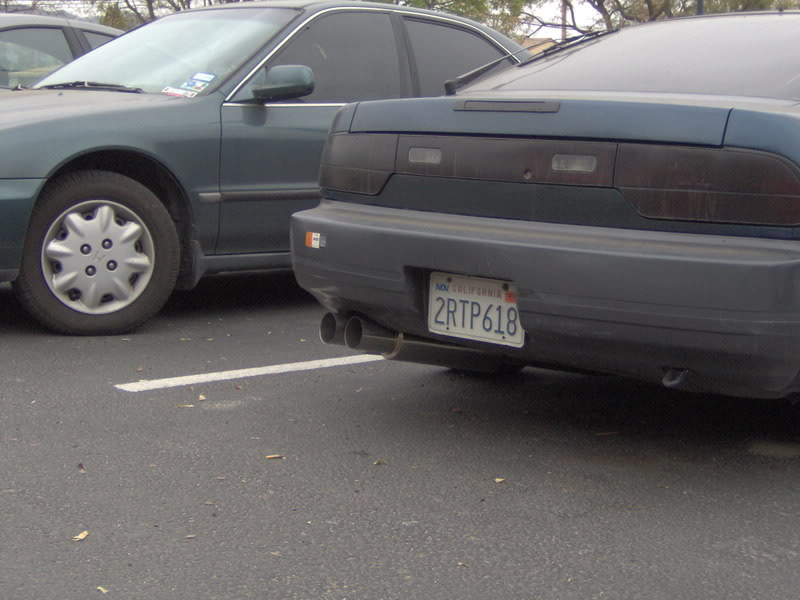
this is how it sat
 .
.
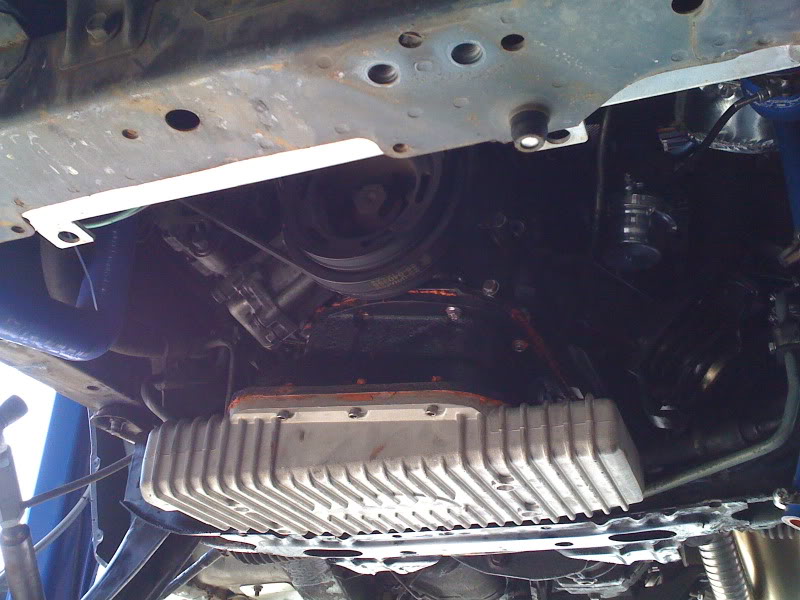
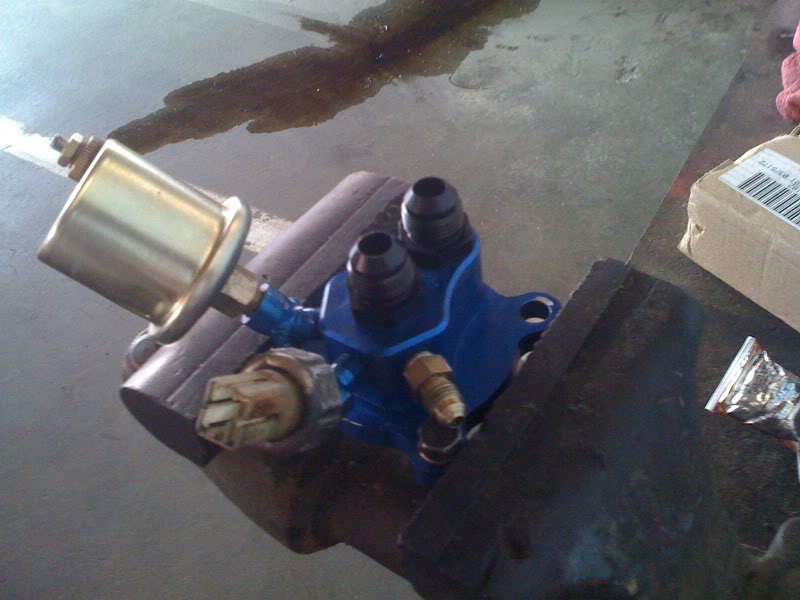
this is my oil pan from xcessive…the front sump is an isis from enjuku.
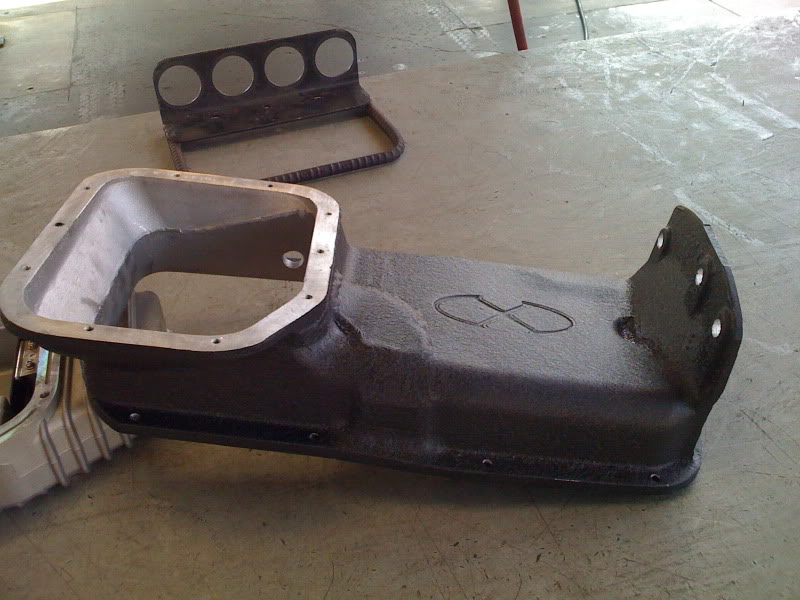
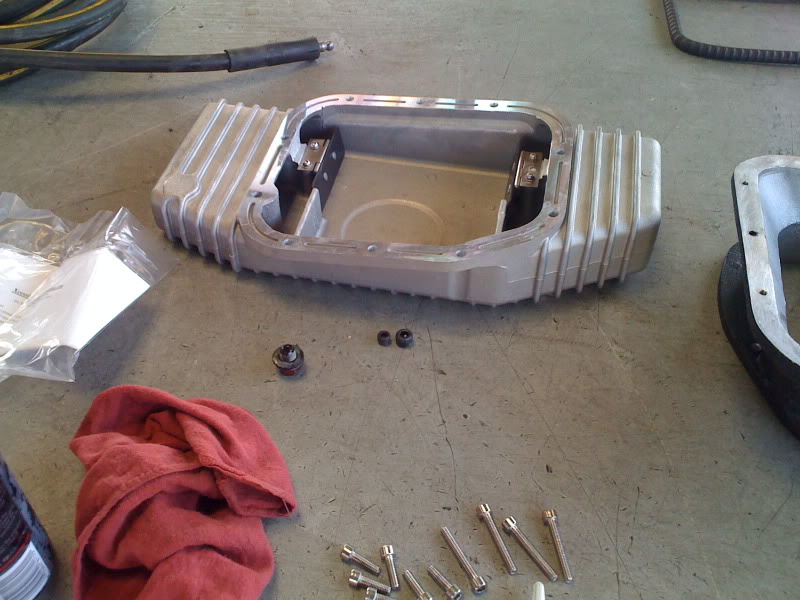
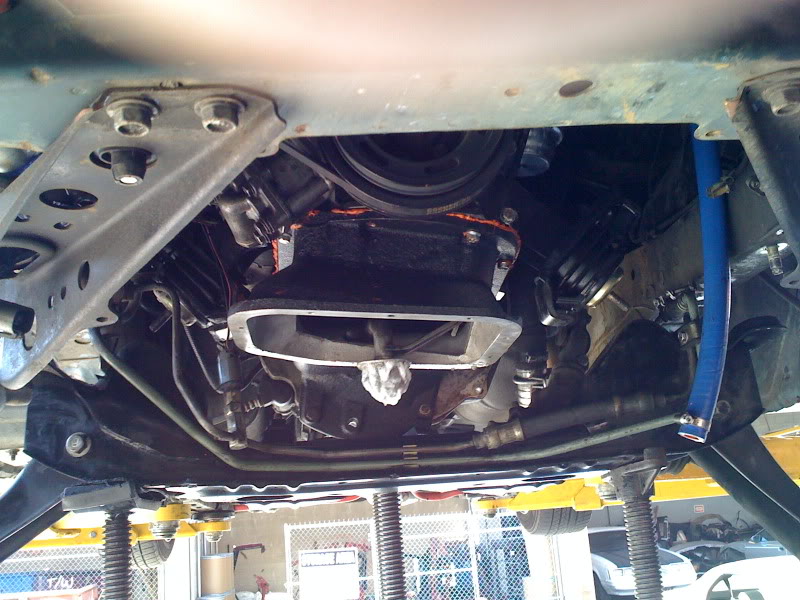
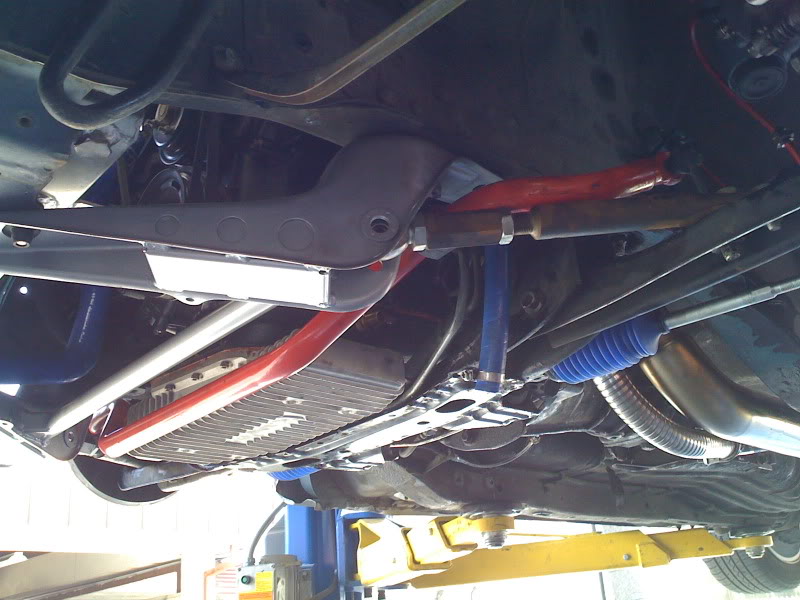
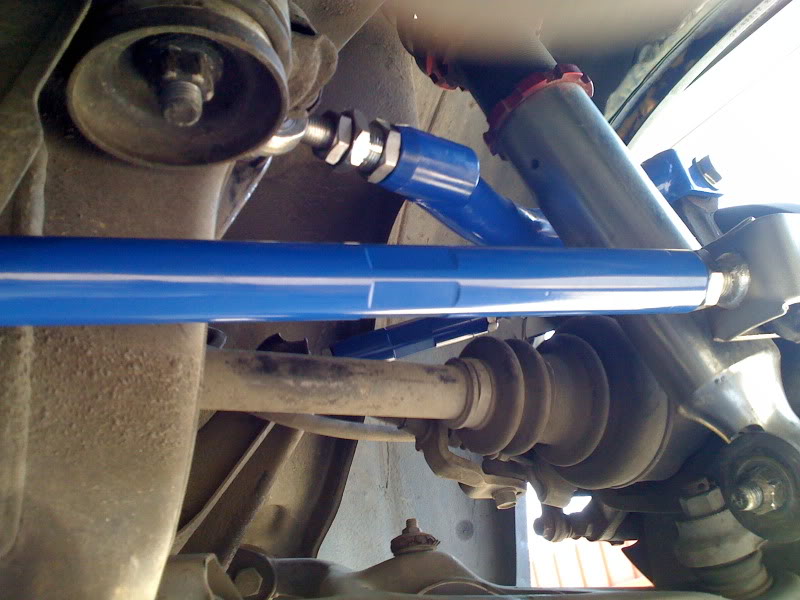
in that one you can see the clearences…also the nismo power brace and tie rods.
here are the suspension arms
and my skid plate
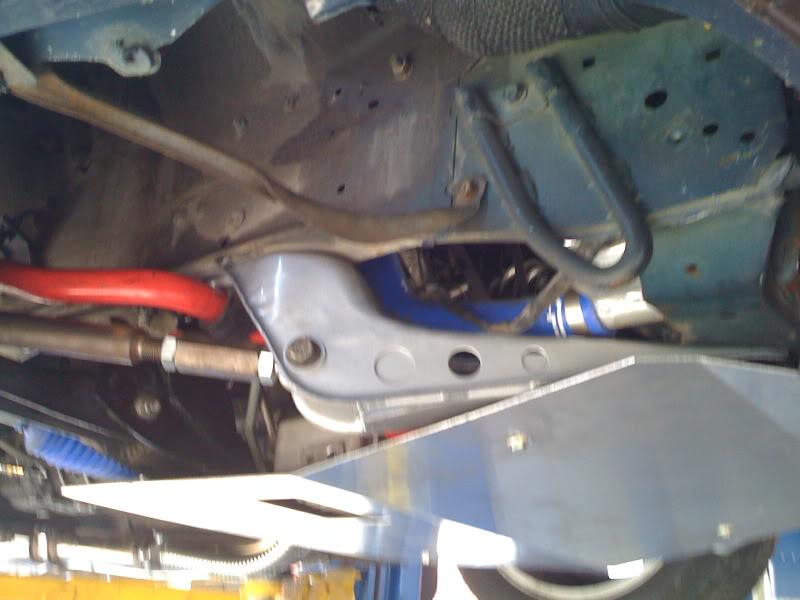
the engine looks nice from the bottom end
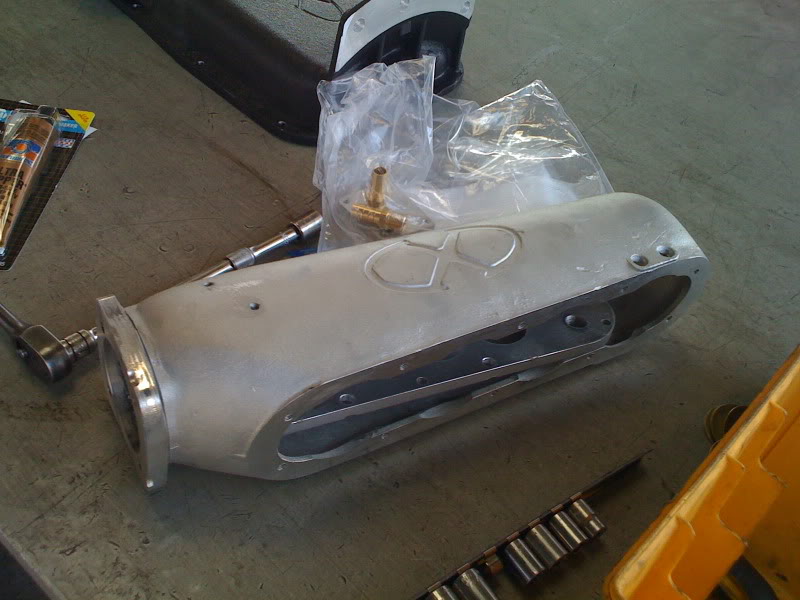
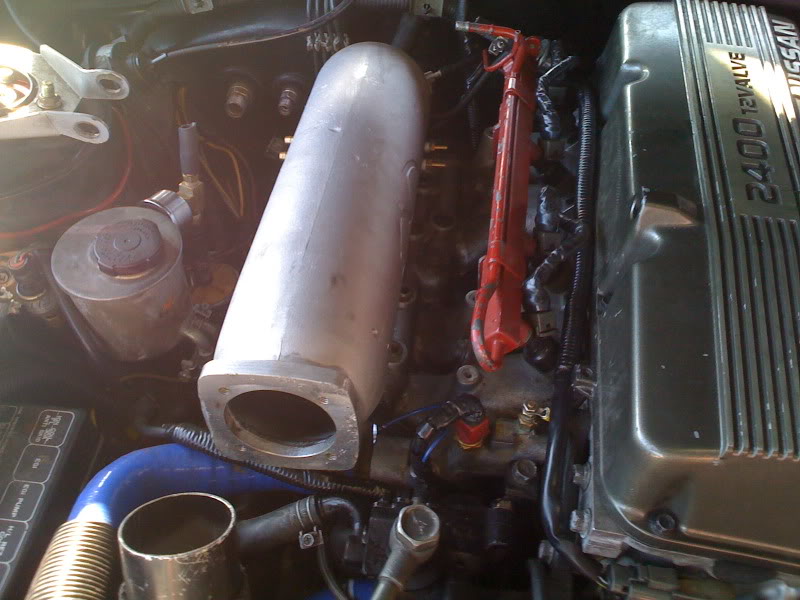
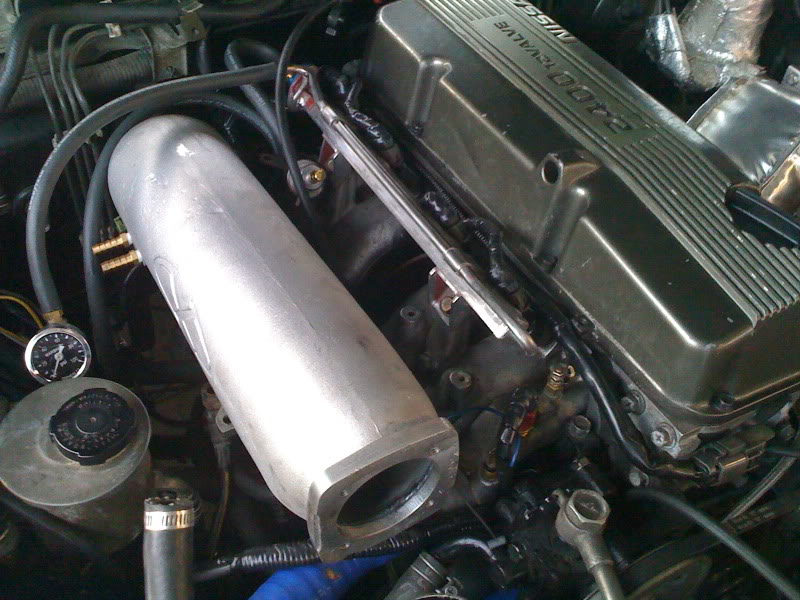
here is the intake plenum also by xcessive
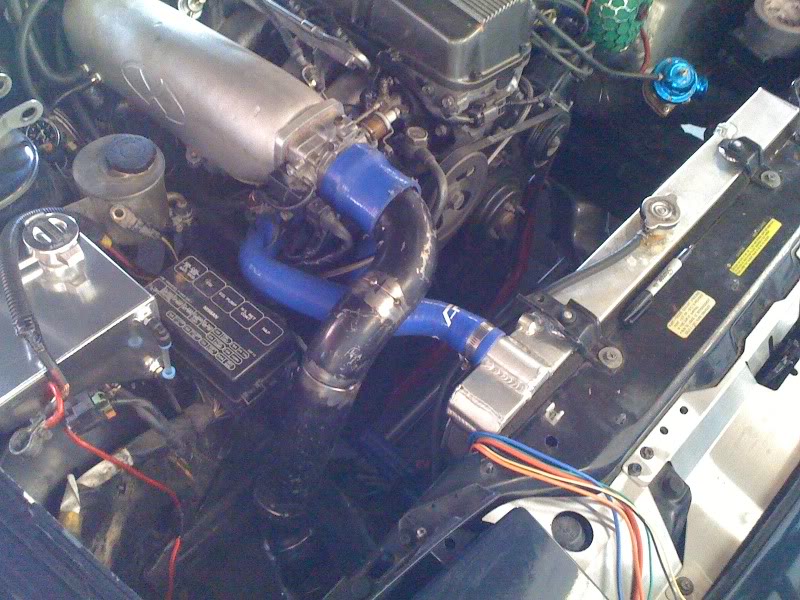
I had to redo my intercooler piping
here are the solid lifters…i had to send them back butall should be good when they return with the new cam…
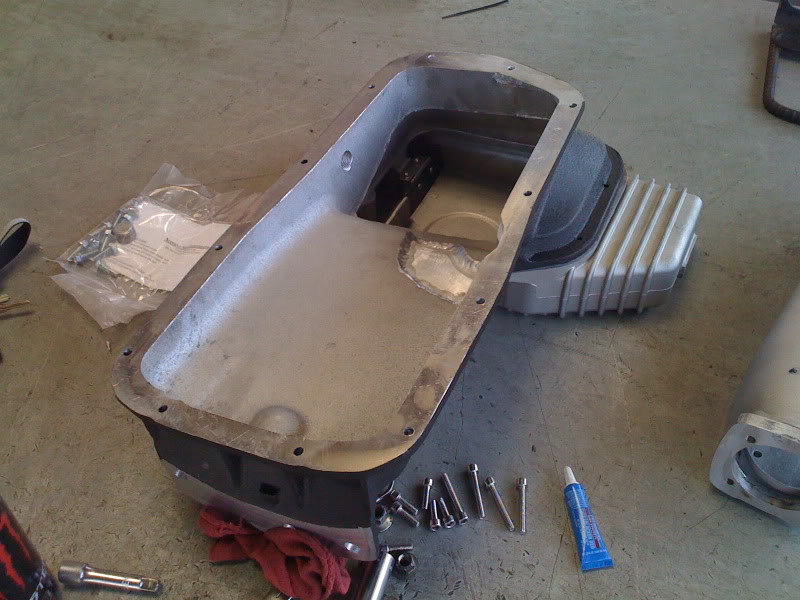
here is the skull and cross bones block adapter.
this is for one of my gauges… it has since been painted and looks stock
now for my wiring tuckish
and done
got the camshaft i should be getting the lifters wednesday or so. i also got bored on duty last night and bought some 750cc injectors…sorry dyno man….anyway here she is all pretty
Guess what came in the mail…

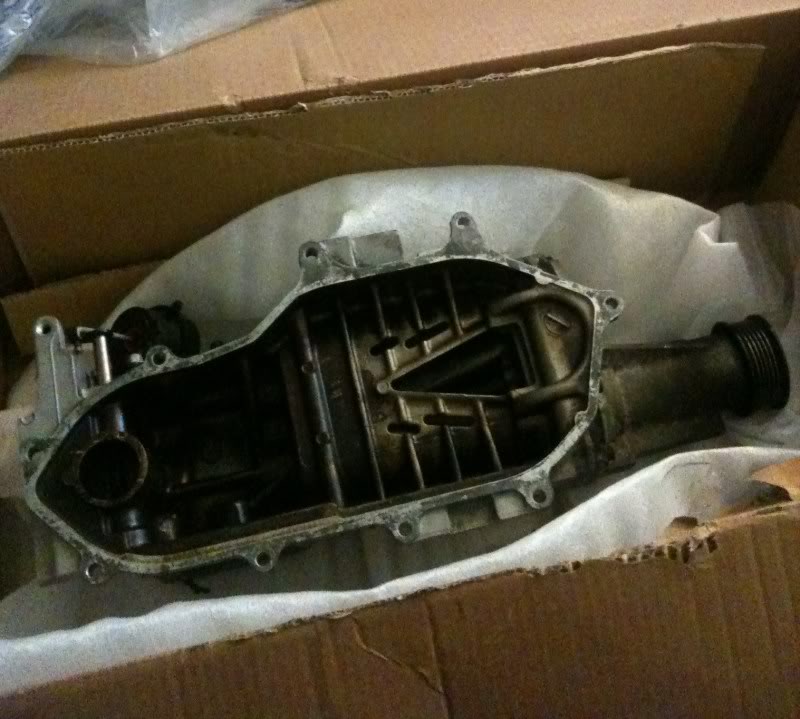
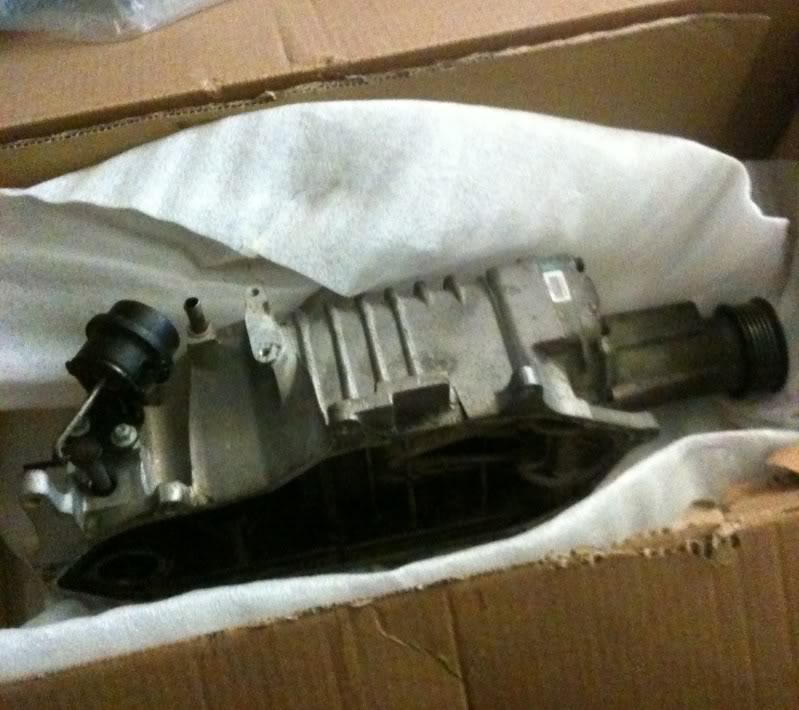
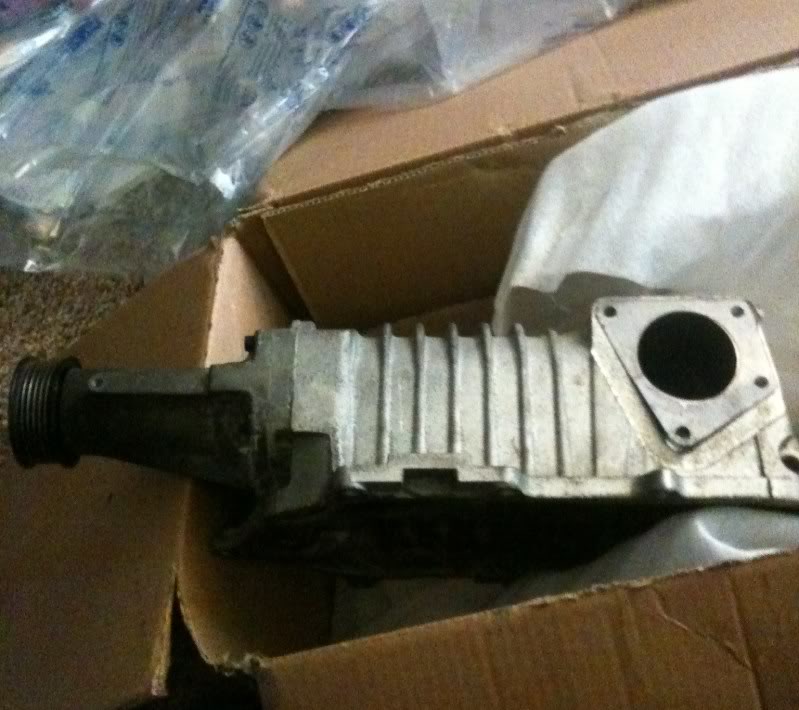
It looks to be in good condition, it does need a new coupler but we will see more possibly tonight when i tear it apart.
this is what i got done today….
shaved this lip
in the process
The sc template
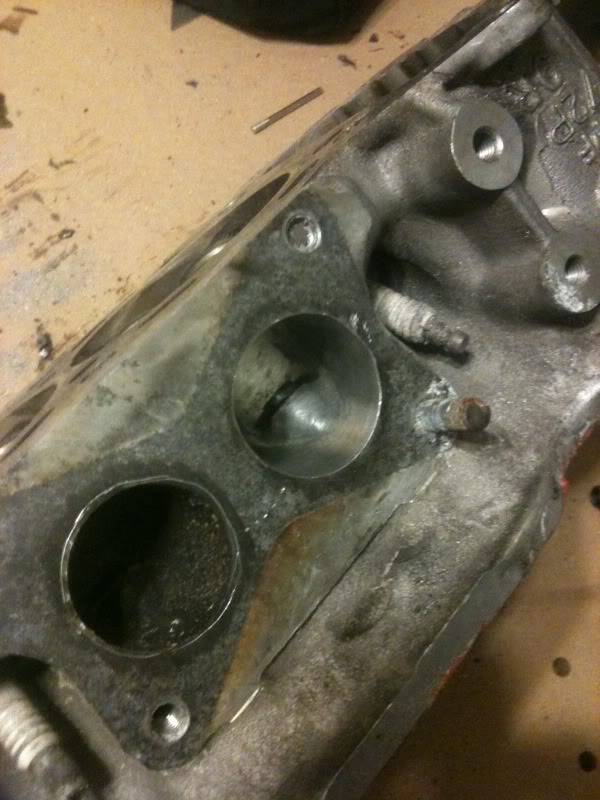
and the spare head dissasembled and getting ready to be port and polished.
Notice some parts in the background…flywheel on the counter, rims, meth kit in the box…stand by for tomorrows pics.
I started on my exhaust side first

i kinda started to polish the runner but ill do it again when im done with all the exhaust ports…this takes forever…
okay so i finished the exhaust side and the intake side….the #1 cylinder intake isnt even close to the same size as the other 3.. like an 1/8inch difference all the way around….

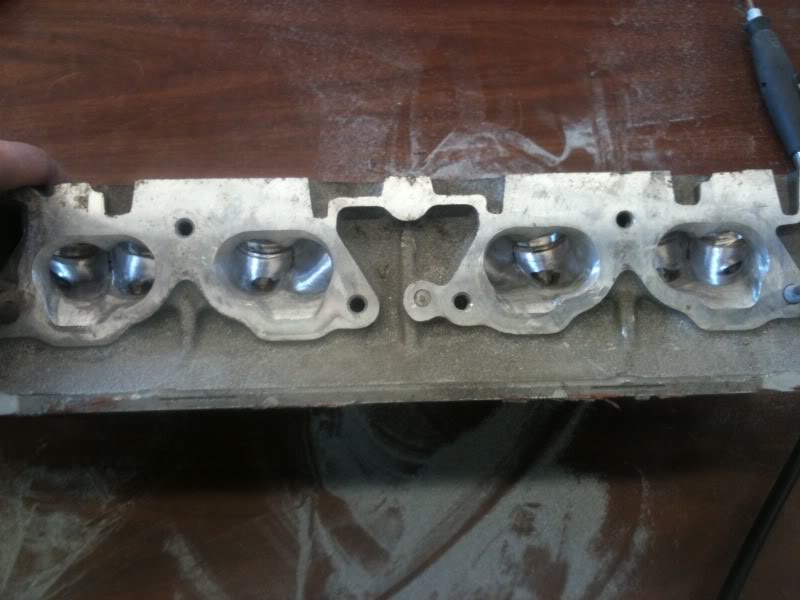
almost finished….got to ruffin up the intake a bit.
ok some updates…..
")
")
")
")
New truck….
Some welding….
")
")
")
")
Some painting….
")
")
")
okay so im getting close to the bottom of the front page posts so time for an update…
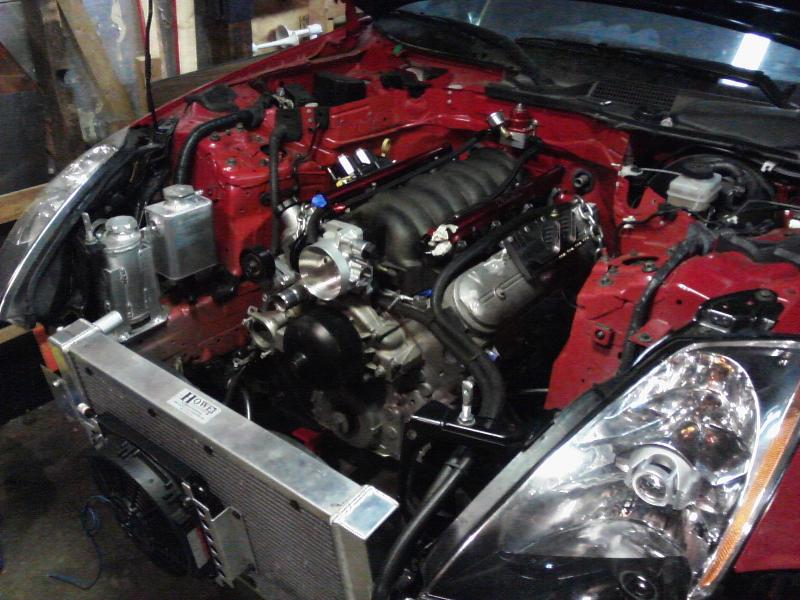
Engine is out of the back of my truck and supercharger mock up has commenced…the space is going to be very tight but the intake pipe will have enough room to get where its going…note the supercharger is pushed about a 1/2 inch inboard so i could get it to balance for the picture.
")
")
")
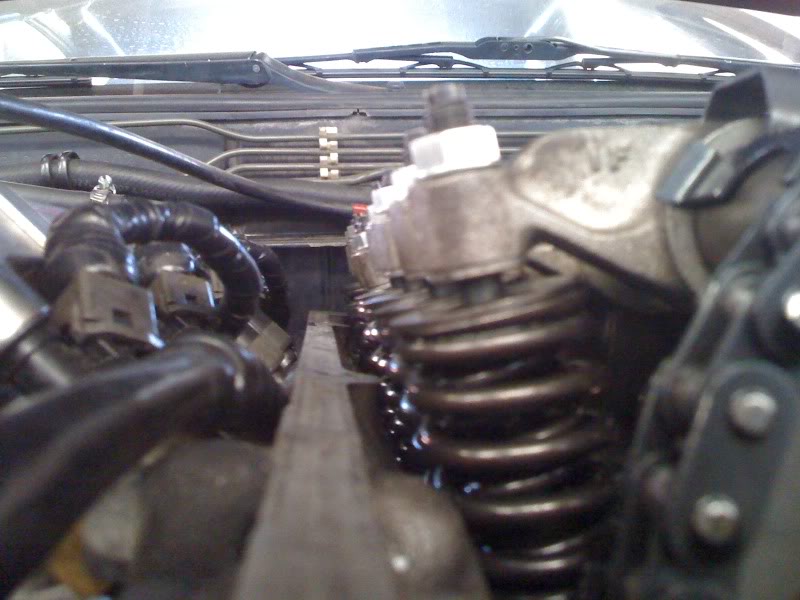
Im nearly finished with the supercharger template. I have the superchargers final resting place…Not much room..literly 2-3/4 inches between fuel rail and sc. also Im almost done with the methanol injection installation…kinda…now on to the pics, kinda similar but with the snout on. Also the throttle body is going to be an intricate piece to place.
")
")
")
")
")
Updates!!!! kinda
So im ordering the rollcage from mazworx tomorrow so in preparation ive begun stripping the interior. I will be ryno lining the interior after the cage gets welded in…this sound deadener is a biotch and i made it worse by slapping dynomate all over everything…worst thing ive ever done to my car……Pics!!!
Meth injection tray/mount and pump
")
here is my shinanigans i was refering to. I forgot to take an after pic but im nearly done with the driver side
")
I set the fenders on the car to clear up some more room
")
")
")
okay kinda slow progress today…kinda an admin day if i must say so…I ordered the rollcage today so its kinda a race against time for this deadner removal. I will start the passenger side tomorrow the driver side is nearly finished, just need to lay down some paint thinner for the residue. also was looking at how to mount this hydro ebrake. looks like im gonna have it next to the stock one but kinda angled. still got to decide were to tap into the lines, since the ones that they came with dont reach anything!!! anybody who has done this mod feel free to chime in.
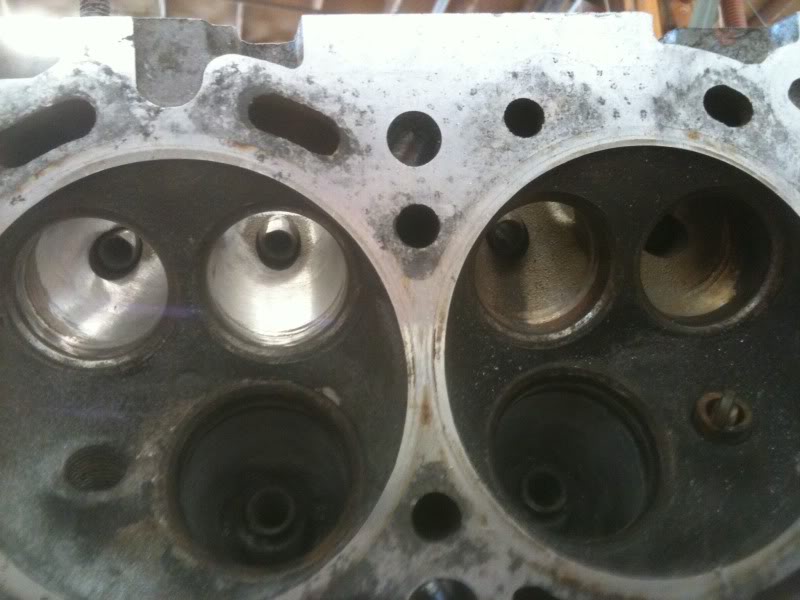
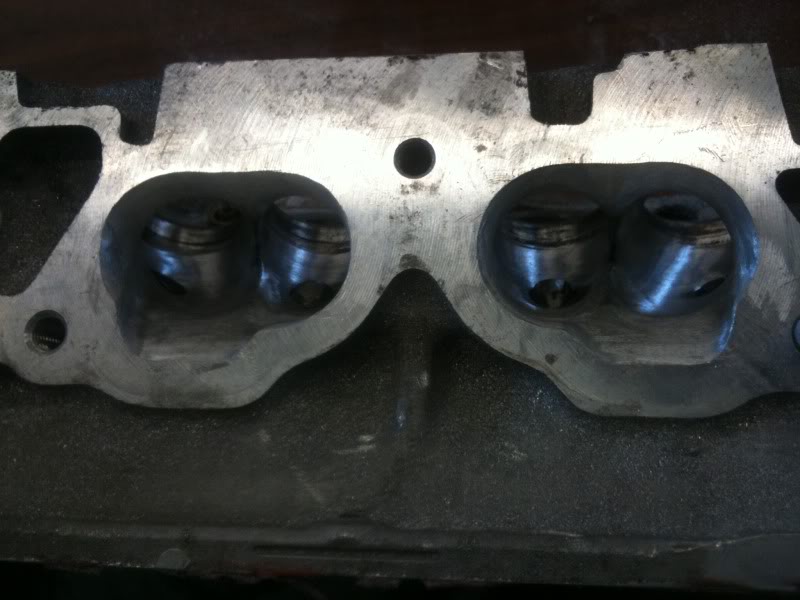
But any way here are some pics of the new Si exhaust valve next to a stock one. and pics of my combustion chamber polishing. the head is far from done. I still need to order new valve seats and valve seals…oh and intake valves.
")
")
")
here is the head as it sits, combustion chambers smoothed and polished …all I have to do is get the valve seats and valves and seals…
")
okay so today I think ive officially gone to a leve i didnt realize i was going to…
")
")
")
")
")
")
I hate wires…hopefully everything works when im done.
")
")
Okay so I got the roll cage most of the way in….pics below….and i started tinkering with the sc charge pipe…pics below…and yes it is electric taped.
")
")
")
")
I have the throttle body charge pipe all mocked up and tacked into place, damn near perfect fit, everything is gonna barely clear..Now i just need to start on the bracke for the pulley.
")
")
")
")
sorry its been so long guys, marine corps stuff. But any way the entire intake manifold is assembled. everything lines up. just got to make small adjustments before i start selling these. on a side note, my doors wont shut due to the cage and door panels. so im making new ones…pics below
")
")
these will retain all switches and be wrapped in similar to stock fabric…oh no speaker holes.
more pics..
")
")
")
just need to powder coat the pipe.
heres what ive been up to…
")
I really like my power windows and since i dont have rear wiper anymore this seemed as the best spot to put this.
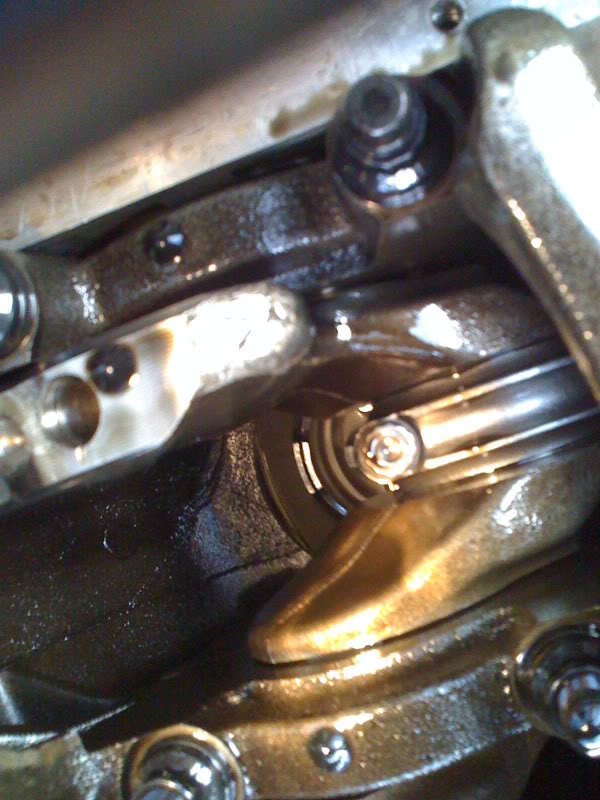
Engine breakdown, everything component wise looks just as good as when i put it in, cylinder walls still have cross hatching.
")
")
")
")
The head gasket on the other hand…not so good
")
")
My living room/dining room/machine shop…
")
")
")
and the beast all mocked up…still have to make the tensioner bracket.
")
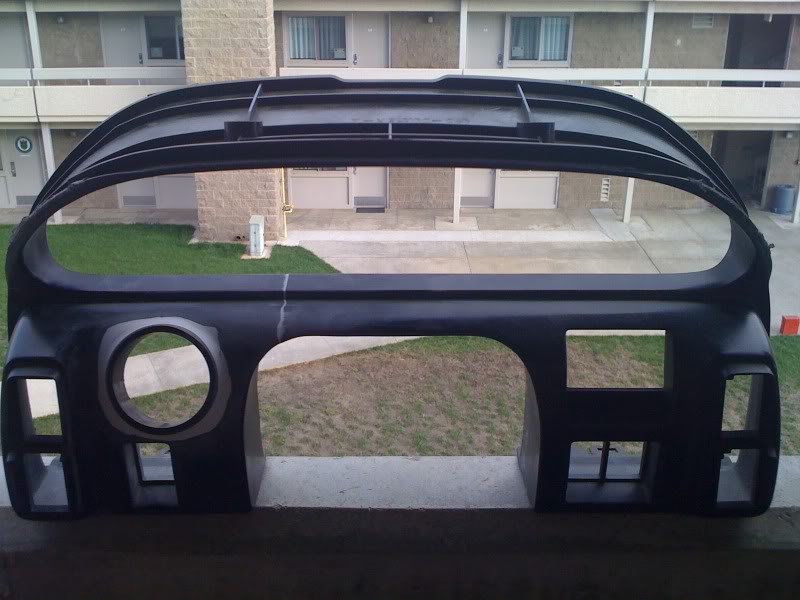
got some updates. My stock door panels did not fit with the roll cage. So i made my own. also I wanted to keep my mirror switch so I modified my cluster bezel to fit the switch. and Iv got a pick of the intake mani with the sc plate bolted down. there are no gaskets on this. its just mocked up so i could see were the sc tensioner needed to be. Then i made it.
")
")
")
")
")
")
")
Here is the pulley bracket..its ruff right now. when finished it will be smoother
")
")
here is the cluster
")
")
")
mani and engine mock up
")
")
okay here is the tensioner pulley for the supercharger…it is ugly, doesnt seem to flow well…but functions
")


Wow that is an awesome build thread, I would like to get a 240 but they are so expensive for even a crapy one. Nice work!