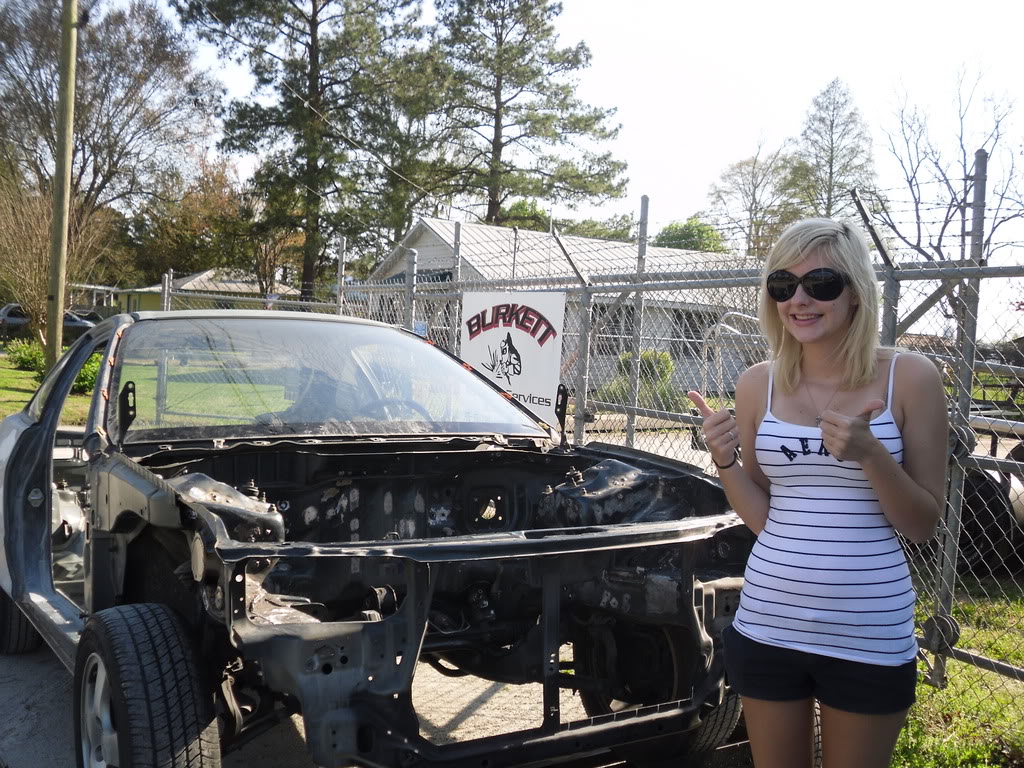
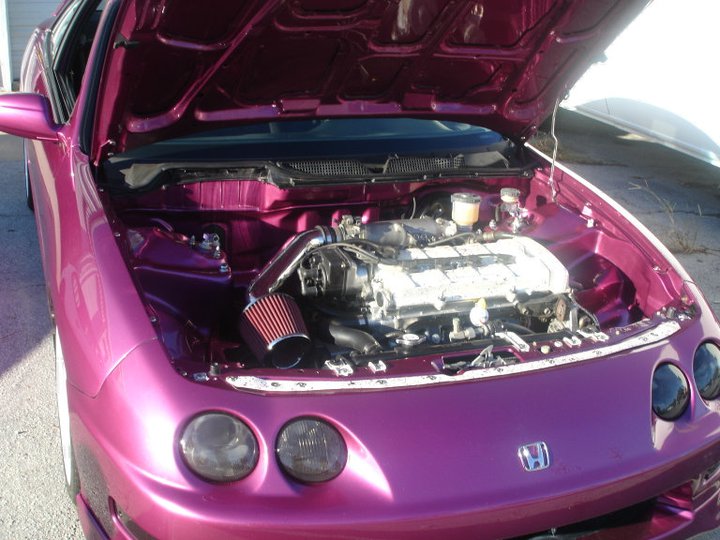
Candy pink Integra build thread!
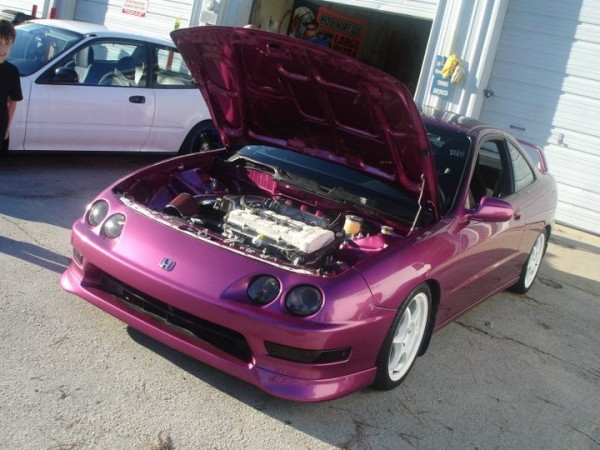

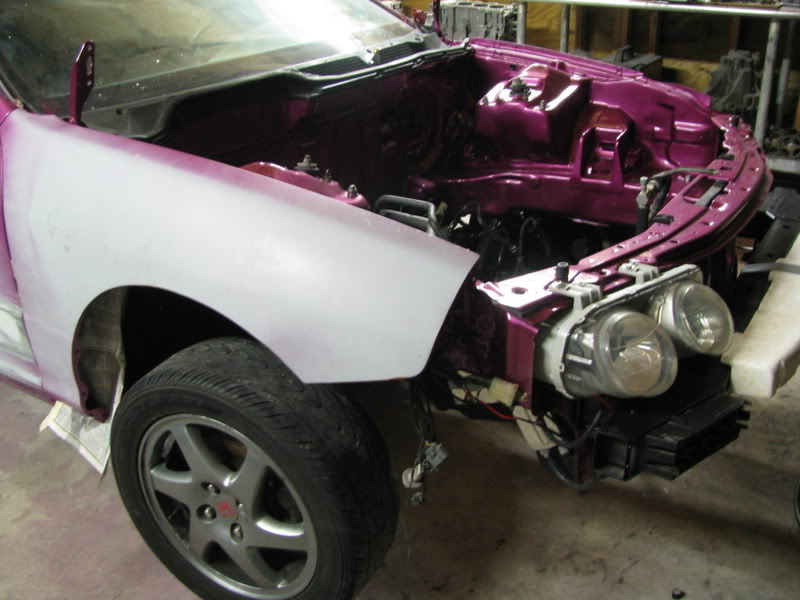
Plans for the car are a full re-spray candy pink, with all the normal goodies and to do the engine bay for now.
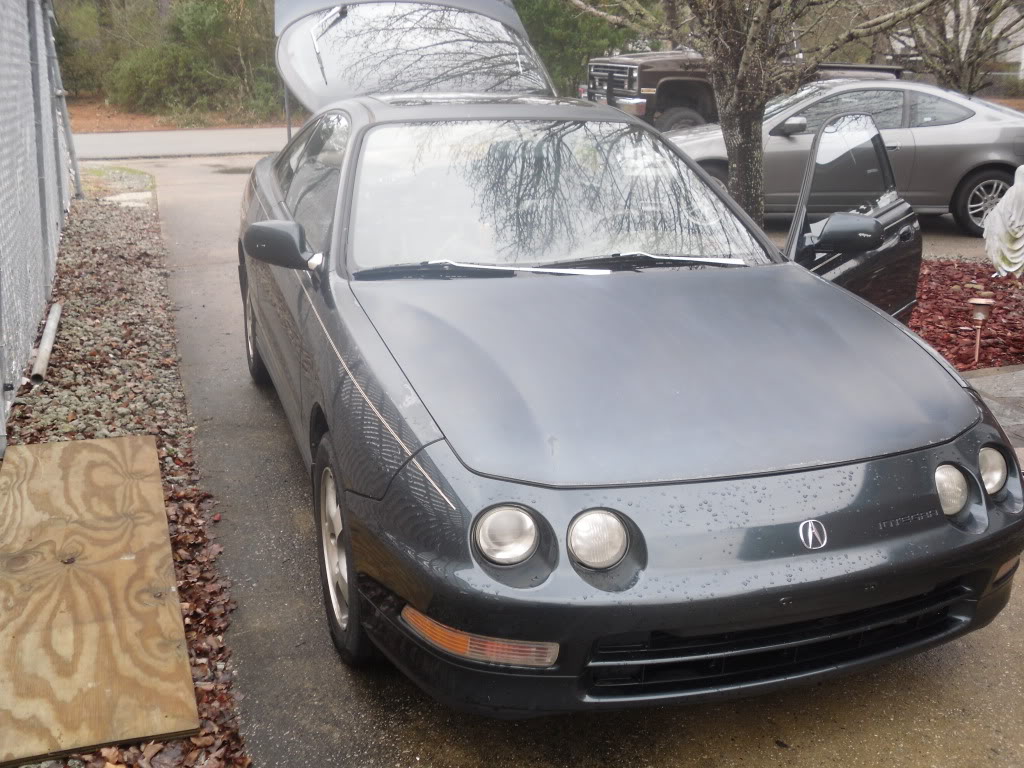
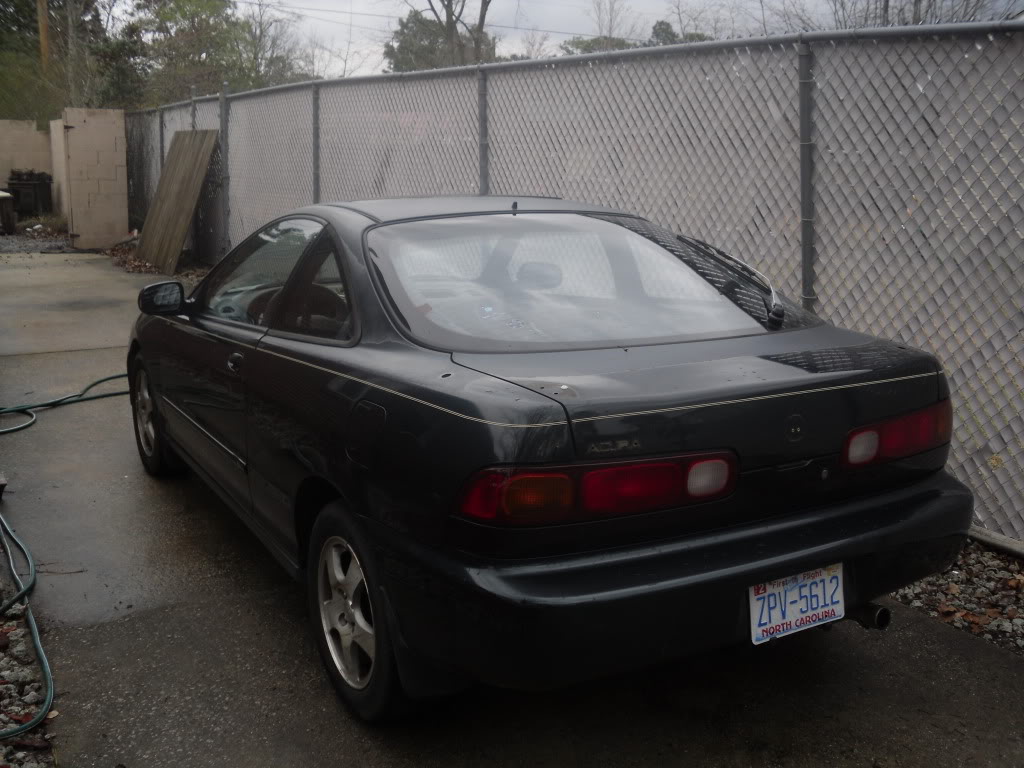
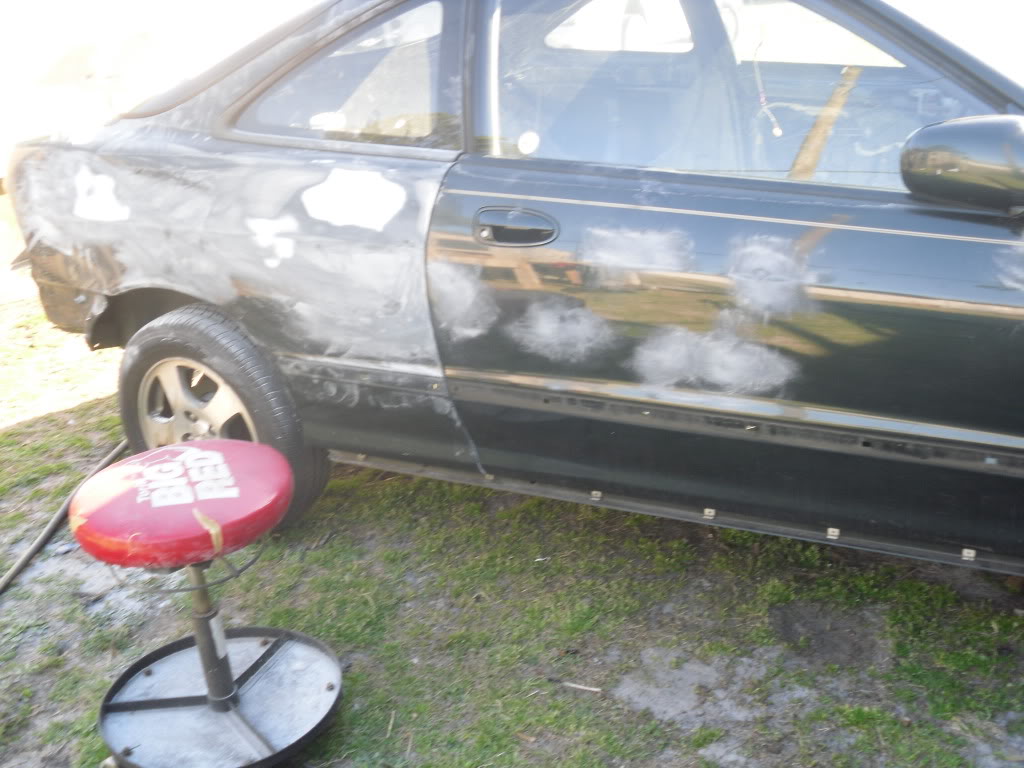
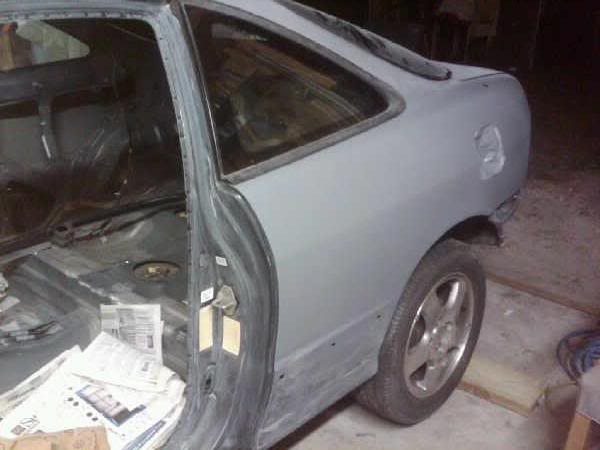
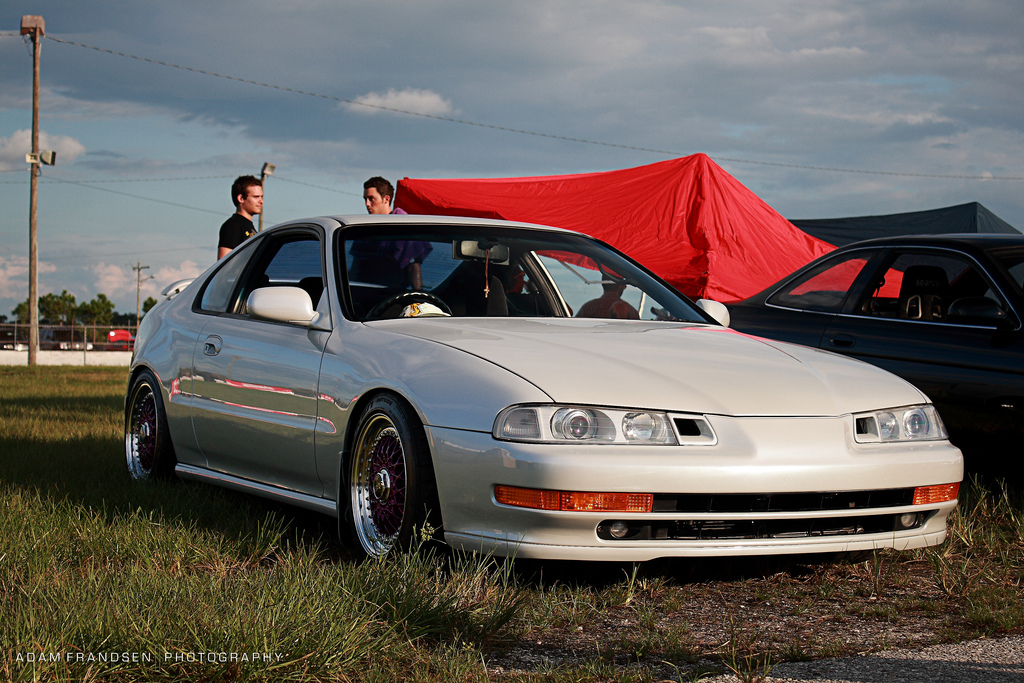
A few pics to start the thread:
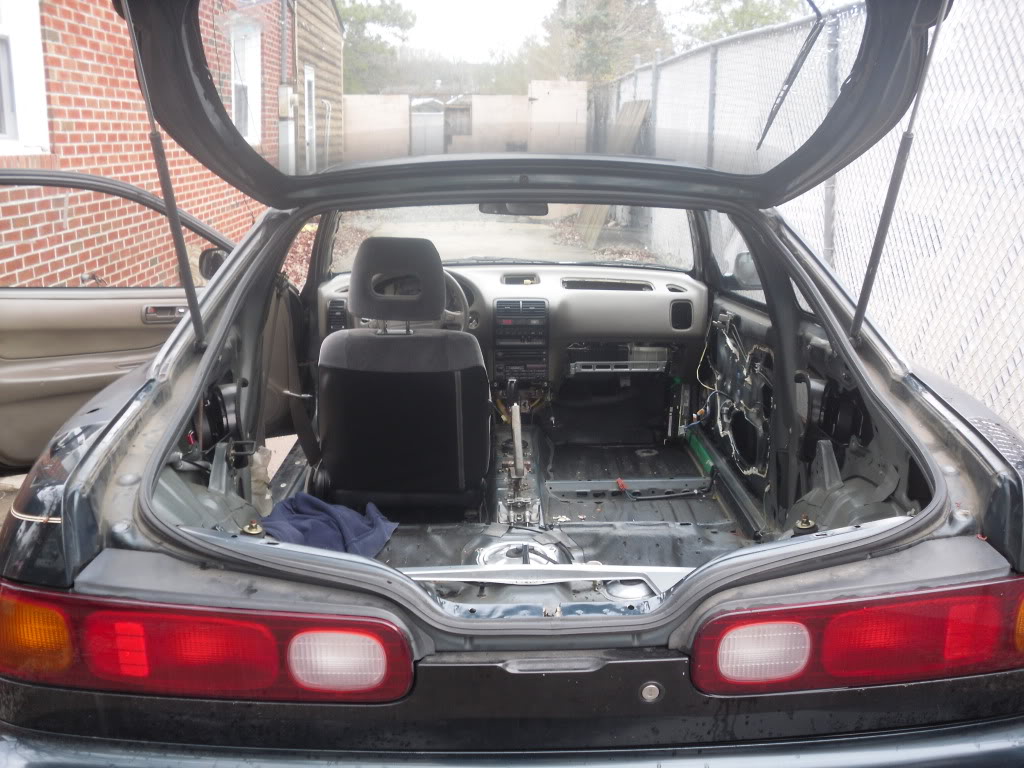
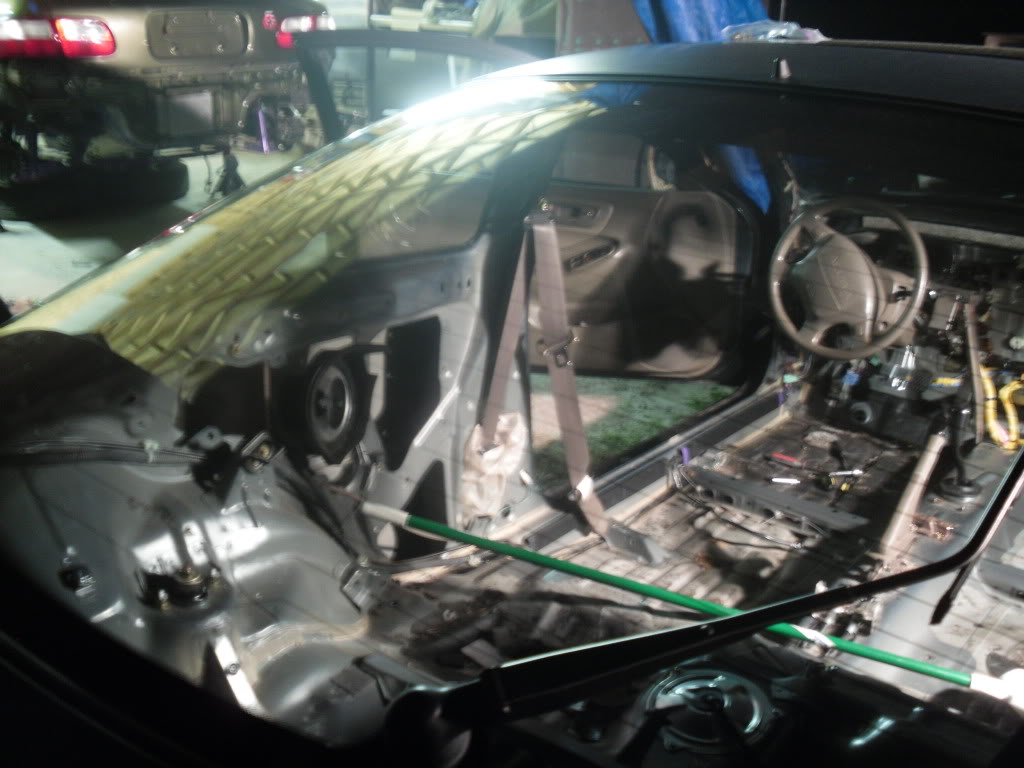
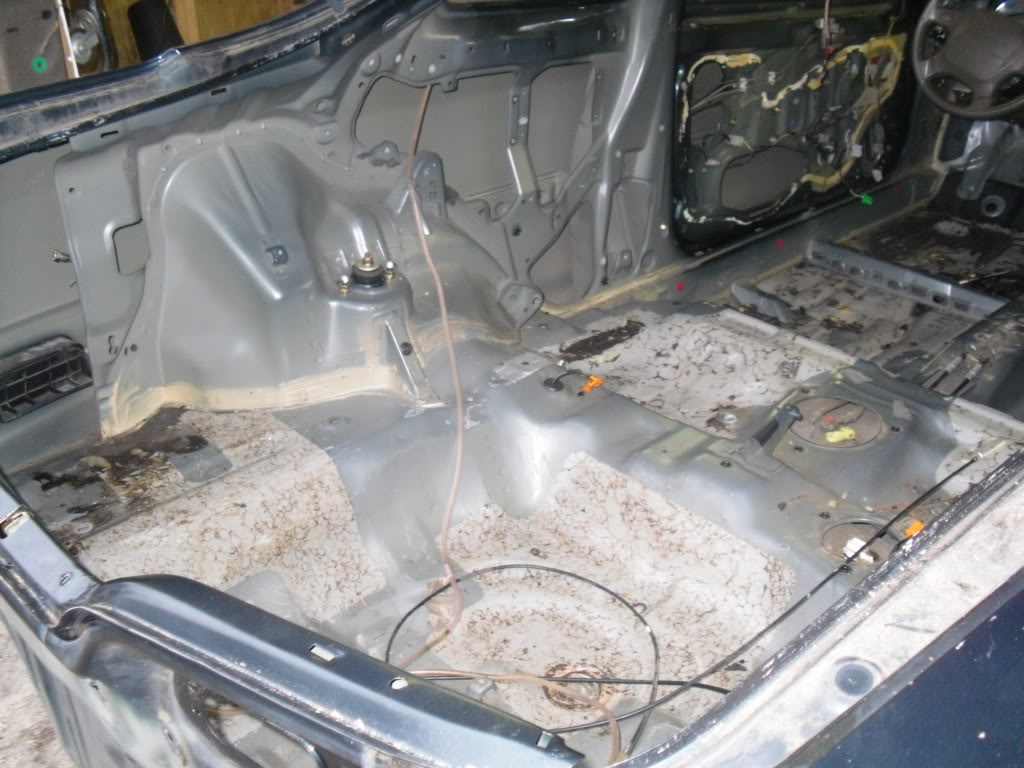
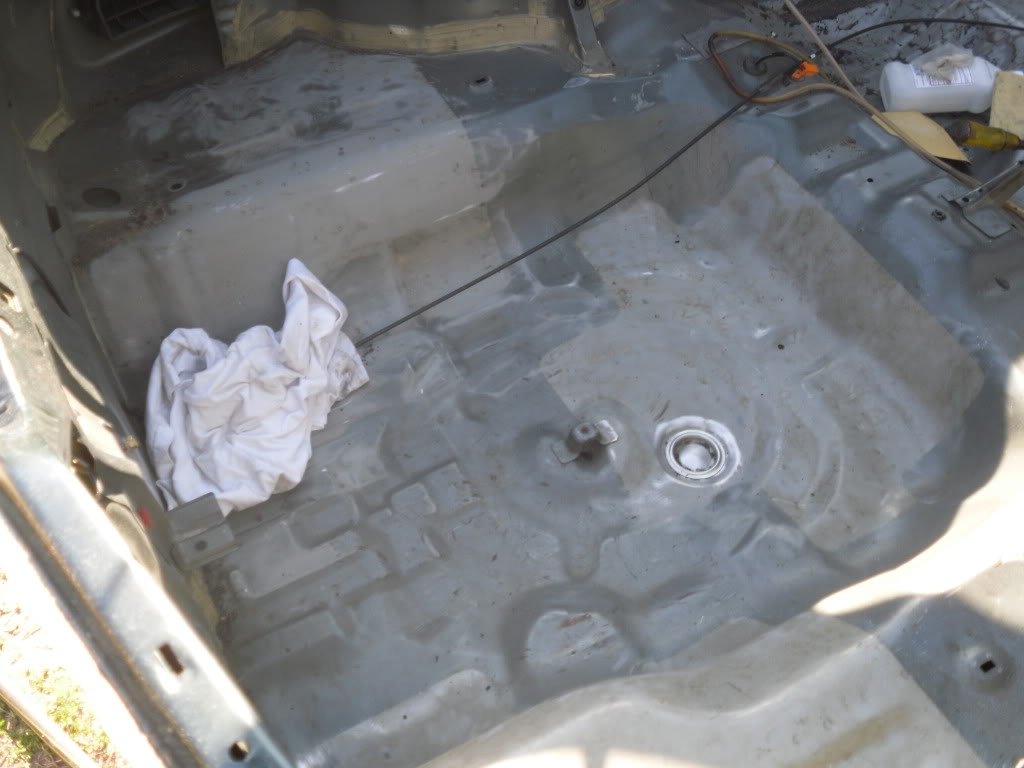
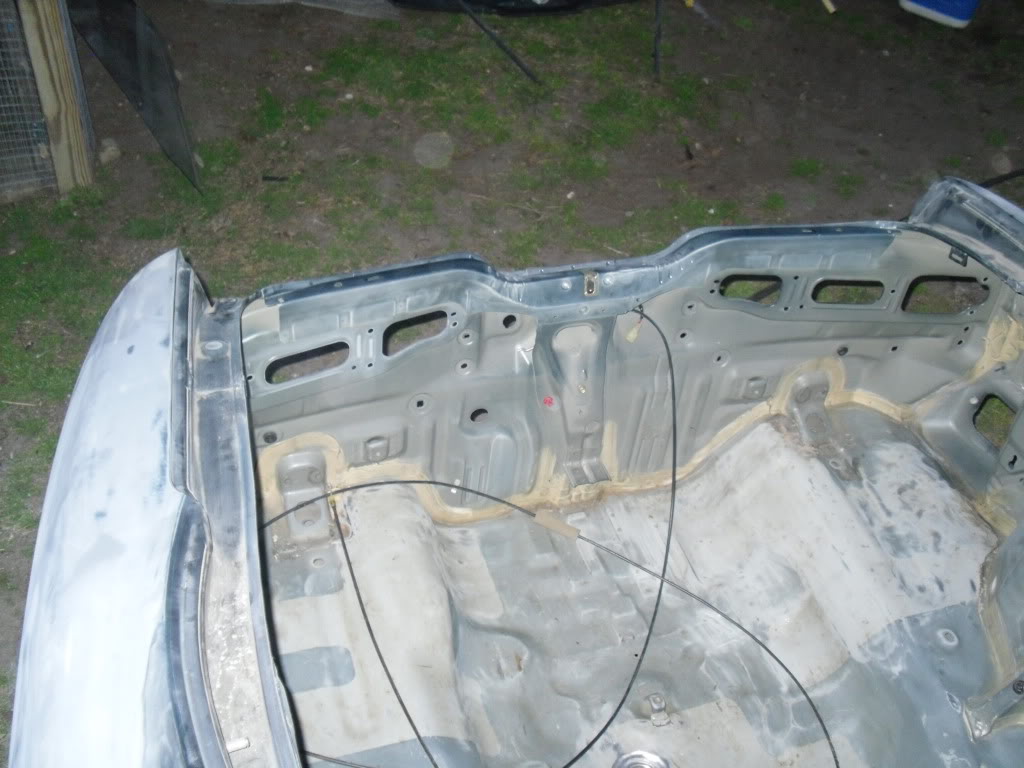
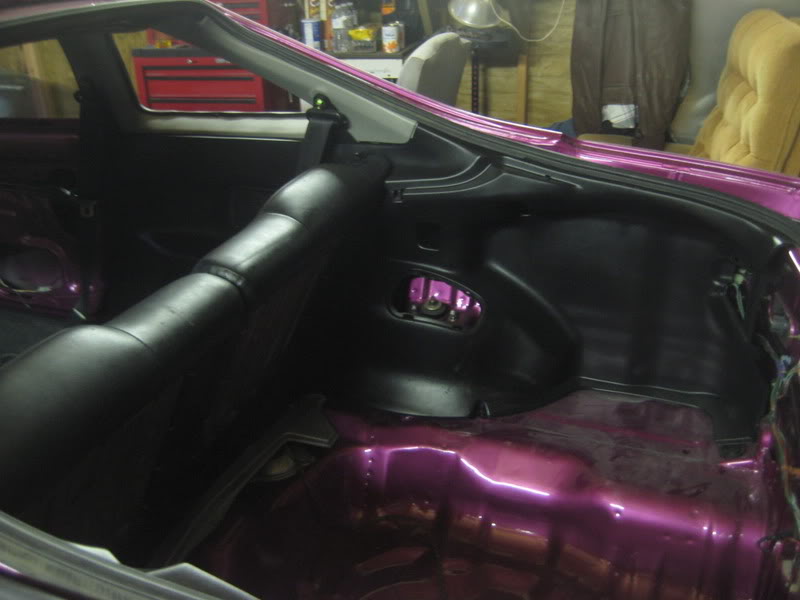
Day 1- Strip the car down (minus dash/door panel so you can still drive) and start removing the sound deading tar.
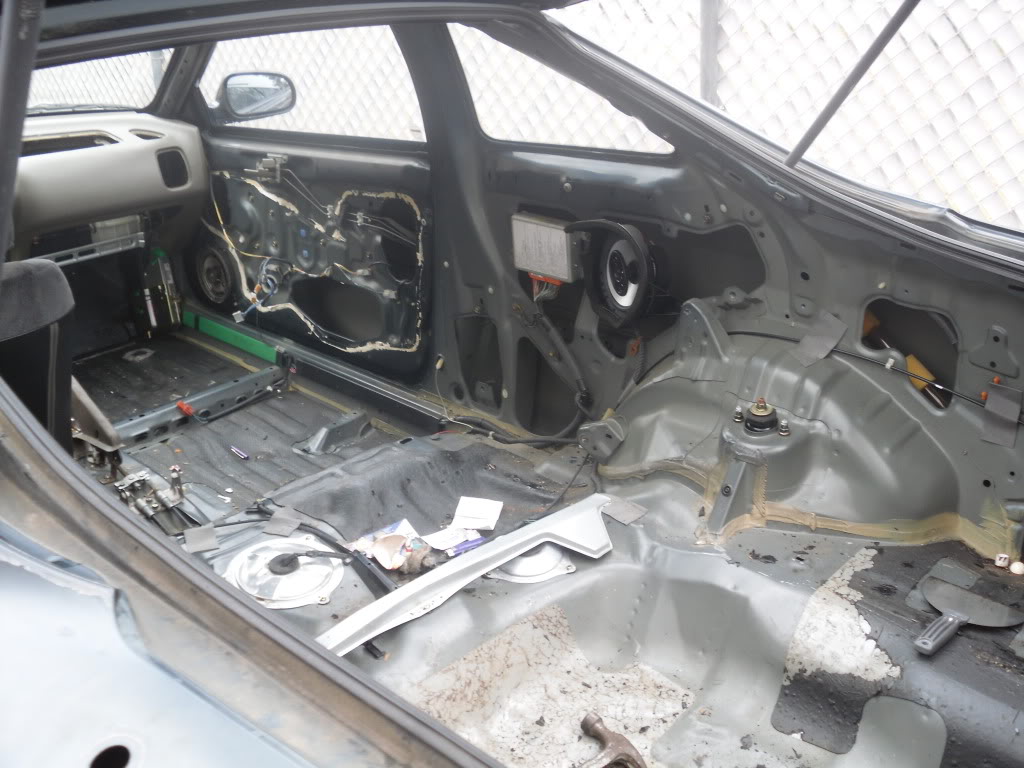
we will be using dry ice to finish the rest of the tar tomorrow evening.. we both have really busy schedules but this car is on a tight time line and tons of parts have been ordered. will try to keep it as up to date as possible 
enjoy!.. and all comments/hating are welcome.
Day 2:
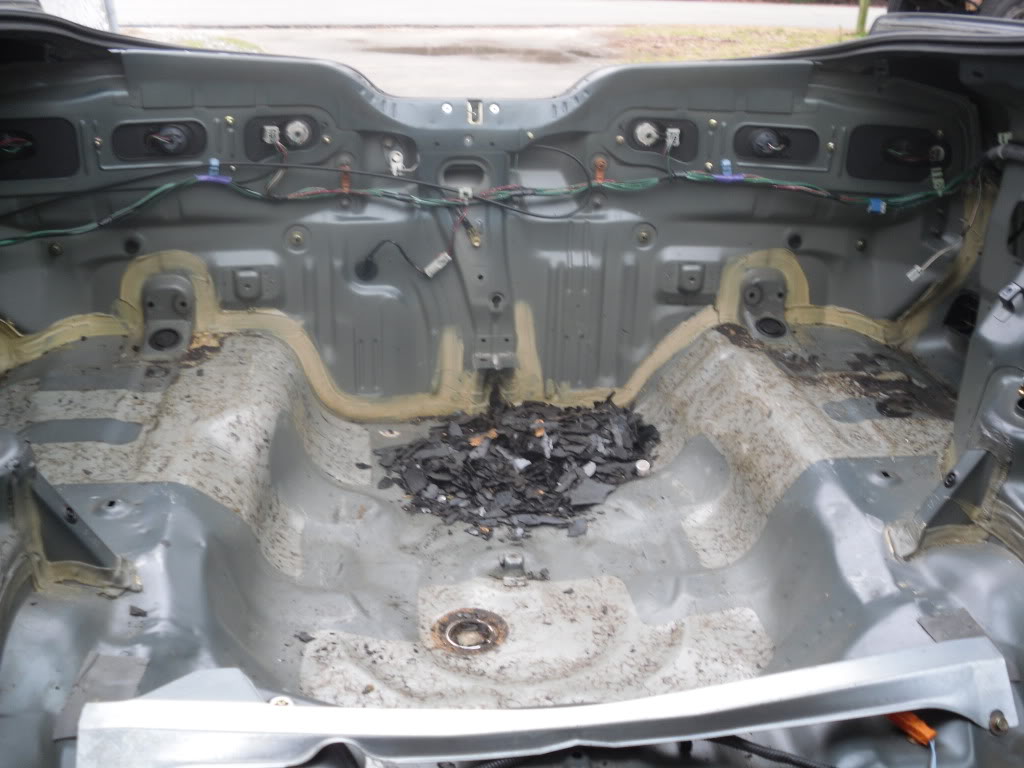
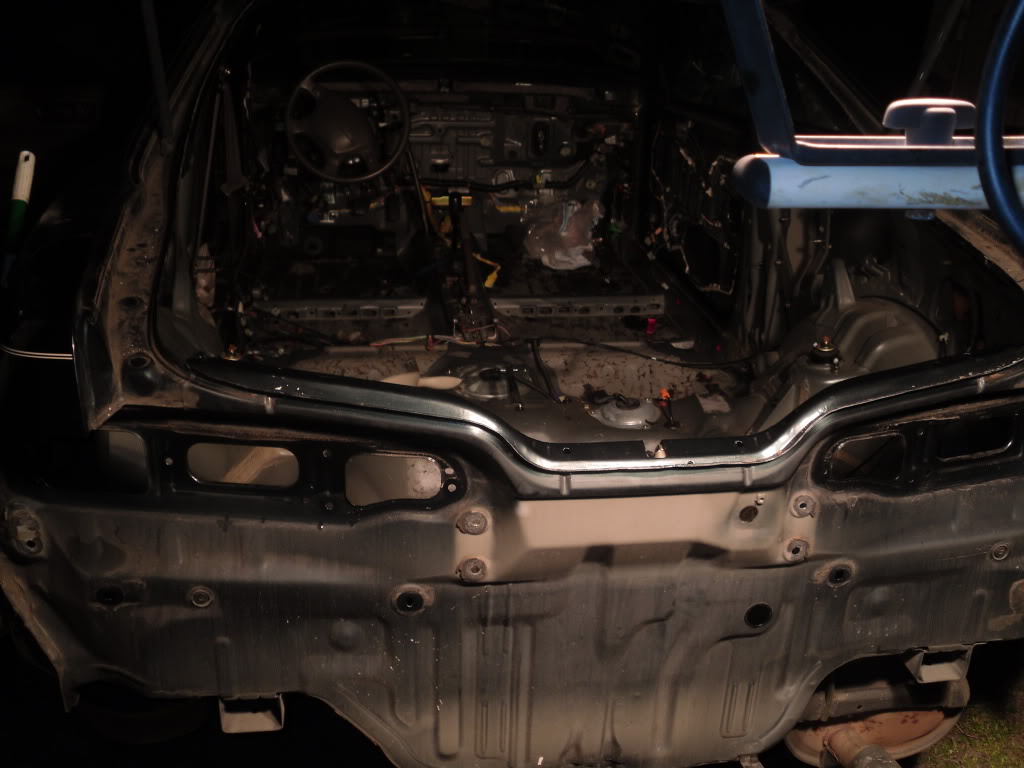
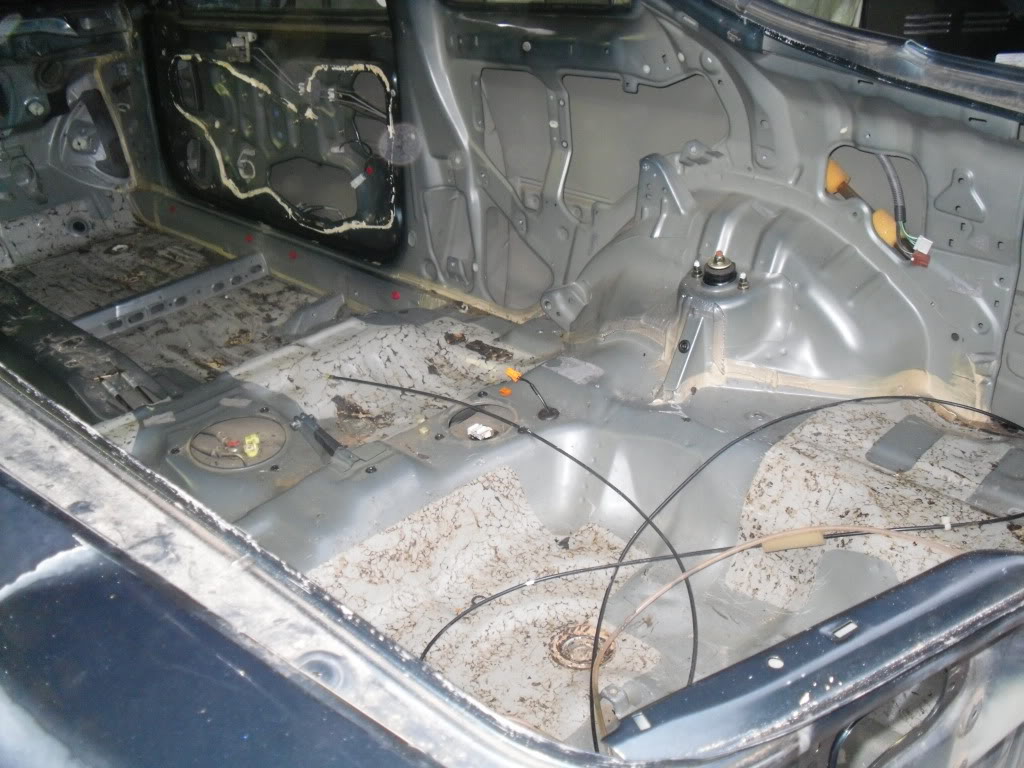
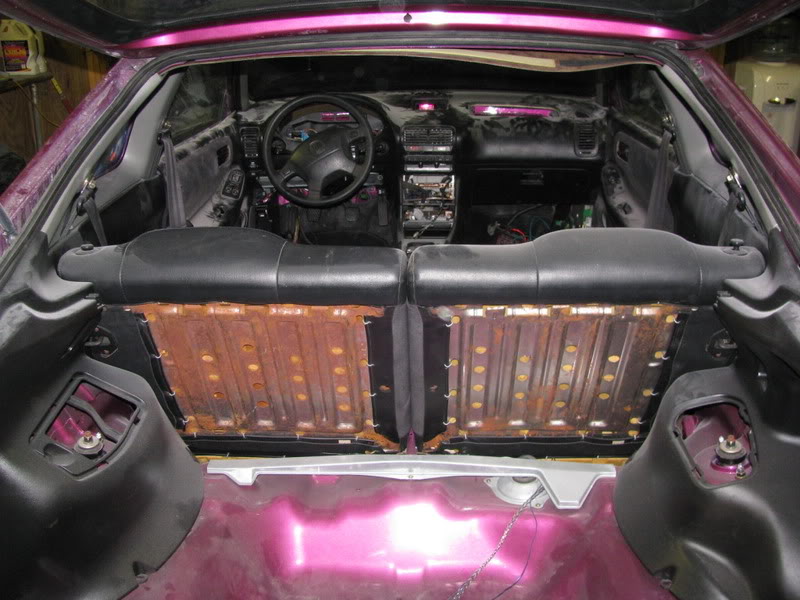
spent a little time removing more tar from under the back seat… going to dry ice the rest of it tonight
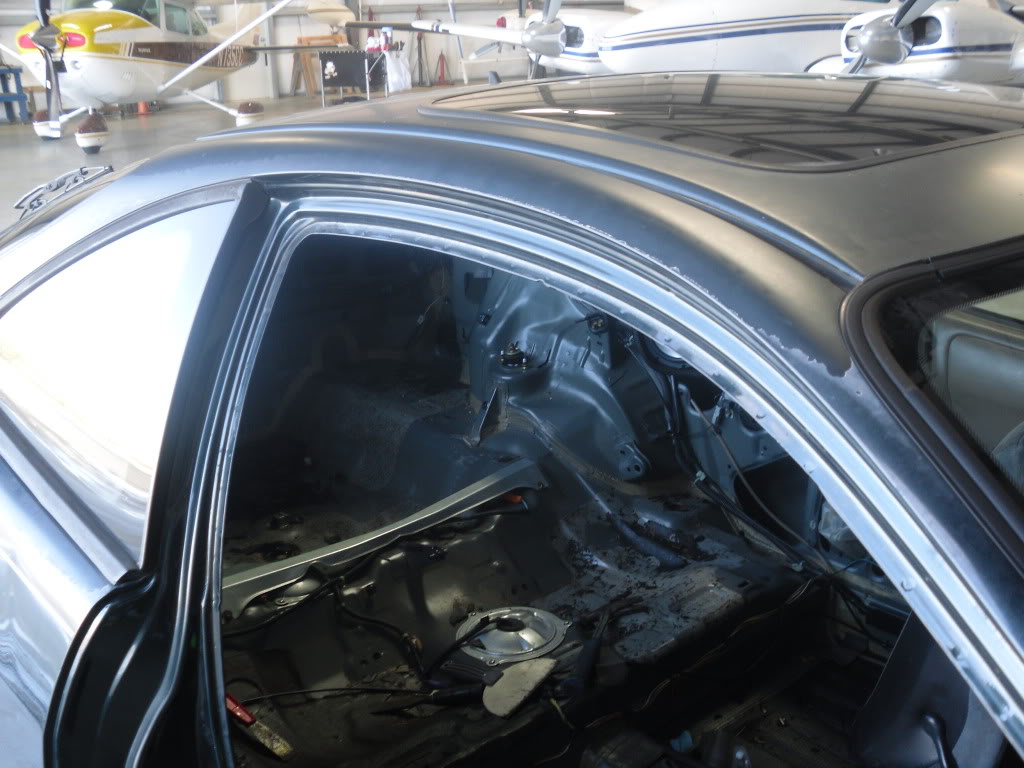
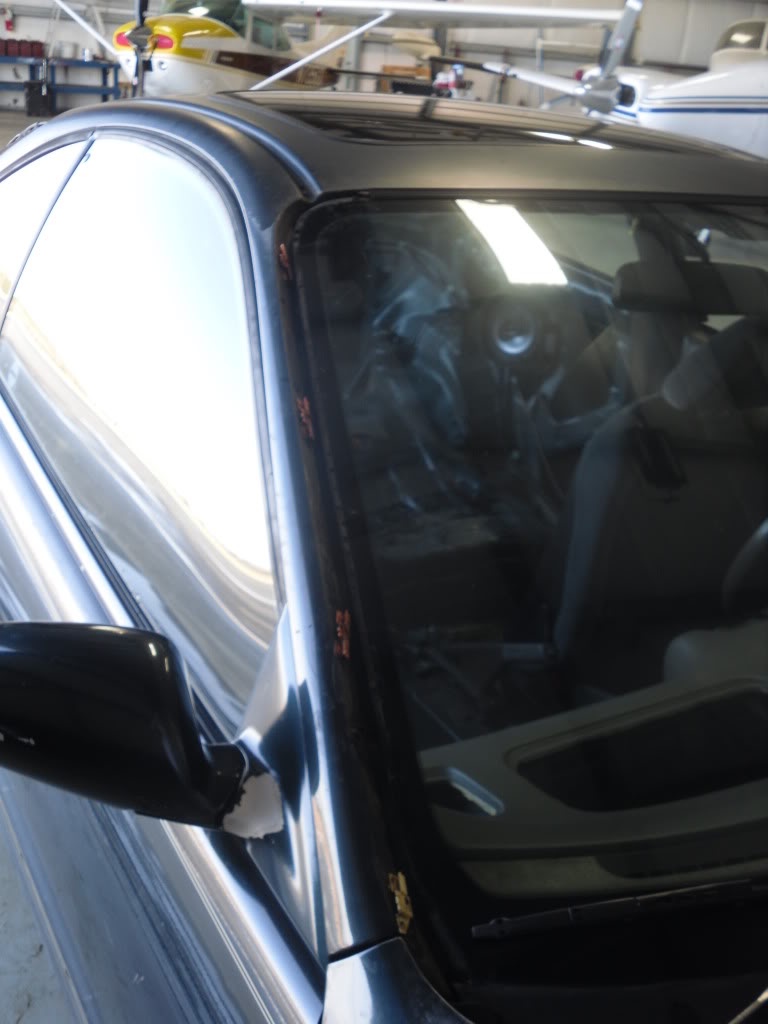
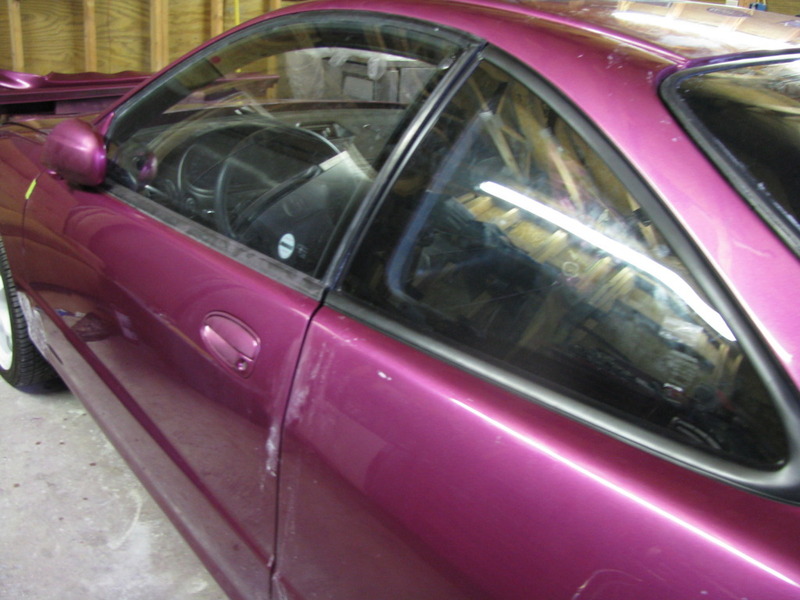
also removed the window moldings and the roof strips.. they will be brand new from honda .
.
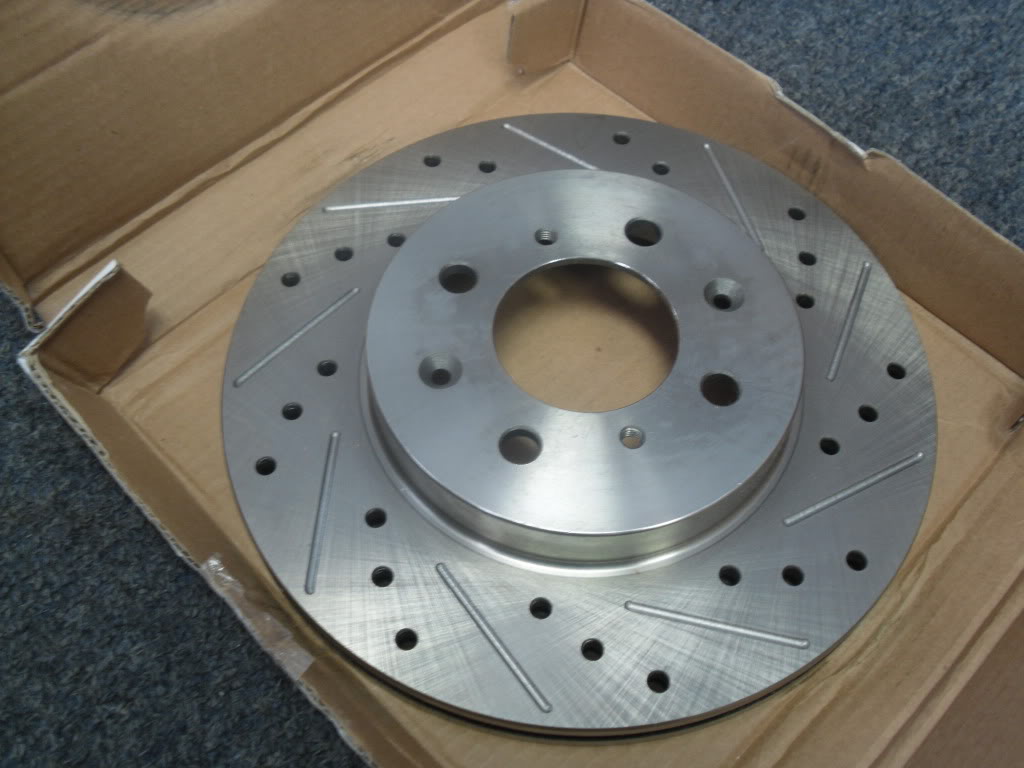
and parts started coming in the mail.
body work is getting started tomorrow.. more pics to come!
just wrapping up the night.. a few pics. will get some in the daylight tomorrow.

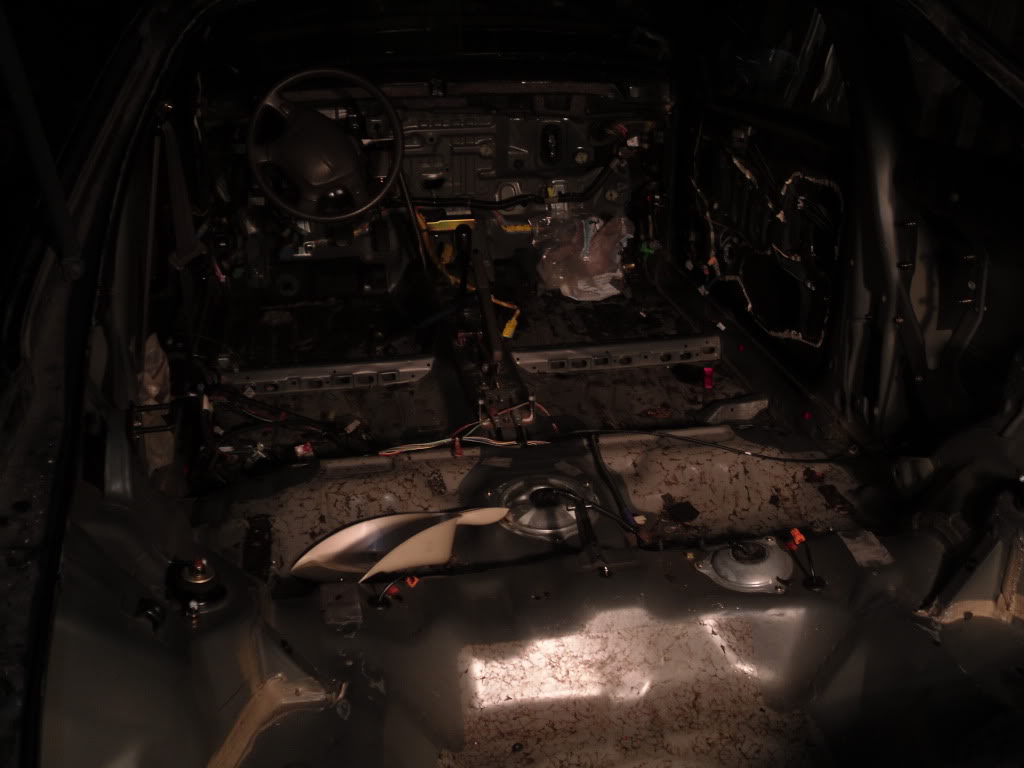
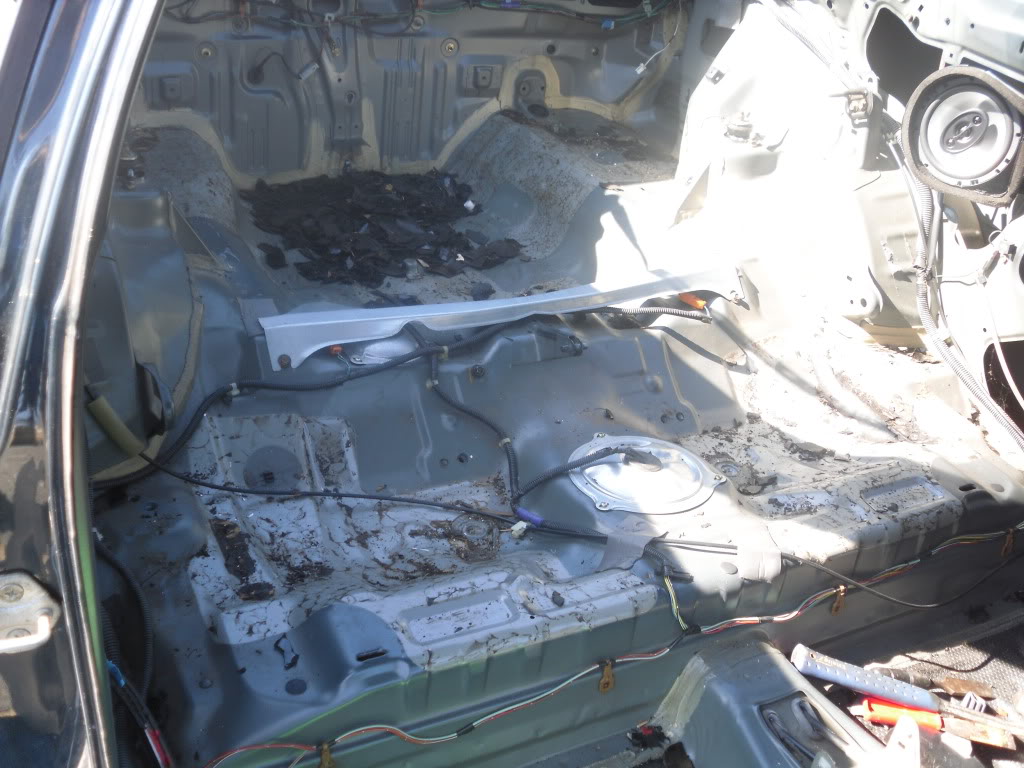
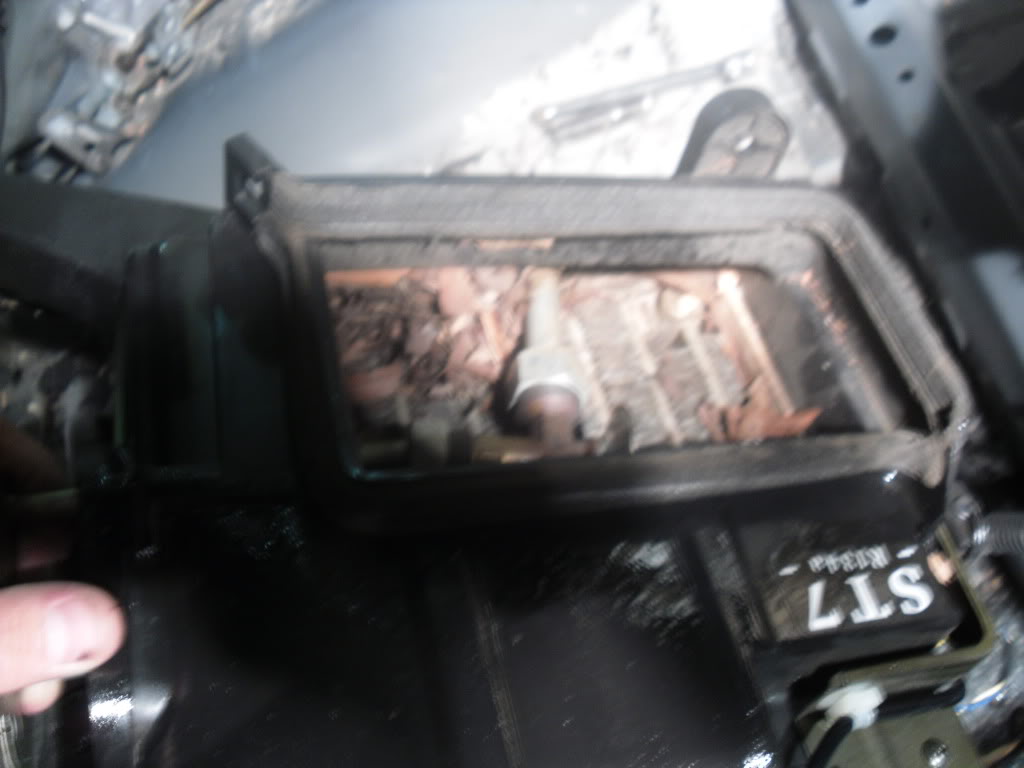
finished all the sound deading tar except the drivers floor board.. and also emptied the airbox out and got all the leaves/debris out.
as i said, more pictures will be up tomorrow..
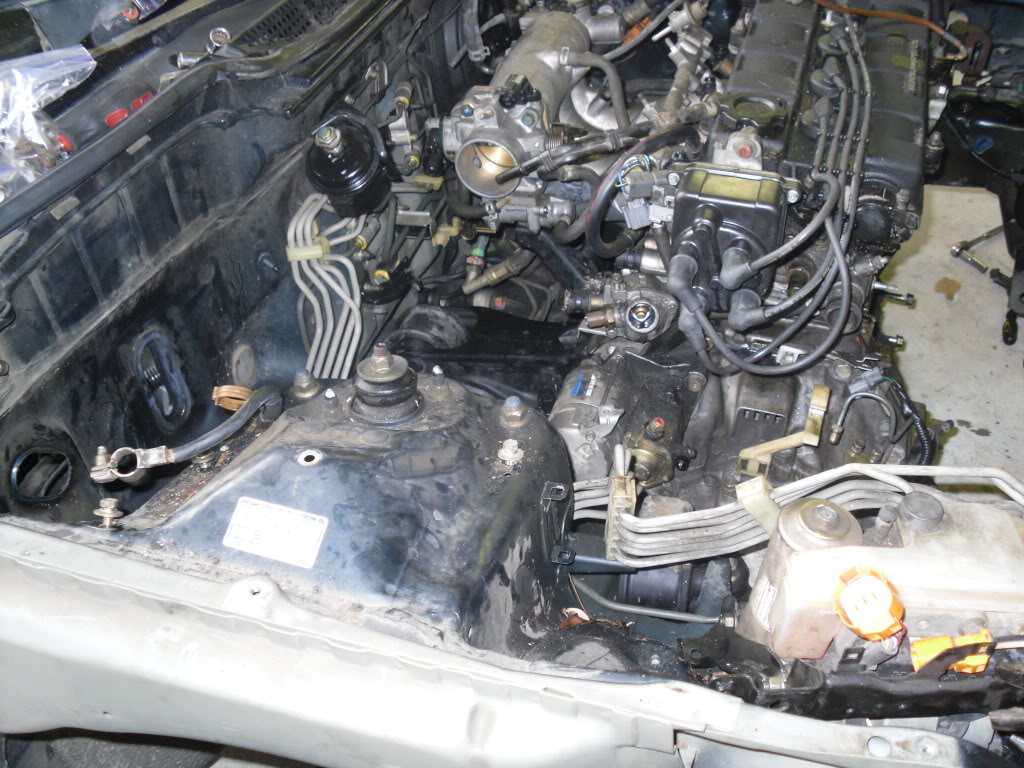
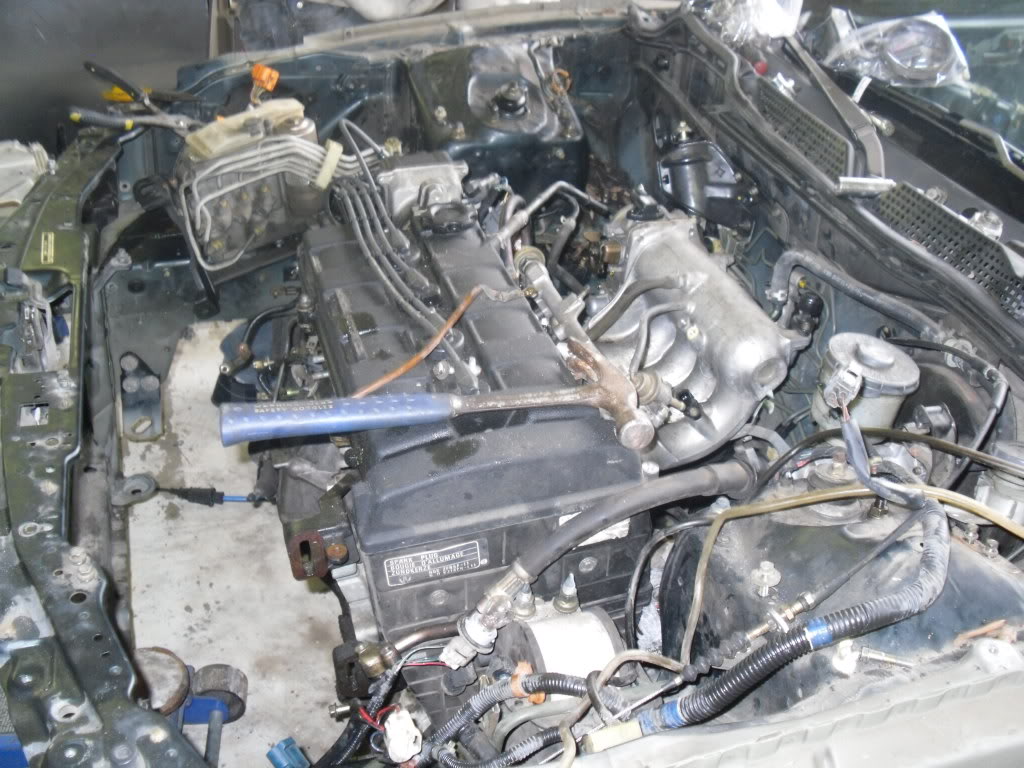
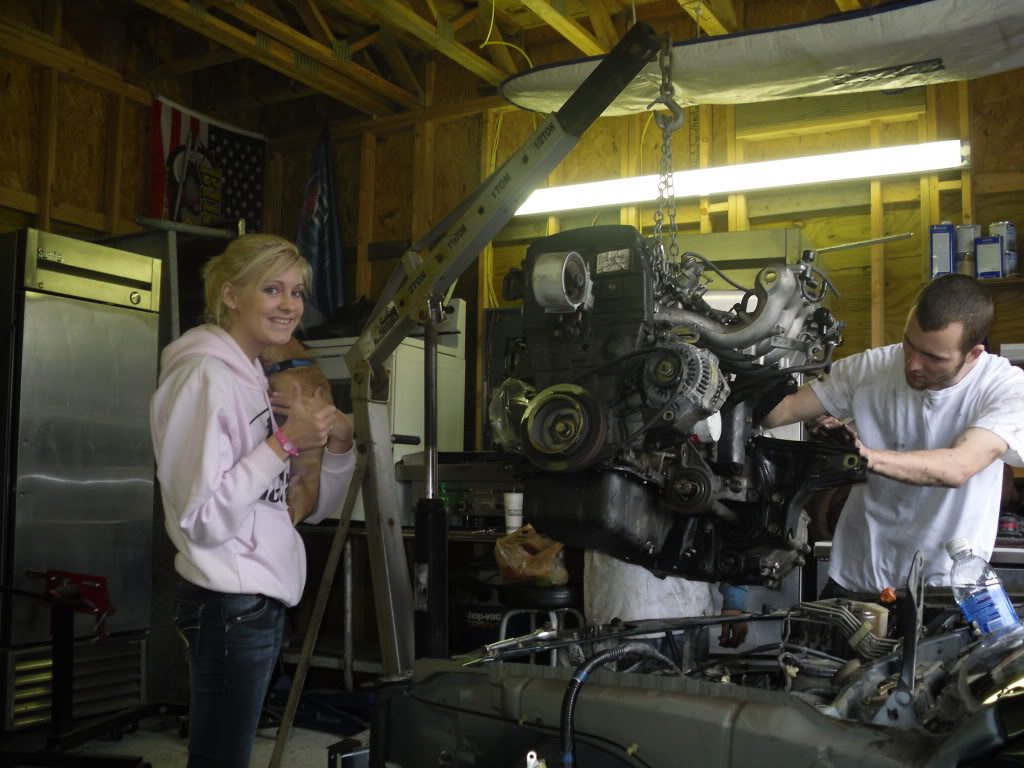
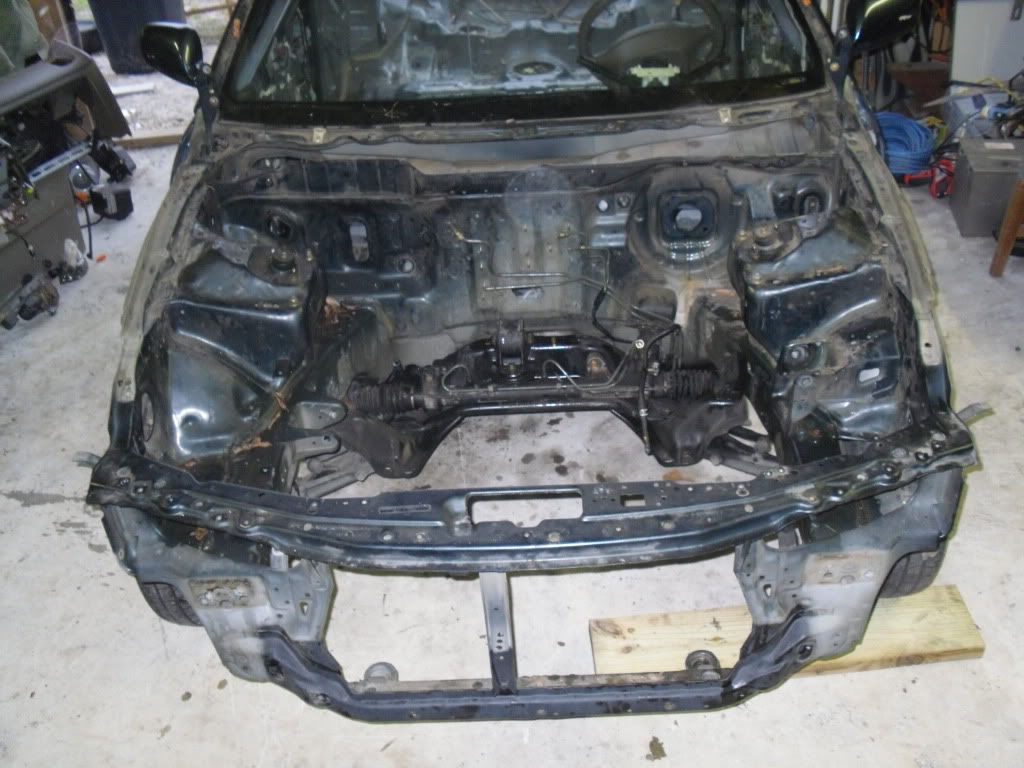
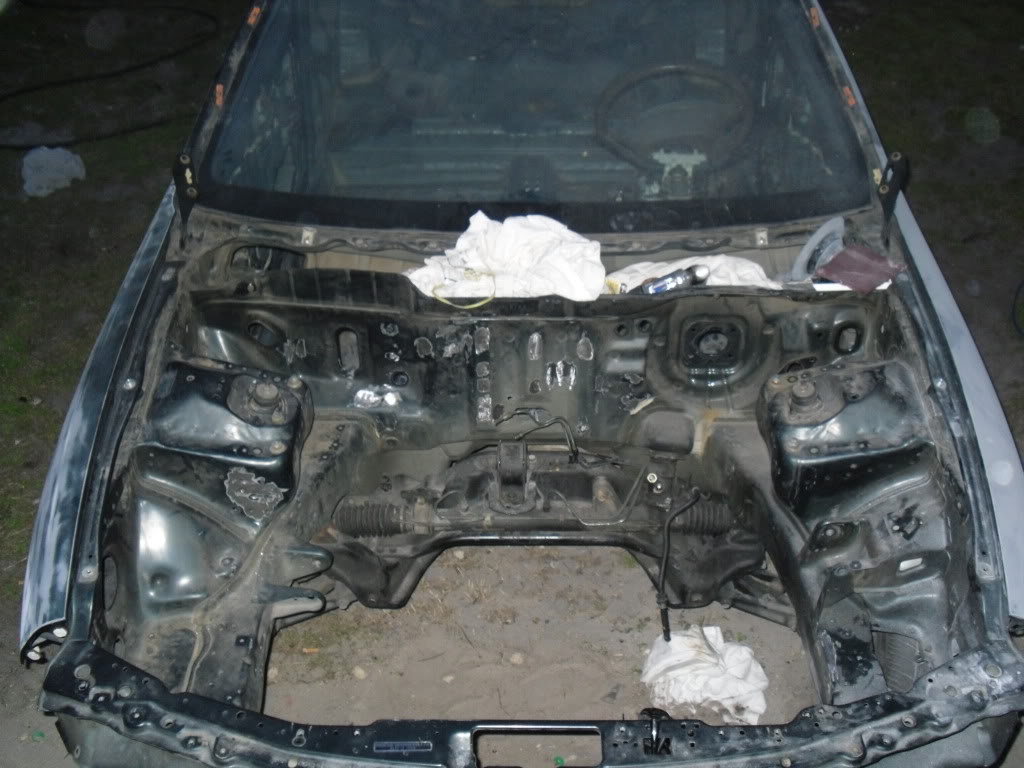
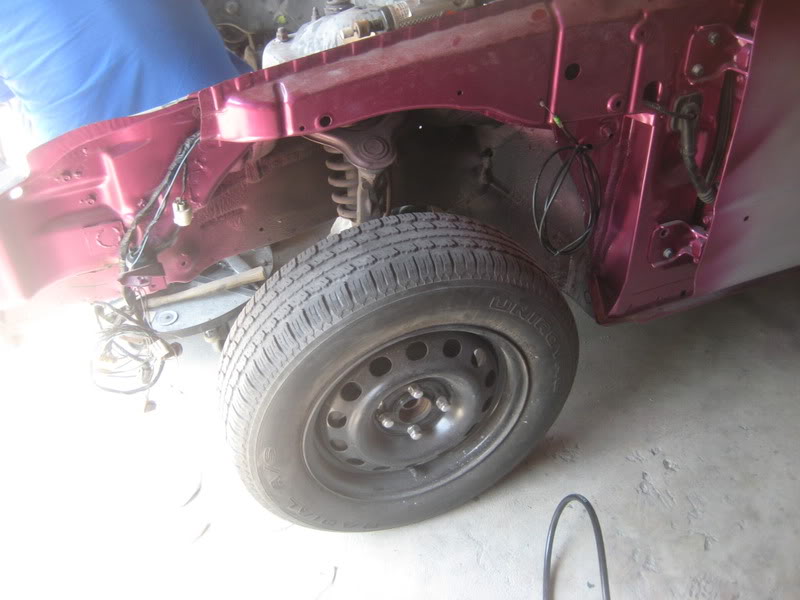
All stripped down getting ready to come out:

Weak!EG(left) and KiddVtak!(right) got it out in no time.
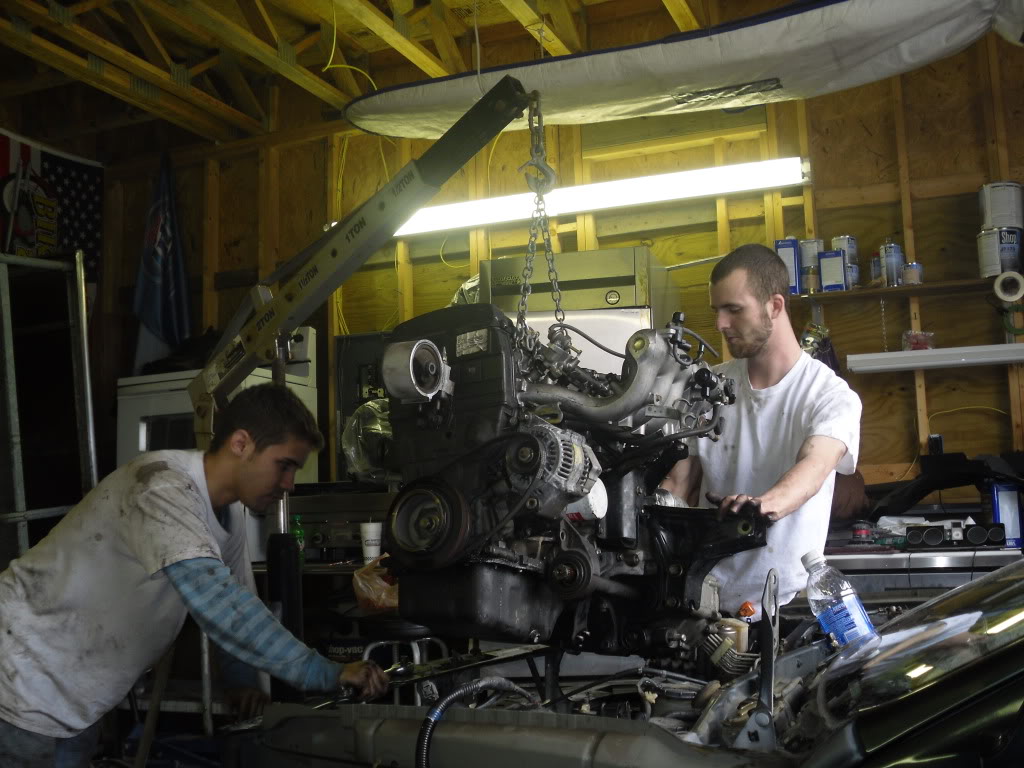
I showed up right as it came out and offered my support lol
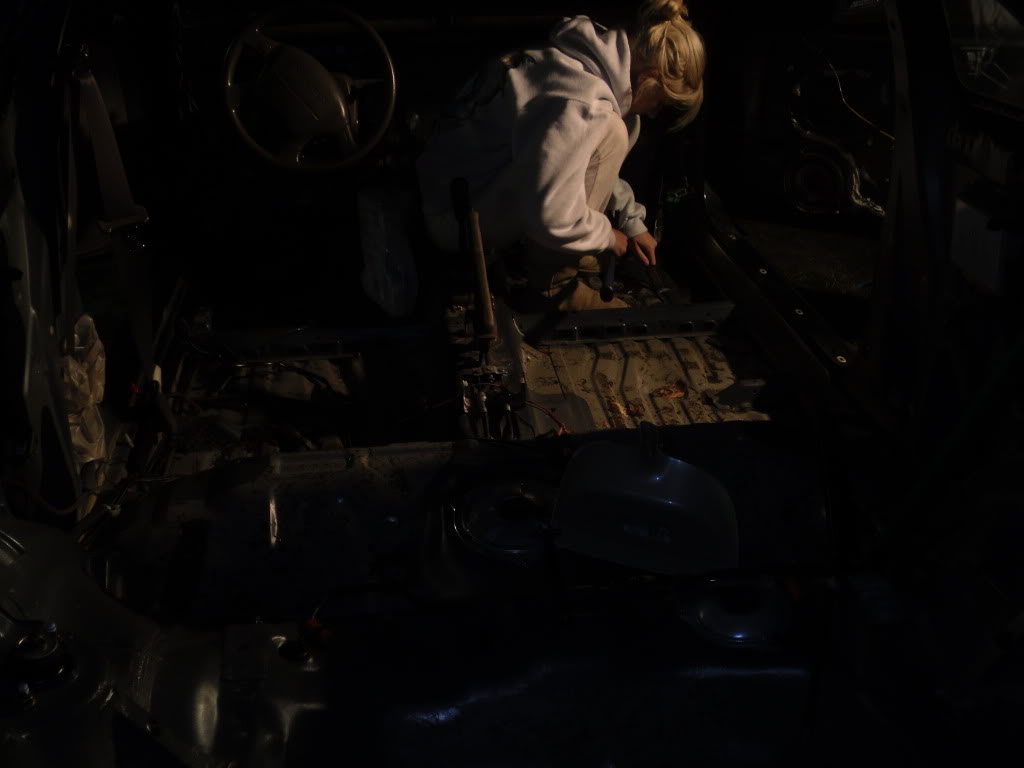
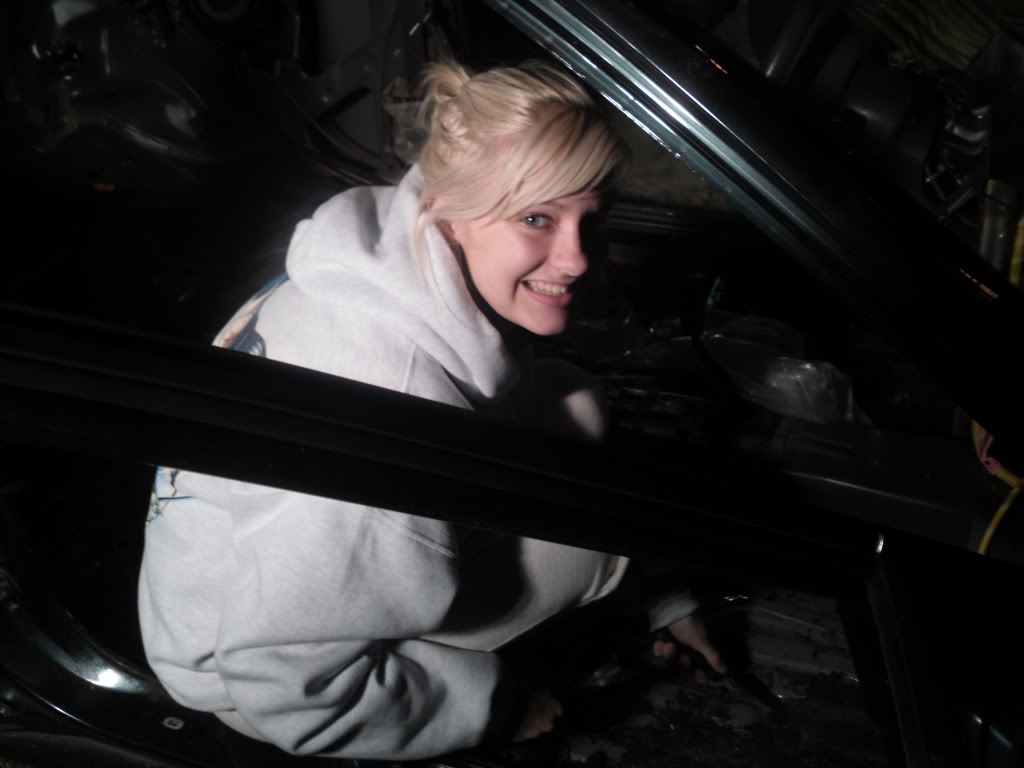
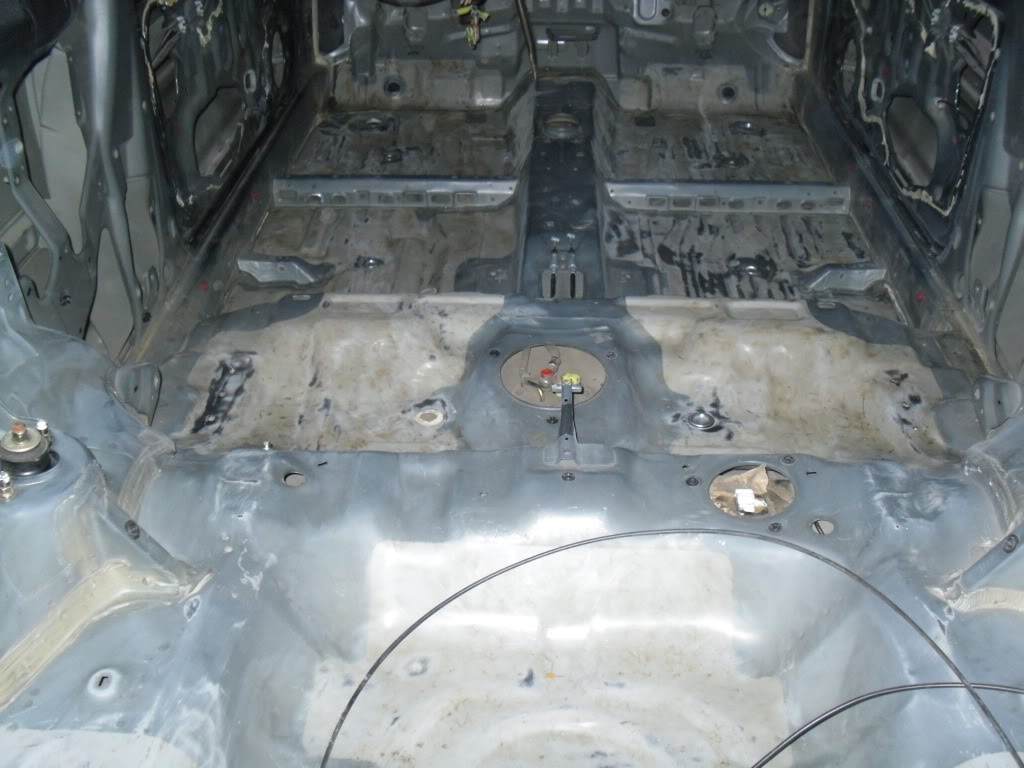
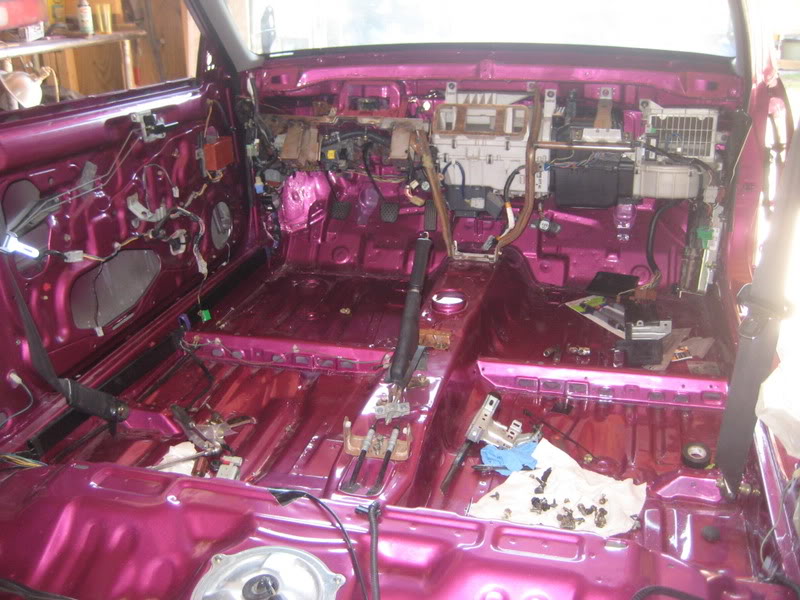
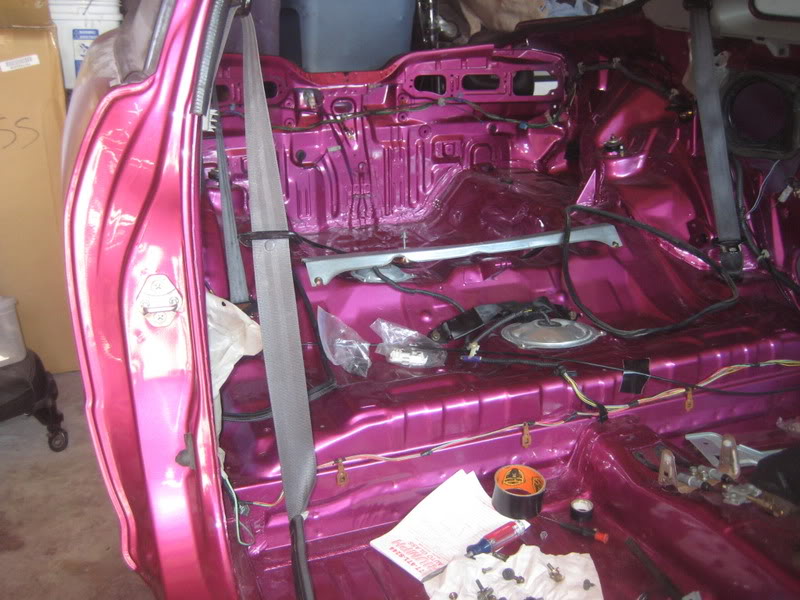
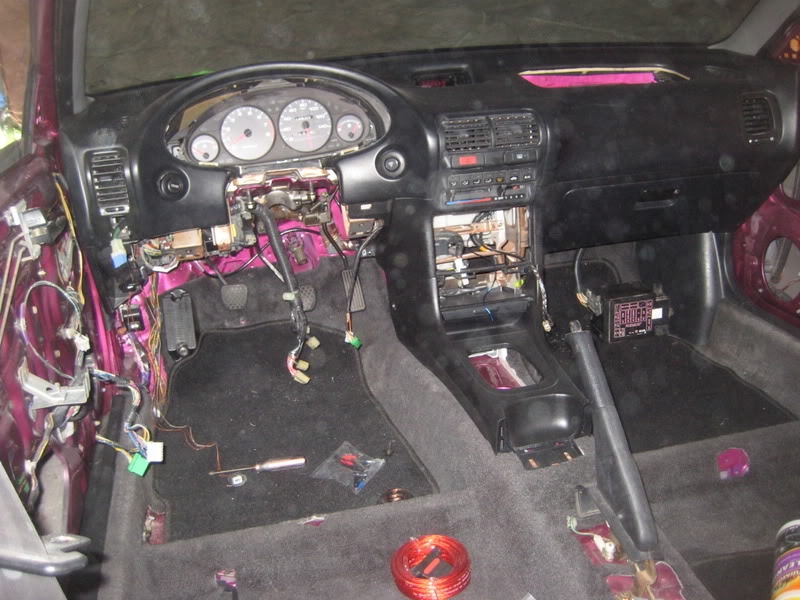
Weak!EG and I spent some time finishing up in the interior:
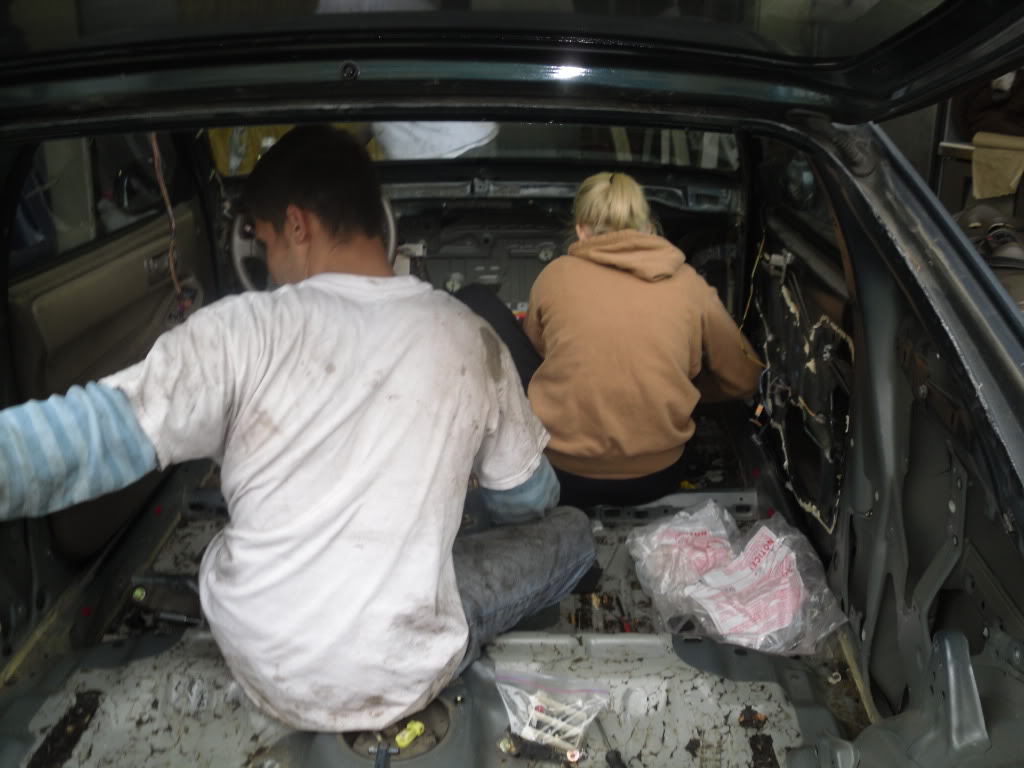
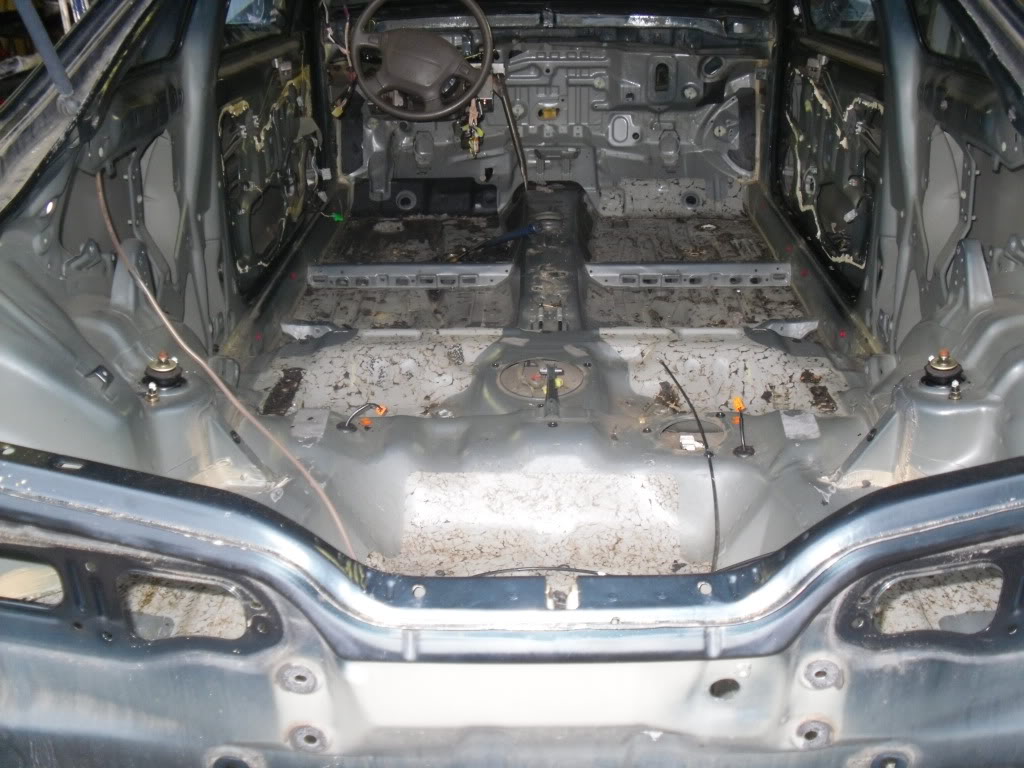
Its pretty much stripped and ready to get started sanding:
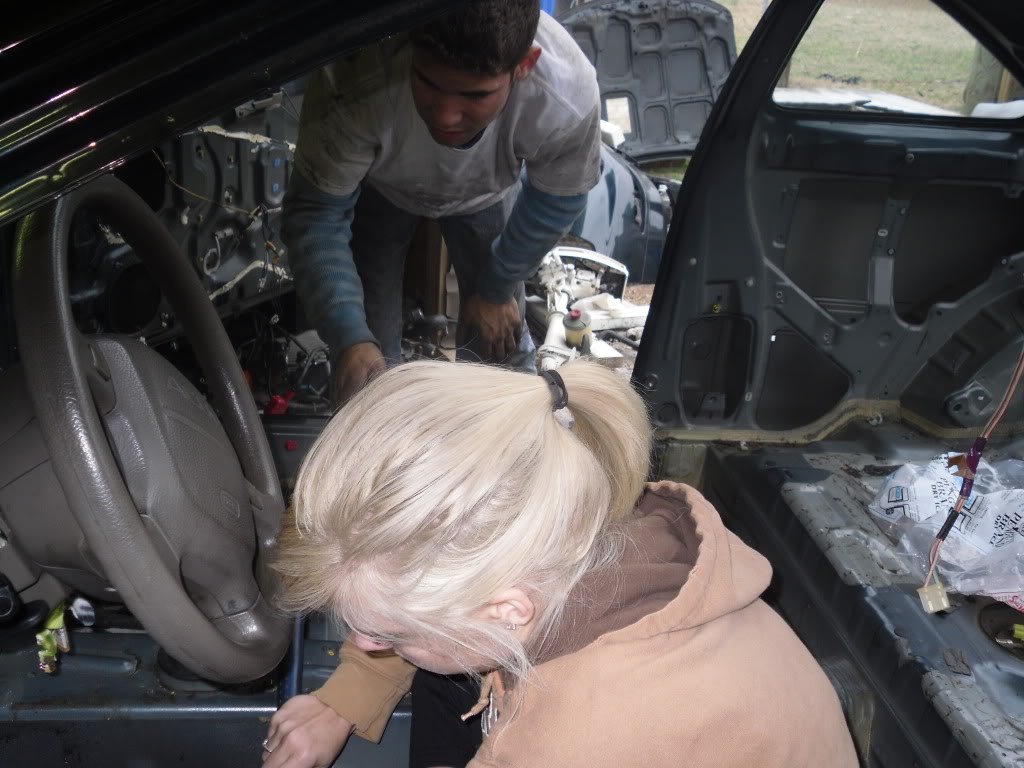
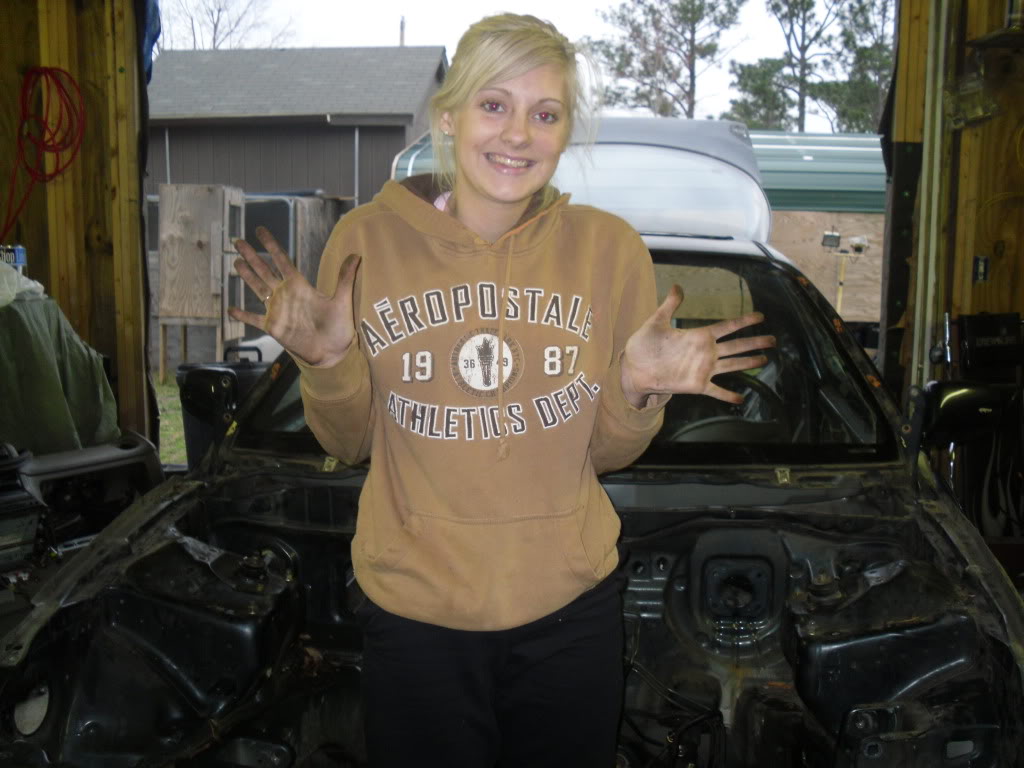
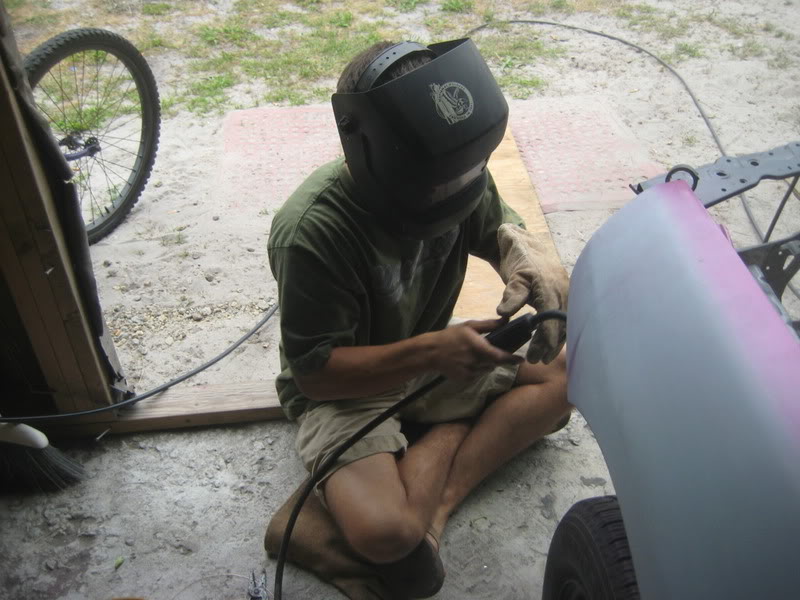
Time to get started on the wiring!
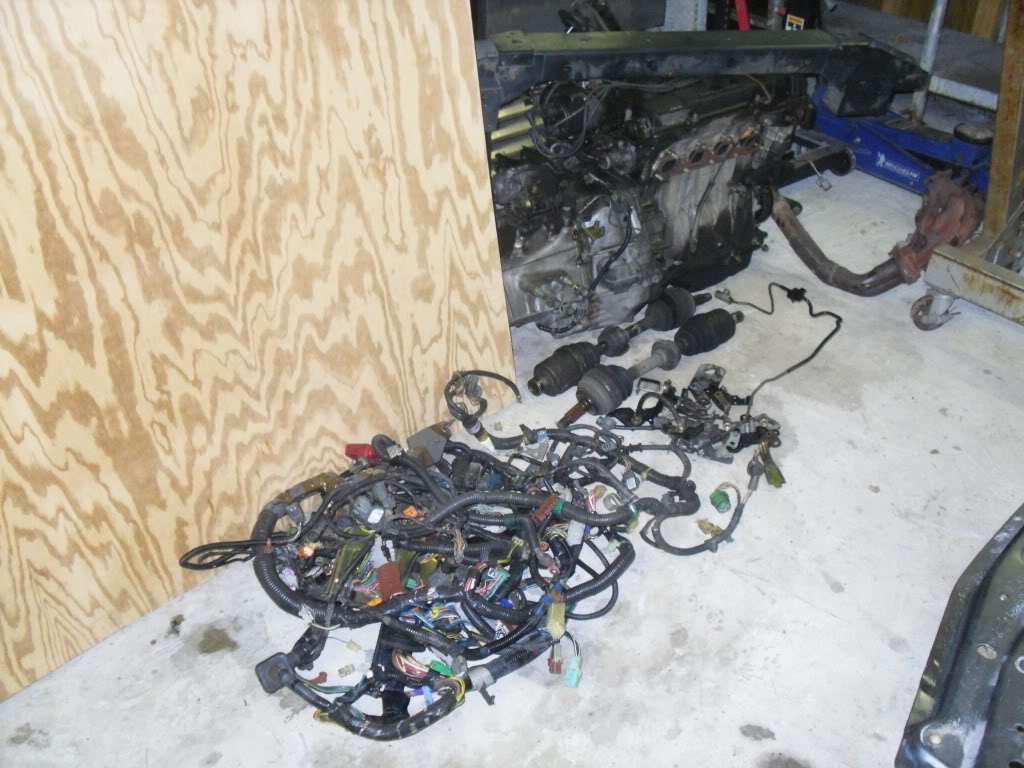
I got a little dirty  haha.
haha.
The welder will be here on Saturday so we can get started on shaving some of the useless holes in the bay
more updates to come.
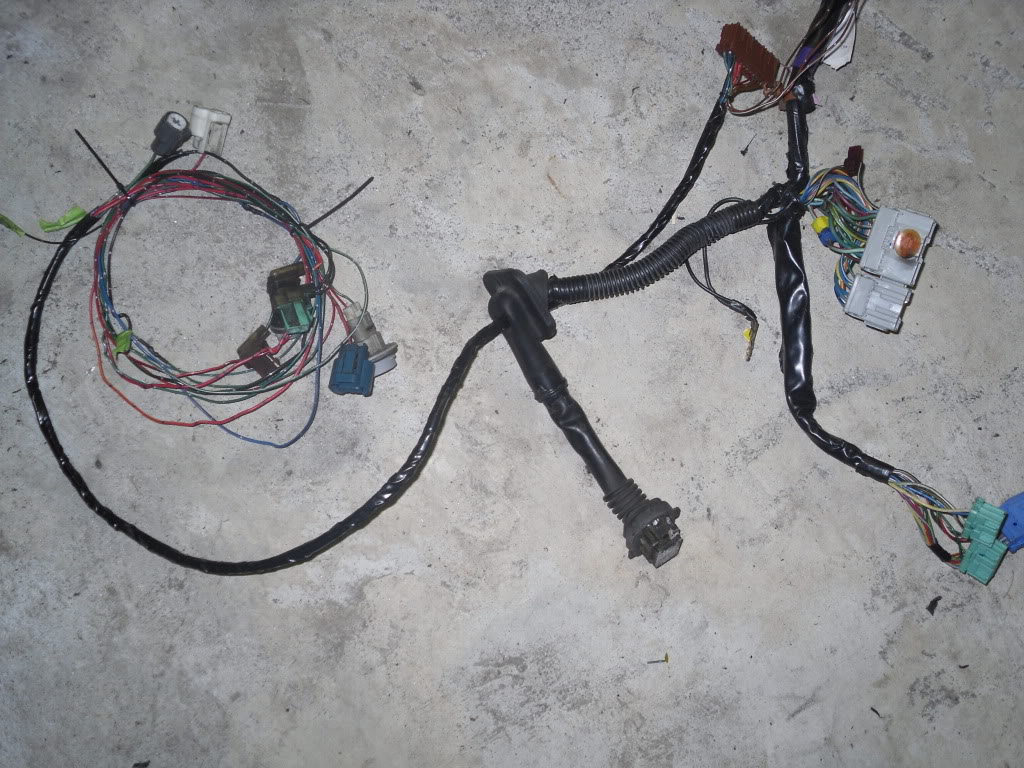
A quick 2am update: Spent the night with Weak!EG and KiddVtak!! working on the wire tuck. Got most of the wiring finished up, will do the finishing touches when we get it back in the car and can make the lengths right.
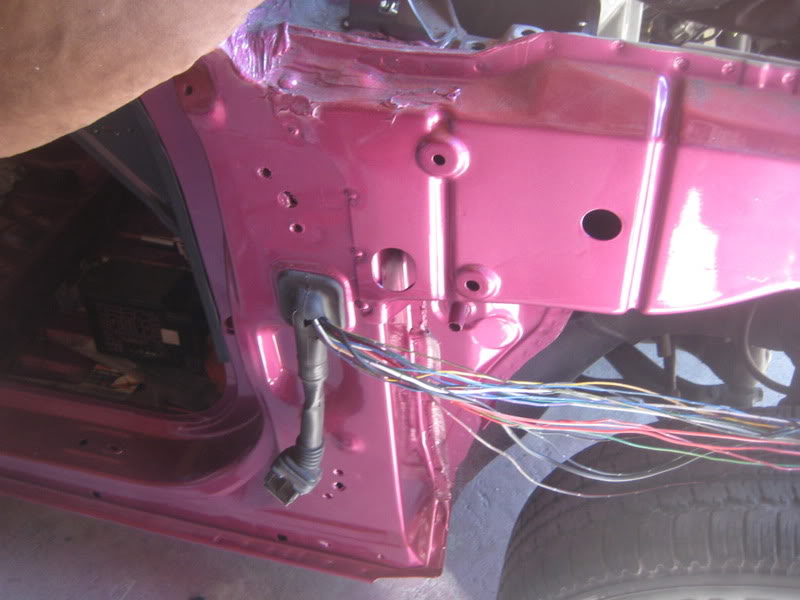
A pic of the progress, Cut a tiny hole in the door grommet and de-pinned the plugs and run the wires through. Threw some electrical tape on it, and called it a night.
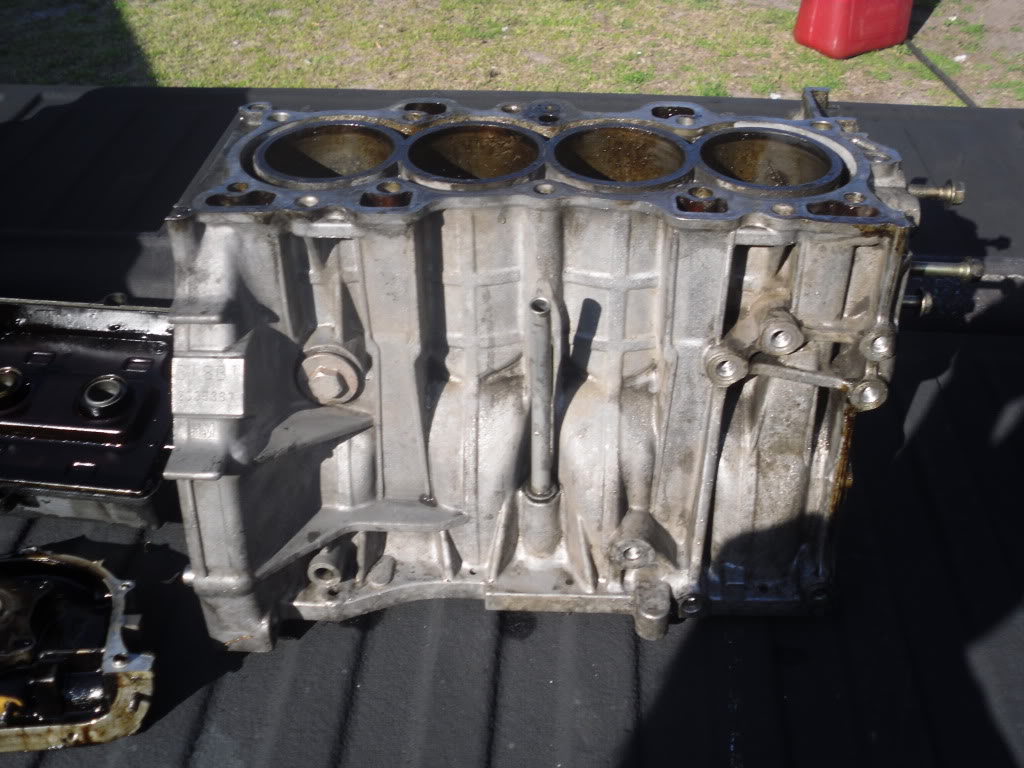
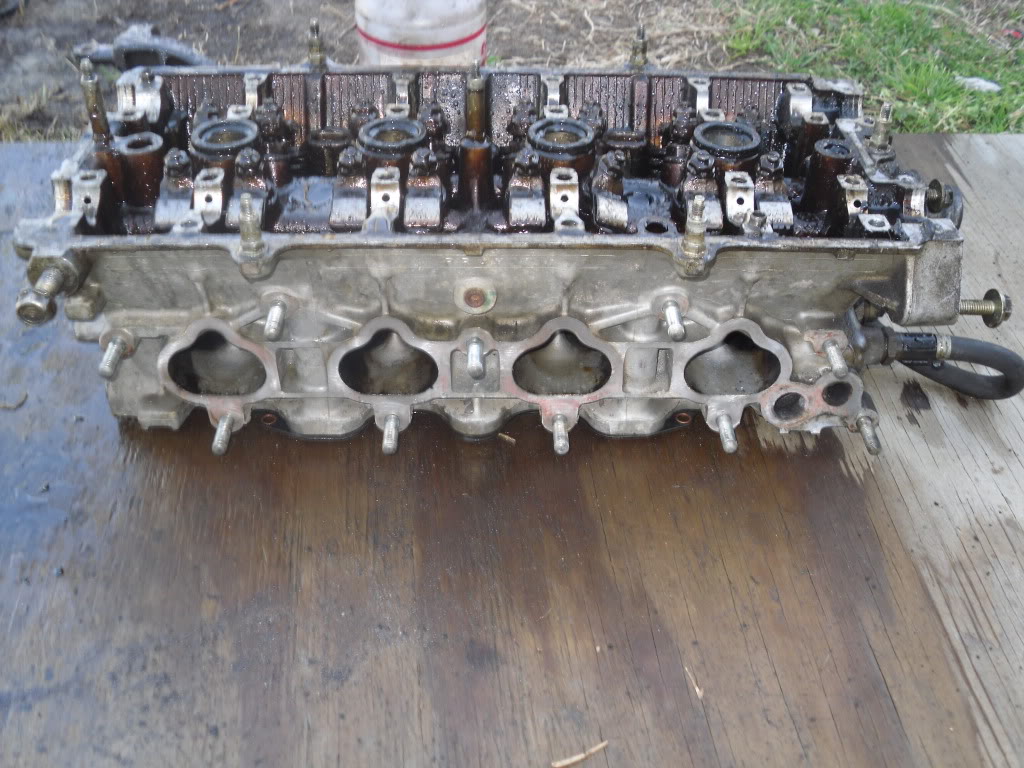
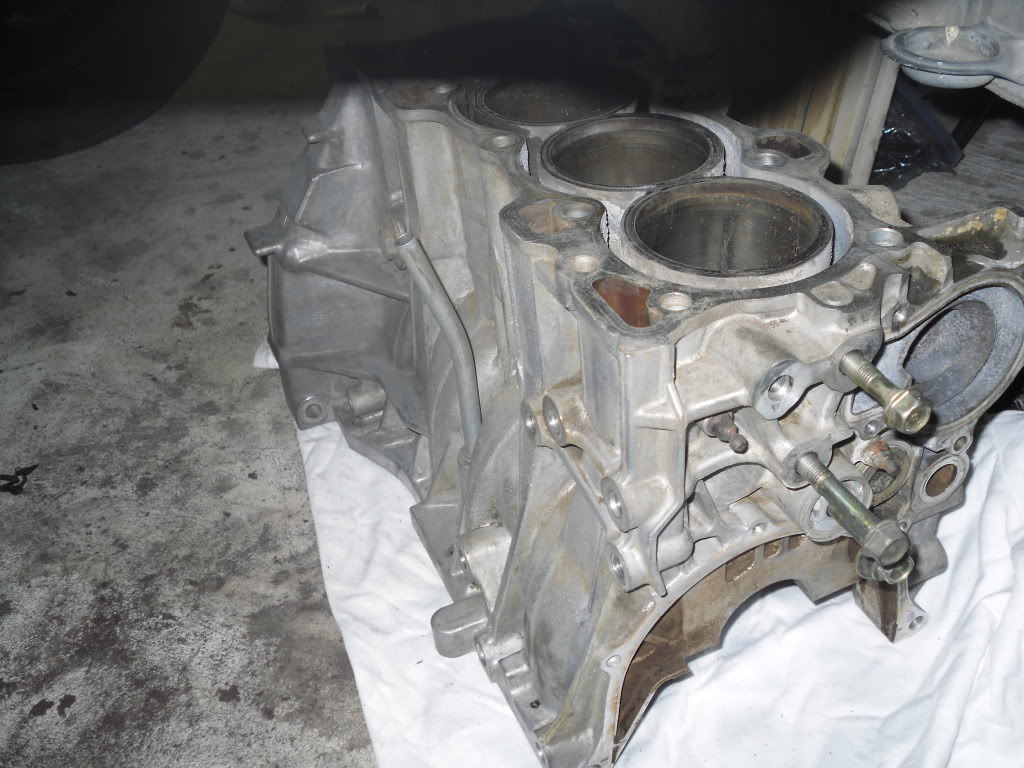
Got the motor torn down today, and then took it to the hobby shop on the base and put it and a few other small items in the agitator over night. Will post pics of the stuff we get back tomorrow.
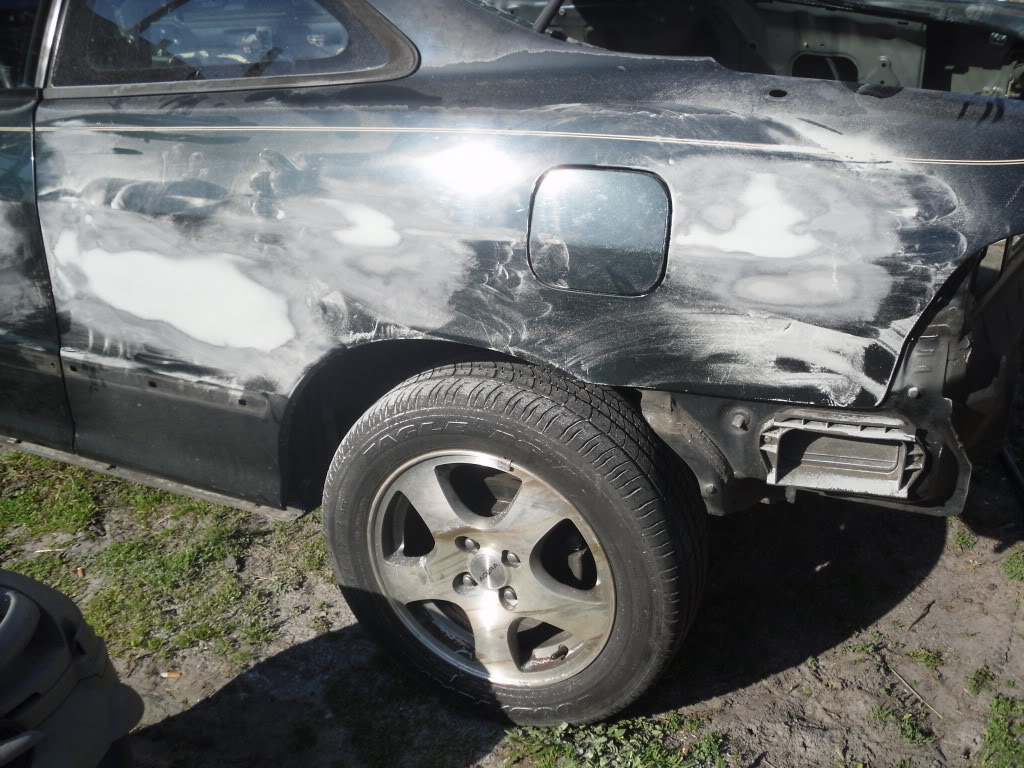
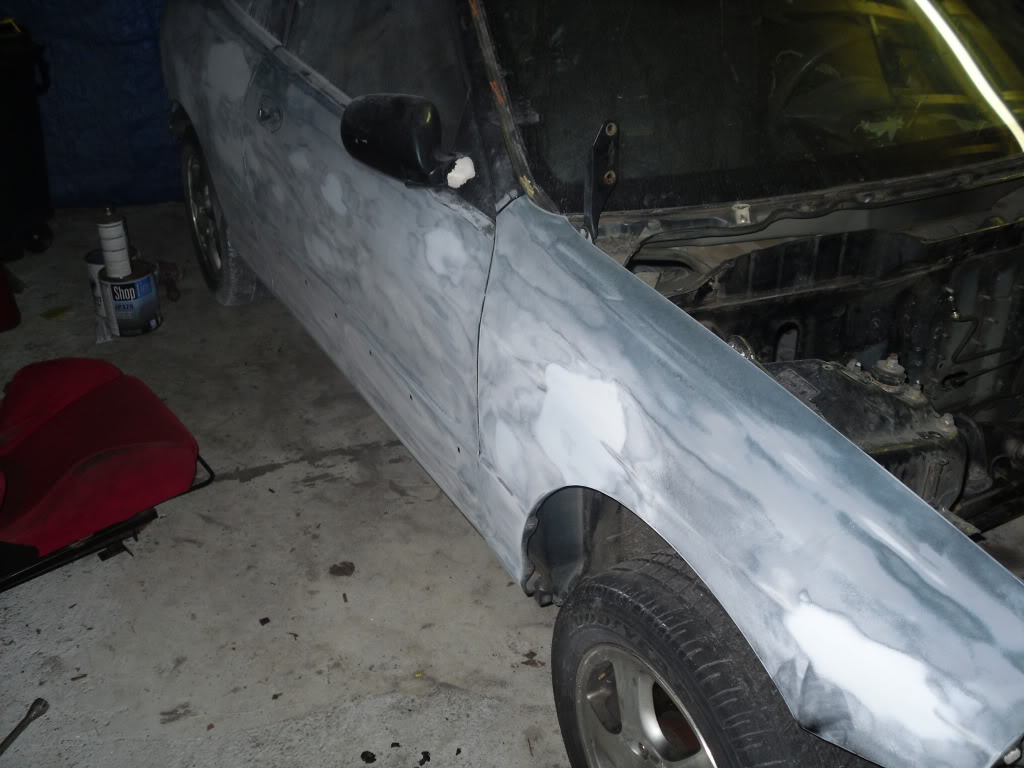
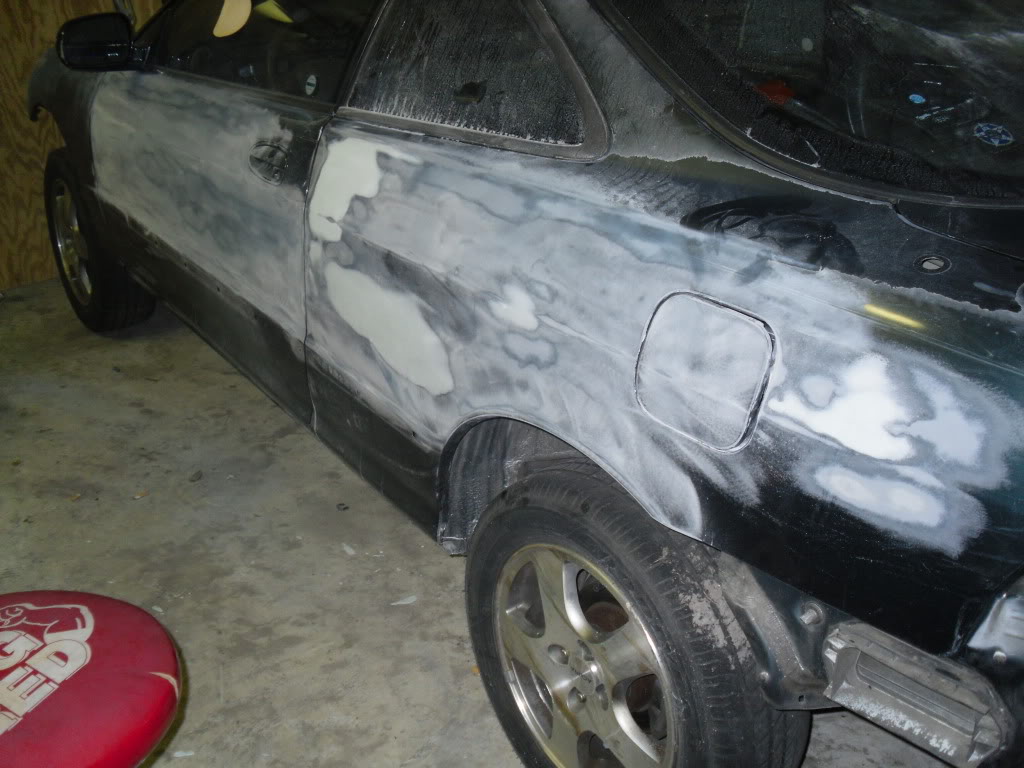
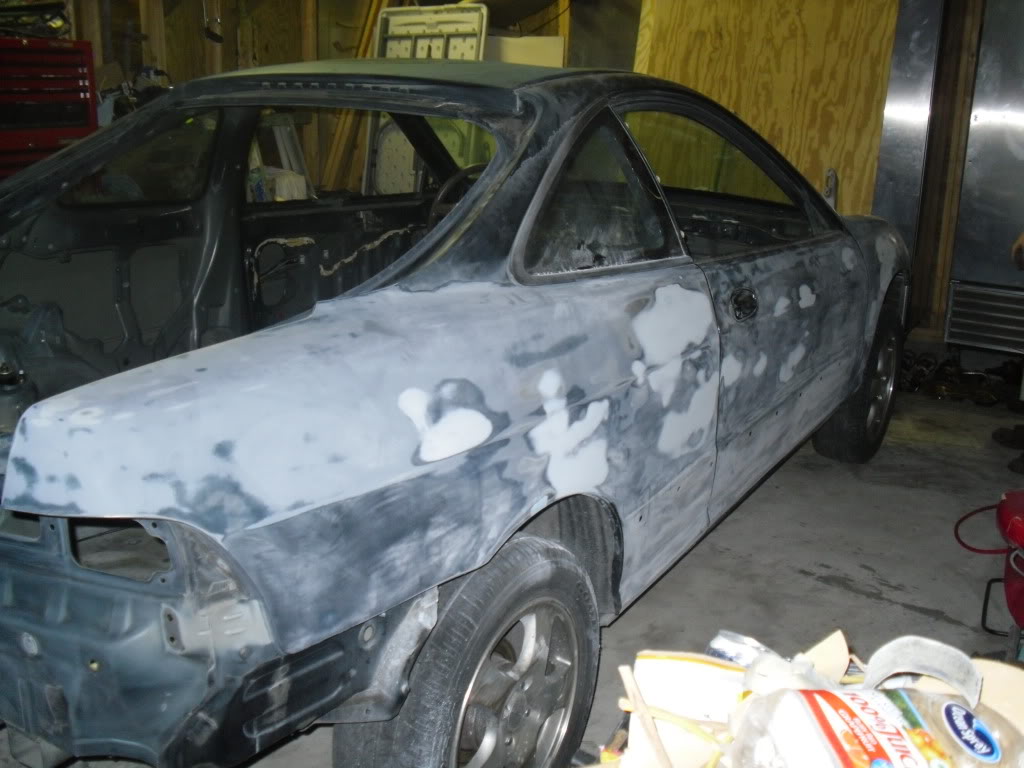
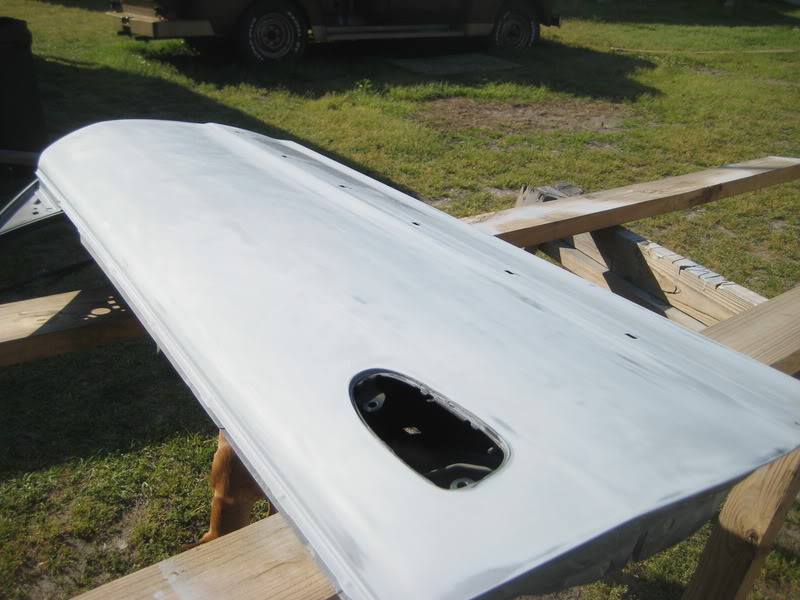
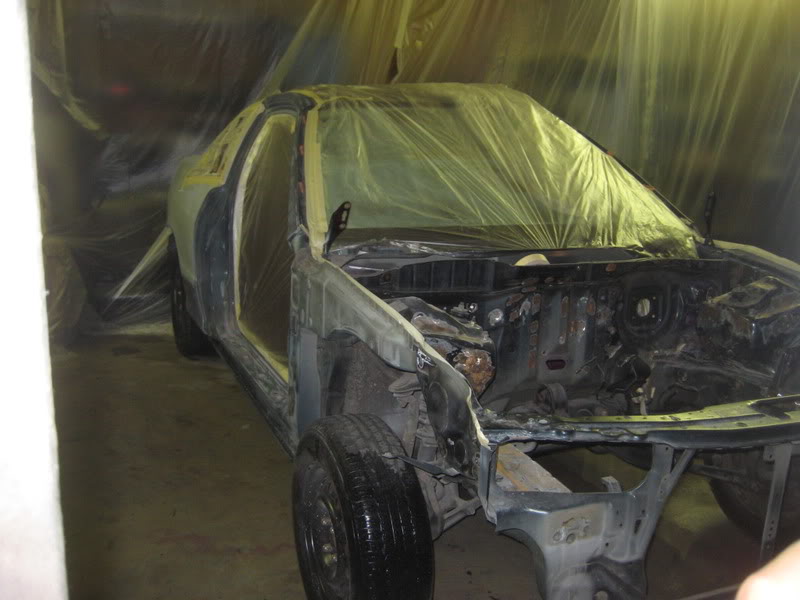
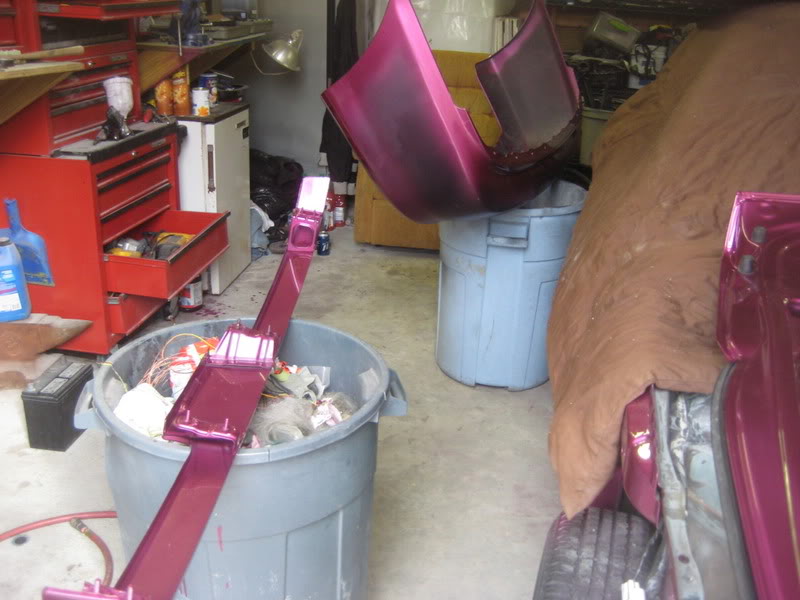
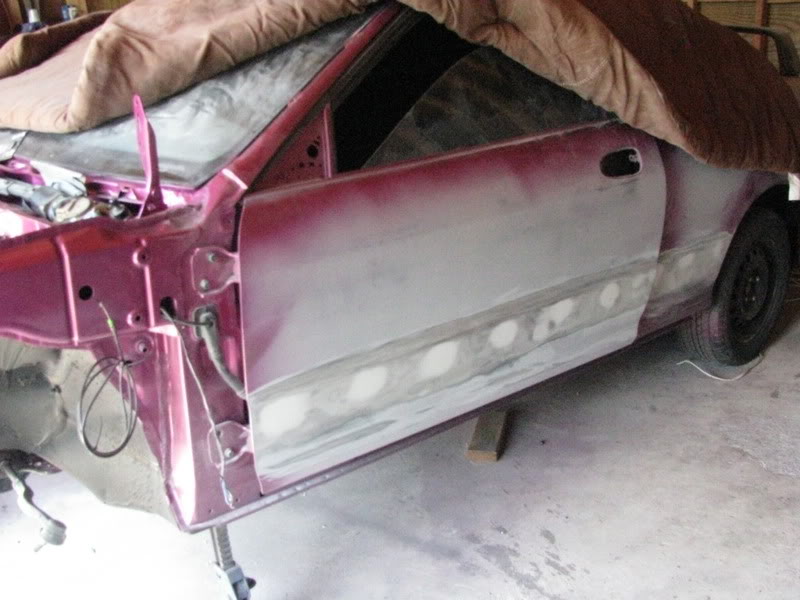
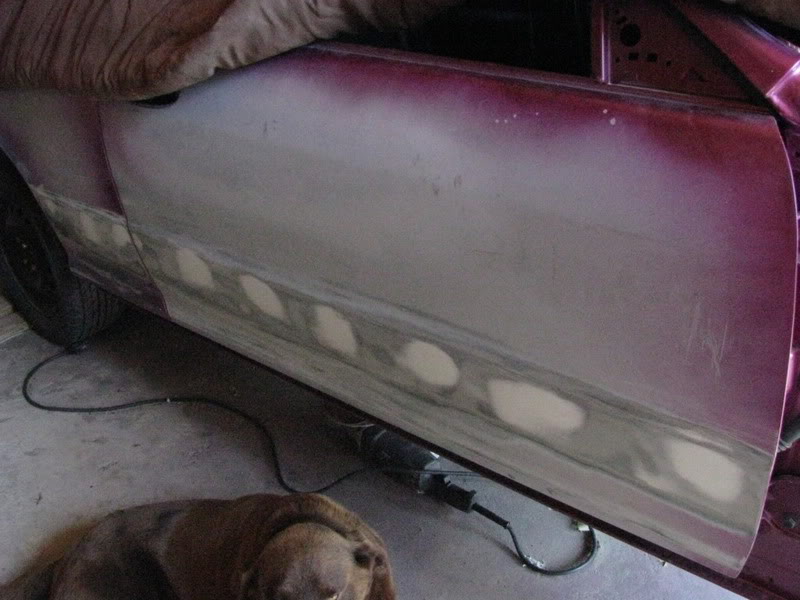
Also started the body work today  :
:
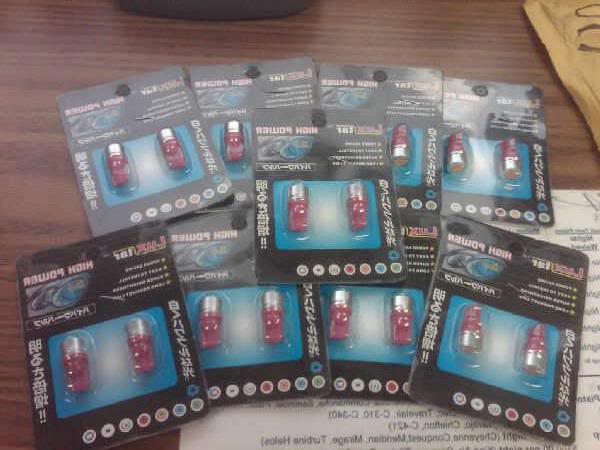
and i doubt we will use, but another something that we have around too bad theyre red:

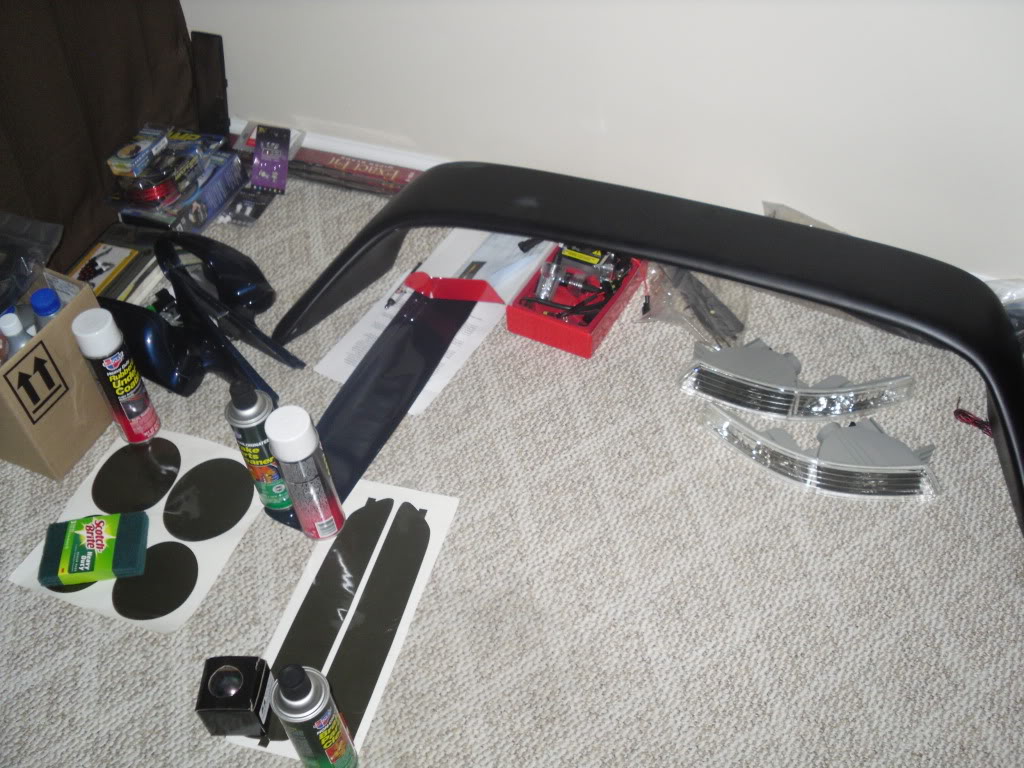
and some parts just waiting to go on:
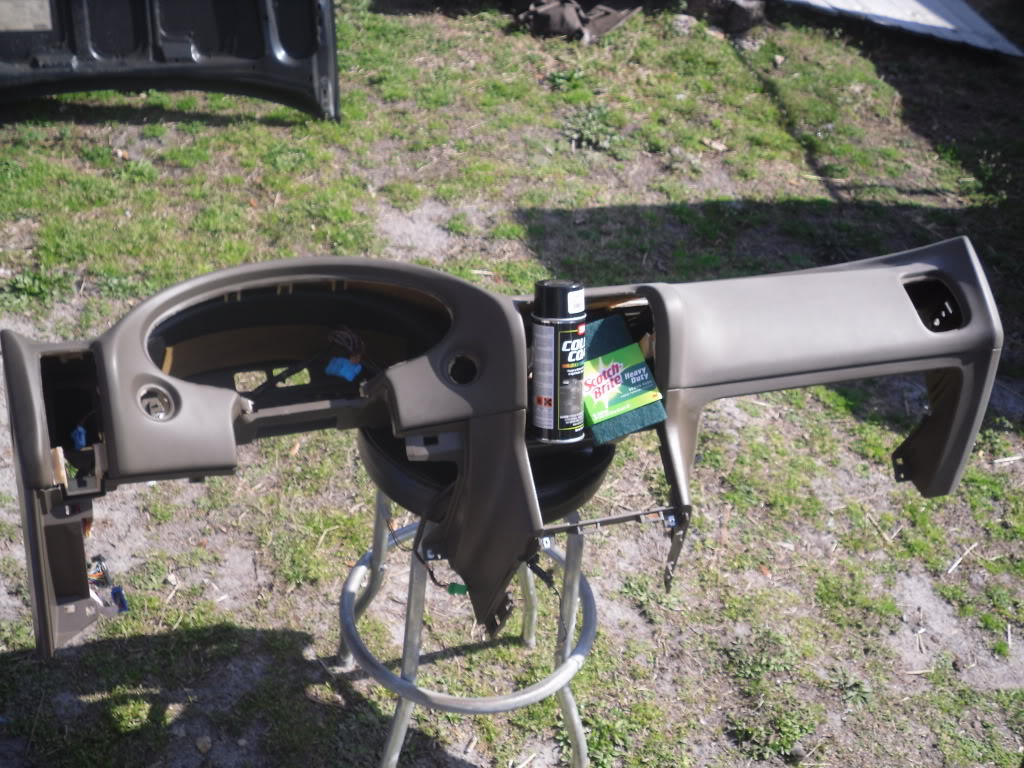
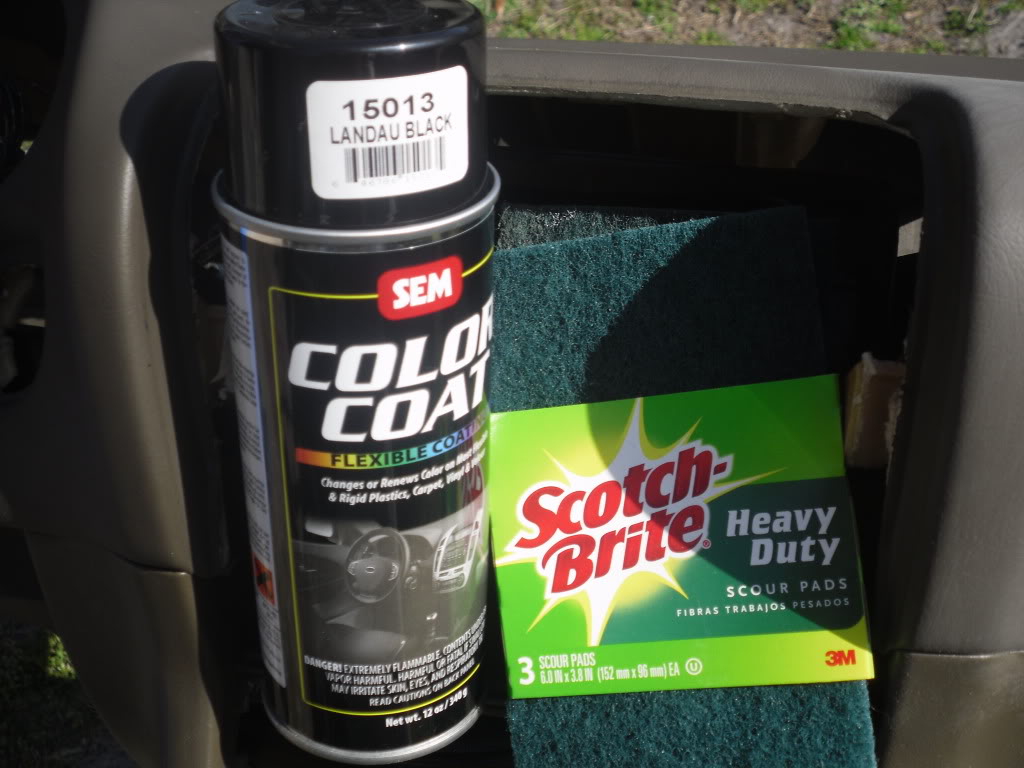
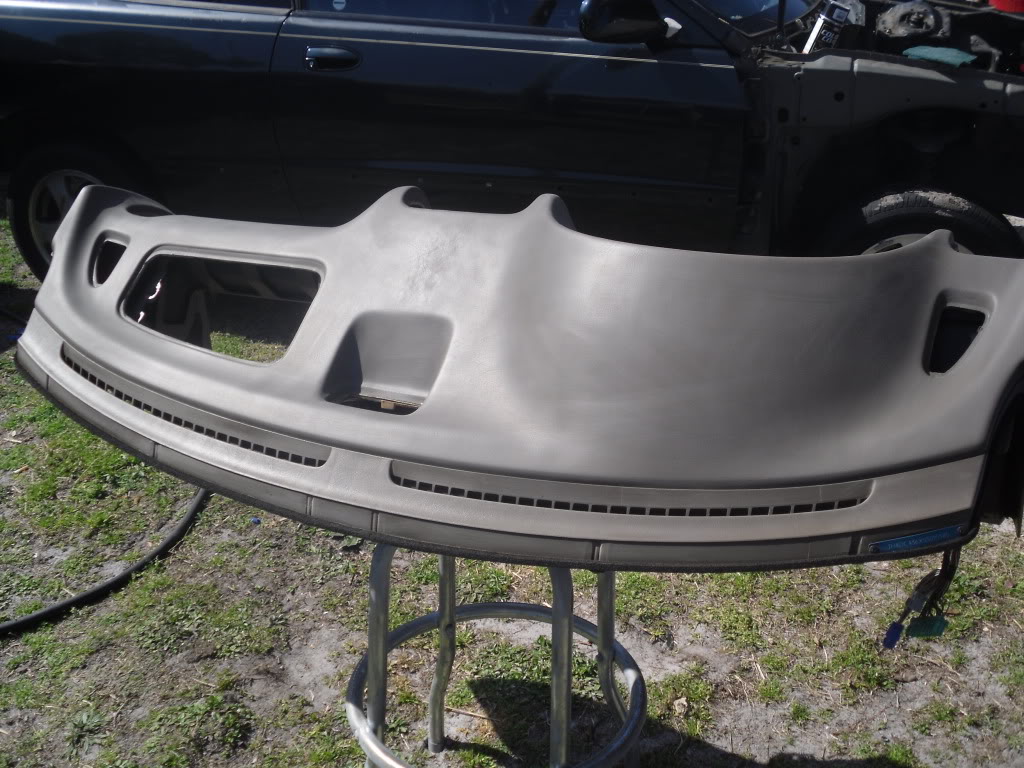
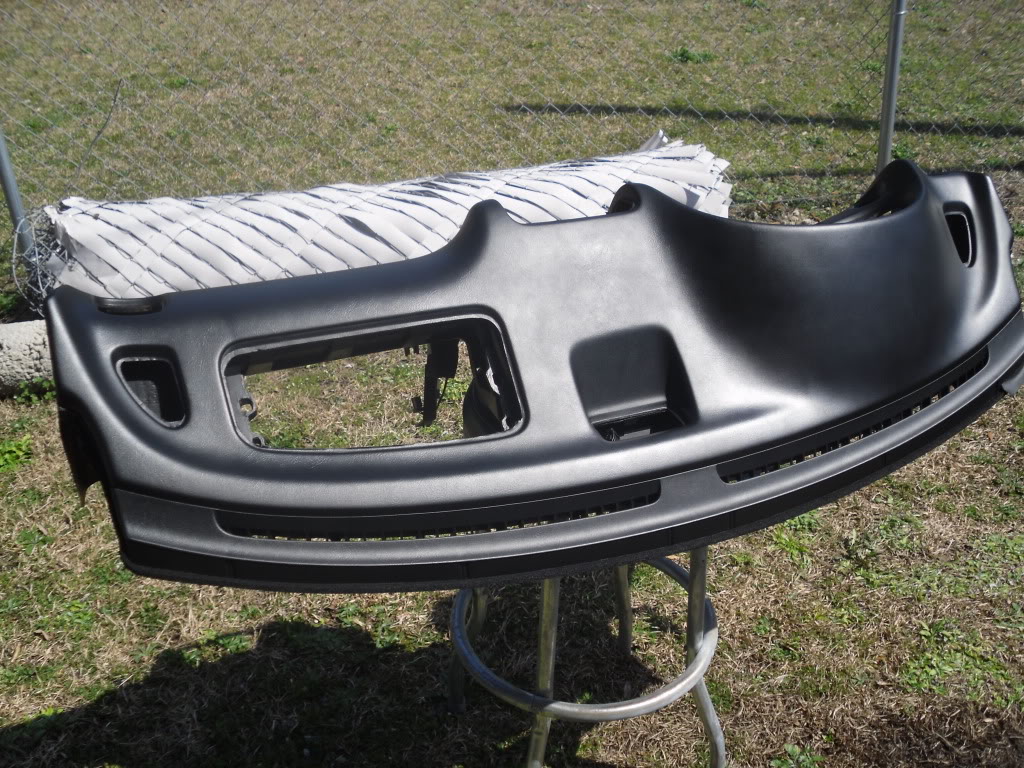
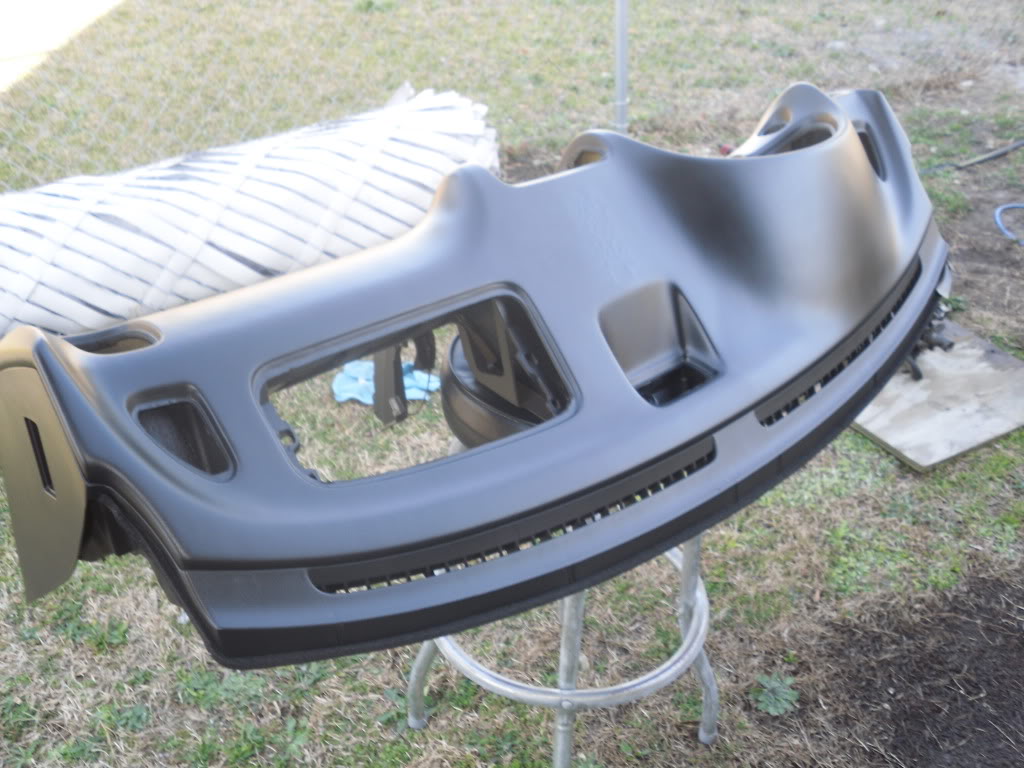
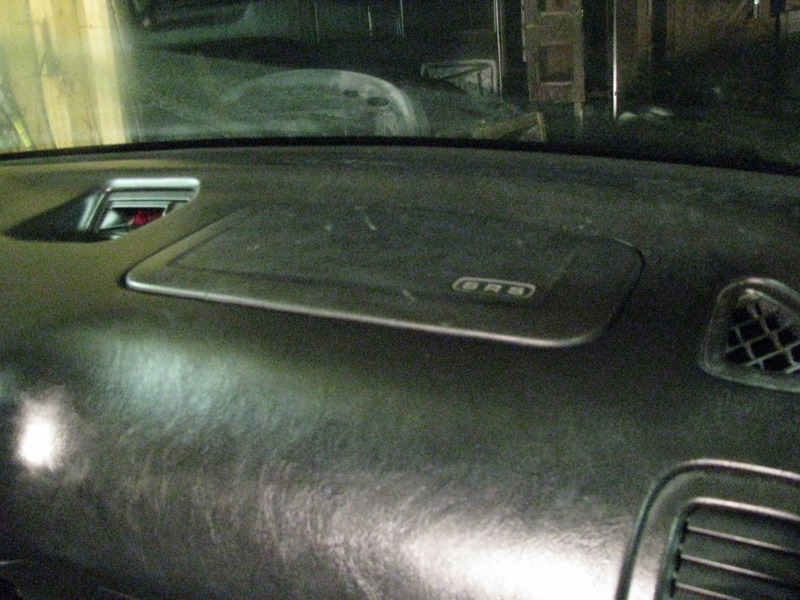
and lastly.. dyed the dash today.. scuffed it and sprayed a few decent coats on it.:
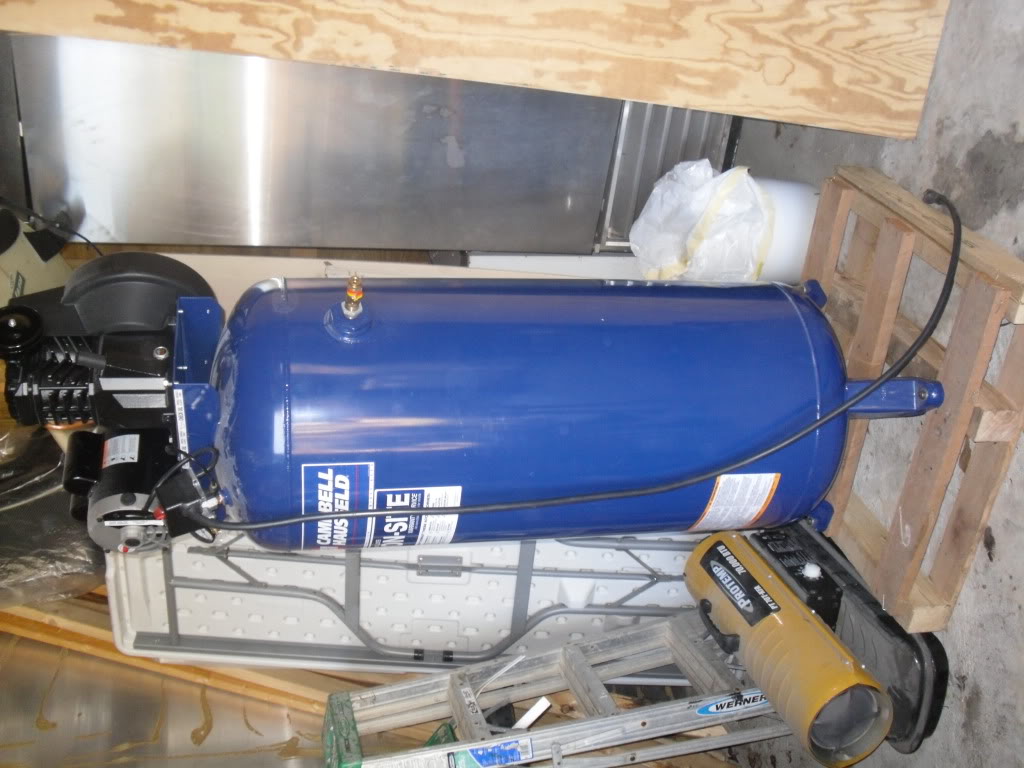
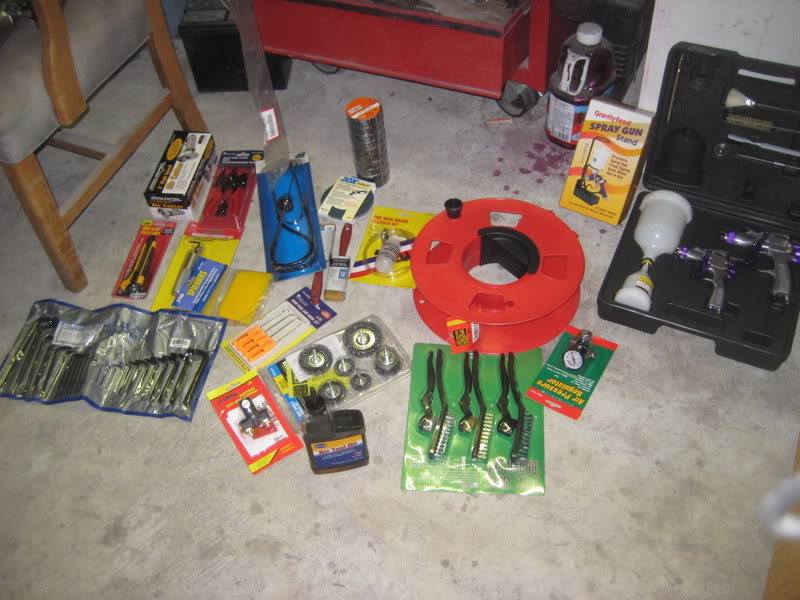
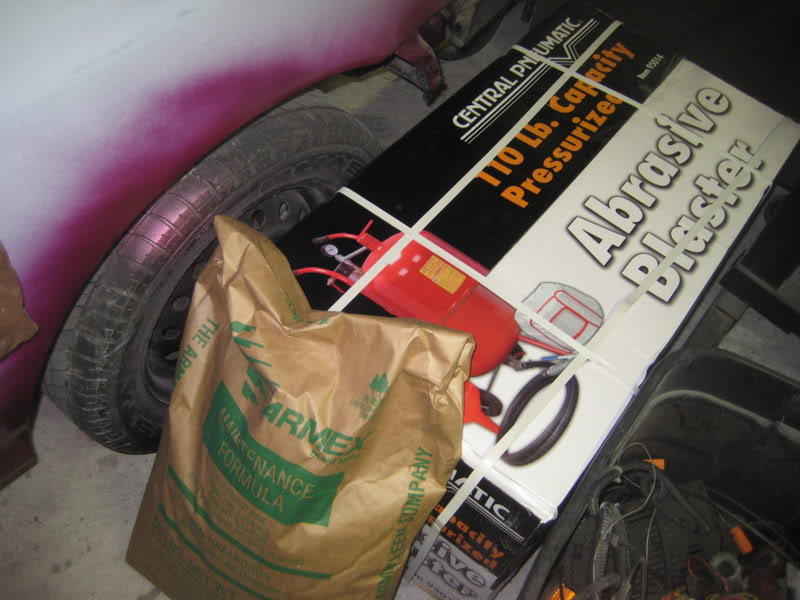
and the new air compressor! :
more to come!
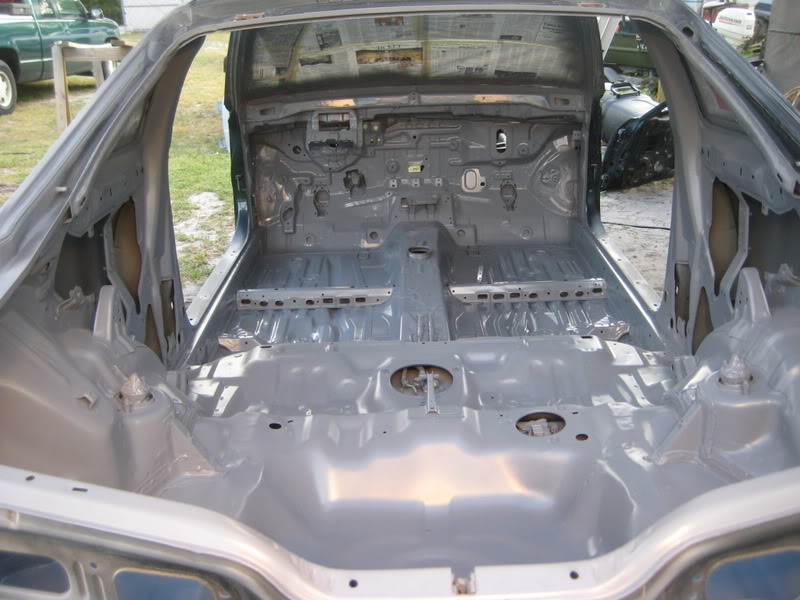
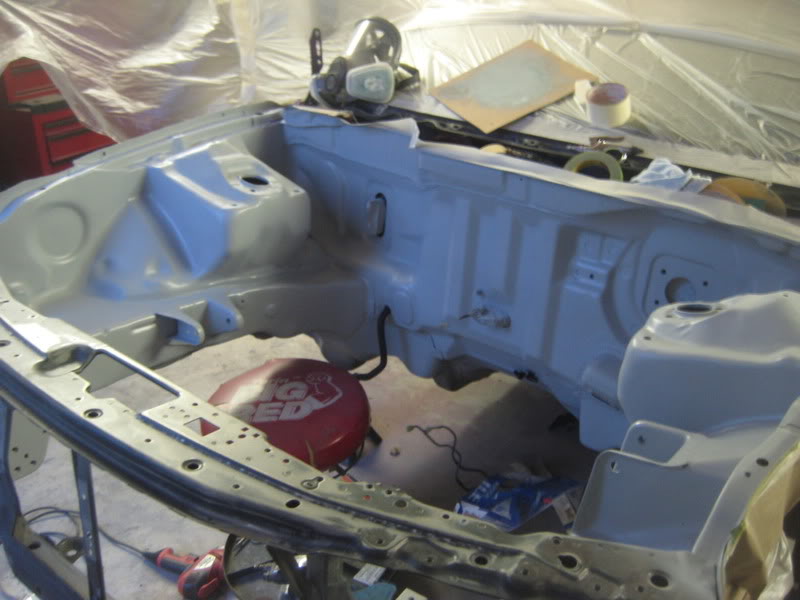
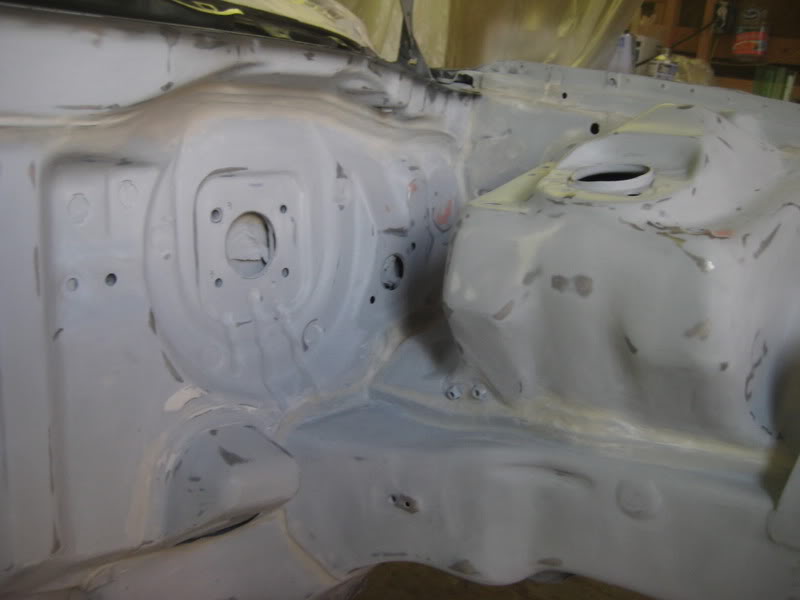
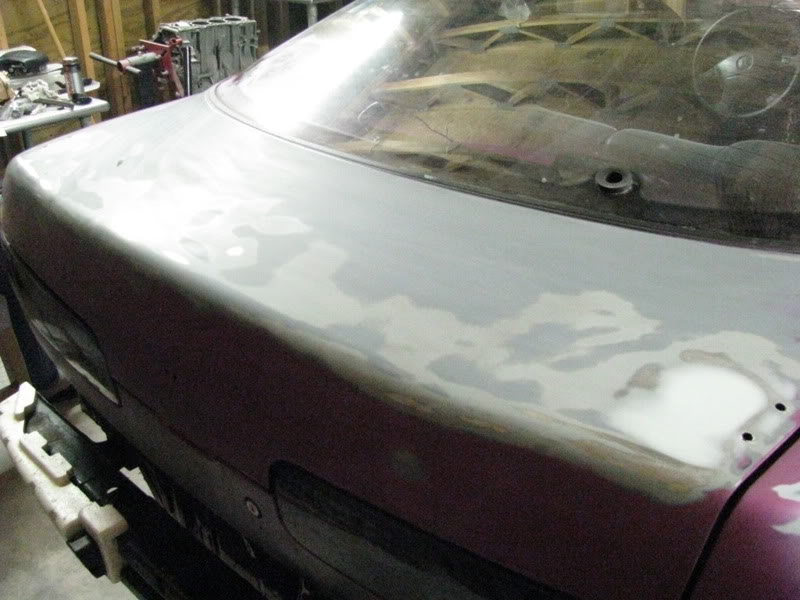
ot the back area mostly scuffed up and ready to spray some primer on.
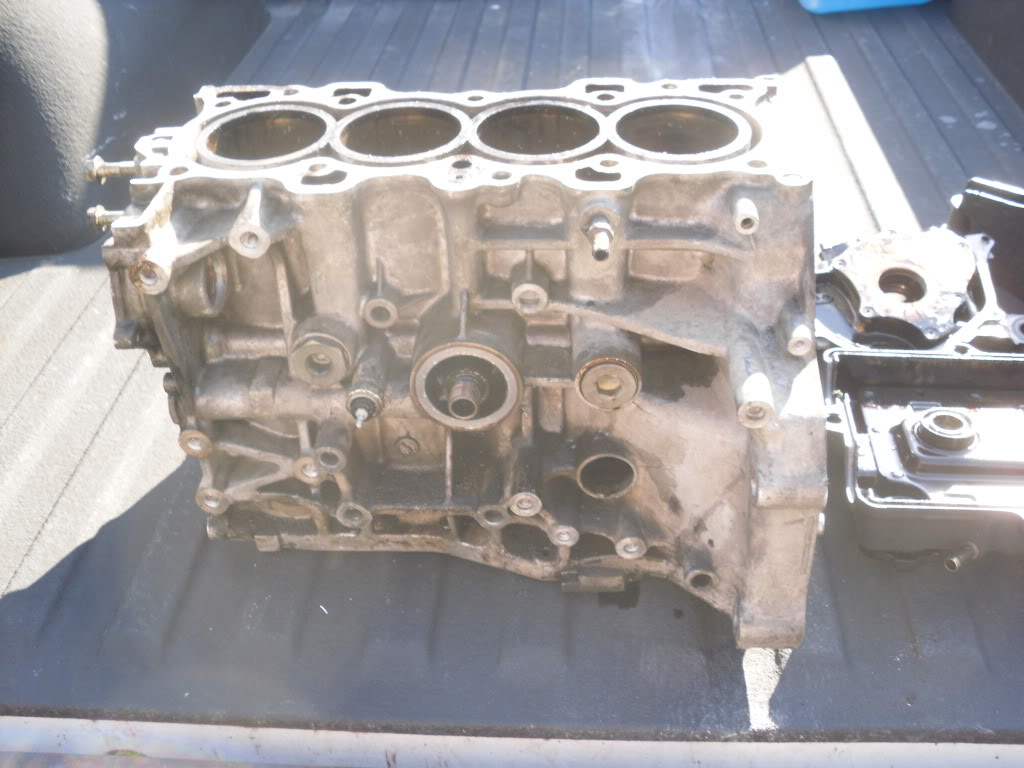
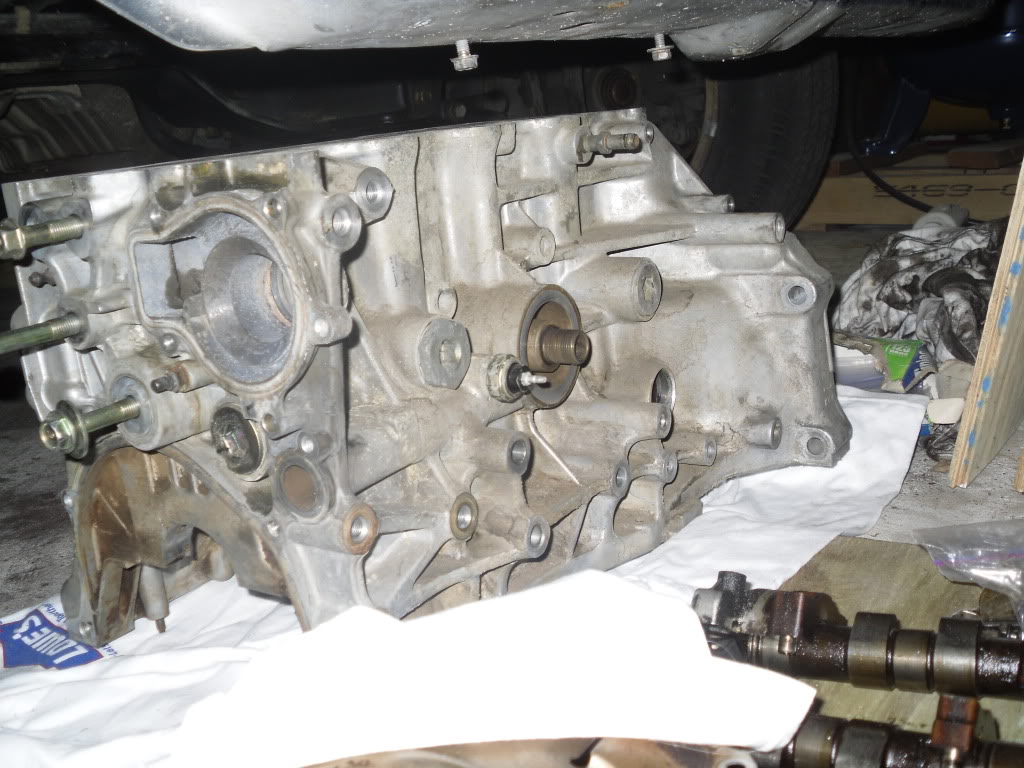
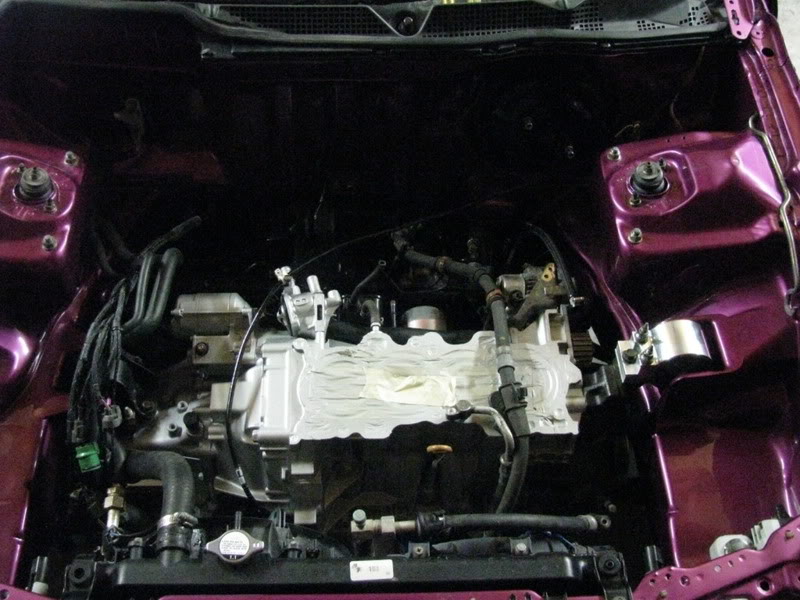
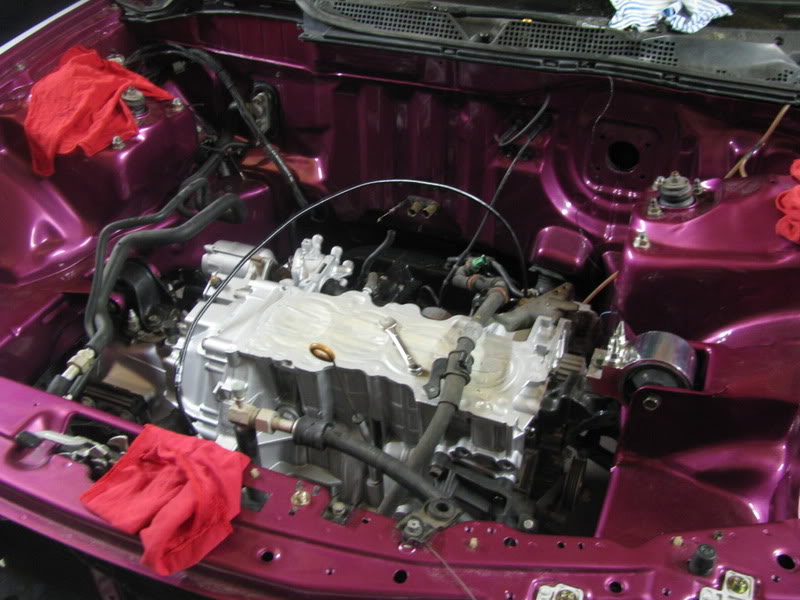
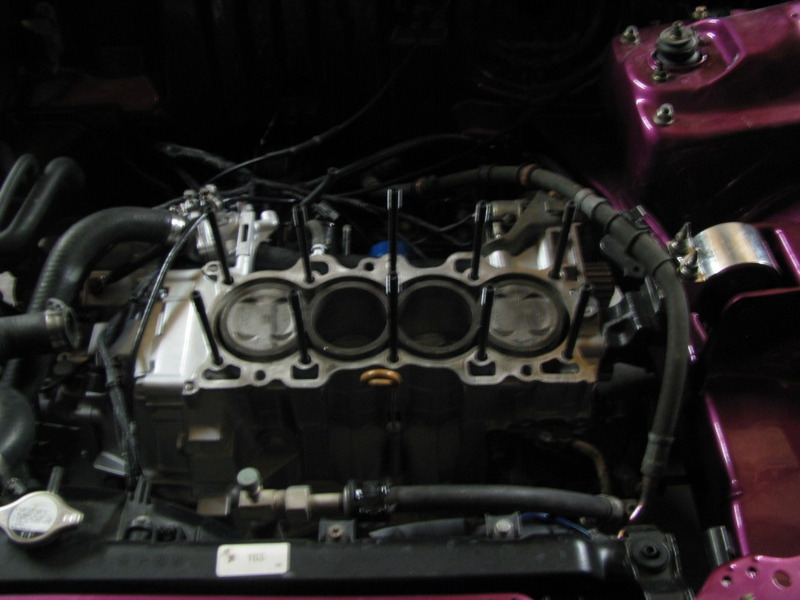
2 updates for today.. got the block back out of the agitator, it’s almost ready for a nice coat of paint.
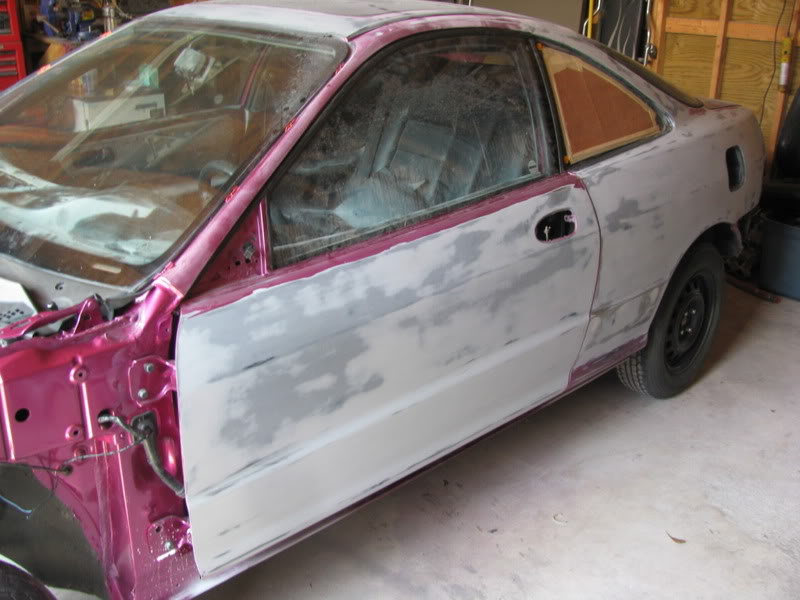
and got some more body work done, the passenger side is pretty much done and ready for a coat of primer so it can be blocked… driver side should be finished up tomorrow.
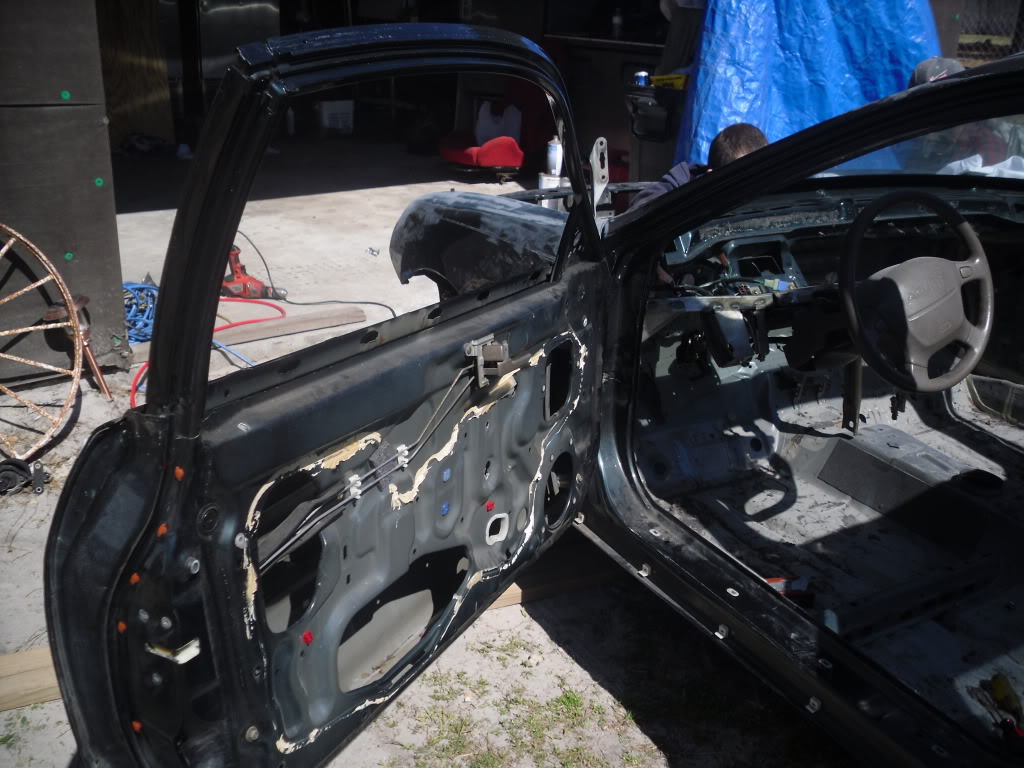
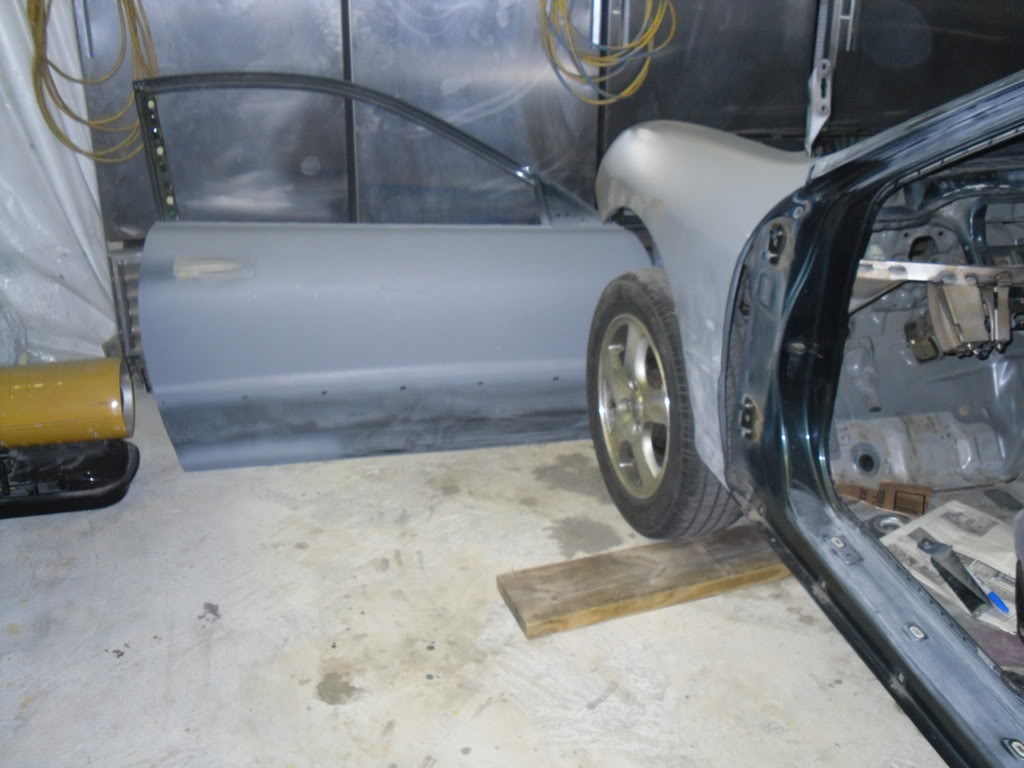
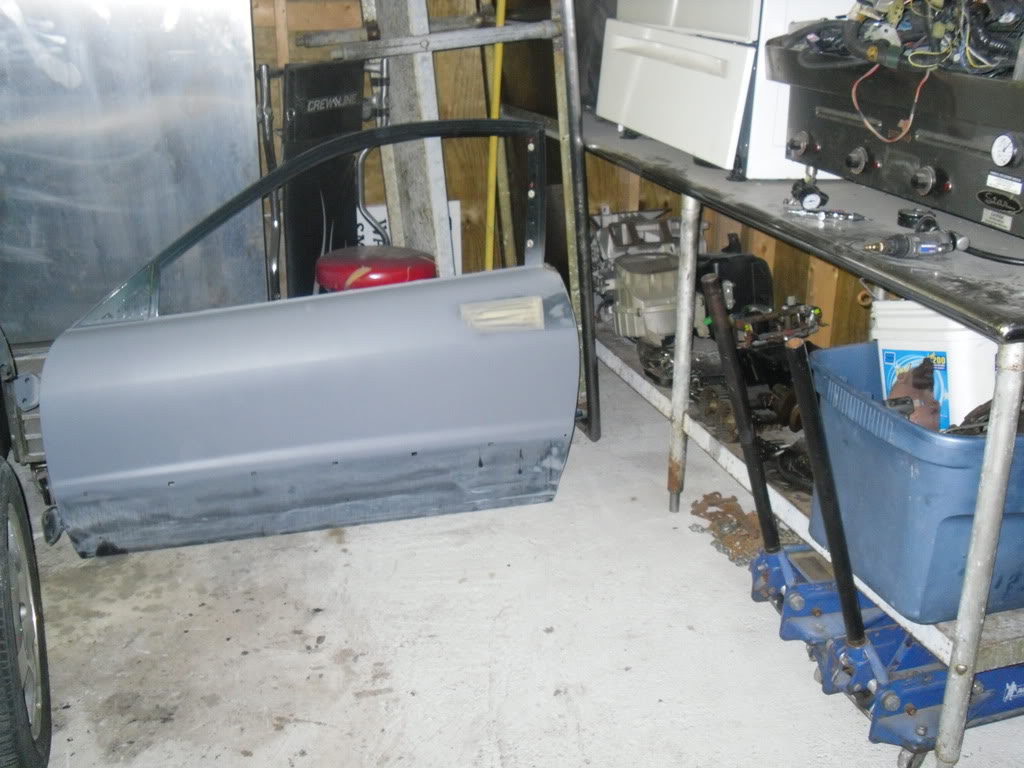
Started the day off by stripping the doors of the glass/moldings/etc.
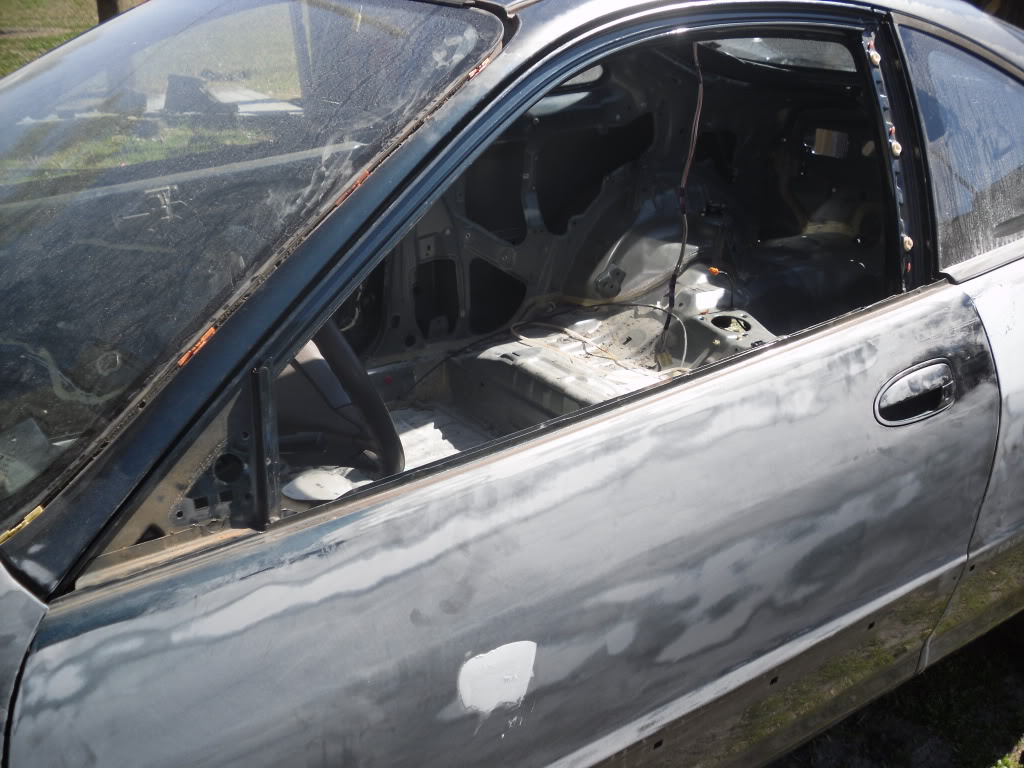
Then some more body work, going to prime the car tomorrow.
Also finished up sanding the interior of the car down and getting the glue from the tar up.
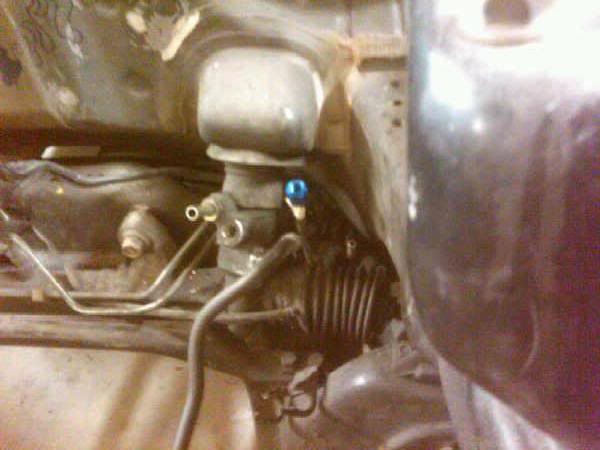
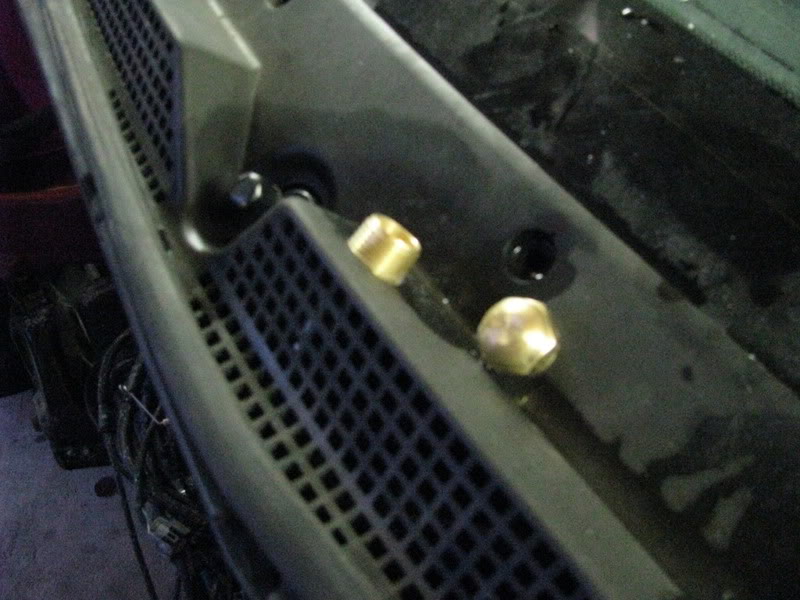
And KiddVtak! grinded the studs down on the firewall and got the fuel lines cut down and ready for a tube nut/sleeve. Also drilled the brackets out on the front of the passenger strut tower.
More to come.
A few pics from the day.. sorry for the crappy cell phone pics, Weak!EG broke the camera.
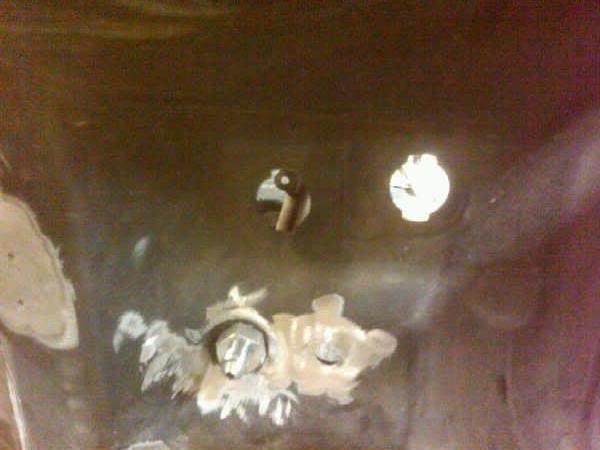
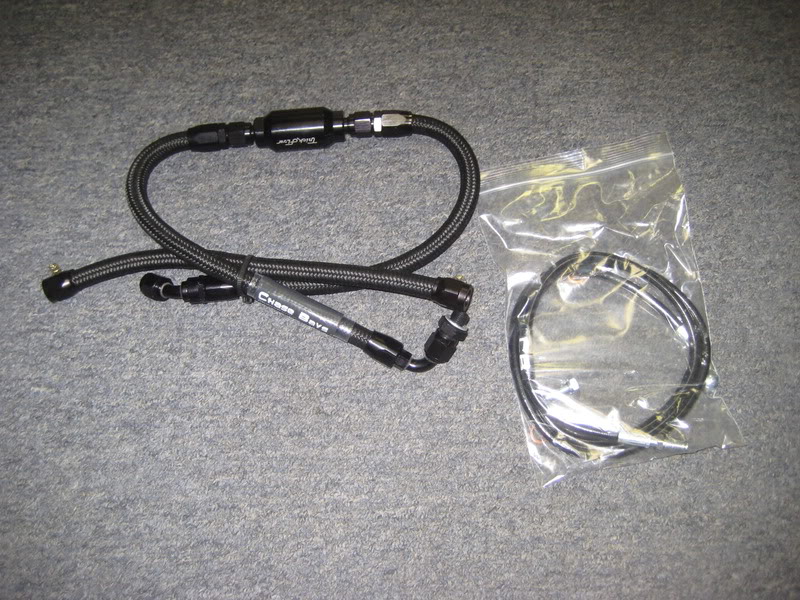
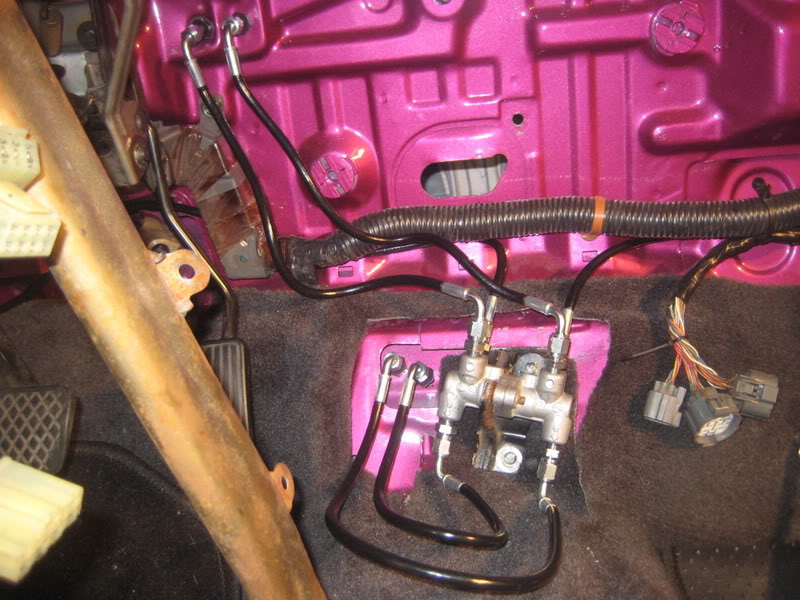
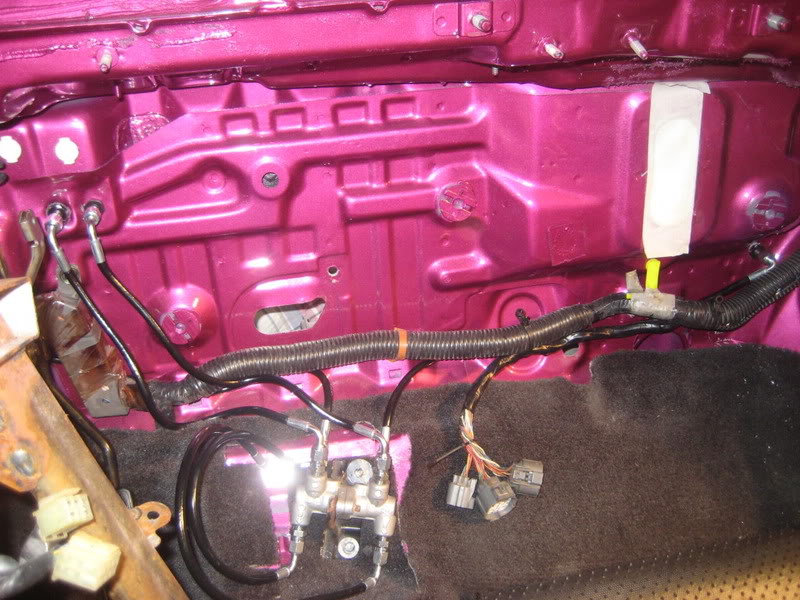
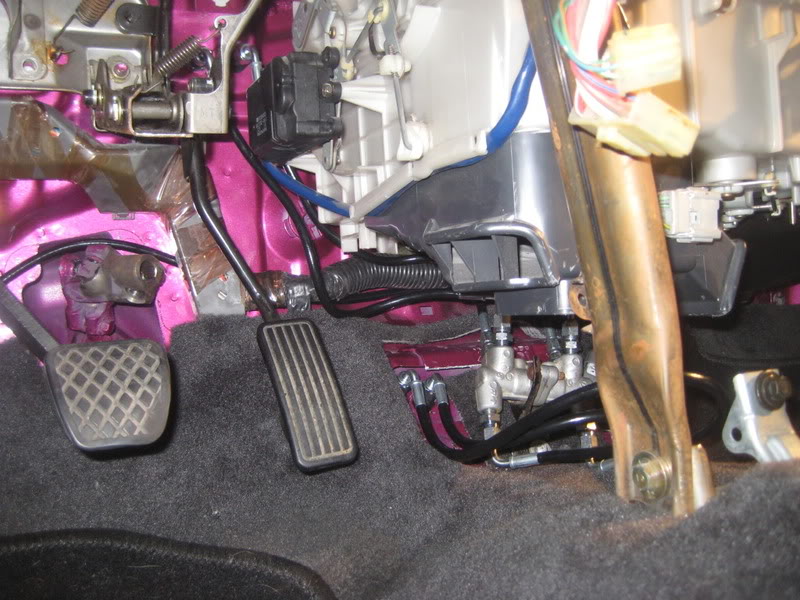
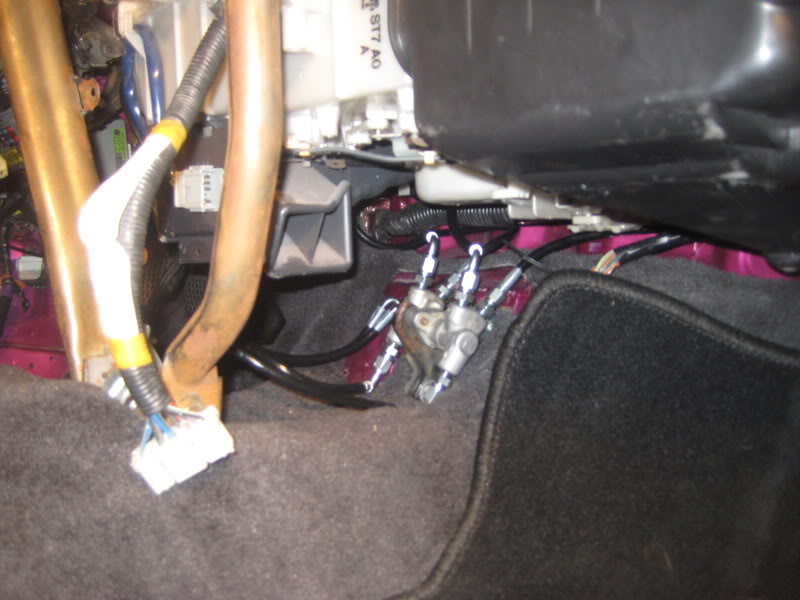
got the fuel setup and the brake line bulkheads started
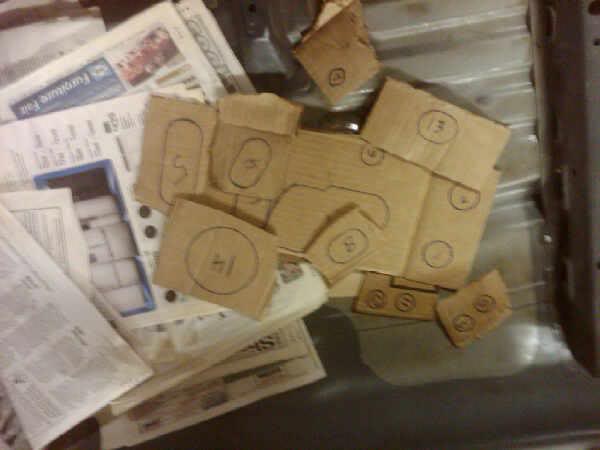
drew up some templates to get some metal cut and ready to weld into the bay sunday.
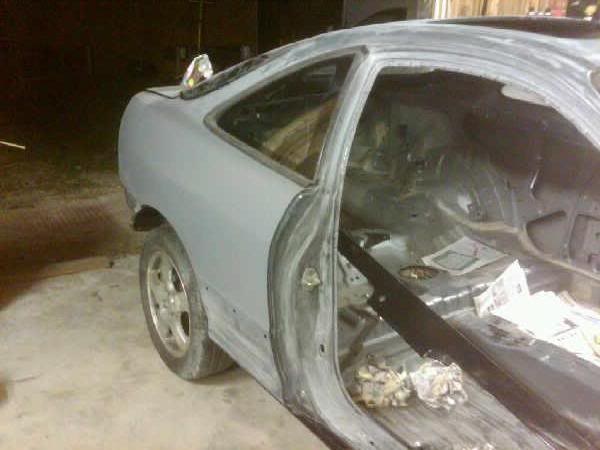
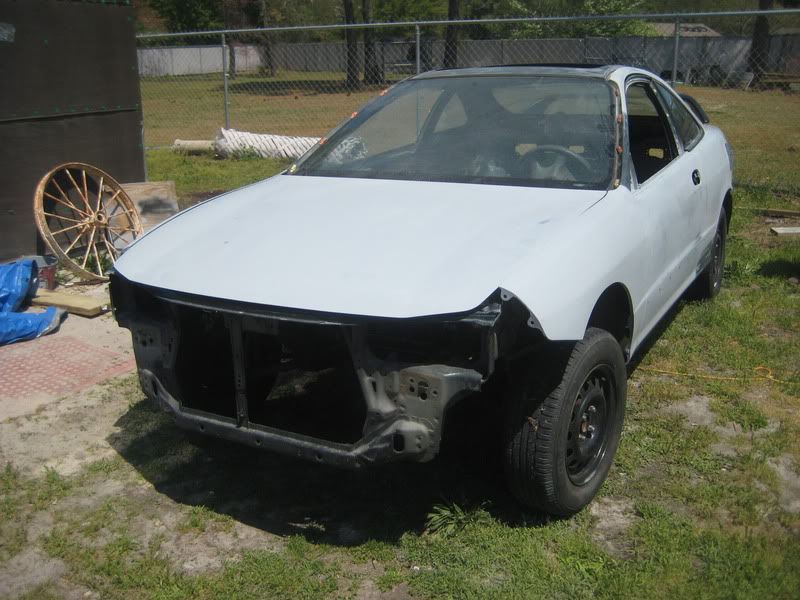
and finally we primed the quarter panels, doors, fenders, and hood today.. came out great for the most part, just gotta block it all down.. Will post pics of the rest when we get a camera.
Pink LEDS. Stay tuned
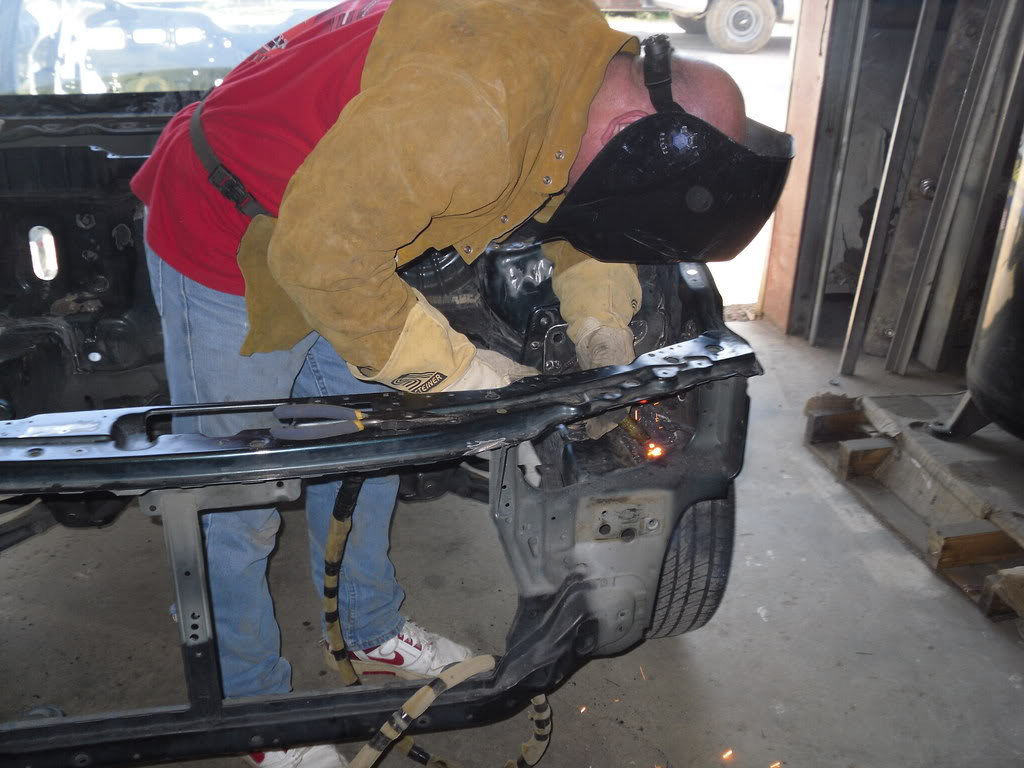
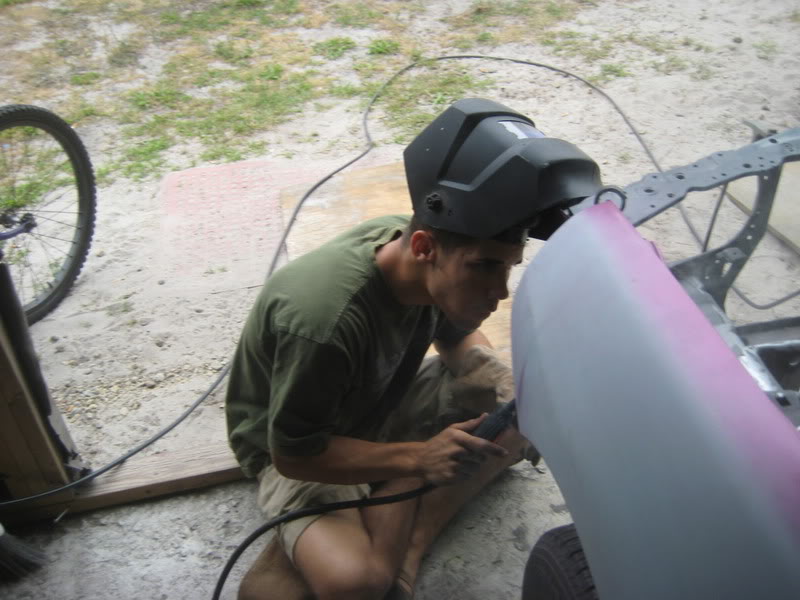
FINALLY!! The welding was started today. Didnt get a lot done but we got a late start. Friday we will be finishing it up.
Last, a picture of the fixed doors and a random shot of the driver side quarter.

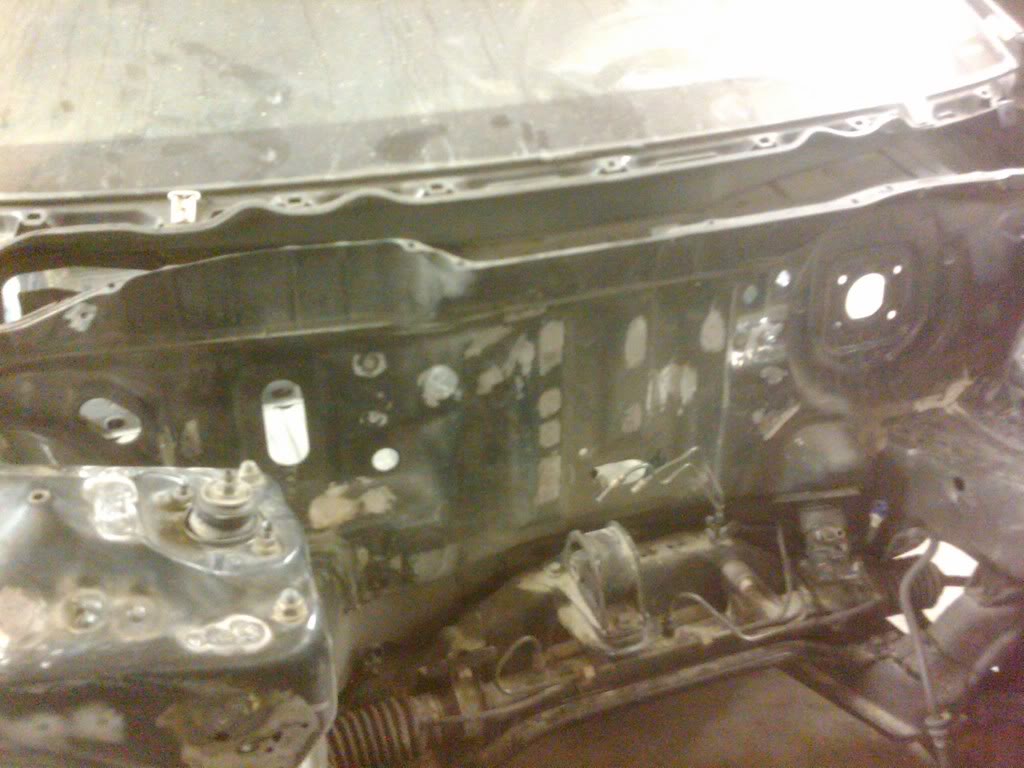
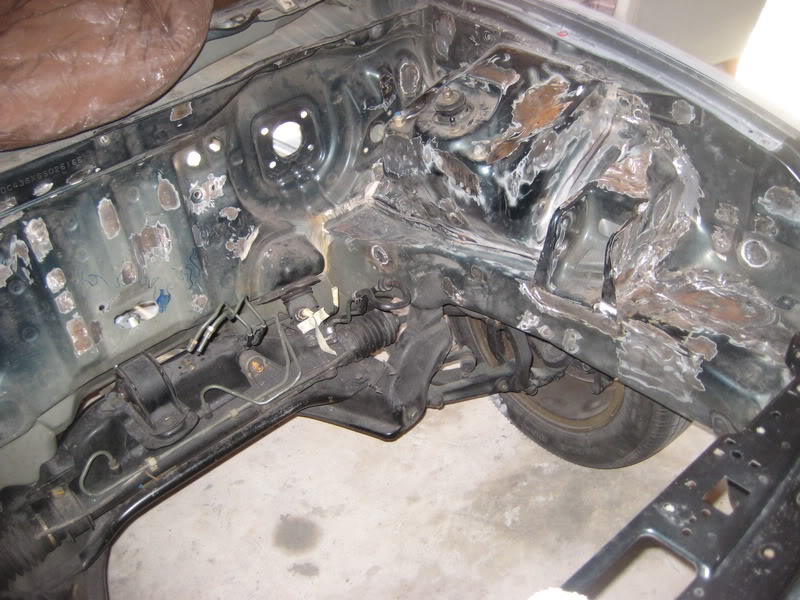
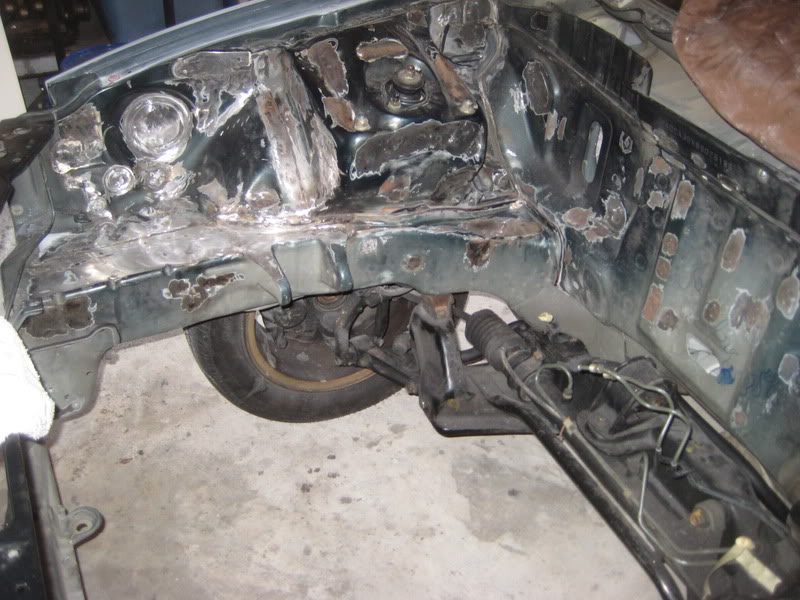
Grinded a few of the welds and removed almost all of the seam sealer. Also used the 3″ angle grinder to get a bare surface on most of the areas that we will be welding friday
Three crappy blackberry pics:
First, HUGEEEE thanks to Burkett Welding Services for their free welding A family member is the manager there, and they did all of the welding on the car free of charge.
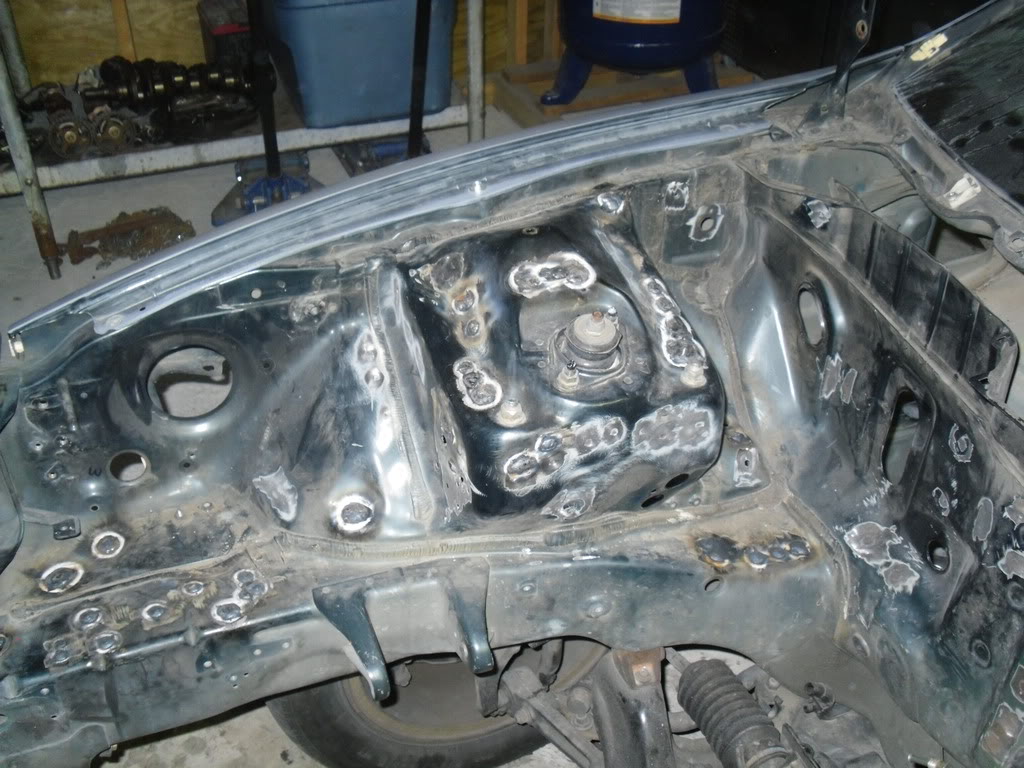
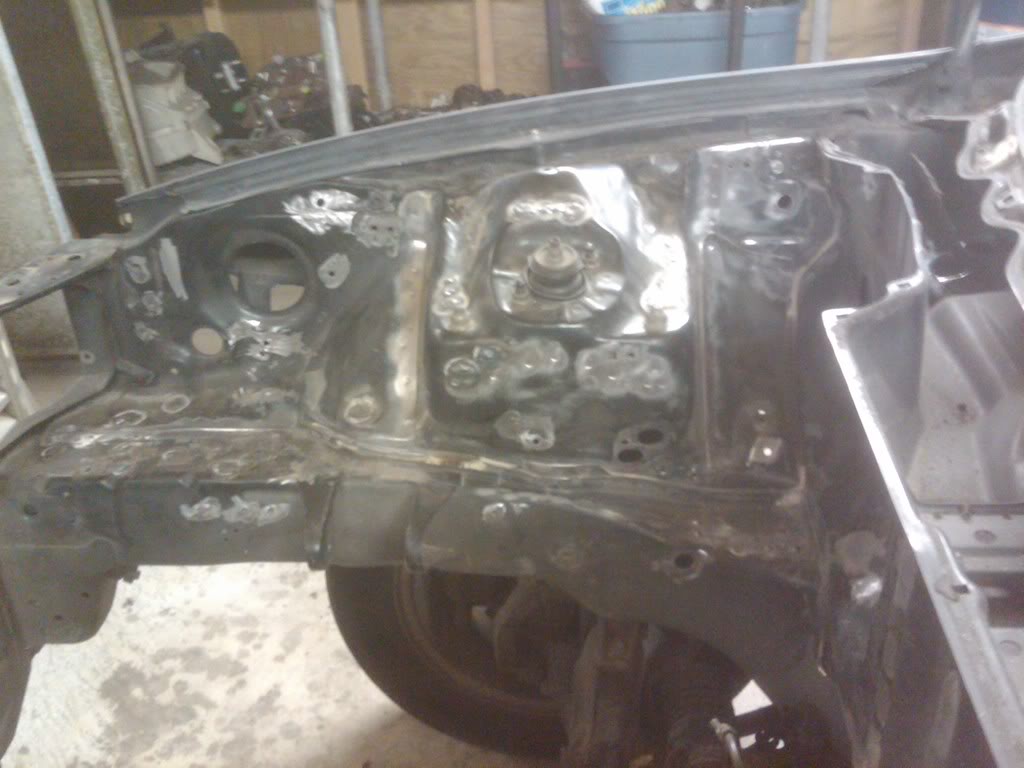
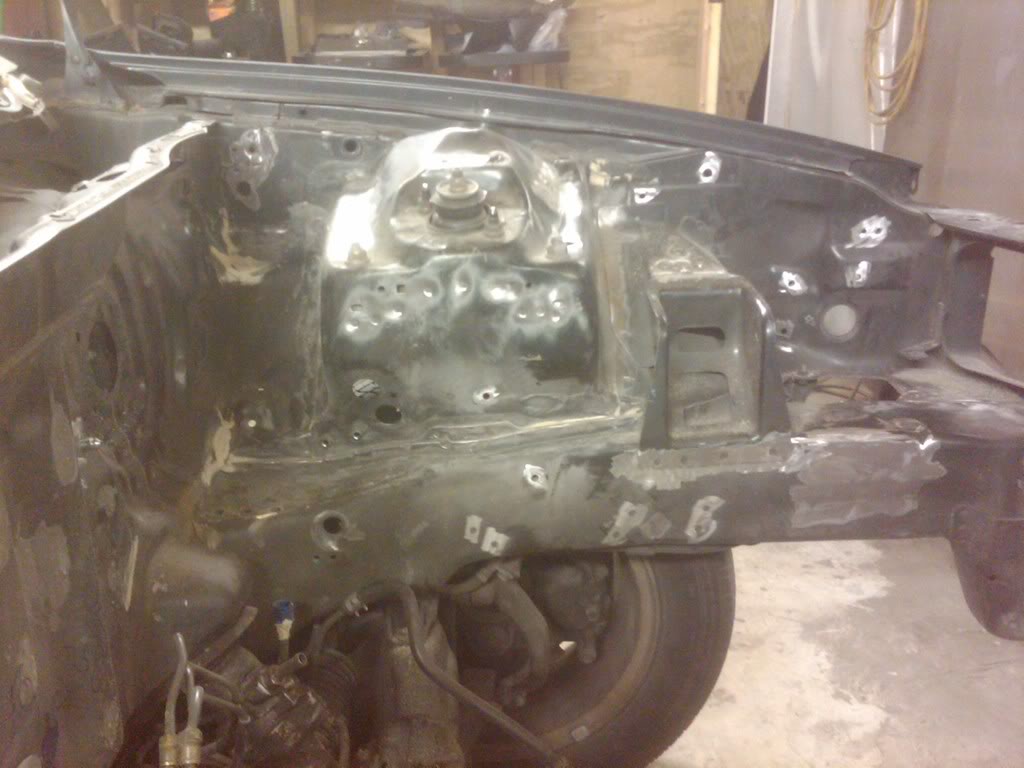
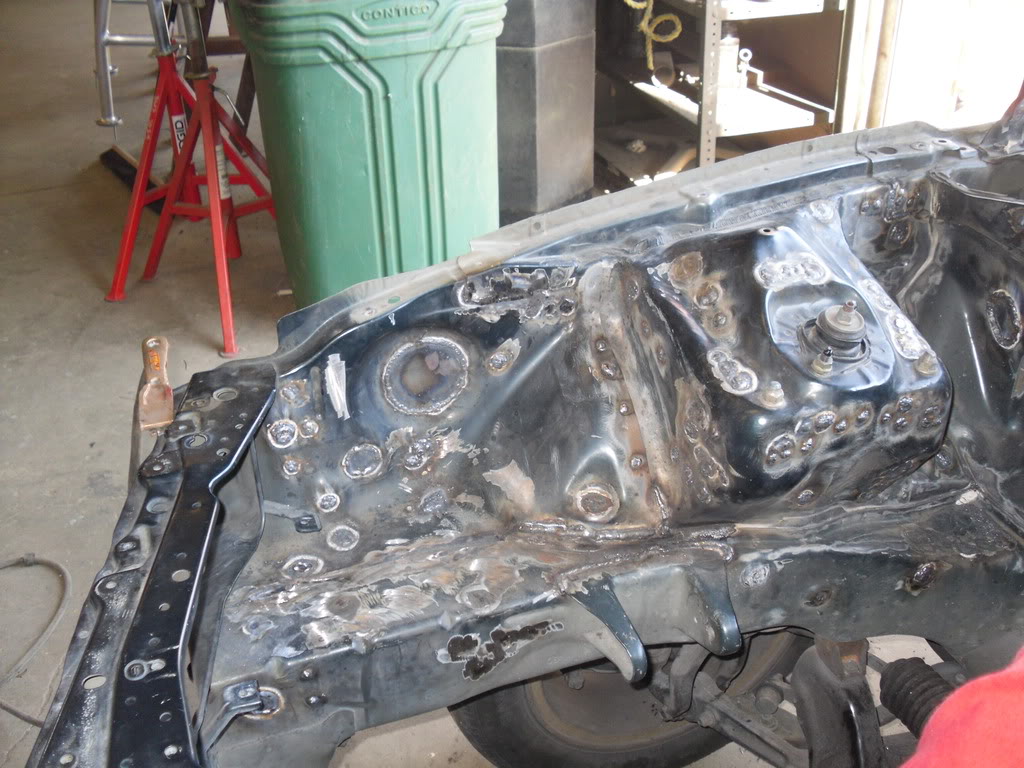
Got a lot of the bay welded today, not sure how we are doing the seams yet, so we left them for now. I have a enough grinding to stay busy for a couple days
on to the pics.

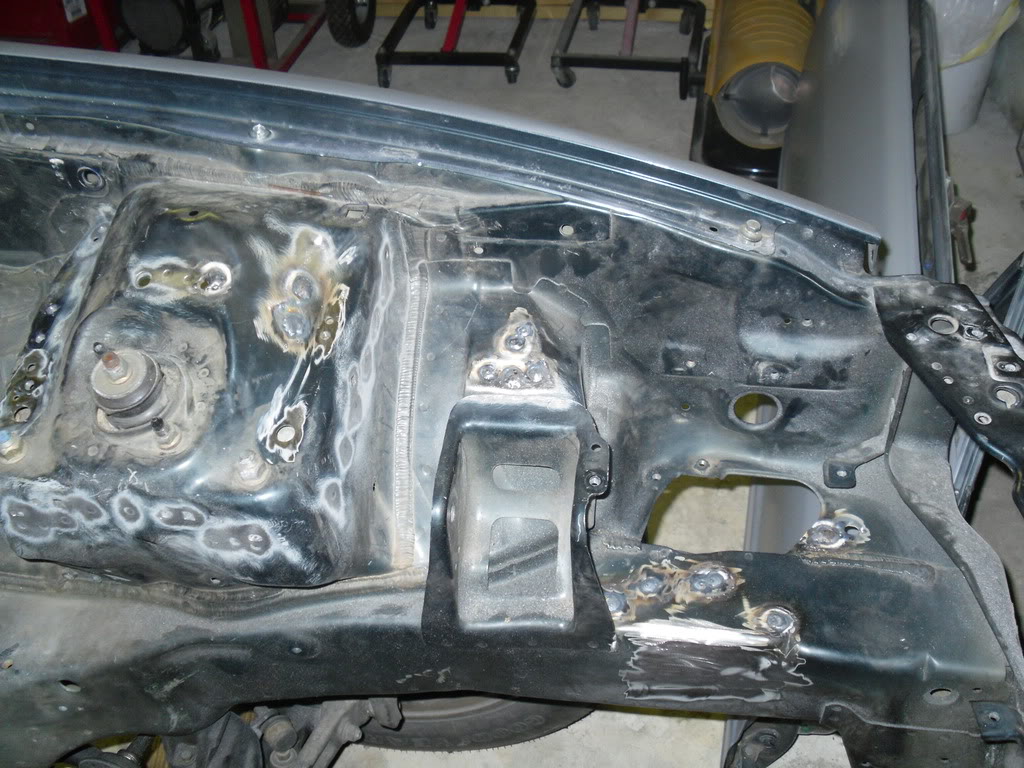
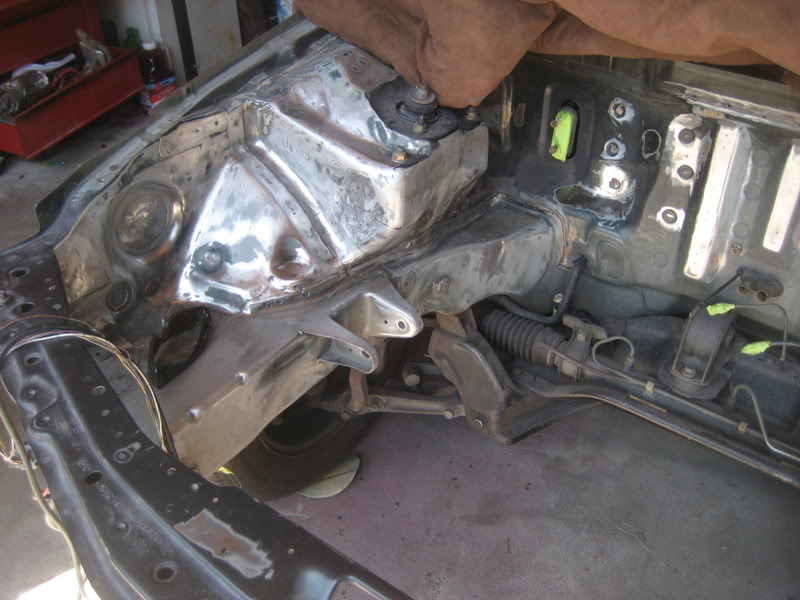
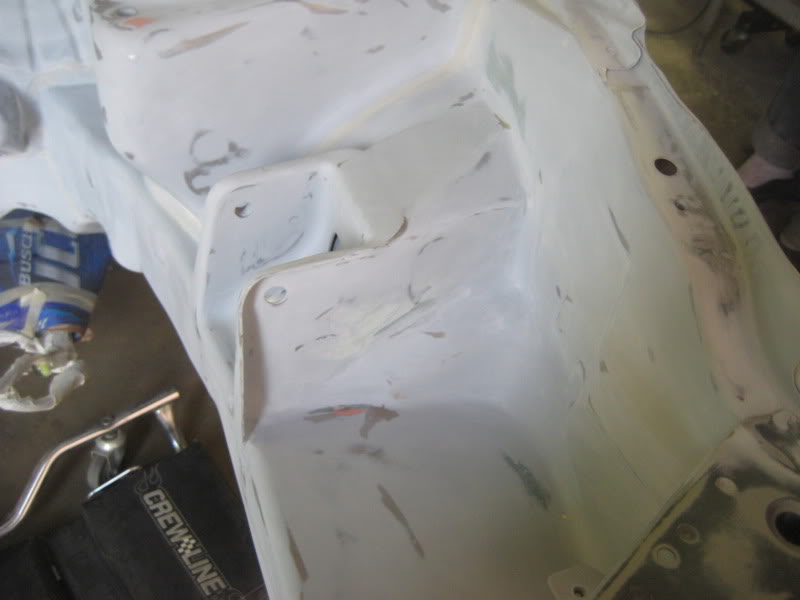
We decided to cut a template and smooth in the entire front of the driver mount to make it cleaner looking.
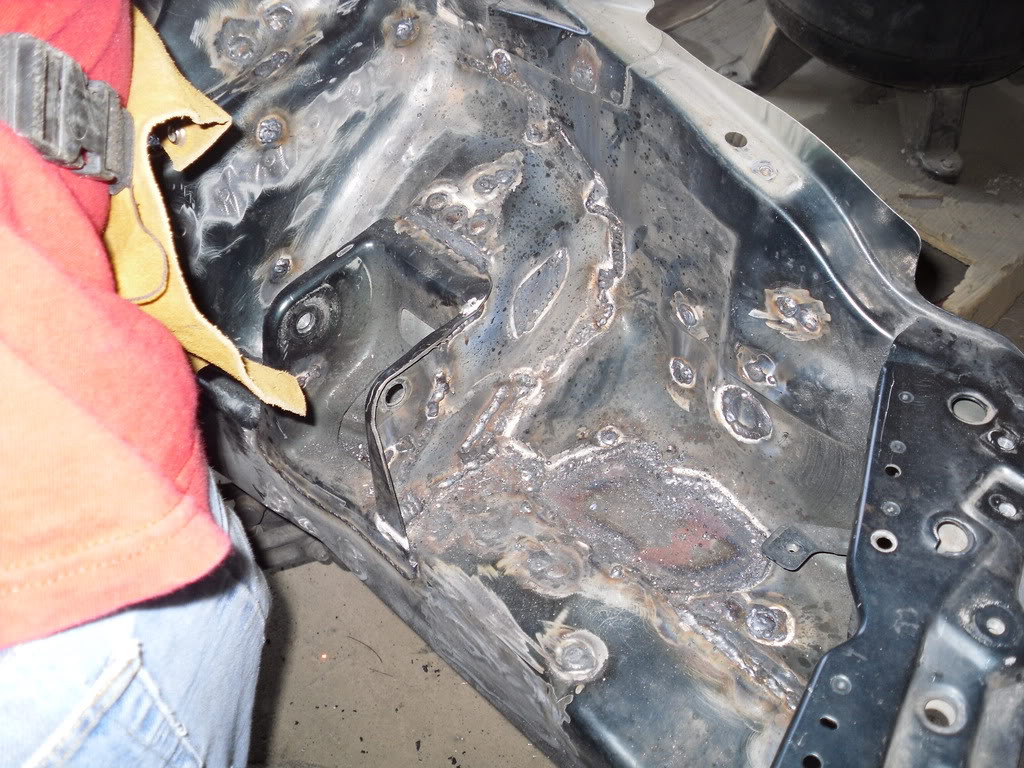
Weak!DC approved
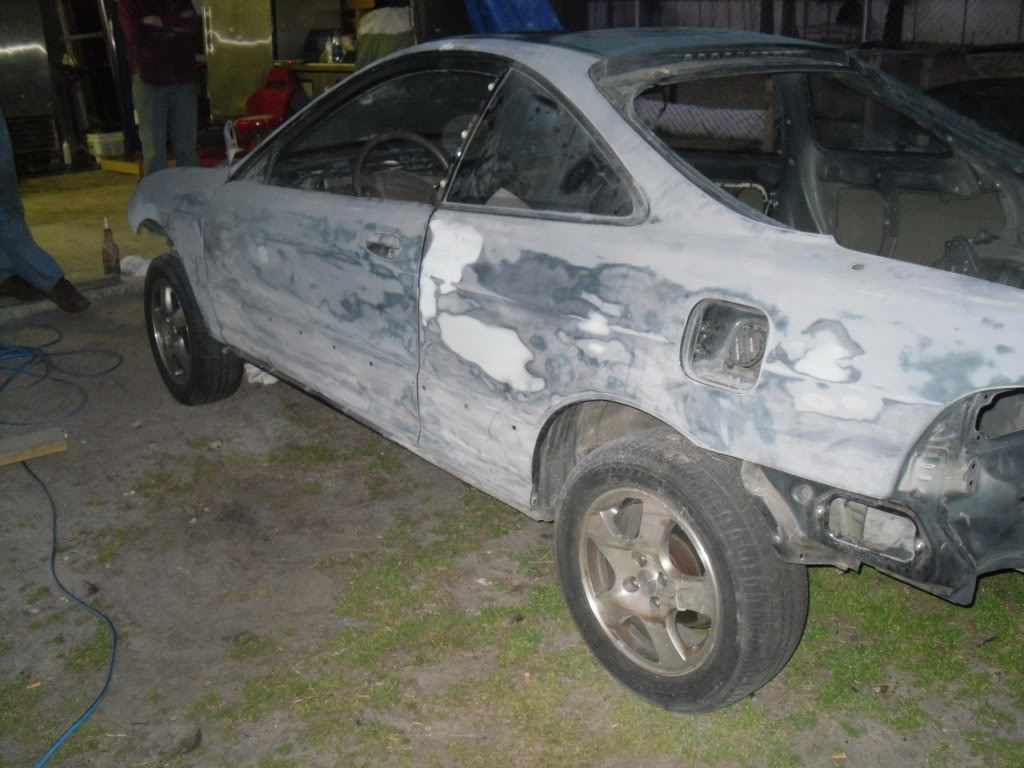
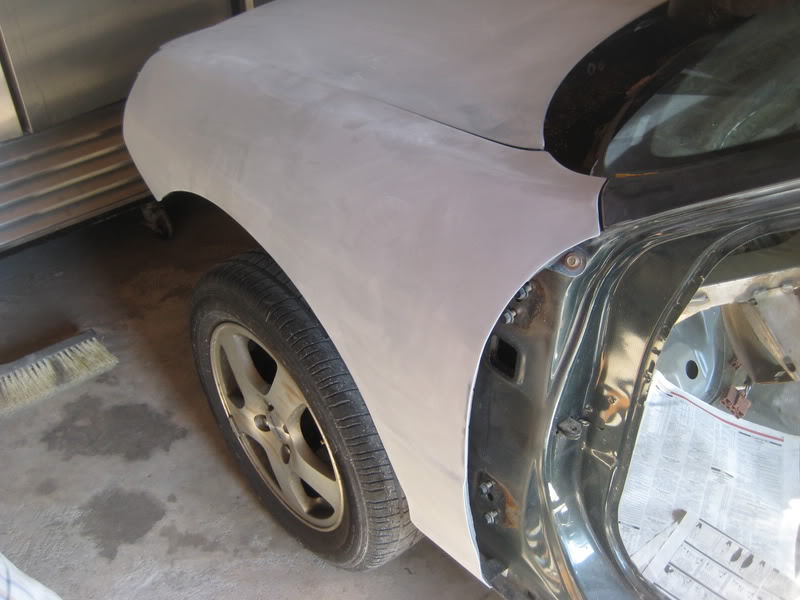
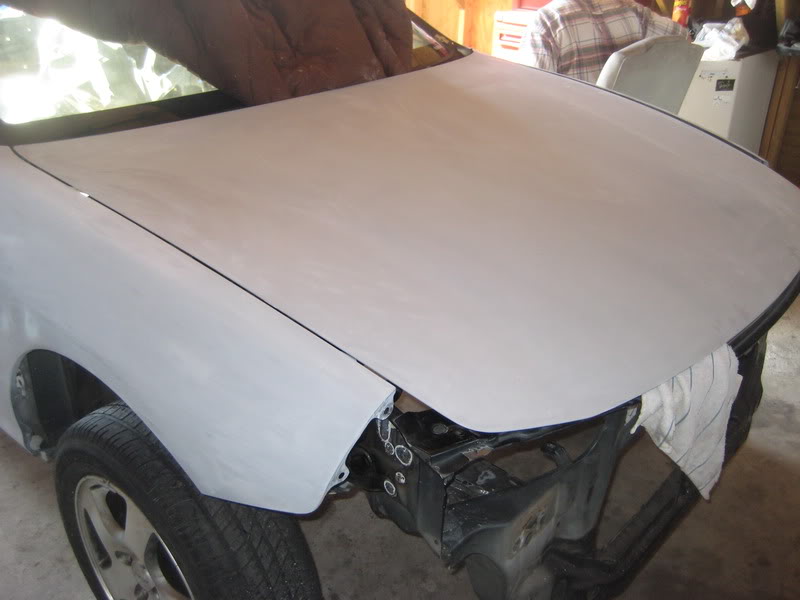
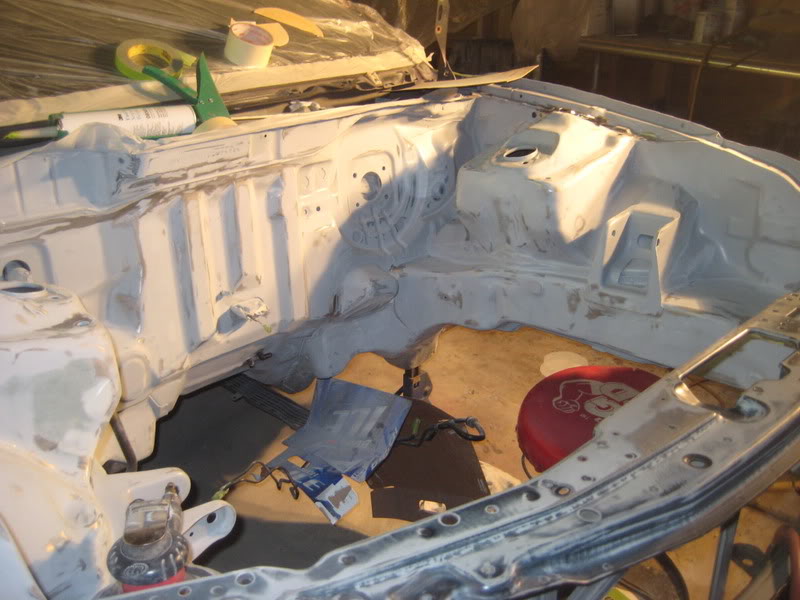
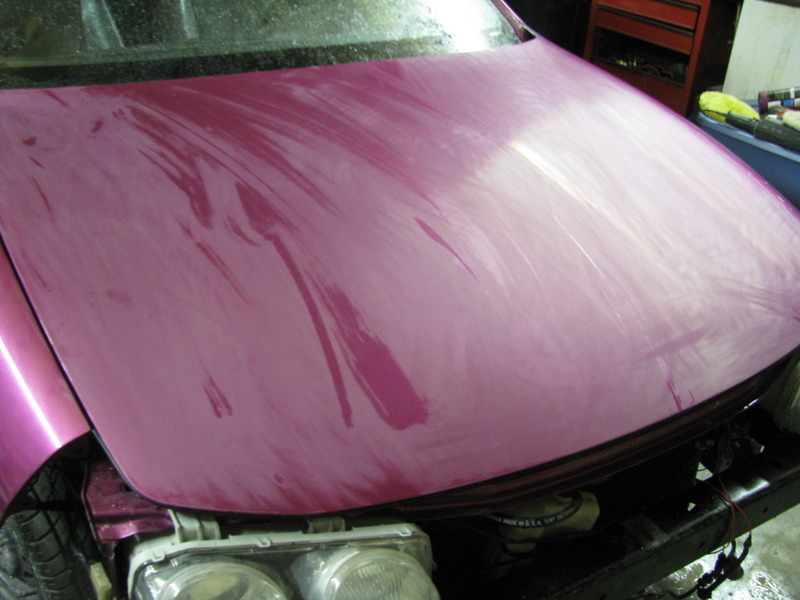
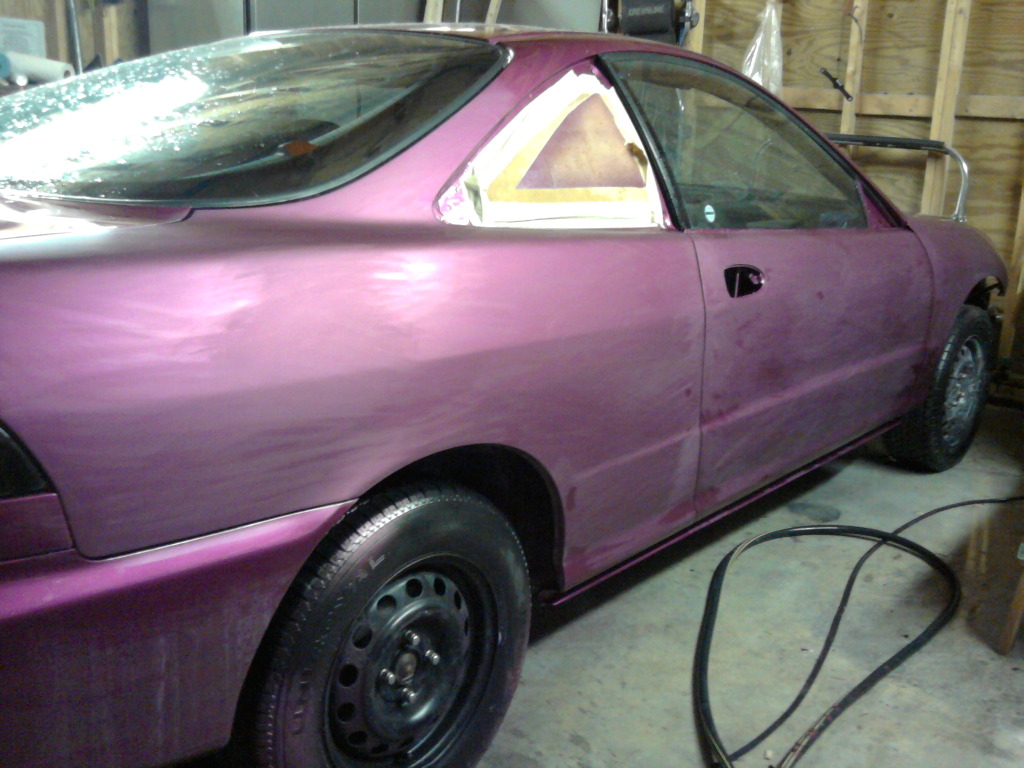
a few updated pics, just finishing up the block sanding.. got most of the guide coat off and everything turned out nice and smooth. almost all the body work came out great with a hammer/dolly and a nice stick sanding. very little filler was used.
the body work is done for the most part, a tad more sanding tomorrow and it should be ready for paint. hoping to get the car jambed out very soon.
fenders/hood.
quarter panels. (BYE BYE ANTENNA!) the welding/grinding in this area came out great.
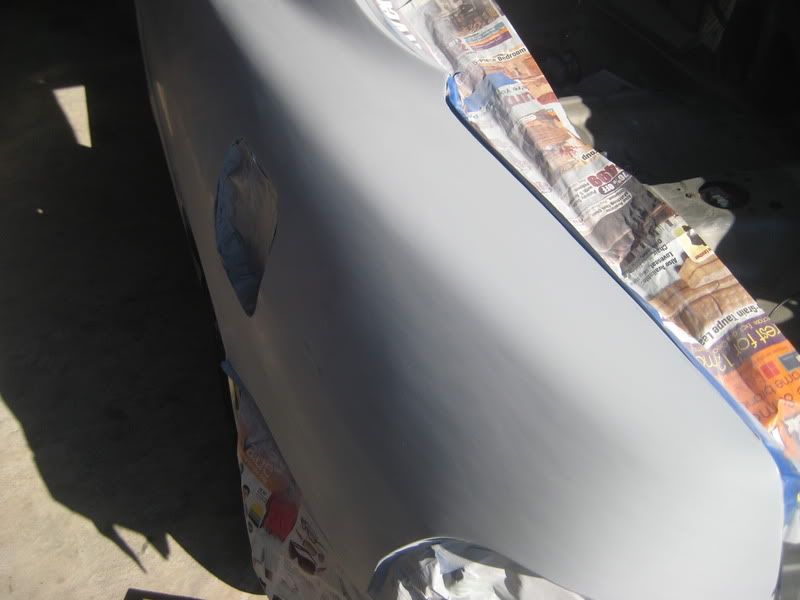

door.
and the shaving process in the bay.. still a bit more welding/grinding to do.
Block sanding is DONE !
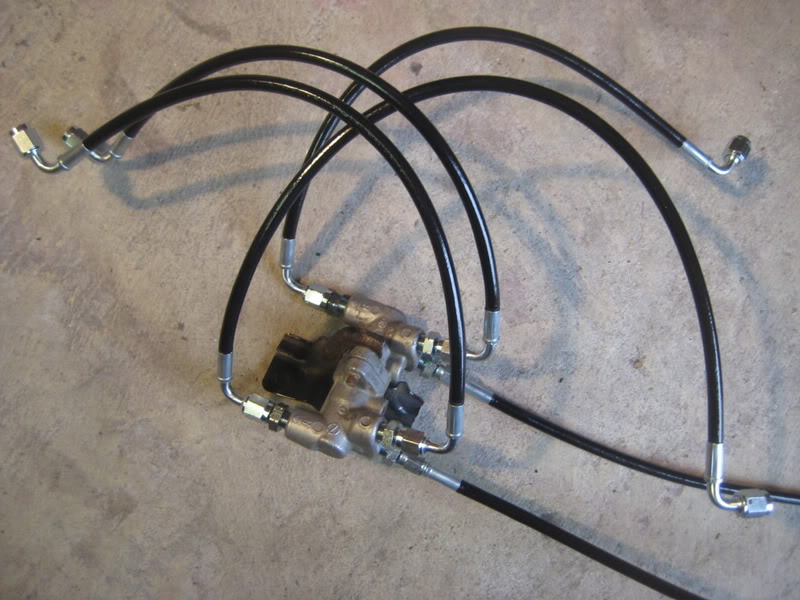
40/40 prop valve and the chasebays brake line kit
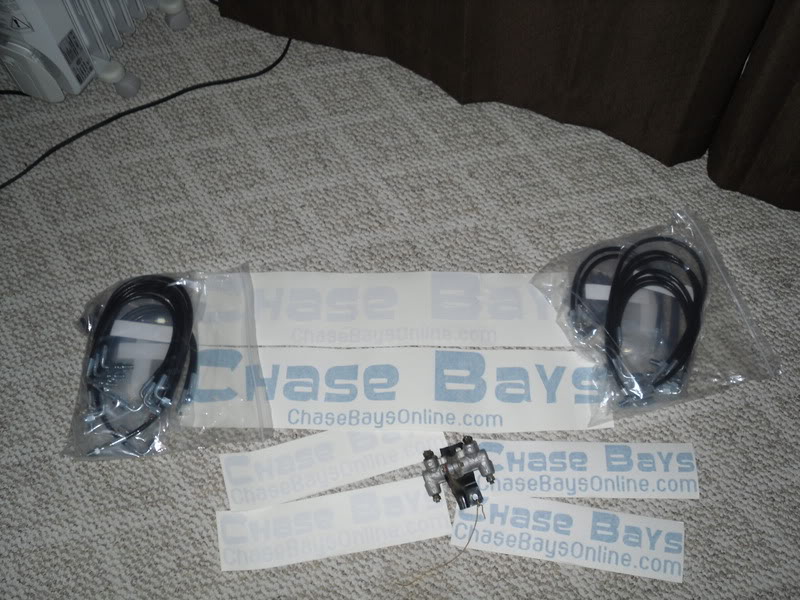
More Chasebays
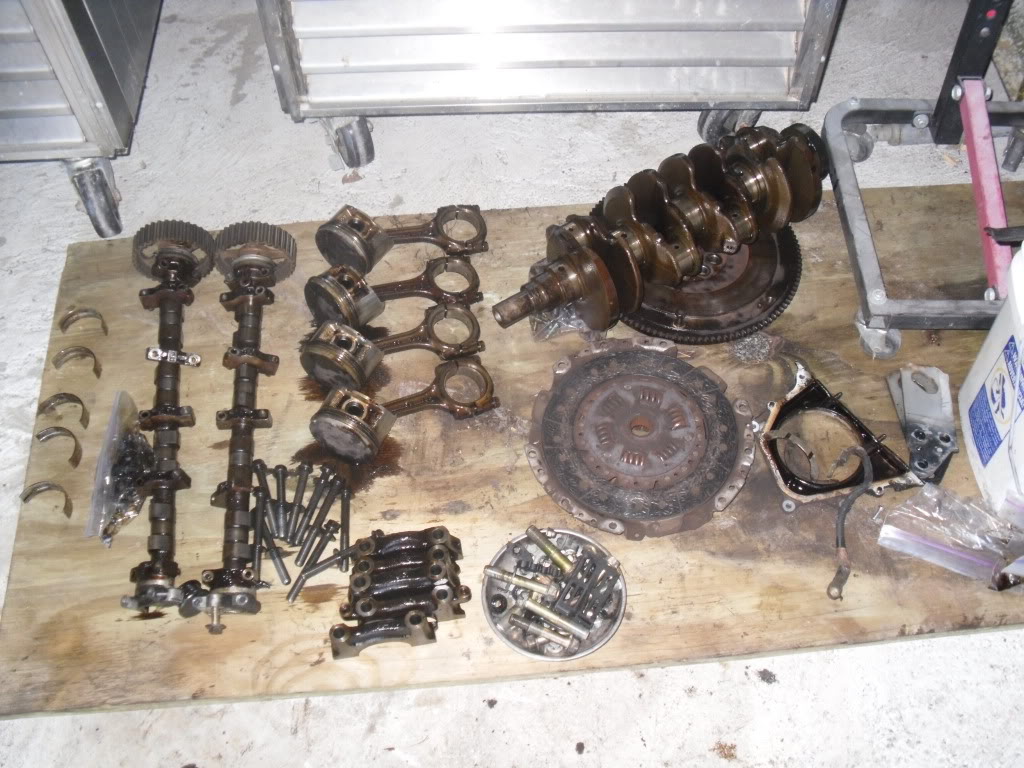
The rest of the parts to re-assemble the bottom end will be here wednesday morning
Bottom end re-build is all OEM honda parts including:
Rings
Rod Bearings
Main Bearings
Thrust Washers
Rear Main Seal
Water Pump
Oil Pump
Oil Pan Gasket
Timing Belt
Headgasket
ARP Headstuds
ARP Rod Bolts
Going to put it together, and then finish up the head and the motor will be ready to go back in the car!.
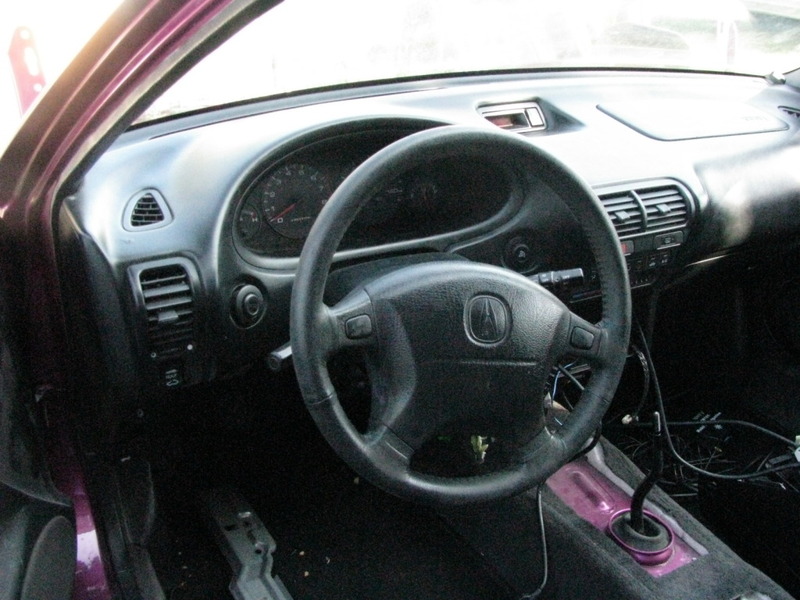
Got the interior picked up today!.. It’s gross, but should clean up nice. It’s from an 01 gsr and we got the entire thing including the steering column, seats, dash, door panels, carpet, plastics, etc.
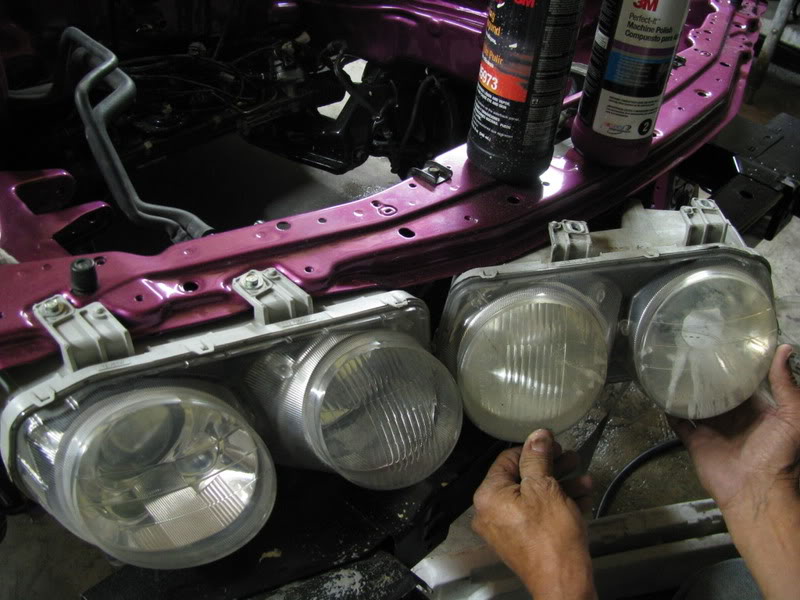
Also got the front & rear bumper as well as the headlights off the gsr.
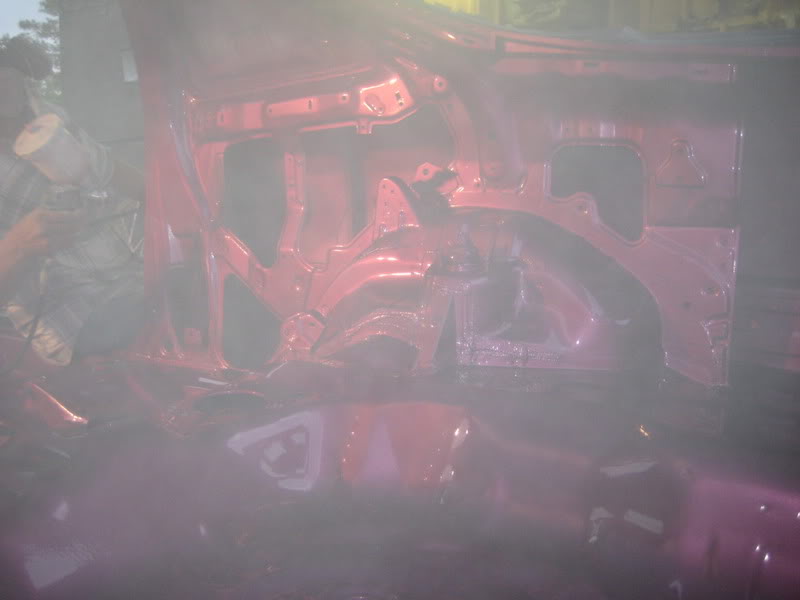
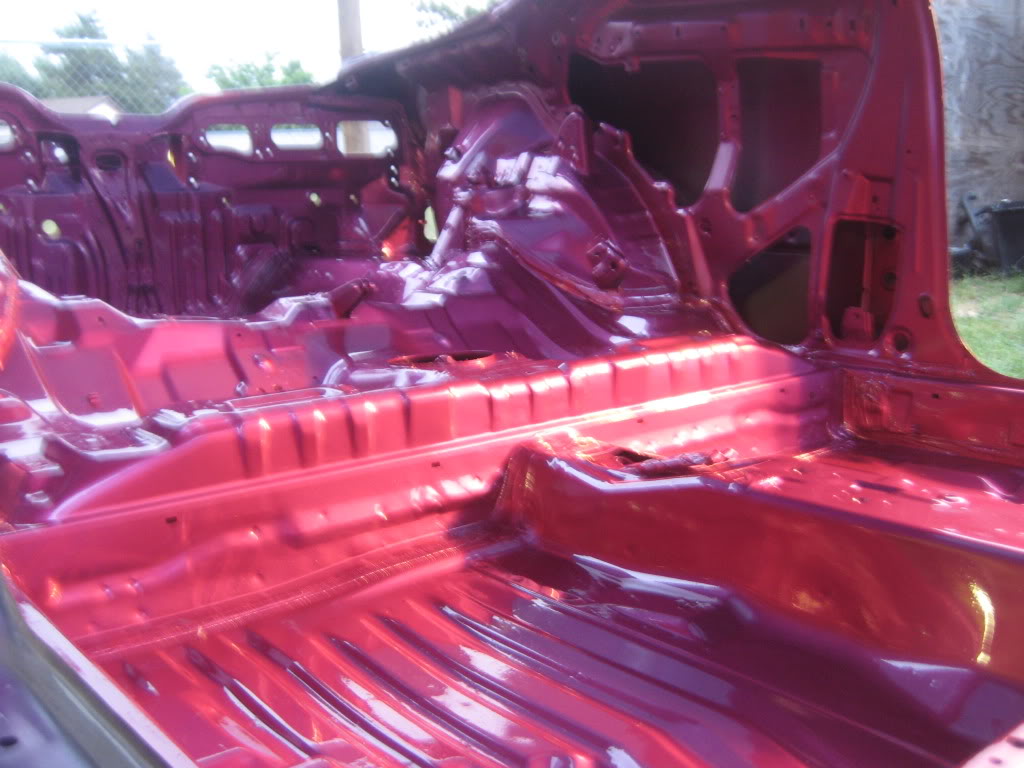
Then….. Finally got some sealer on the inside of the car
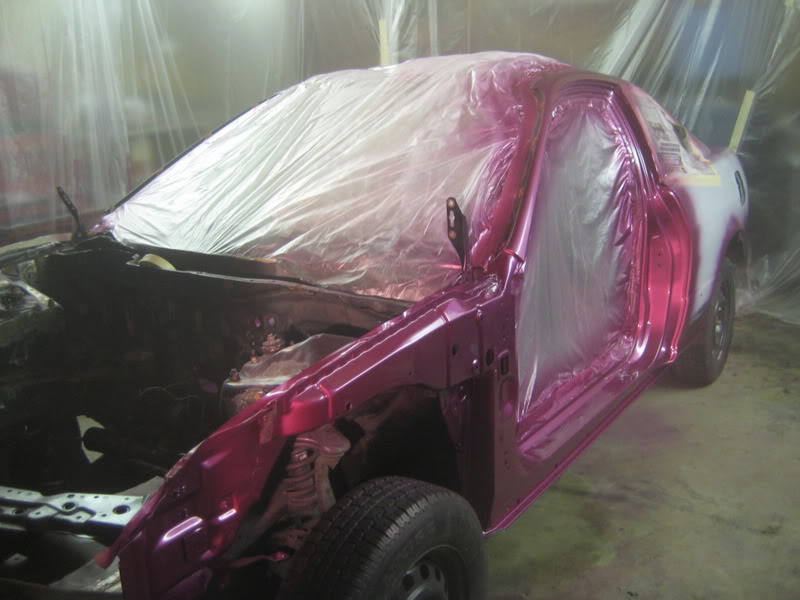
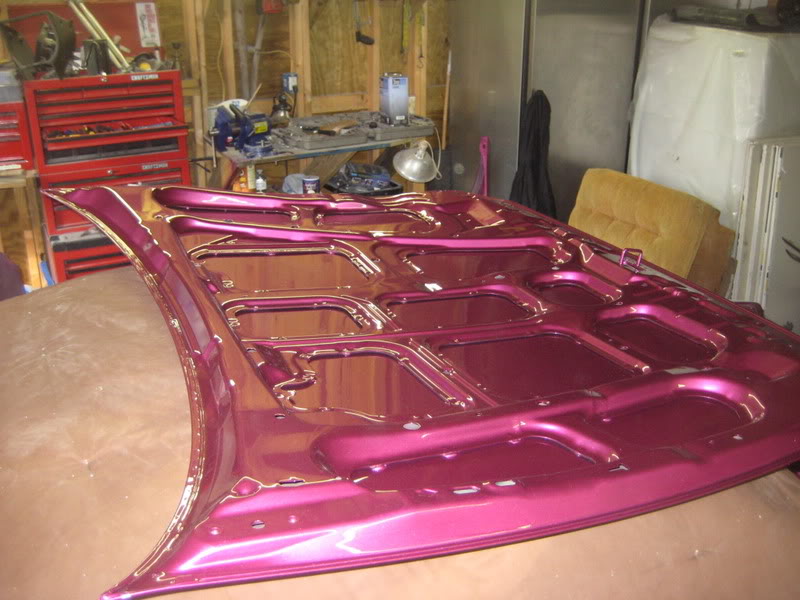
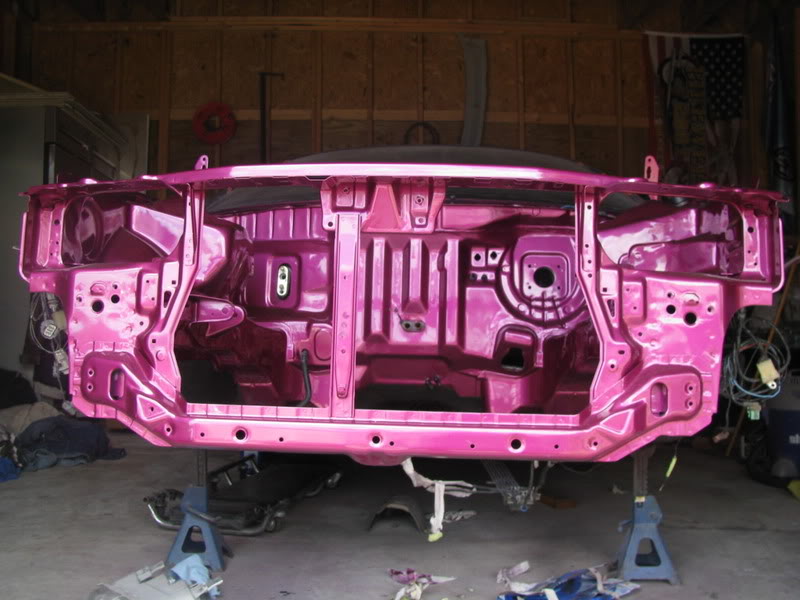
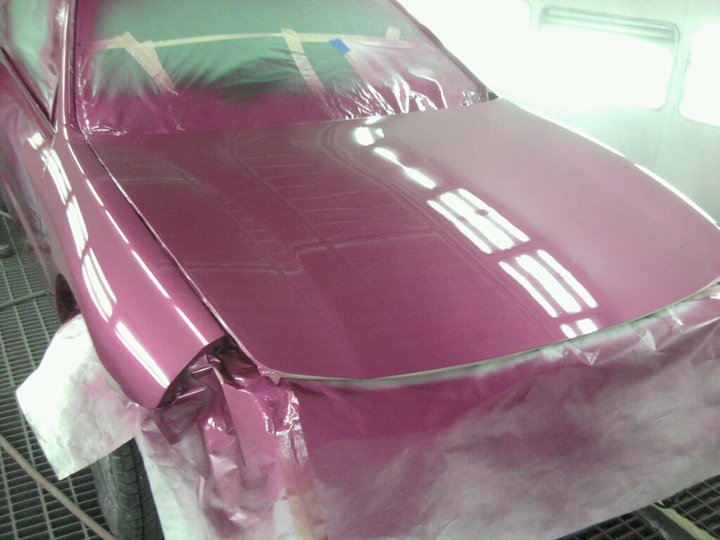
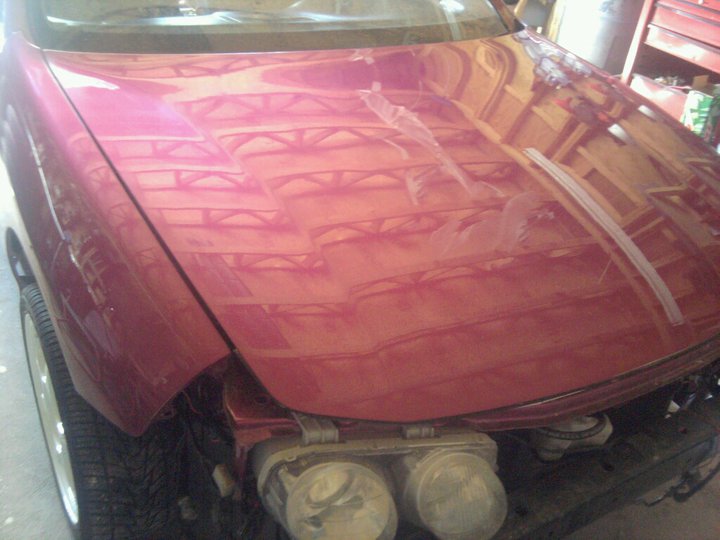
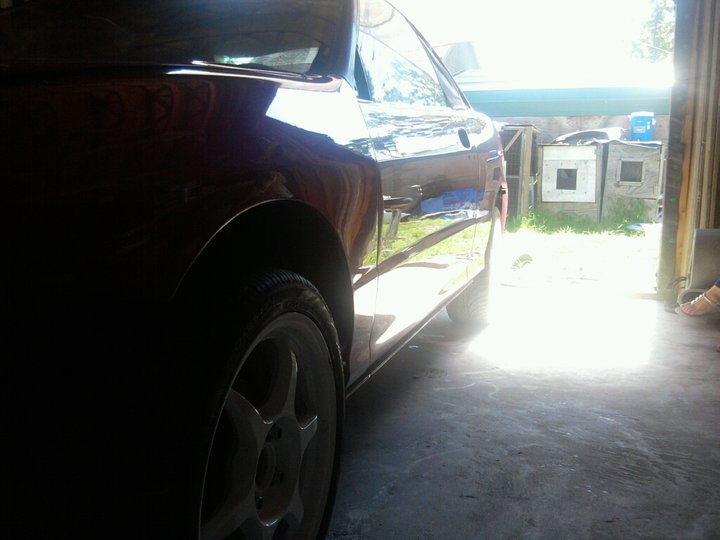
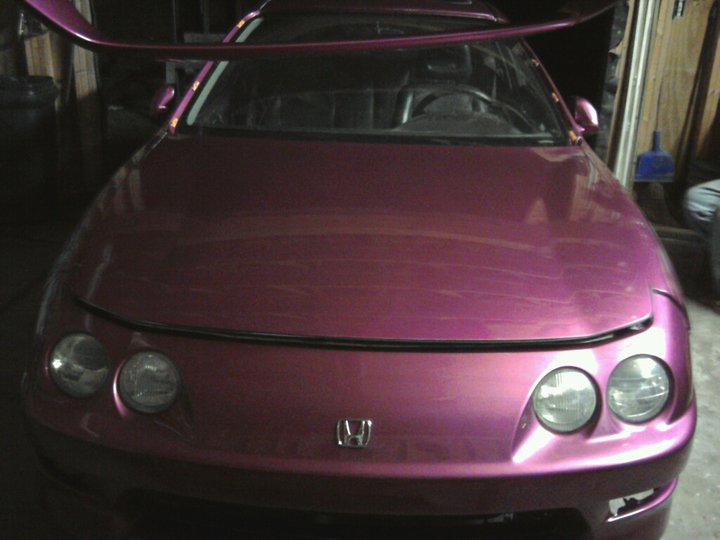
and maybe just a little paint on it
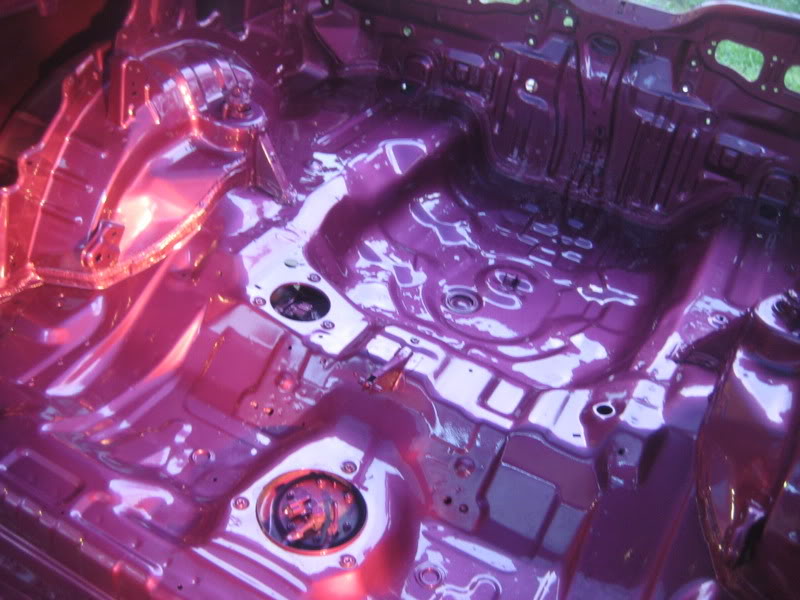
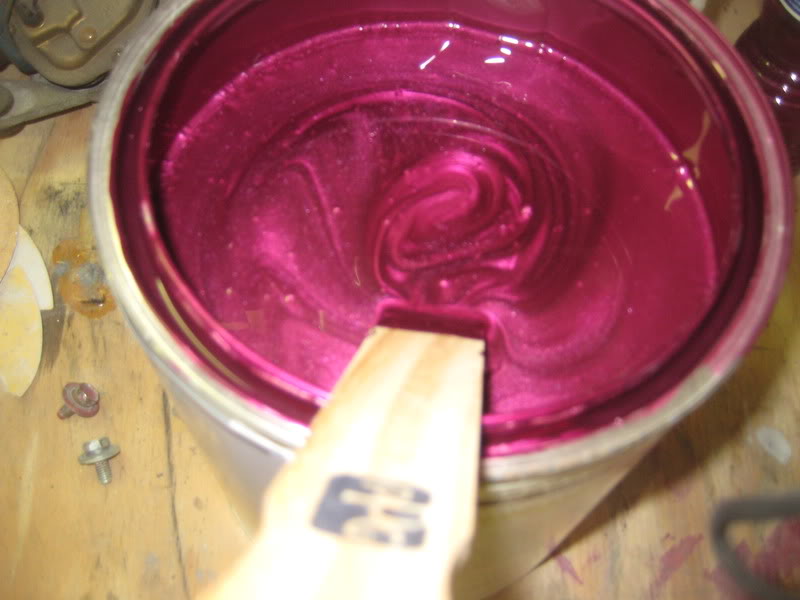
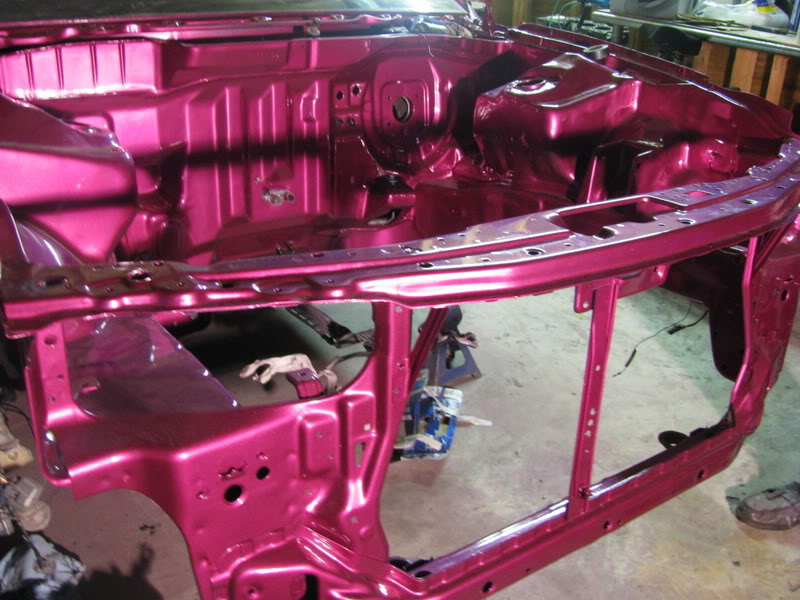
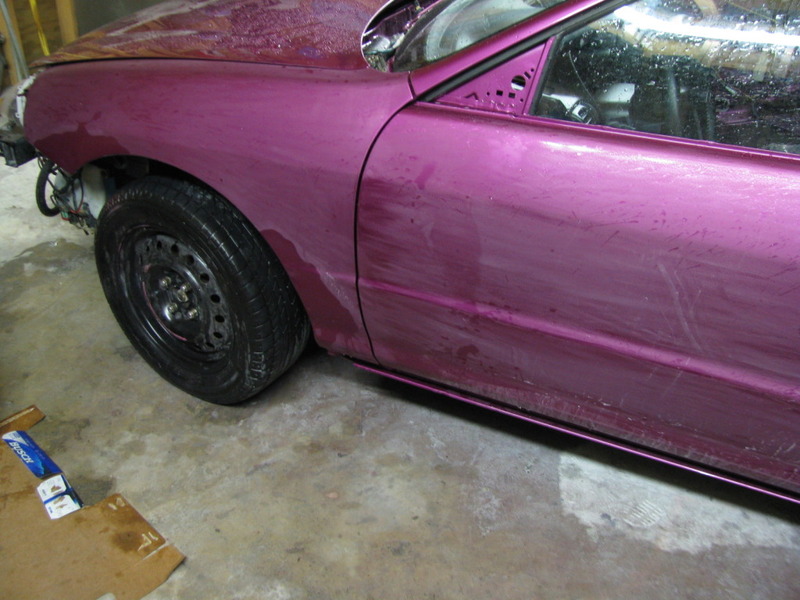
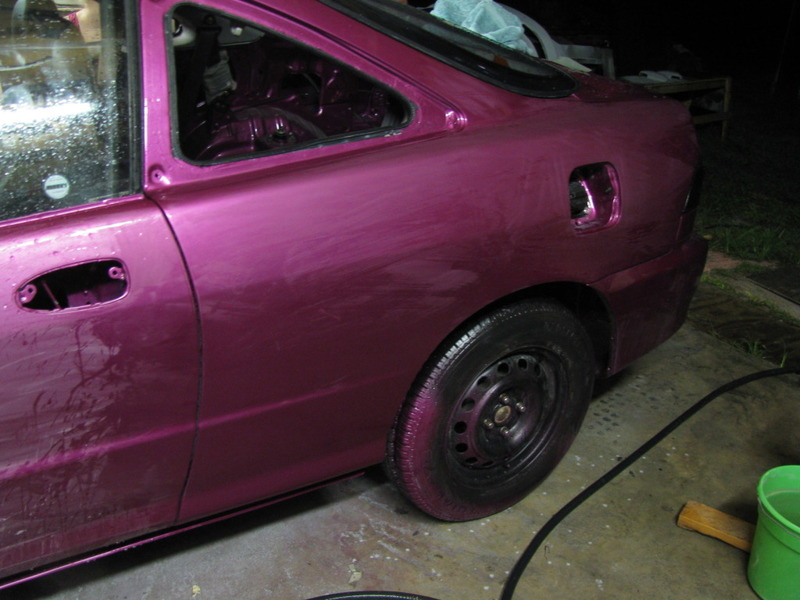
The paint is a custom mix made just for the car. It’s nothing you can go buy, and we decided to not go with candy so we can re-spray panels in the event we’d ever need to, and for the cost effectiveness. The paint is pink/purple/red/orangeish all in one. It’s amazing how many different colors it looks at different angles with lighting.
and one last teaser of the color with some clear on it 

Will post full pictures of the interior sometime soon
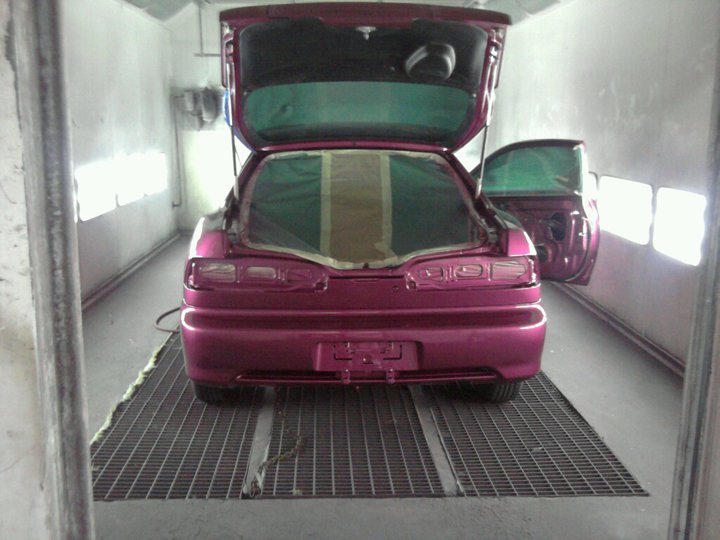
2 more teasers
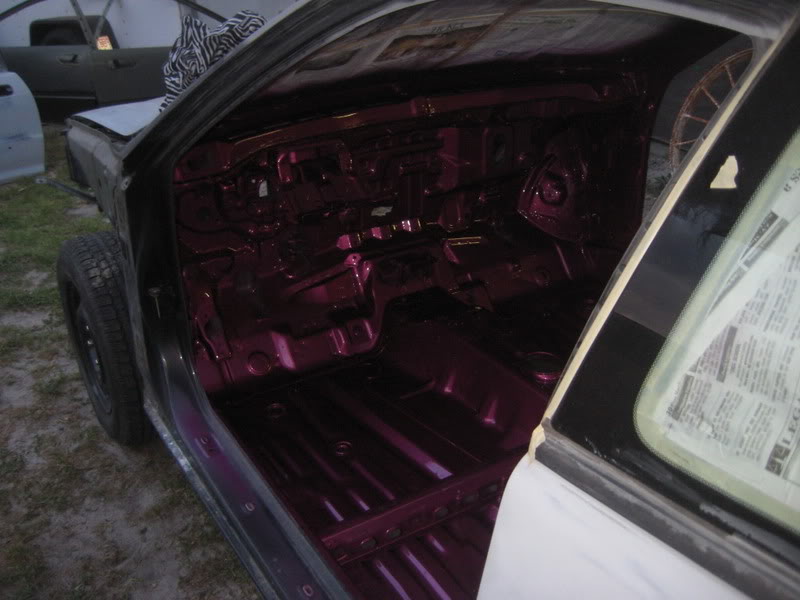
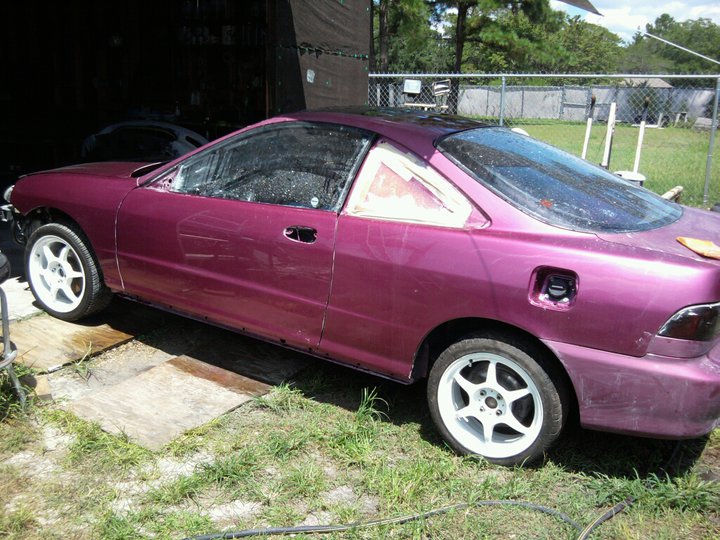
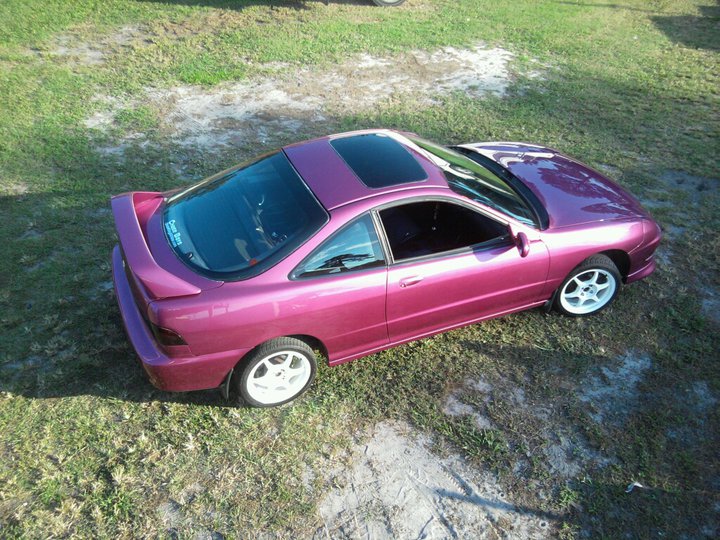
Yea, none in the sun yet.. ran out of daylight.. but i guess i can finally post a full pic
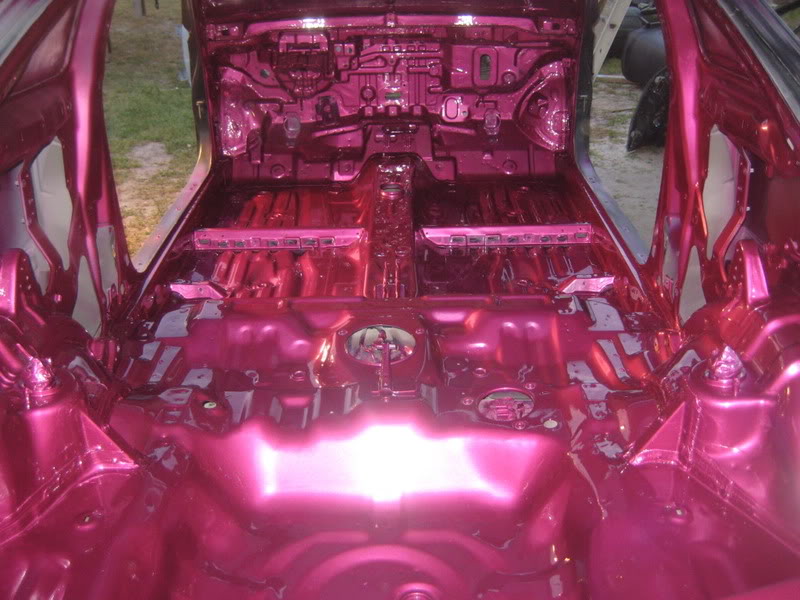
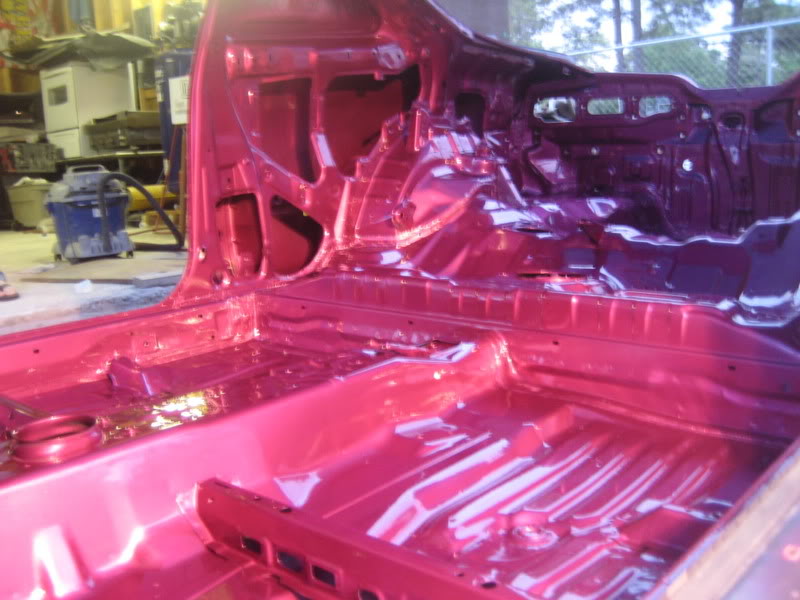
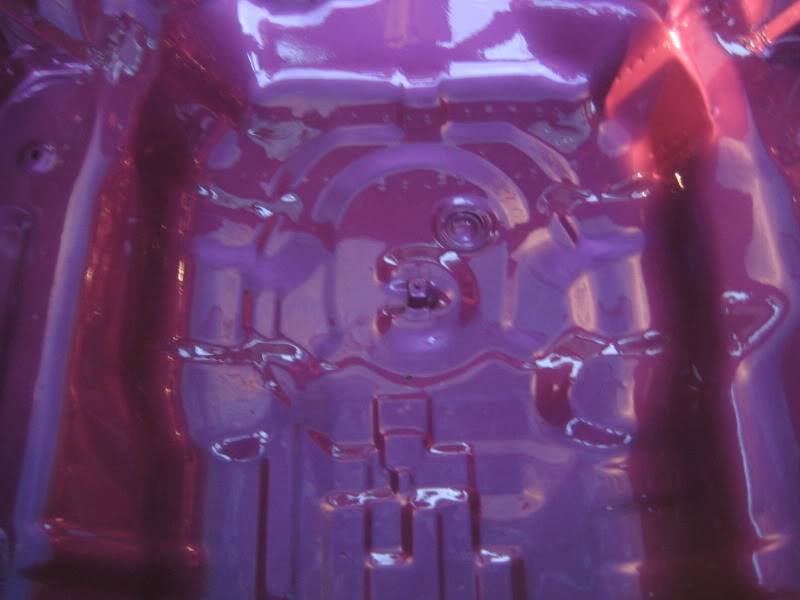
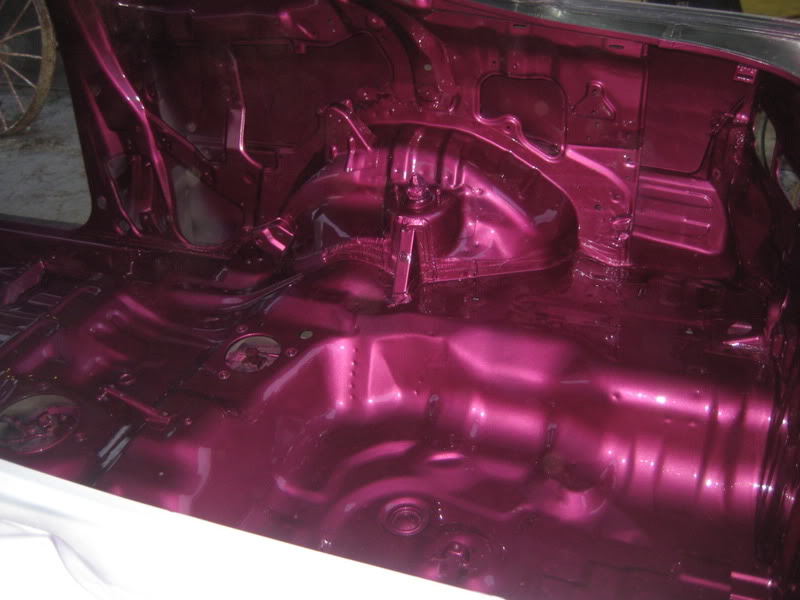
the color looks so different in every single picture.. and the same thing in person.
An update:
Started off the night with getting the sunroof in.
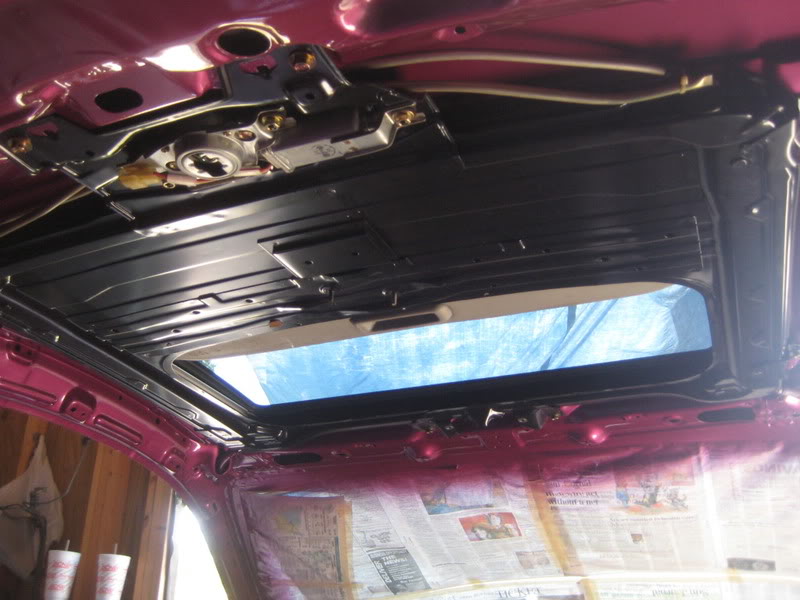
Got the garage prepped for some paint and got the areas to paint scuffed.
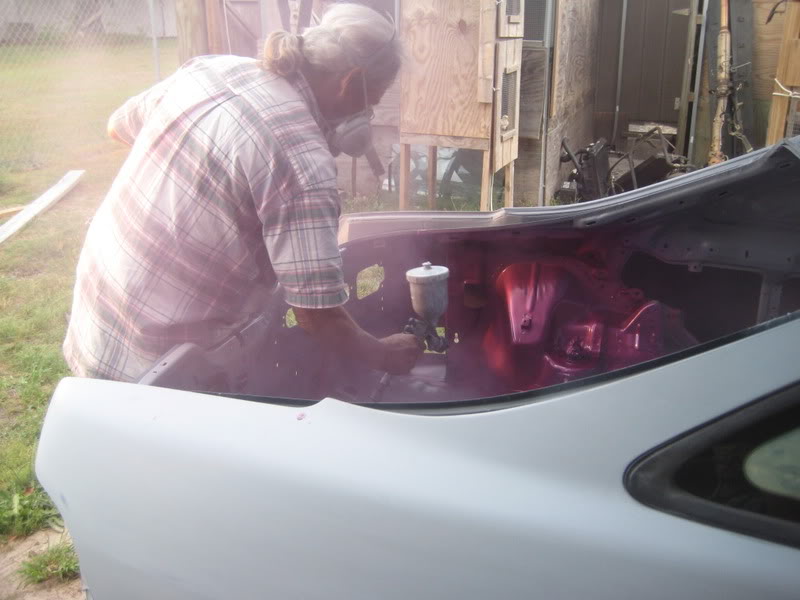
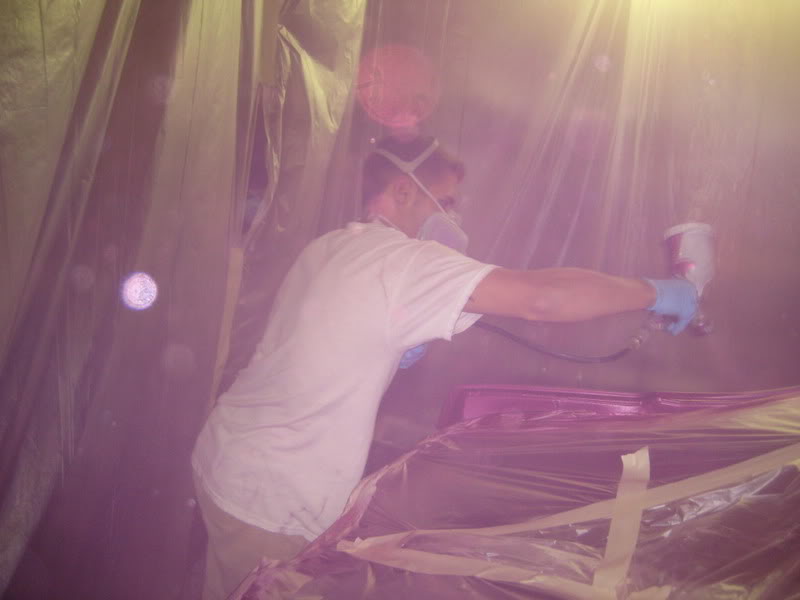
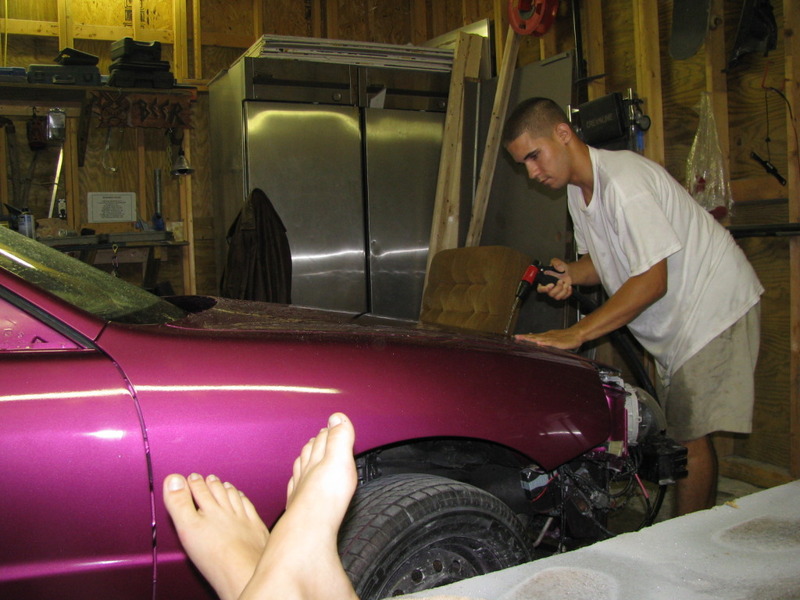
Me getting some paint ready to mix

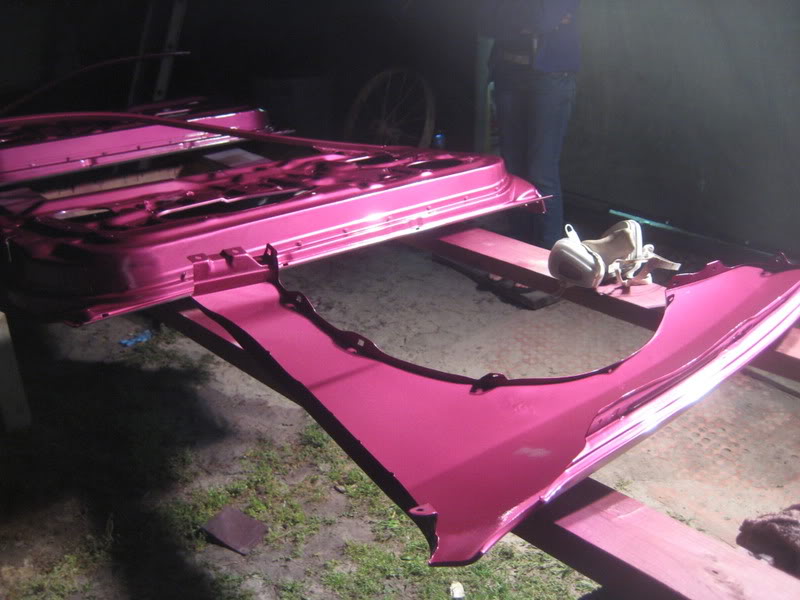
Weak!EG spraying some paint!
Nice and glossy.
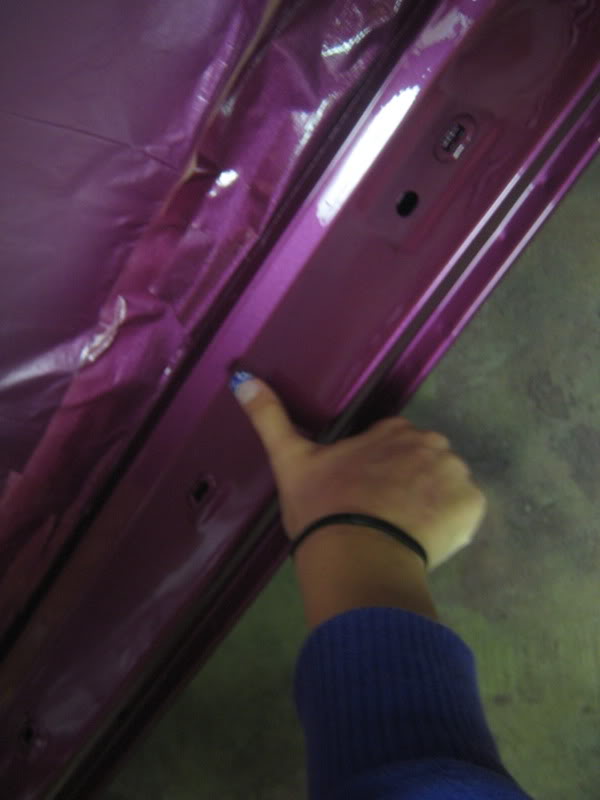
I had to thumbprint the jamb to make sure its just for me!
Even the insides of the fenders shine like the rest.
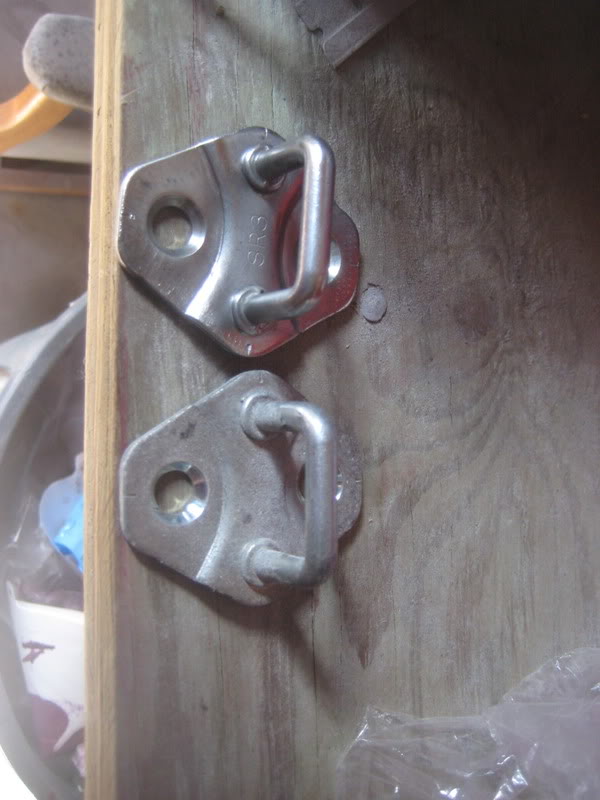
Weak!EG put a slight polish on the door strikers to clean the jamb up a bit.
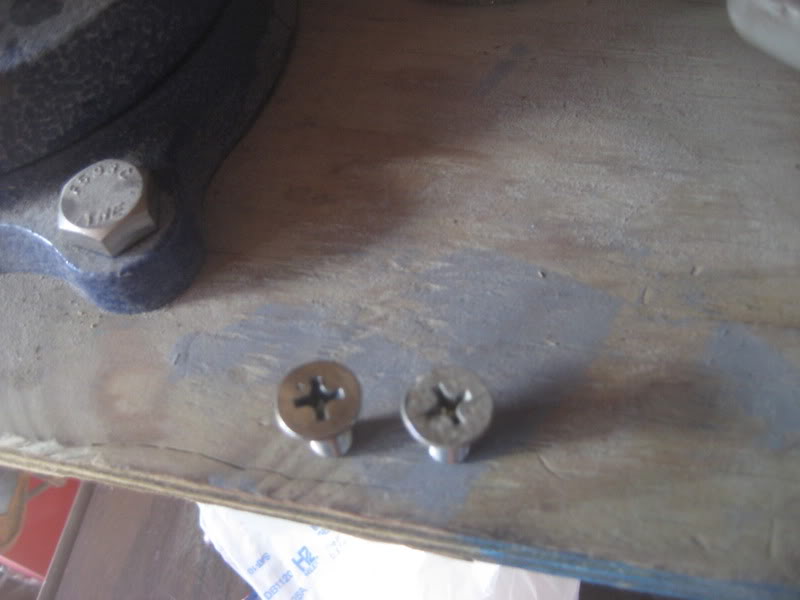

Started putting some misc. pieces on, after cleaning them all of course. All of the screw heads were hit with the wire wheel to clean them up also.

Sorry, we had a late night out.
Not to worry though:
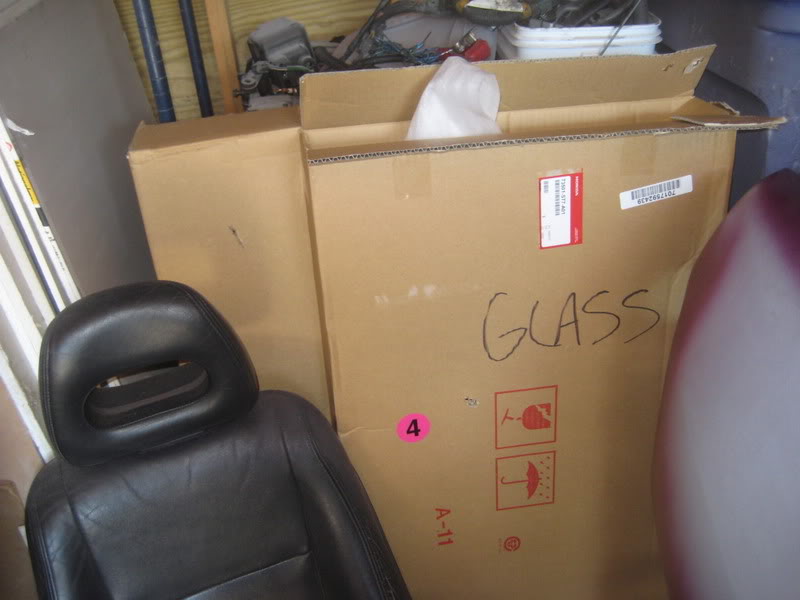
We will start with a couple boxes from honda
and started putting the the interior back together, it’s almost ready for some plastics.
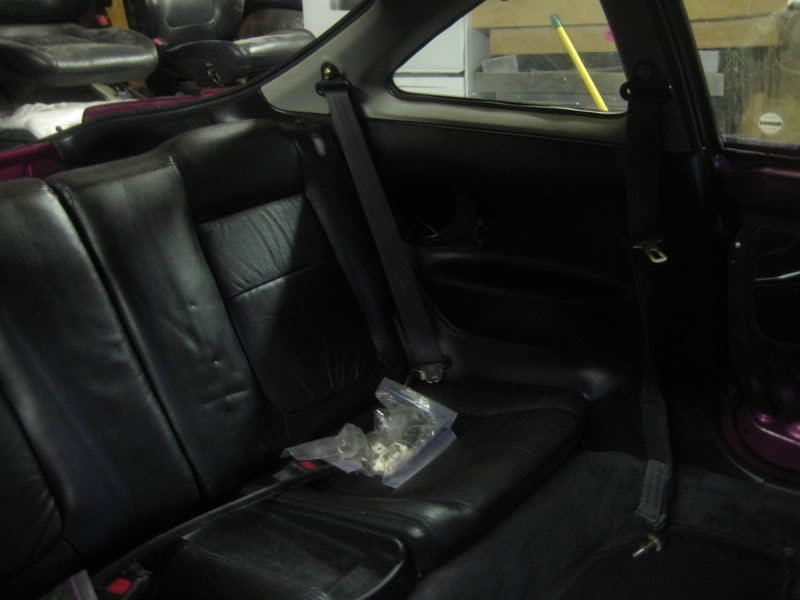
will wrap this one up with the top 1/2 of the interior all back together take note that it’s gray not beige. and the seat belts are black not brown
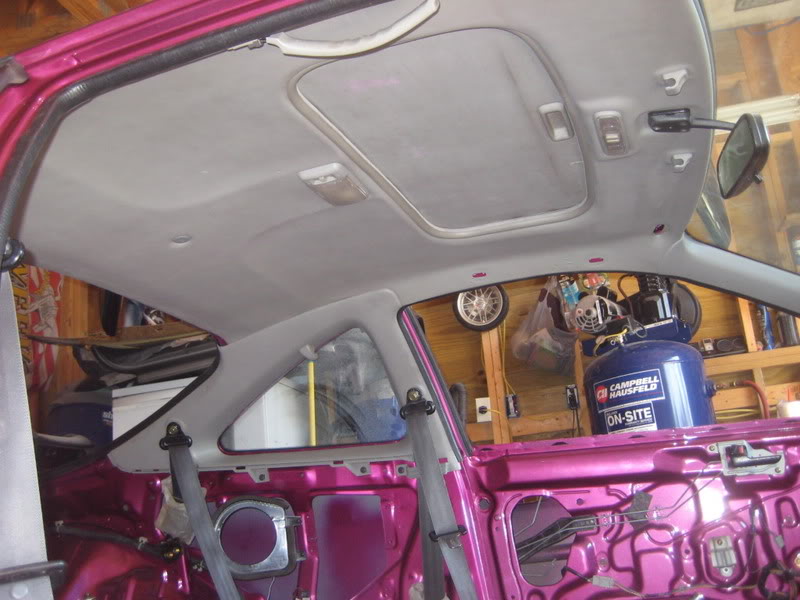
still have to take the metal brackets back out and powdercoat them, but just trying to get everything mocked back up.
Started putting the wiring back together for the tucked harness.
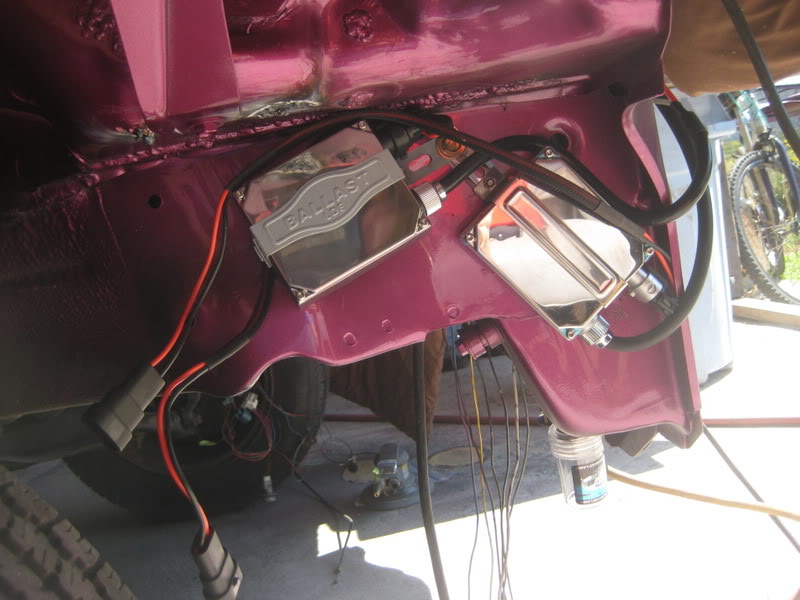
mounted the ballast for the high and low beam HID’s.
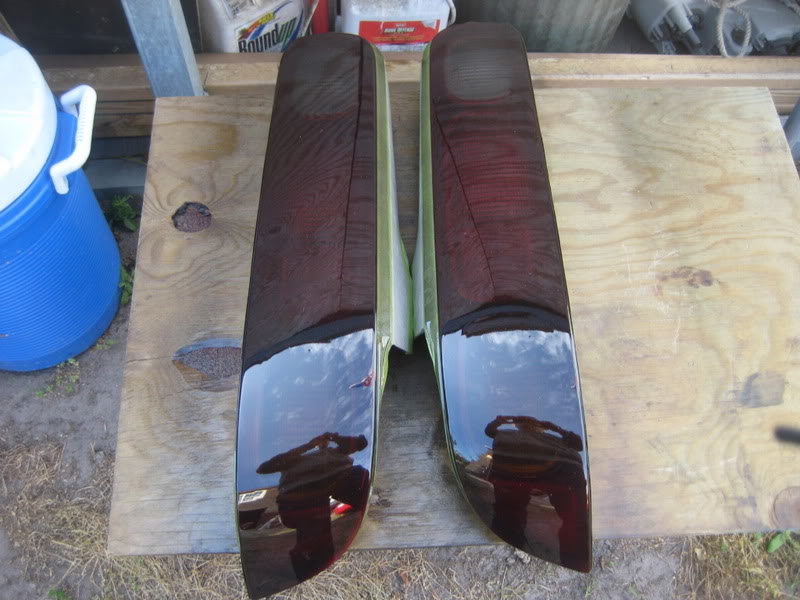
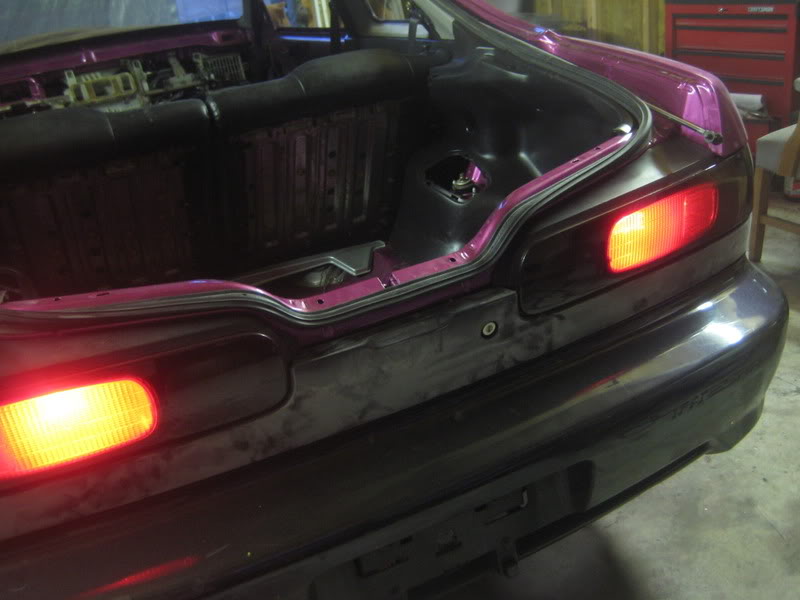
decided against the actual tint we had purchased. so Weak!EG scuffed the tailights up a bit
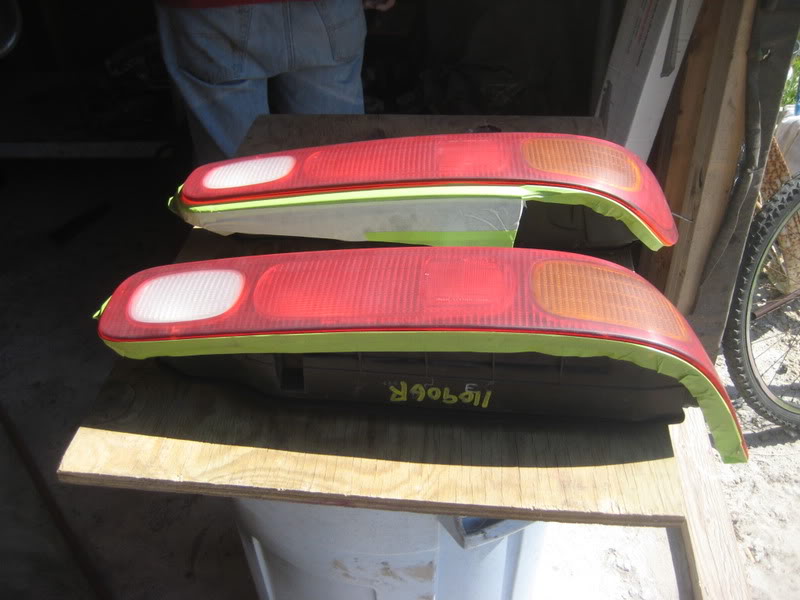
mixed some clear together with weak black (used for tinting paint)
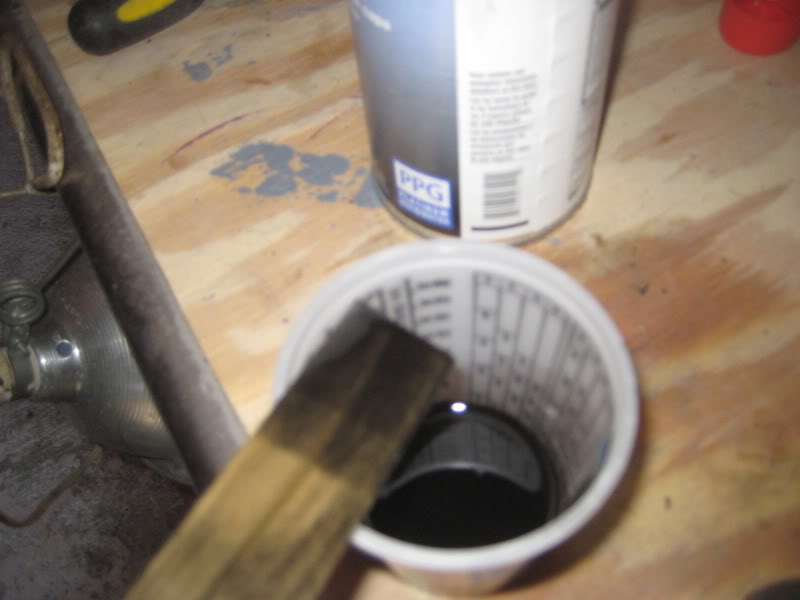
after a first coat.
and after about 3-4 light coats… decided to stop here and see how it cures, may scuff it and shoot a couple more layers. look how glossy they are!
and last, finally got some more work put in on the engine bay it’s almost ready for a tiny bit of filler and some primer/paint
more to come
Update:
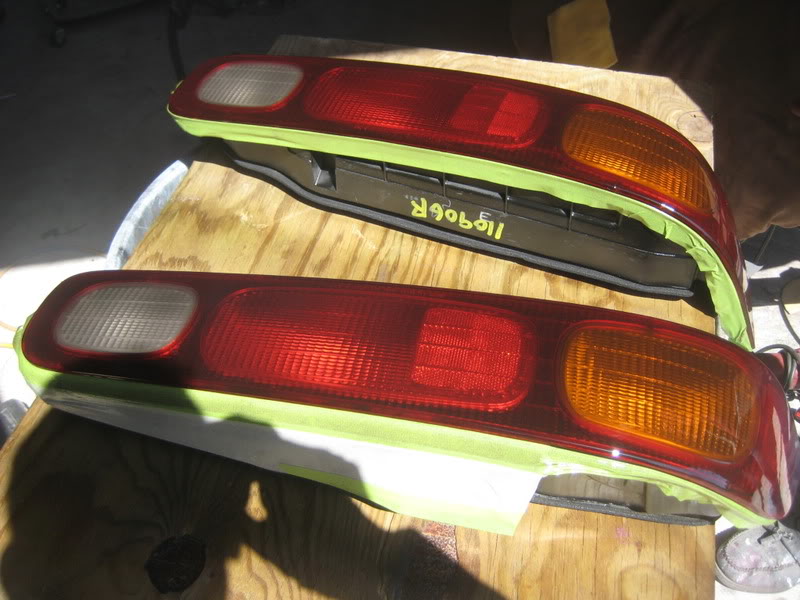
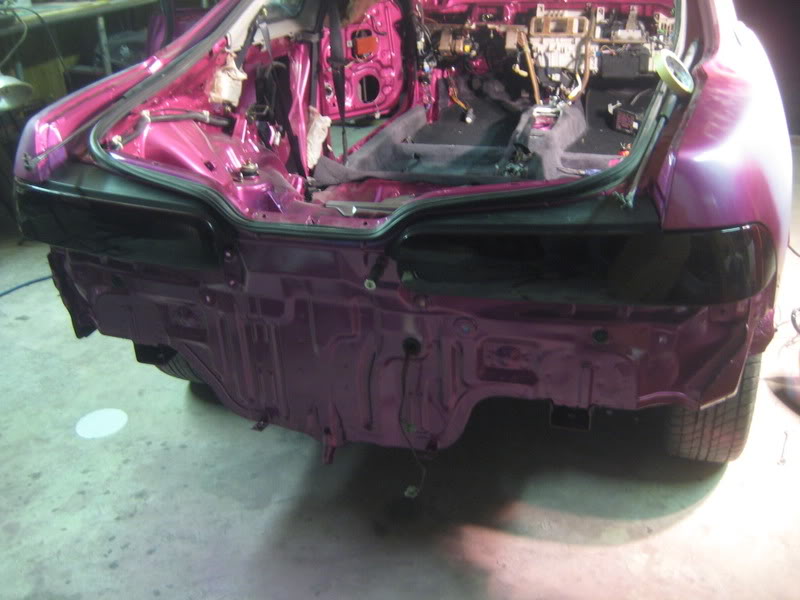
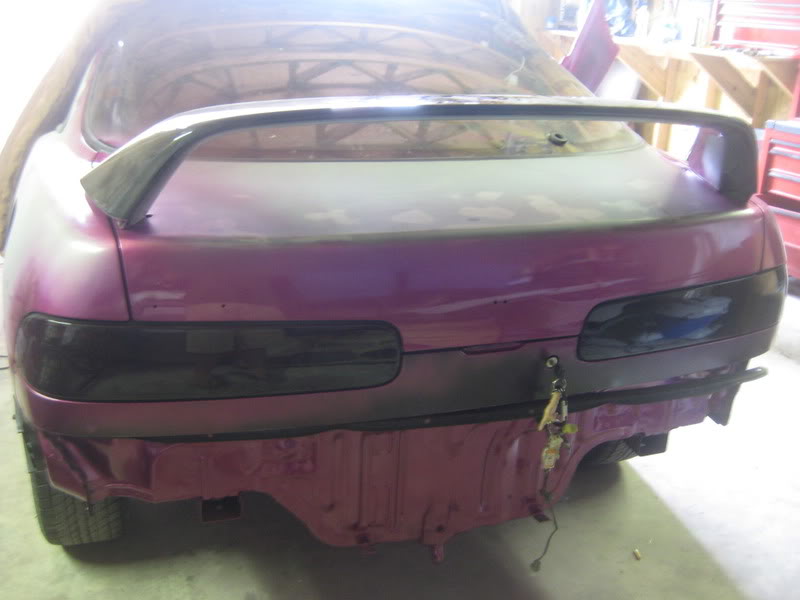
Put one last coat of tinted clear on the tails
mounted them on the car, this is with the FLASH
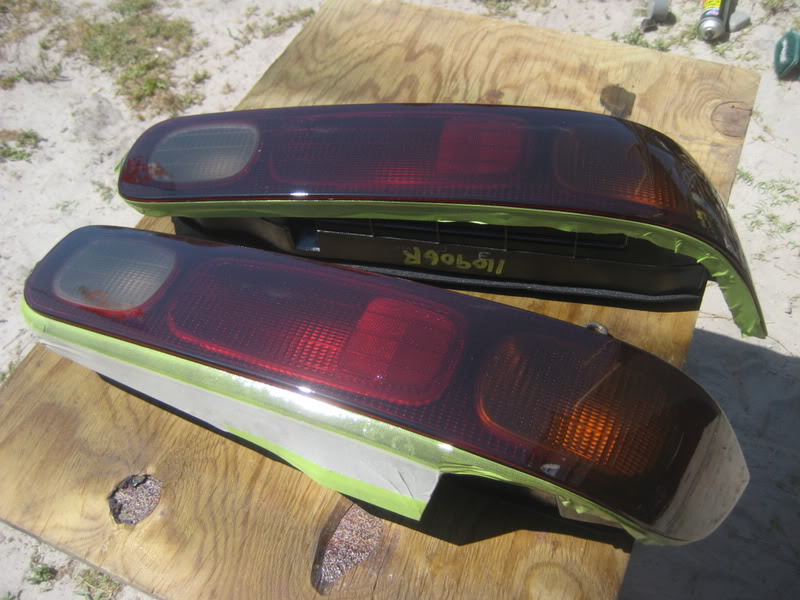
without the flast
and put the brake lines in
and then put the heater core/airbox in for the last time hopefully, oh and the carpet is in it was GROSS and cleaned up really nice.
more to come tomorrow.
Small update.
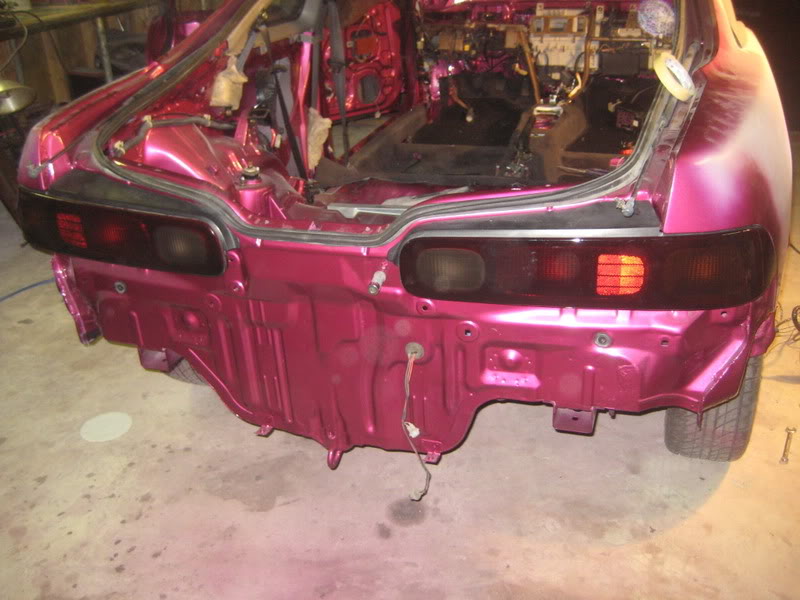
When we went to test fit the panels from the gsr today the rear ones had a HUGE gap in the bottom front corners where the metal supports bolt on newer integras.. Instead of adding that weight i just sanded down and painted the original ones and threw them in. They were in a little better shape anyways.
The results:
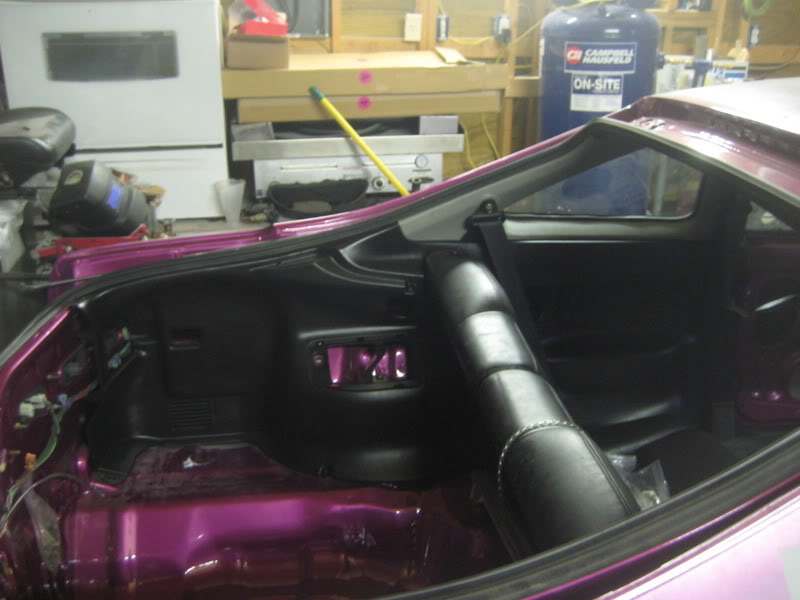
When i test fit the black factory speaker grill you couldnt tell a difference in color at all
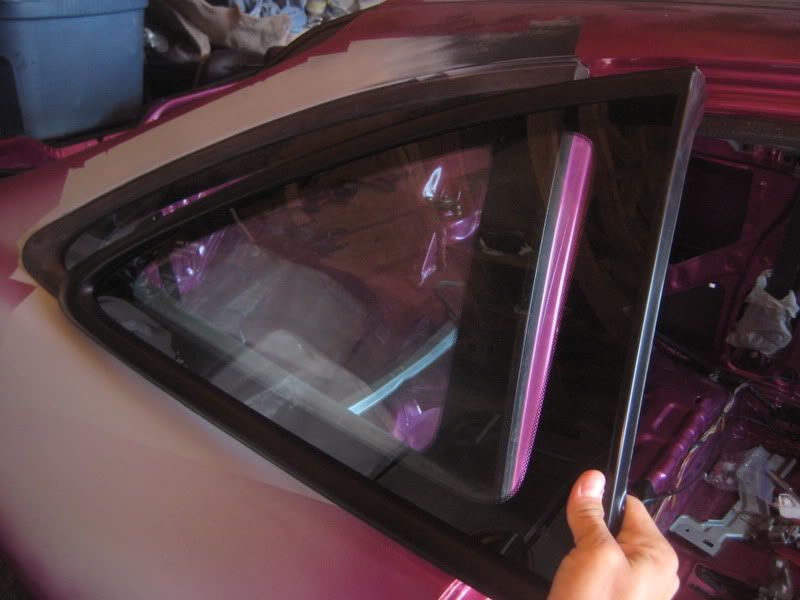
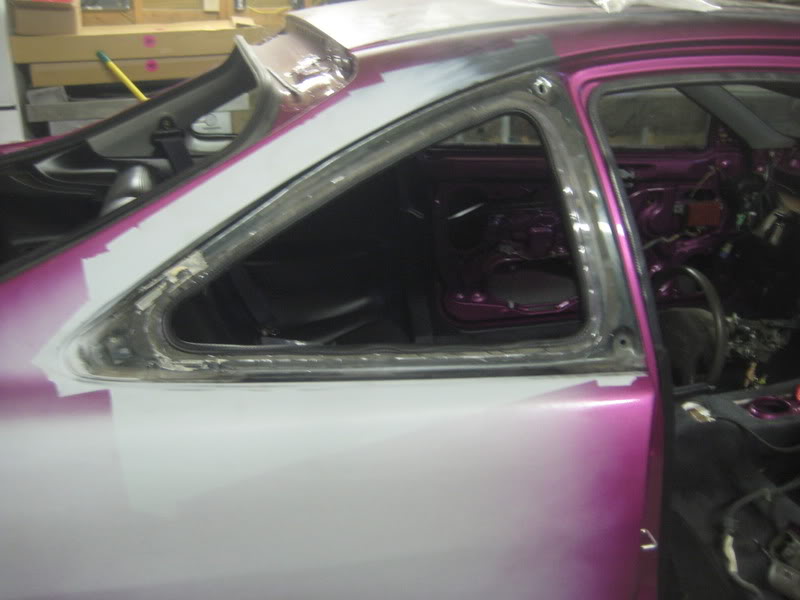
also started removing the rear 1/4 glass windows in preparation for paint. and put the windows back in the doors.
and we tried out the taillights just to make sure that the bulbs were bright enough to shine through. couldnt have worked out any better.
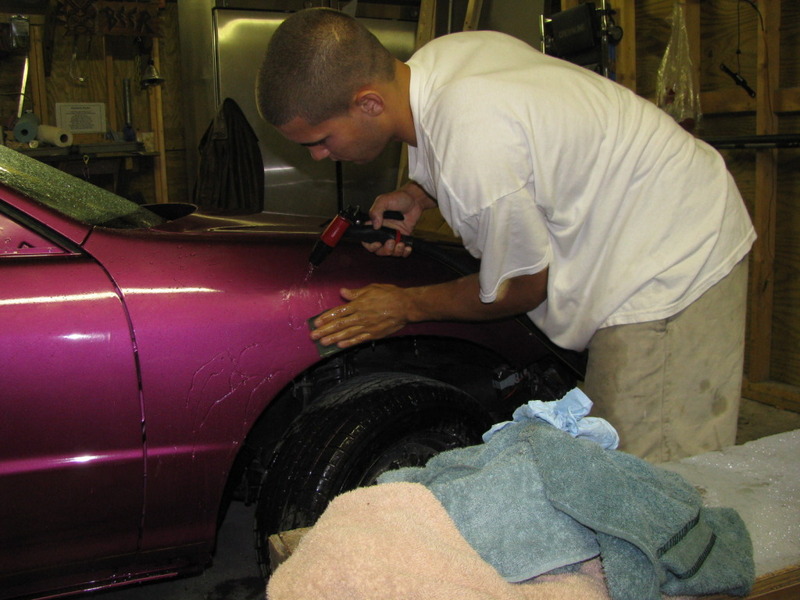
imple green, dish detergent and a pressure washer.
quick update:
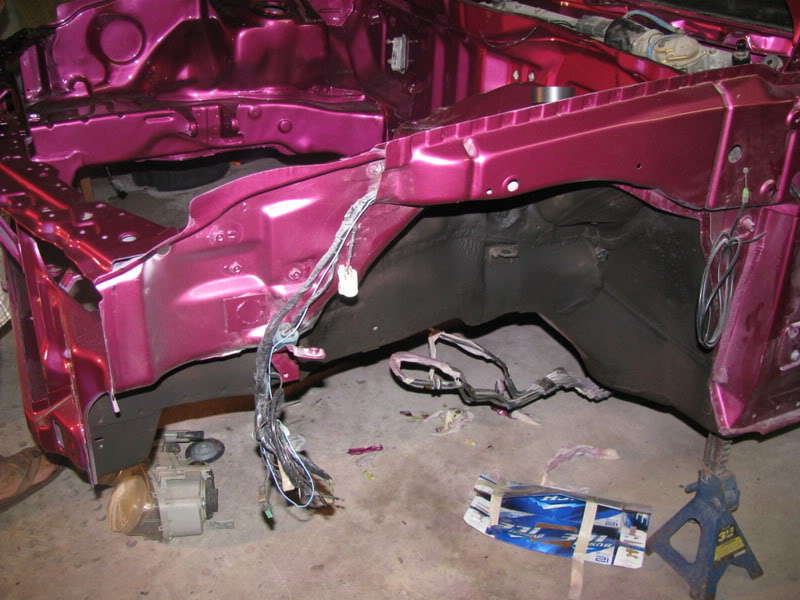
After trying to decide what to do about the nut plate in the bay where the fender brackets mount Weak!EG decided to align and mount the fenders in place and then weld the bracket where it goes. After welding the nut plates were ground off and the brackets are firm in place
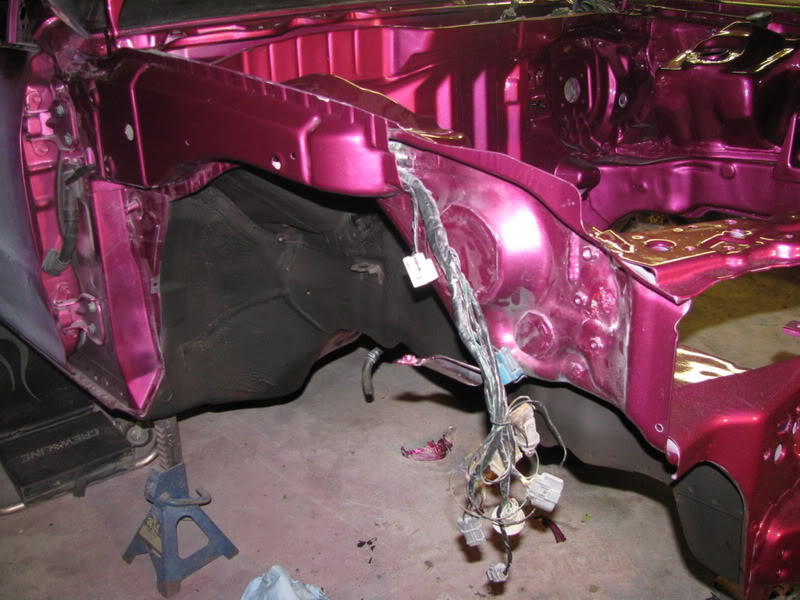
After that Weak!EG finished up the fenderwell section of the harness by running it through the frame rails and electrical taping them.

Last, got the dash in and started putting the glove box, kick panels etc. back in.
After getting the dash from the GSR all the way in, Weak!EG went to plug the harness into the fuse box and figured out the harness is different because it’s a newer model 
So we took the dash all the way back out and swapped the dash harness from the original dash and put it back in.
That’s it for a day or two, going to spend some time sanding/grinding and finishing up the engine bay so we can drop the front suspension and get some paint in the bay. May post a teaser pic tomorrow night or something if we get it in primer
A quick update from the past couple days.
Got the rest of the edges/insides of the remaining panels sprayed.Then put the rear hatch back on.
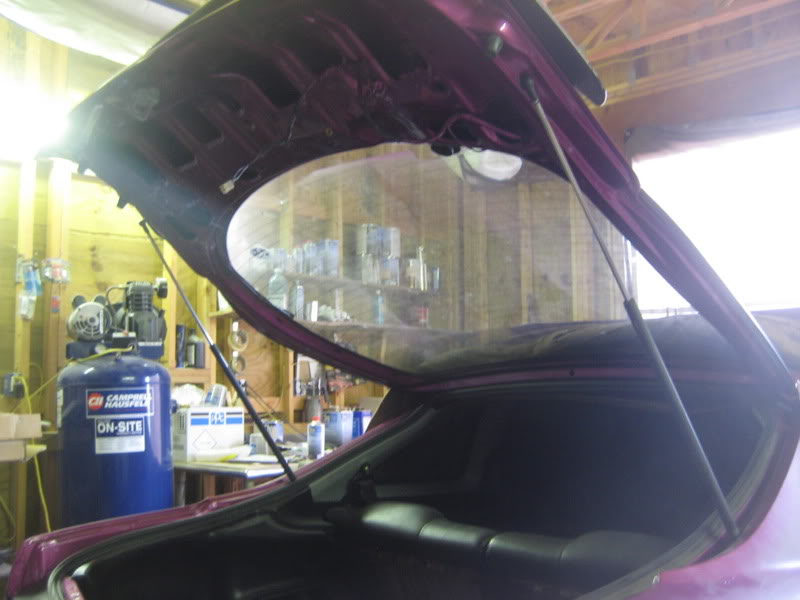
Mounted the Type R wing to see how it was going to fit.Going to have to weld the hole for the wiring so there are no leaks, but no big deal.
Took a trip to harbor freight today and grabbed a few new EL CHEAPO tools for the garage, and a blaster to strip Weak!EG’s hatch.
and to finish it up… Weak!EG bought me an anniversary present
GSR!
all of the grinding and filler work is done in the bay, will have some pics really soon
more to come.
just a quick update so you guys dont think i’m slacking
a few small imperfections to finish up and it should be pink in the next 2 days.
It WILL be done for import alliance.
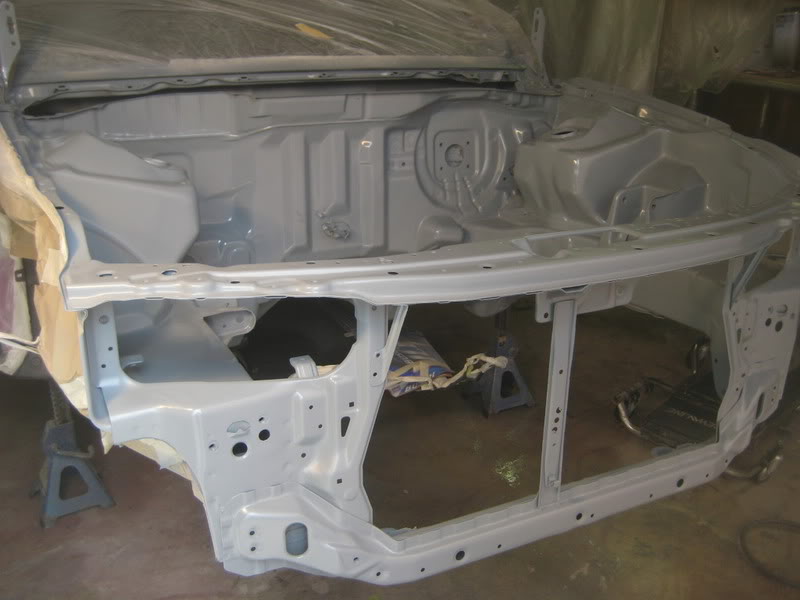
blocked the engine bay out. Paint tomorrow? You never know.

finally something worth posting!!.
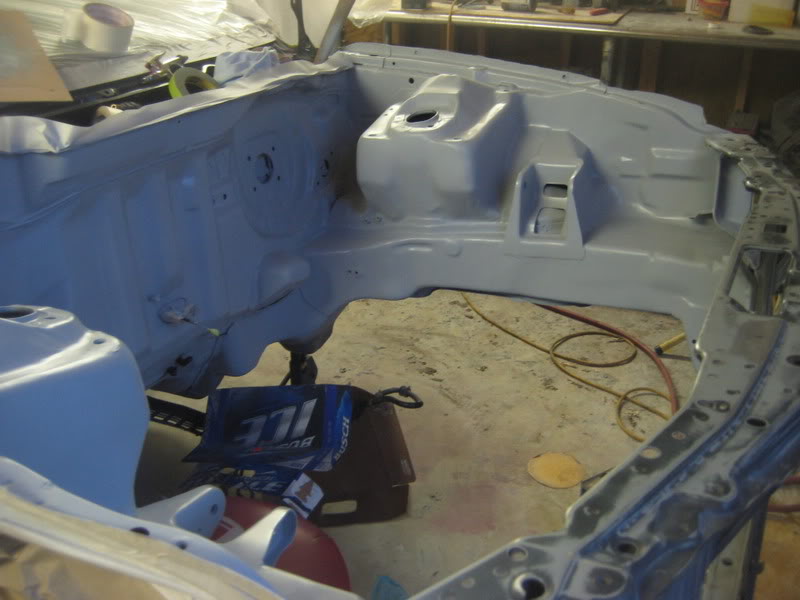
Primed the bay and blocked it out one final time.
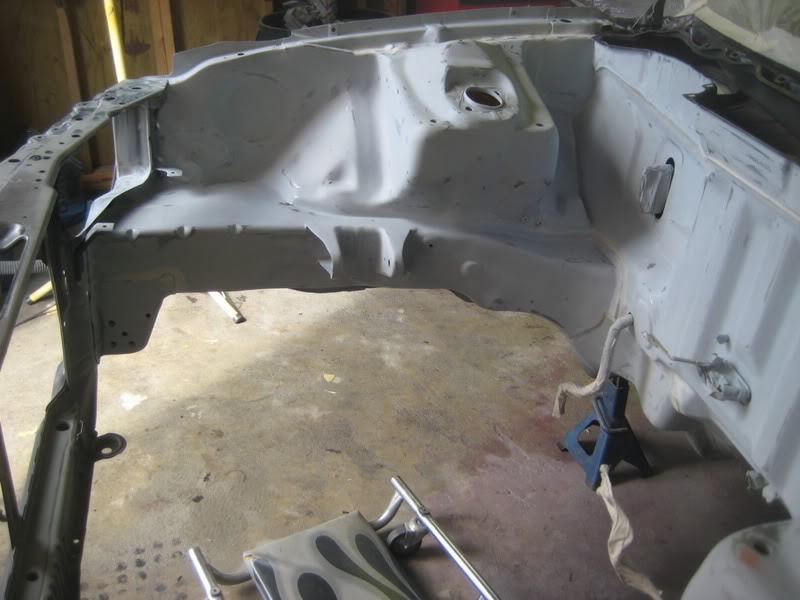
Spread some seam sealer in a few more spots also to help with the “shaved” bay.
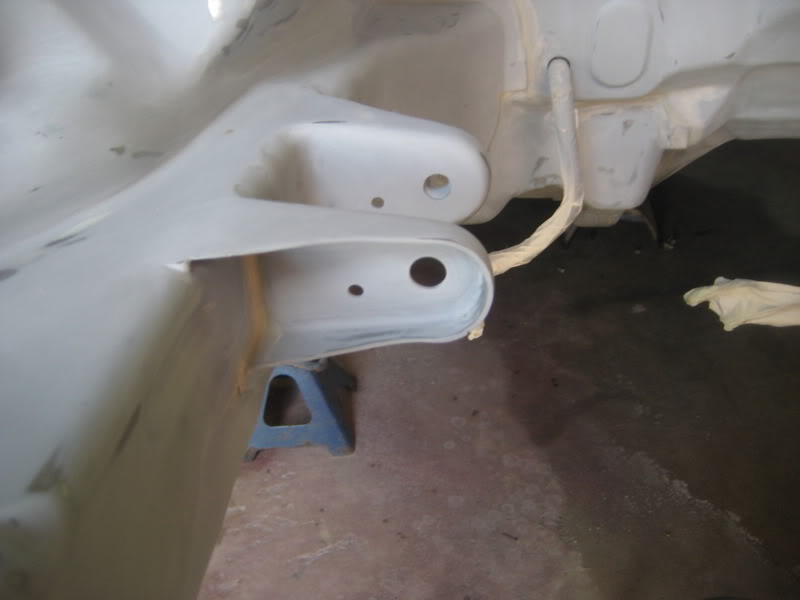

a shot of the front of the driver mount where the metal was welded.
then sprayed some sealer on it.
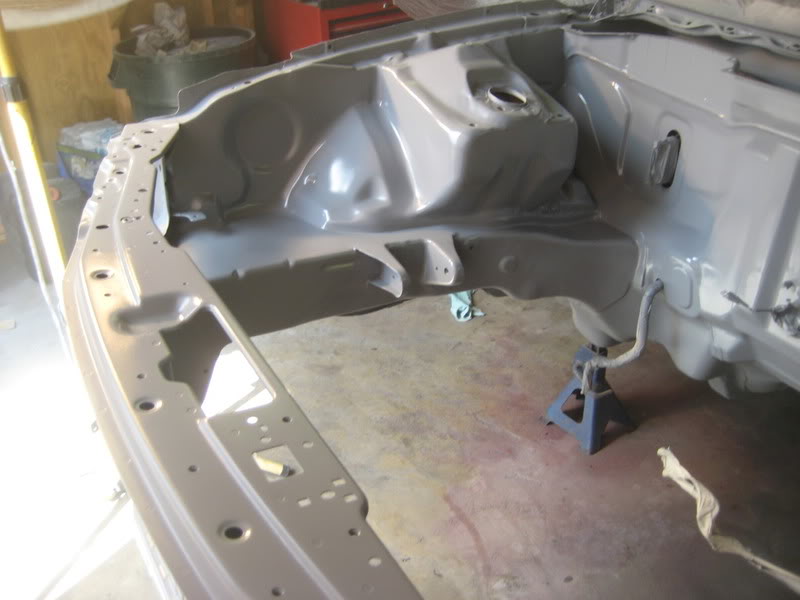
mixed some paint
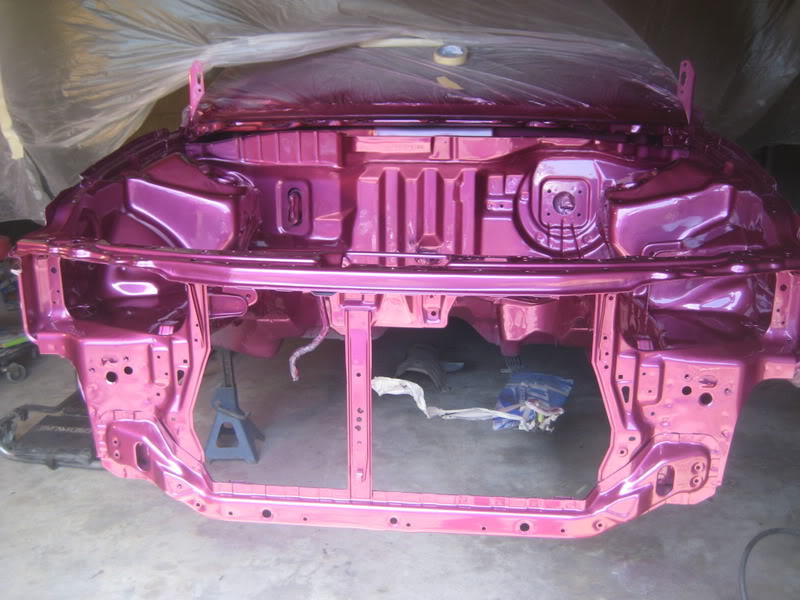
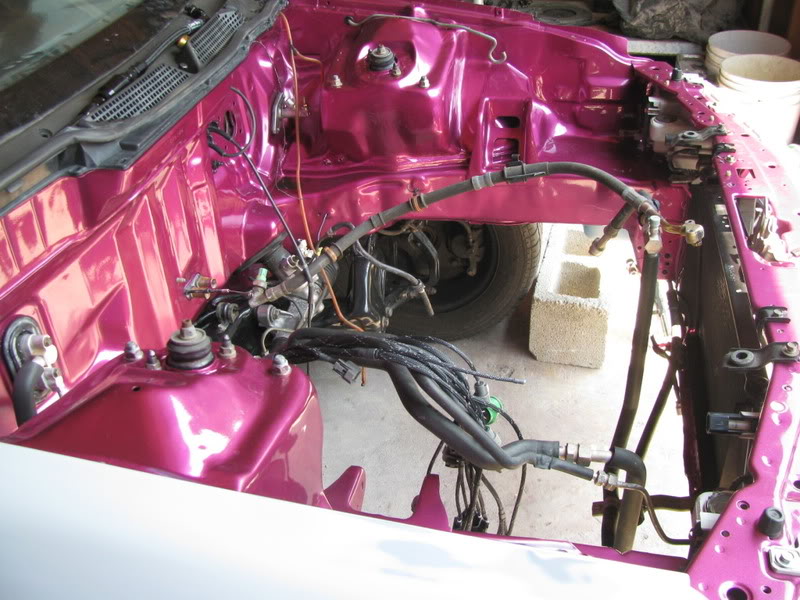
sprayed the base coat.
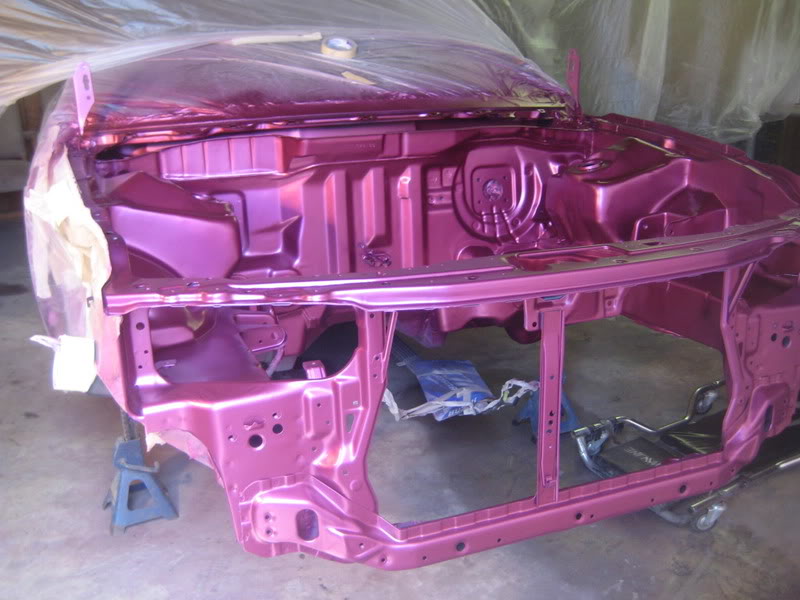
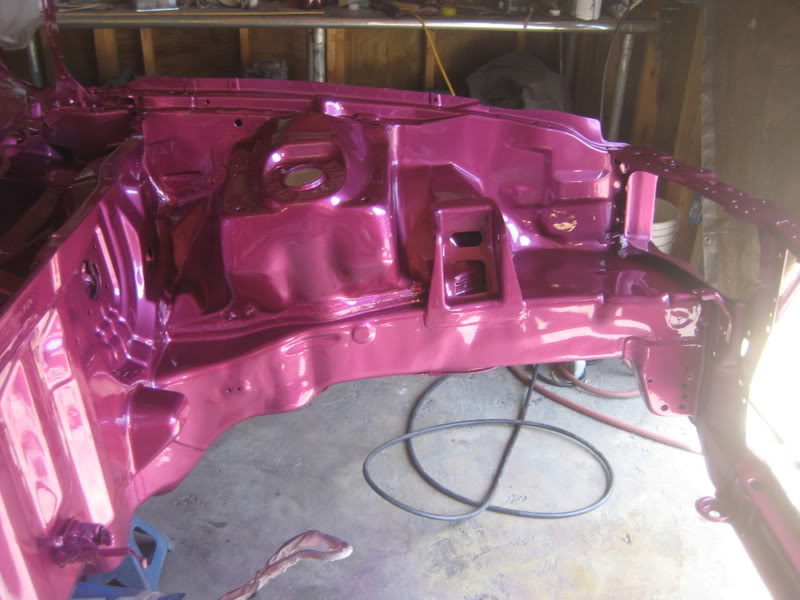
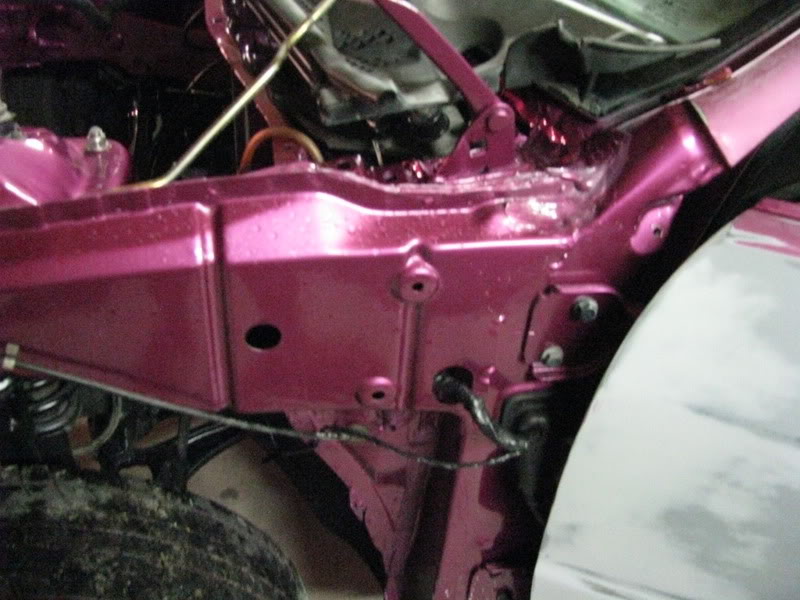
and finally after two weeks of hard work, the shaved bay is done
and to finish this one up..
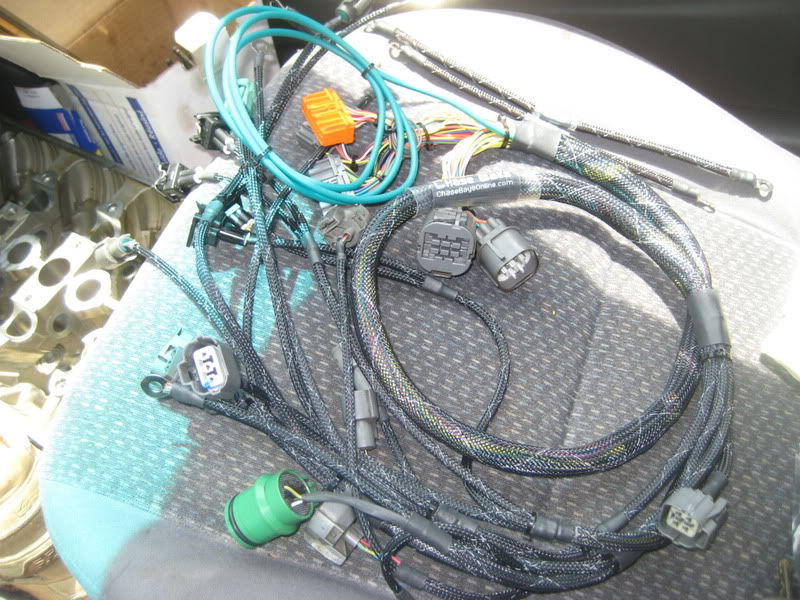
got the chase bays harness and grounding kit in
Re sprayed the undercoating to clean up the overspray in the fenderwells.
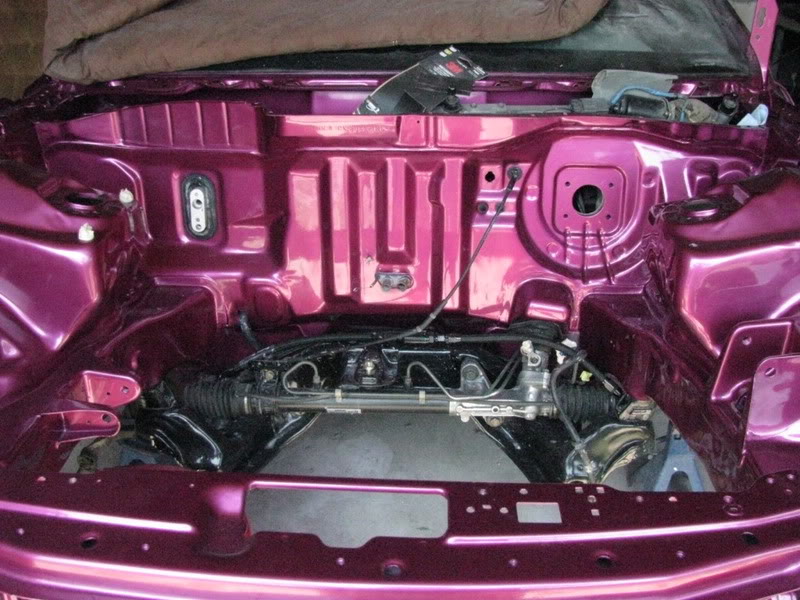
and a random pic of the bay.
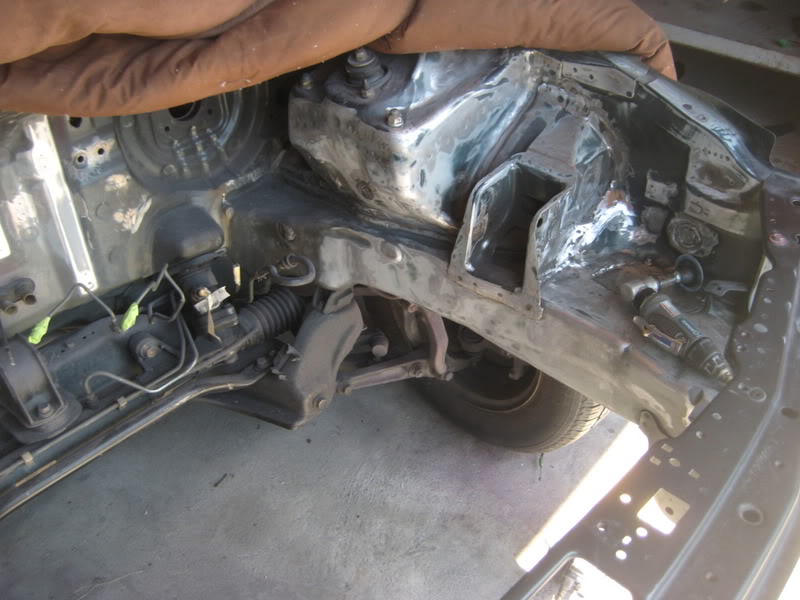
ut the powder coated subframe in with the cleaned up steering rack and buffed out the couple small runs in the bay..
and finally!!! shaved the moldings..
first tapped in the metal around the holes, then welded some metal behind and glazed the front side.
DONE!
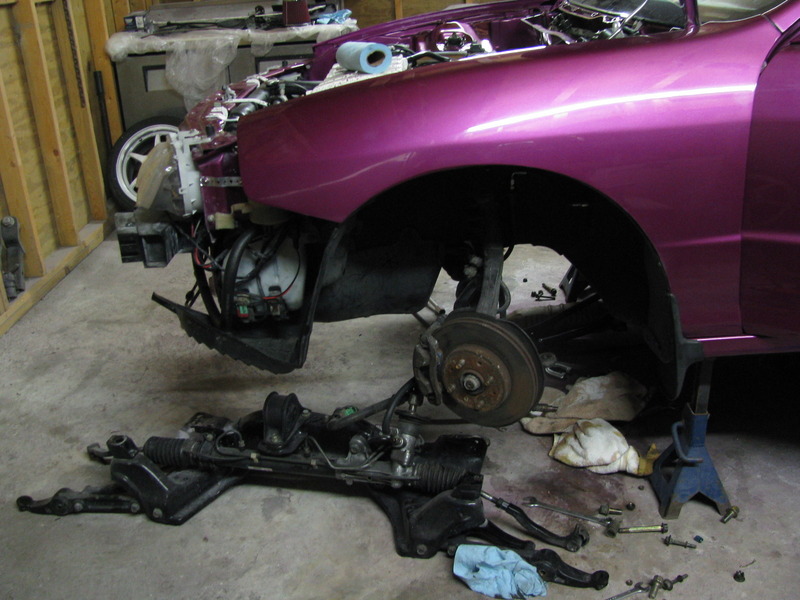
to start with, didnt get a lot of pics, but the powdercoated suspension was finally all assembled and put it in.. the car is on the ground again FINALLY.
now put a few new ideas for the bay to work finally…
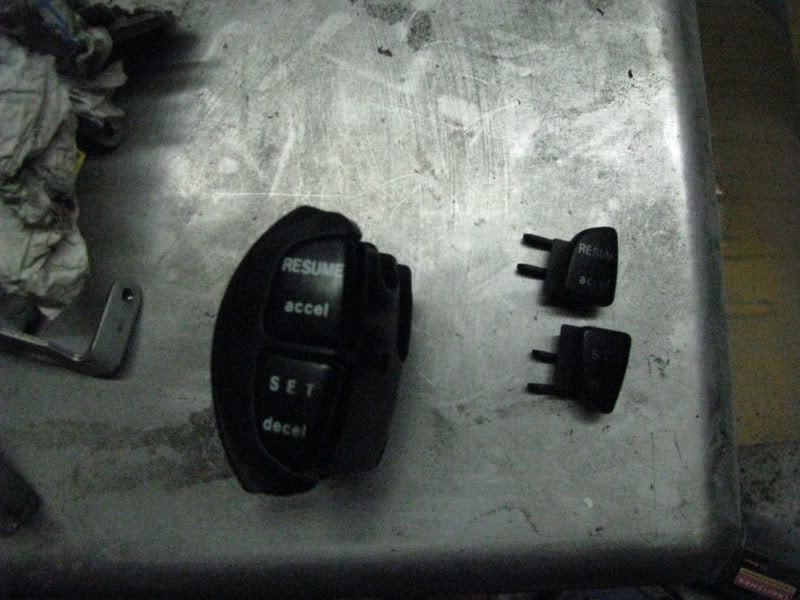
will start with the cruise control
Not much going on.. a few snaps. seems like nothings been done i know, but it’s just such tedious work. lol.
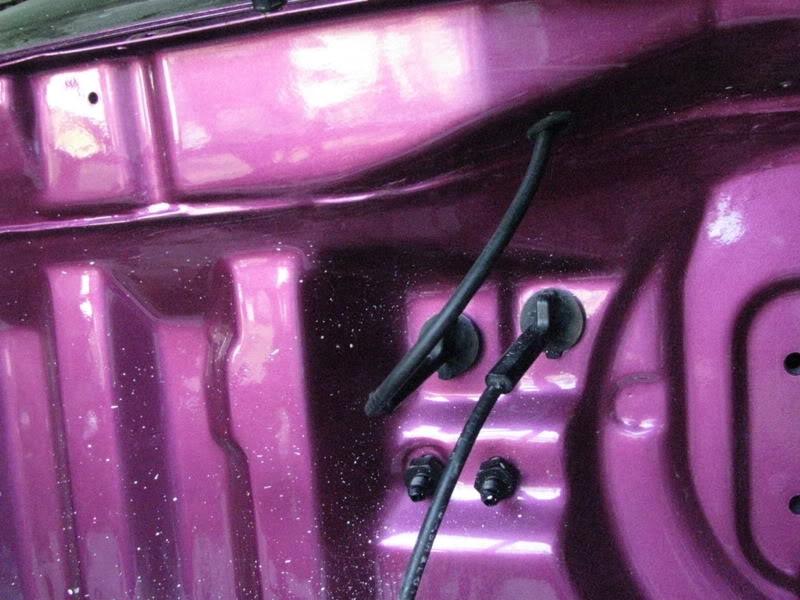
Ran the squirter lines through the frame rail. (you can see it hanging over the edge towards the bay.)
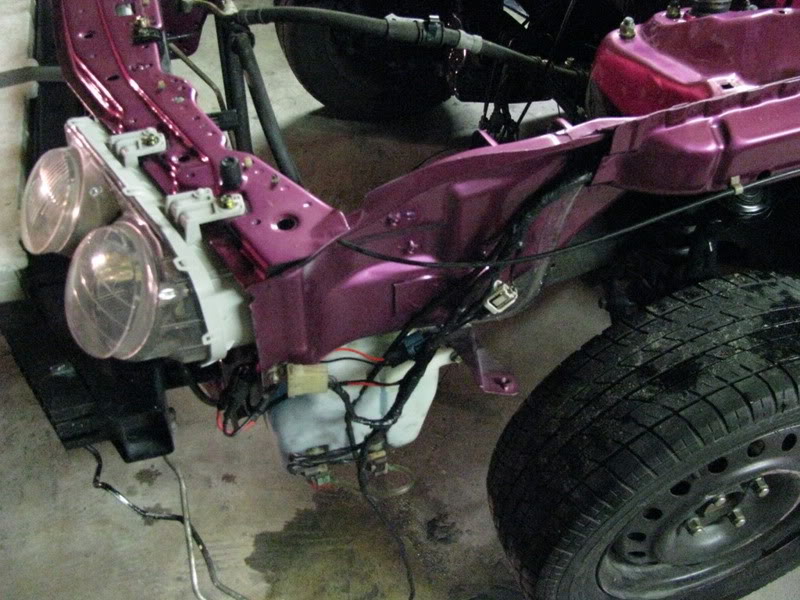
a shot of everything hooked up. shortened the tubing going to the fluid bottle. Drilled a hole and tapped it for a 10mm bolt and mounted the 2 HID ballasts behind the fluid bottle also. that frame rail is PACKED! all the wiring, the squirter line and the fluid line all running through.
the switch for the 94-97’s cruise and the 98-01’s are different.. but the buttons on the GSR were in prestine shape so i swapped them to the 94’s switch
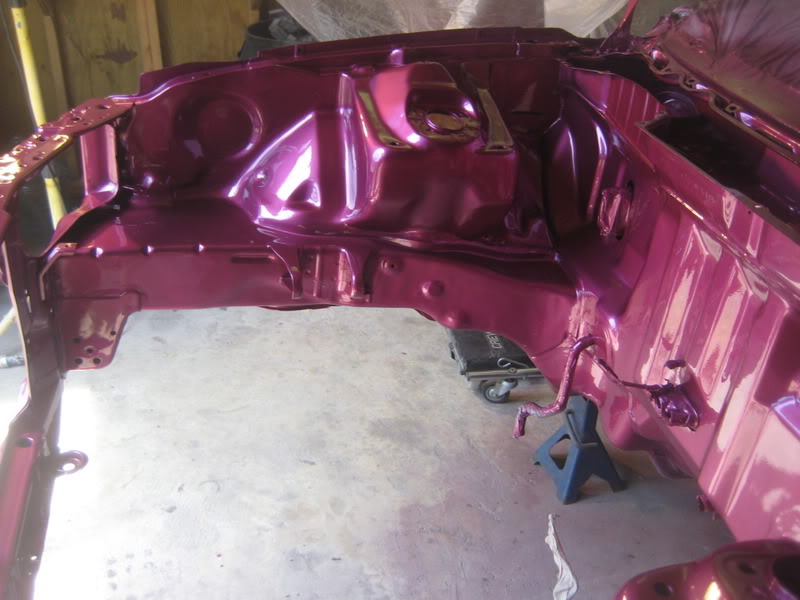
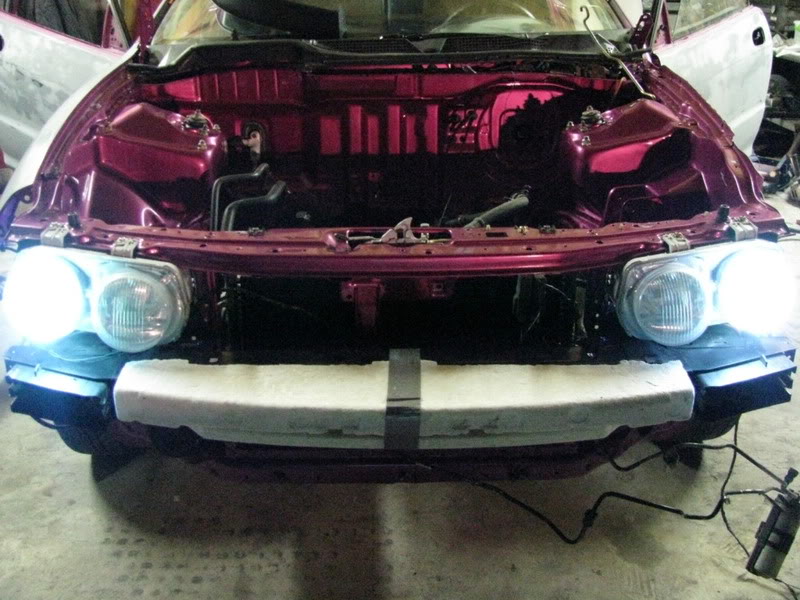
time for a wiring check… low beams work. (u can see the pearl/metallic in the bay big time)
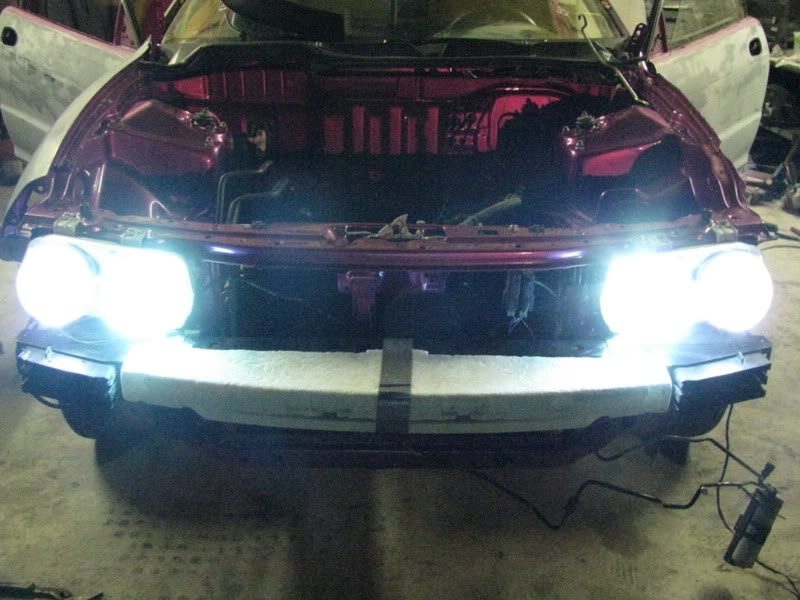
high beams do also!
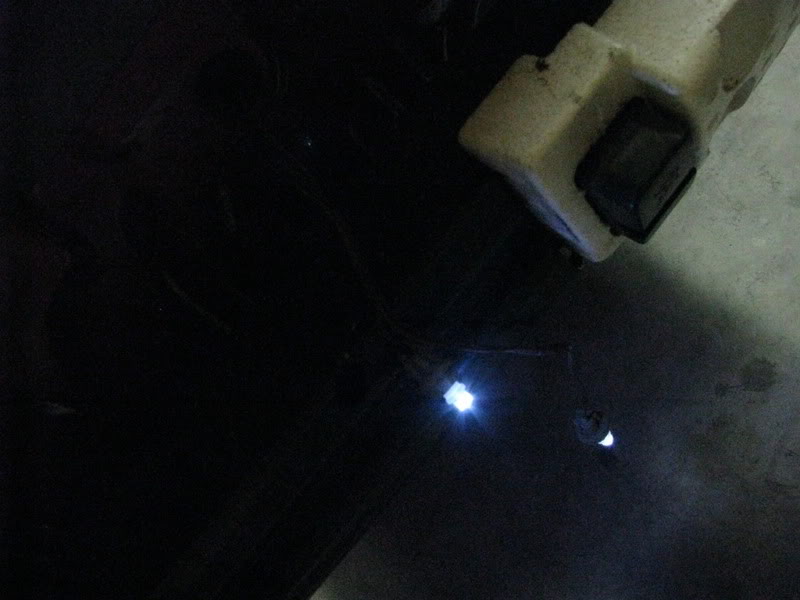
led license plate
lights.
shaved the holes for the wiring and such from the factory wing and smoothed the trunk lid out for the type r wing
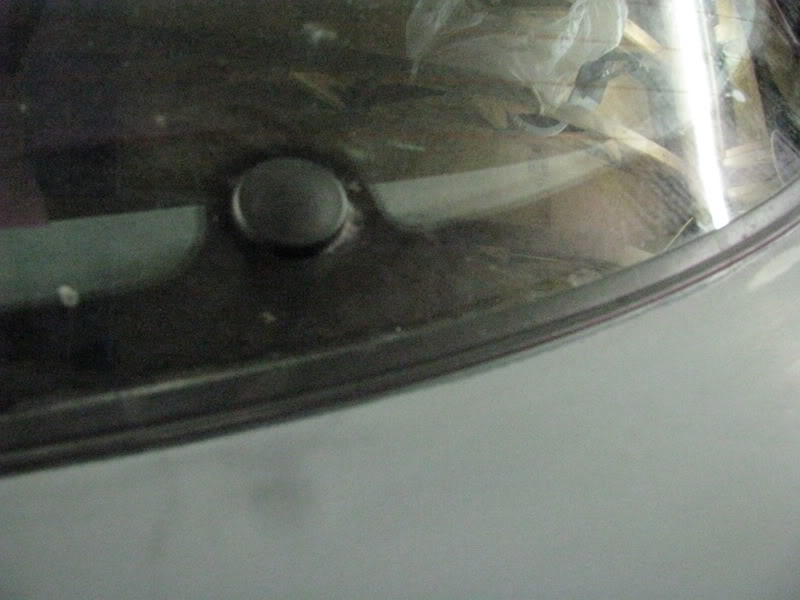
put the wiper plug in.
the interior is all in minus the cluster, airbay tray, and radio.. needs a good cleaning, now that all the glass is in i’ll clean it up one last time and the sanding dust wont mess it all up. (THINKING ABOUT CHROMING THE SEAT BACKS? SUGGESTIONS? THOUGHTS?)
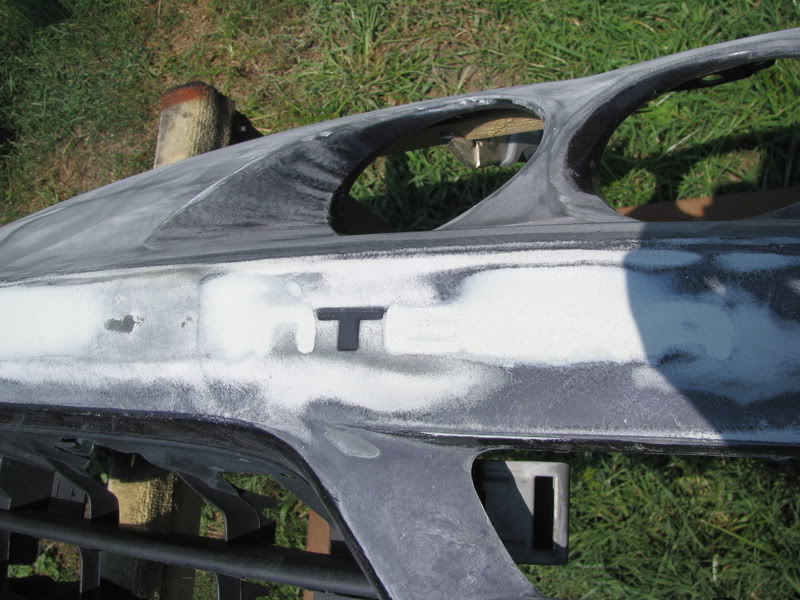
the bumpers, skirts, etc getting all sanded down, and the new teg peeking in the picture.
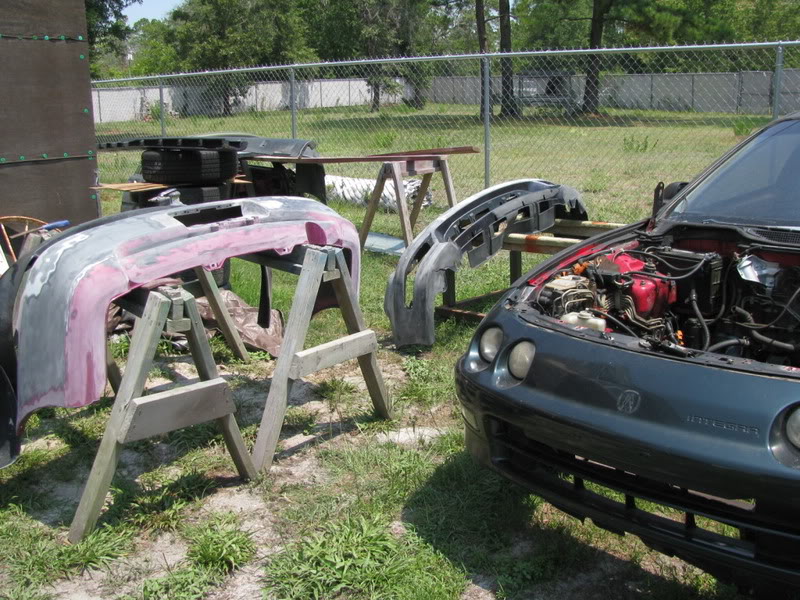
started shaving the bumpers.. in case your wondering about the T its for Taylor.. aka Weak!DC.. and in the future, Turbo
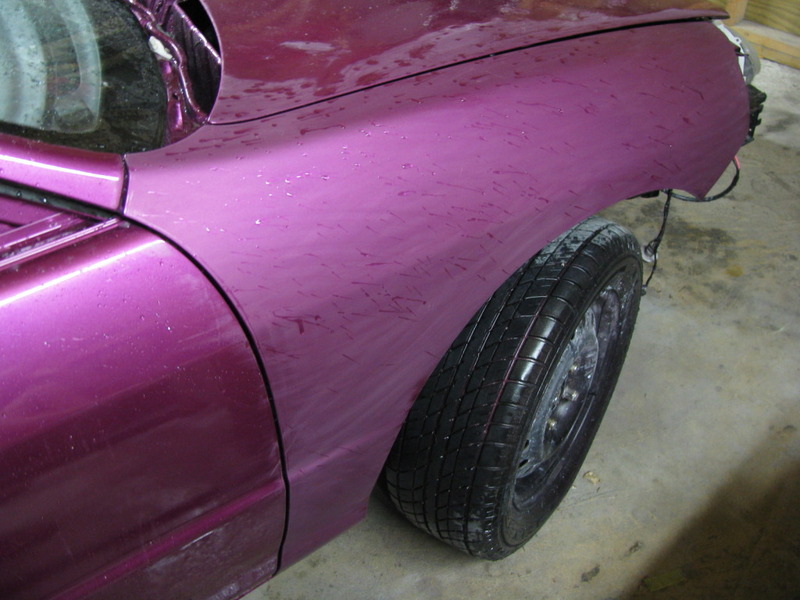
water sanded the outside, the shaved moldings turned out great!
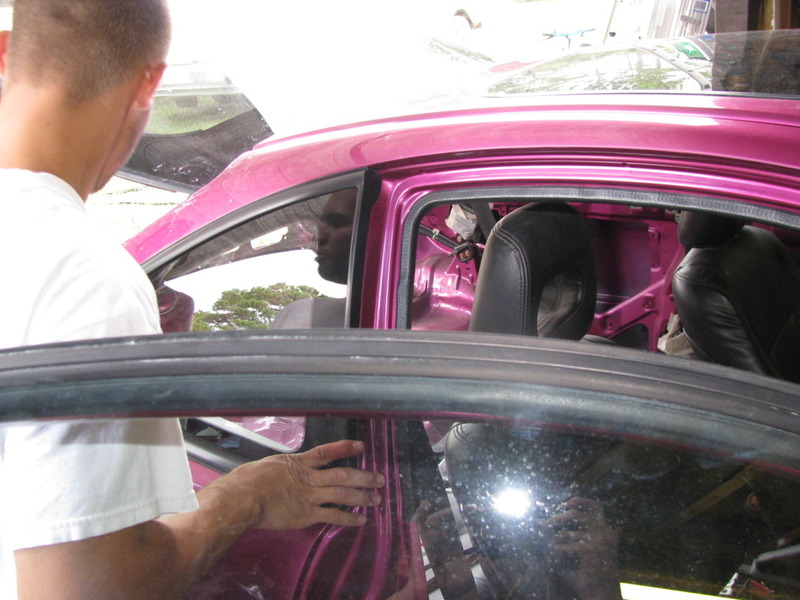
passenger glass is in now, finally.. (look how bright pink the bay looks in the pic)

and last but not least.. got all the rubbing compound out of the bay and put a few odds/ends back in.
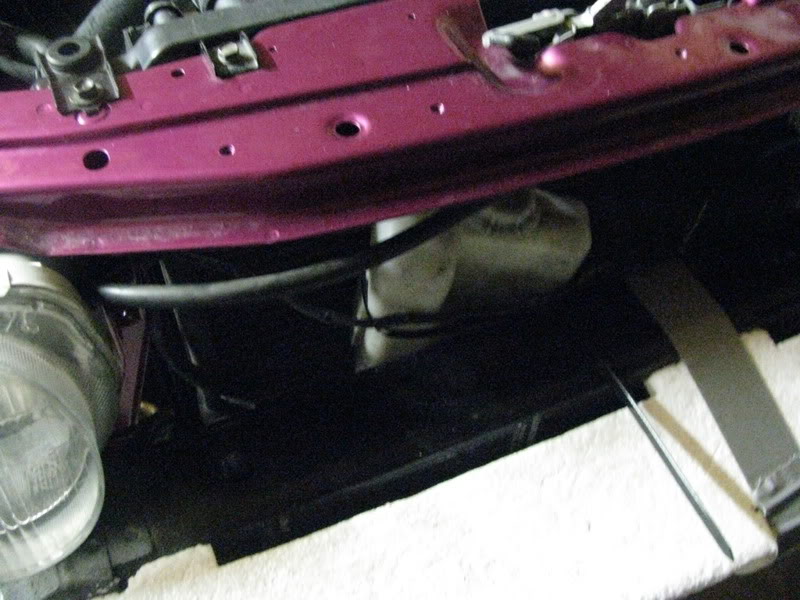
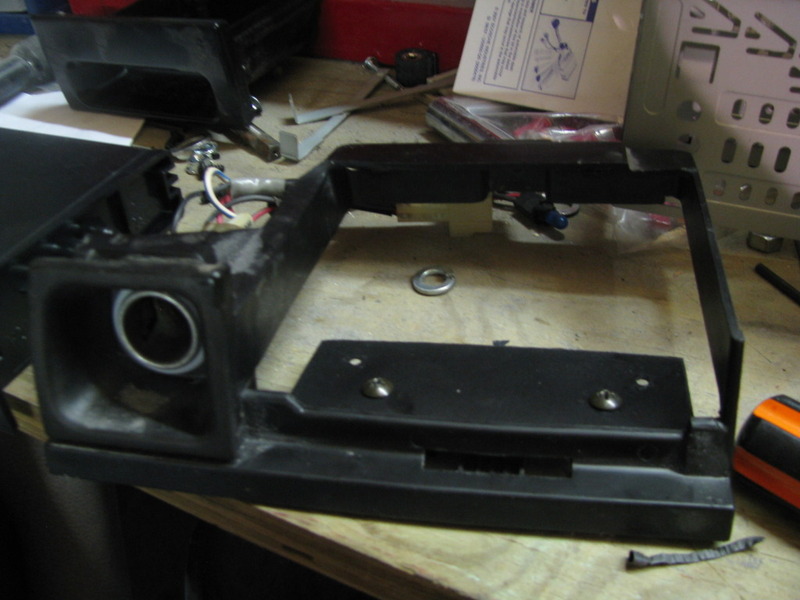
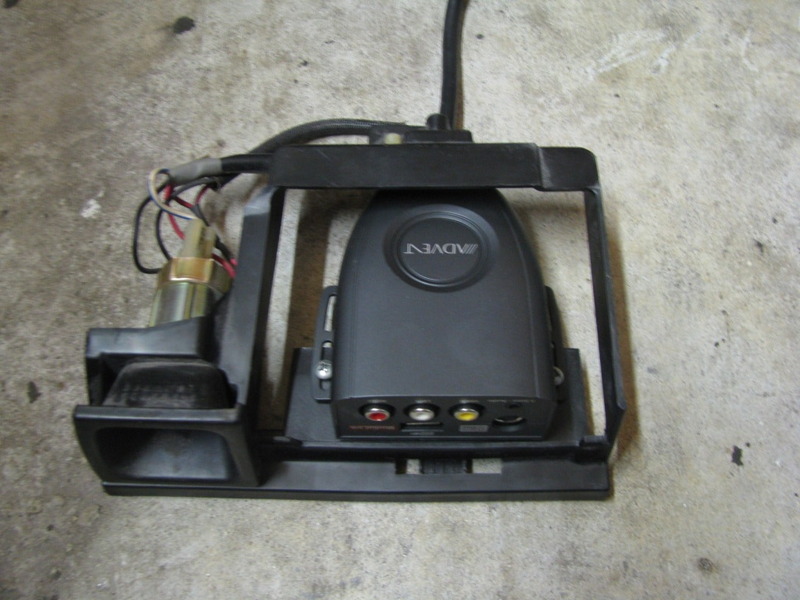
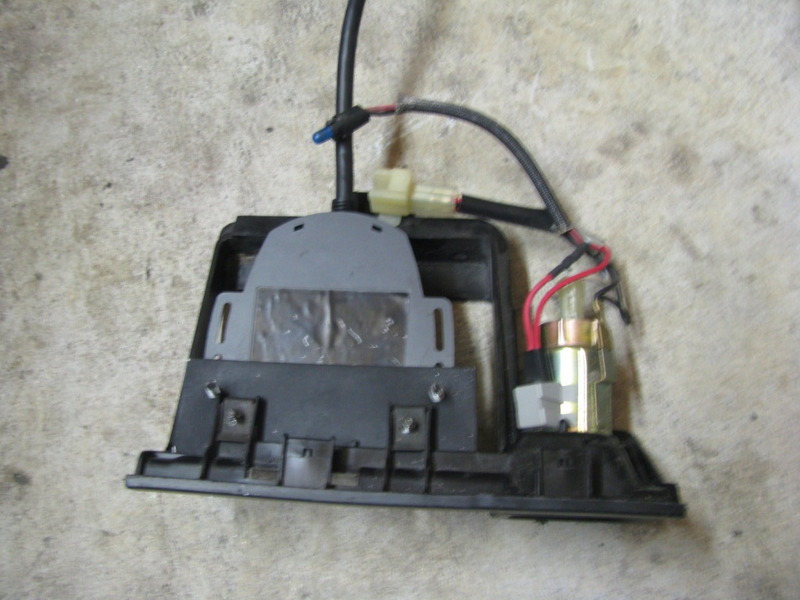
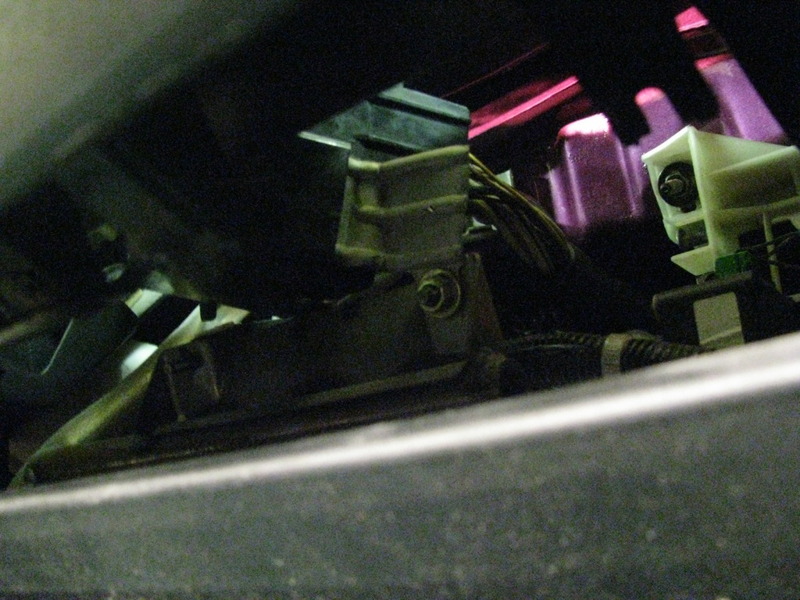
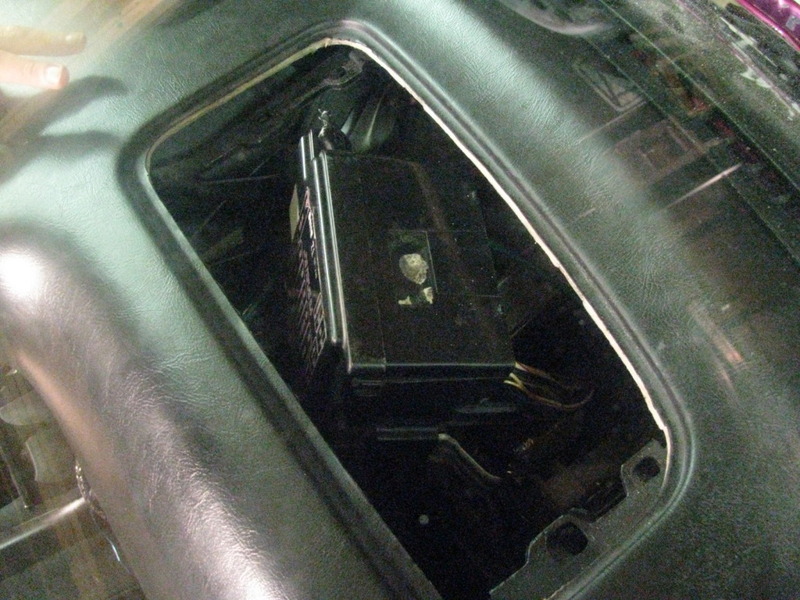
 . I was trying to figure out what to do with the bulky cruise control unit instead of putting it in the bay and opted to put it in the wiper cowling.. it wouldnt fit at first but after cutting a couple brackets off it finally fit. then drilled a hole and put a grommet around it and ran the cable. also painted the bumper support black and cut a hole for the harness and ran it also.
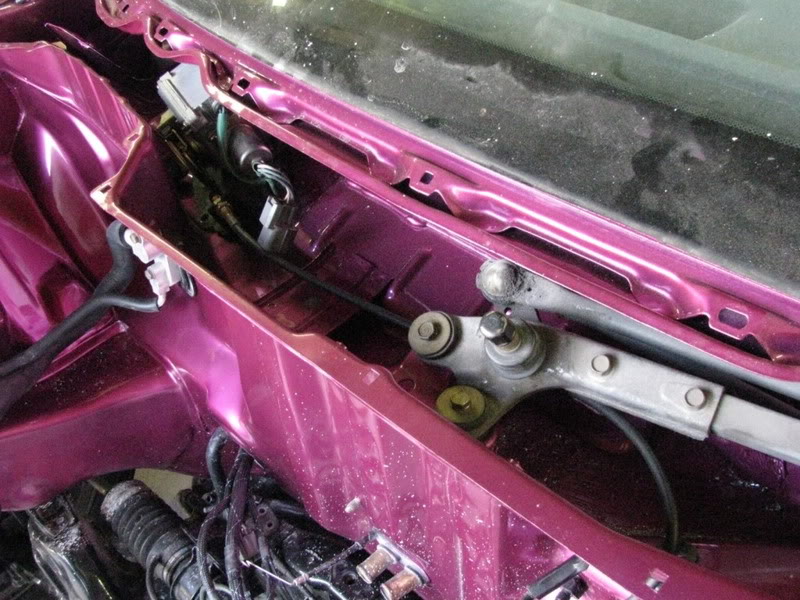
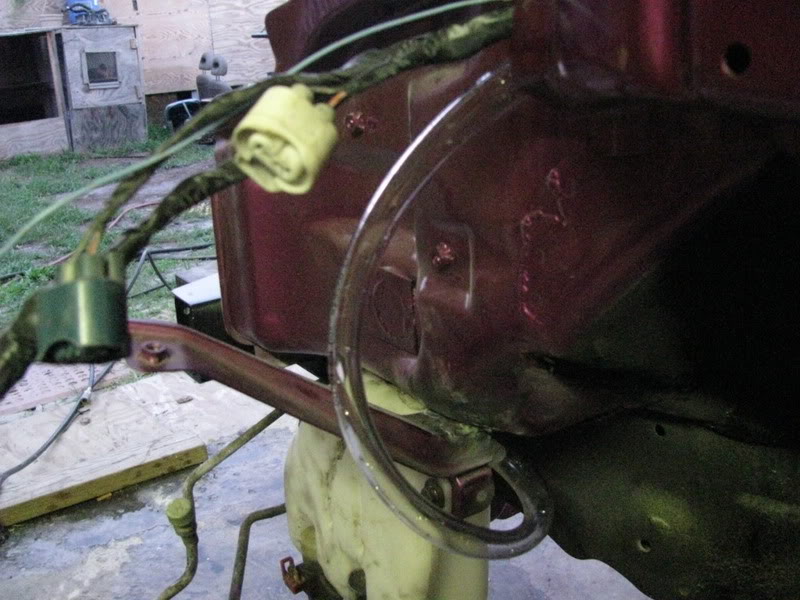
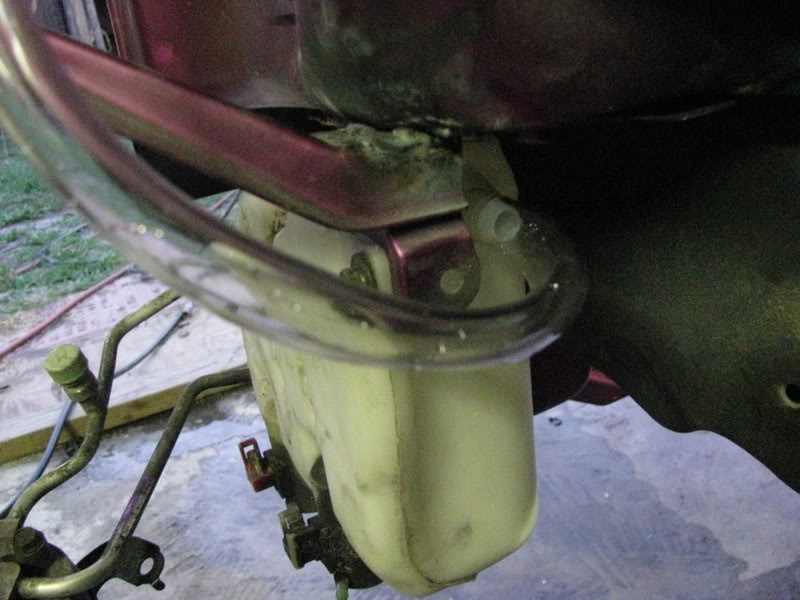
then tried a new idea for the washer fluid res.
first had to cut the neck off, and drilled a hole and tapped it with a 1/2″ barb fitting
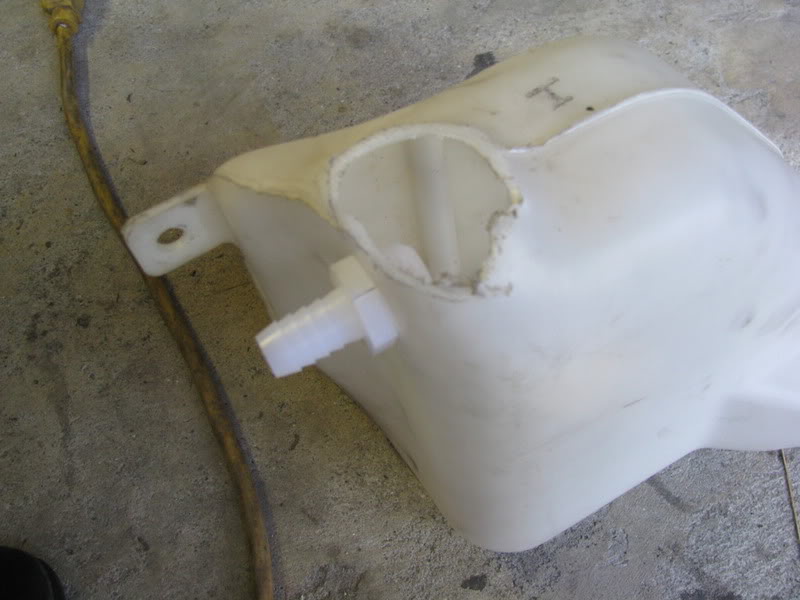
then drilled and tapped the wiper cowling to match.. *(will be powder coating the cap and fitting black.
how to fill it for those who are wondering.
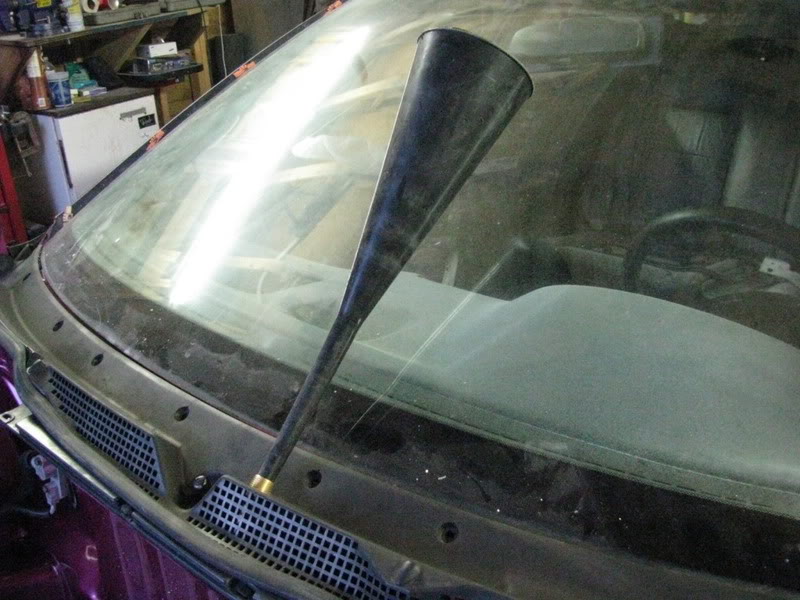
ran some tubing from the cowling through the frame rail and into the res.
cleaned up and mounted a headlight.. forgot to take a before pic so threw the other one in the bay for a comparison
then buffed out the lens
put the fender on for a good fit for the last time hopefully since all the wiring is done on this side.
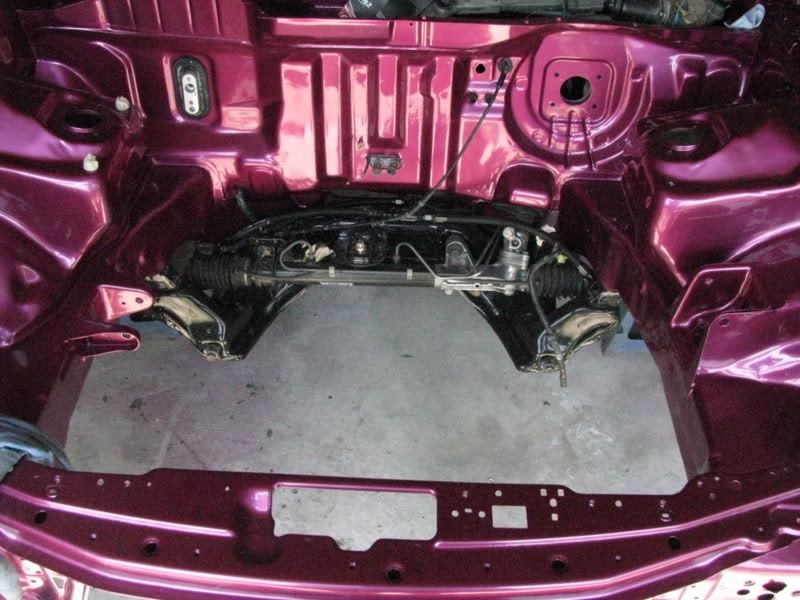
and just one last pic of an overhead shot of the bay.
no cables need modified for the cruise.
on to a short update.
the center section of the rear mount could seriously be removed from the mount, so i filled it with some super hard stuff and after it dried painted it black.
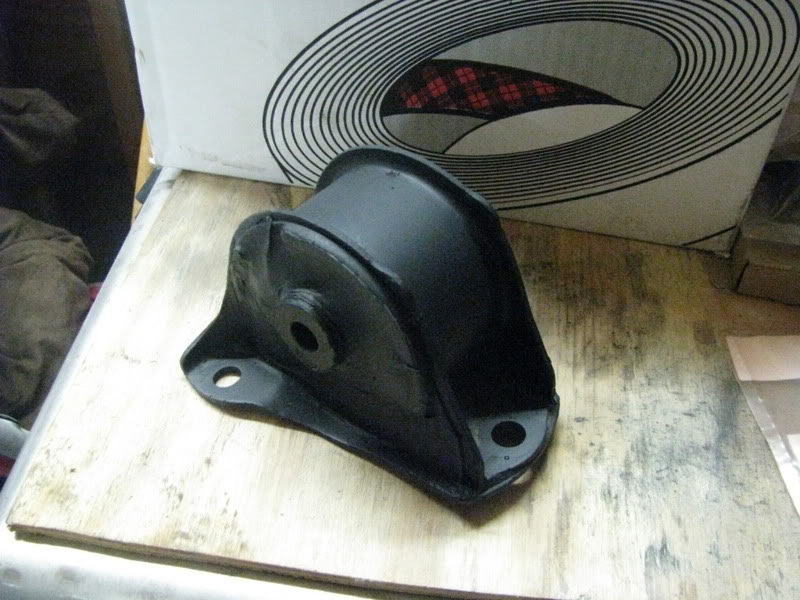
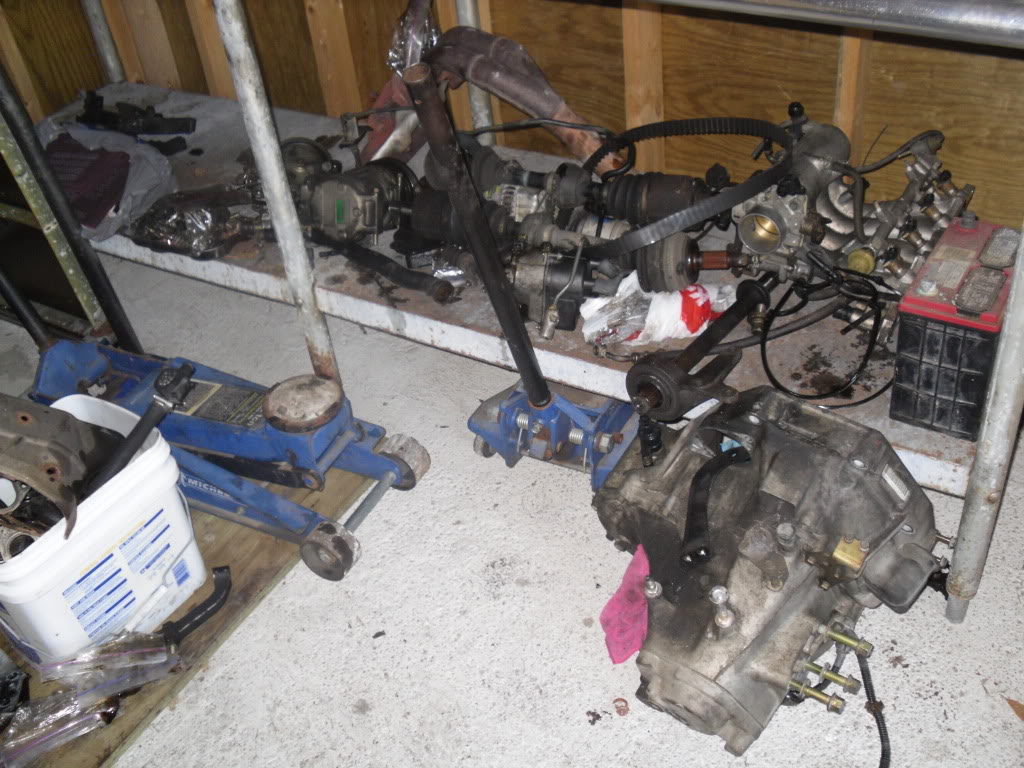
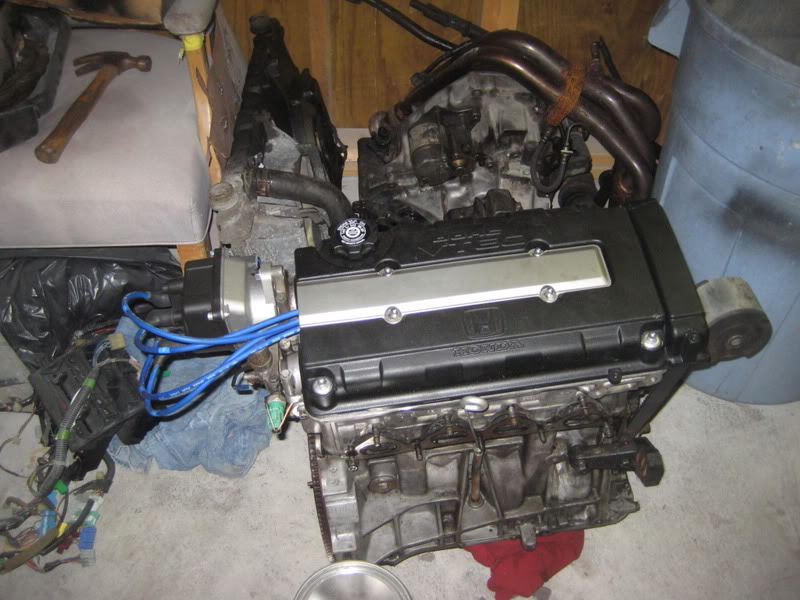
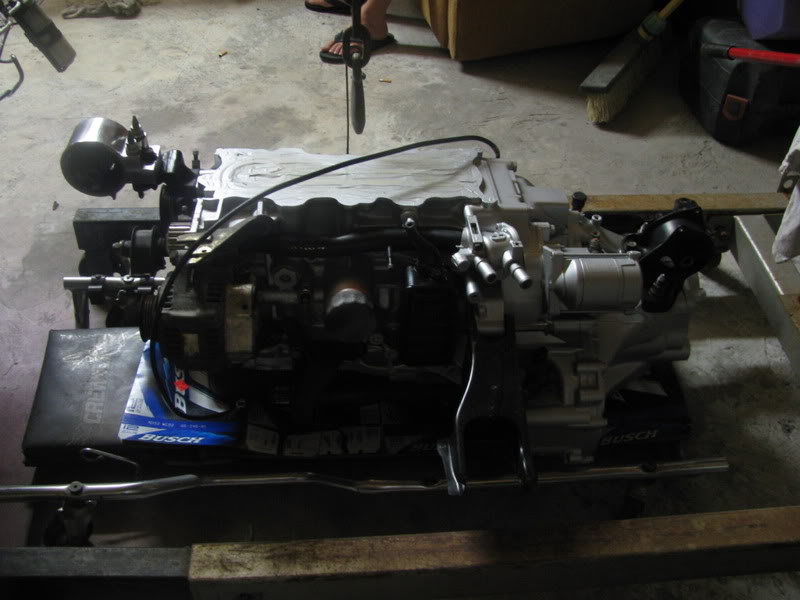
the cleaned/painted the motor, trans, and all the misc. stuff that attaches to it… and got it on the creeper to roll under the car 
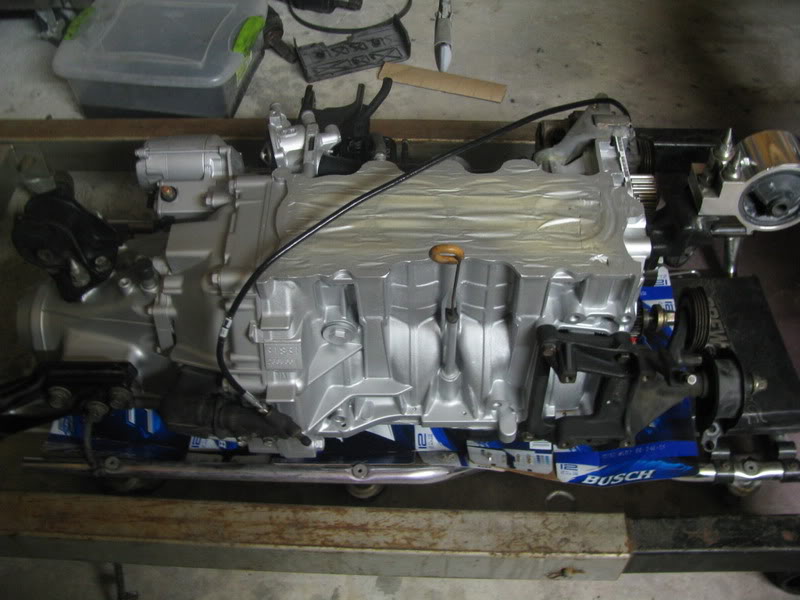
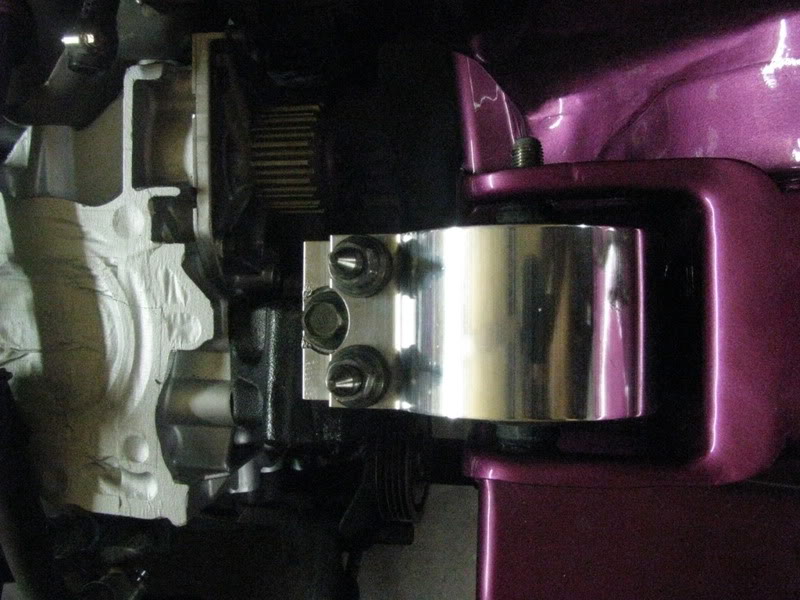
polished the driver side mount…….. is that in the car 
ziptied the overflow to the support bar… something more “unique” will be done sometime soon.
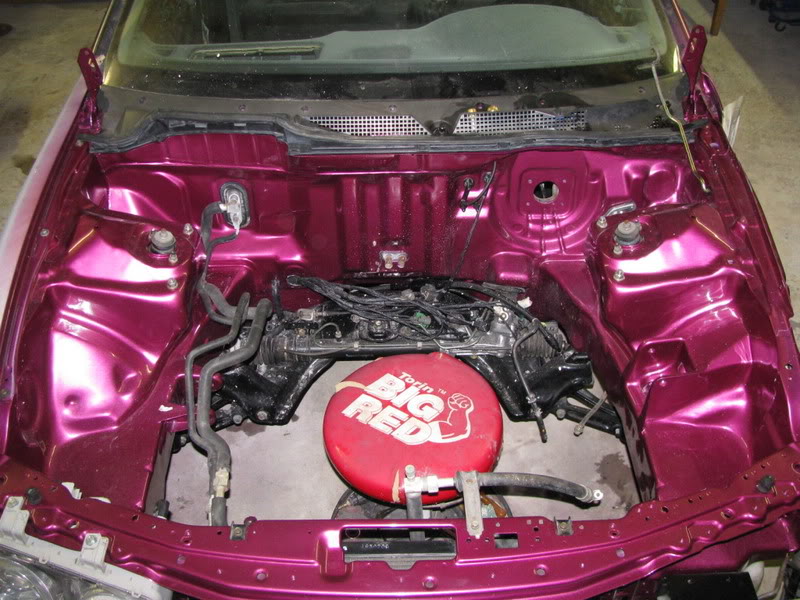
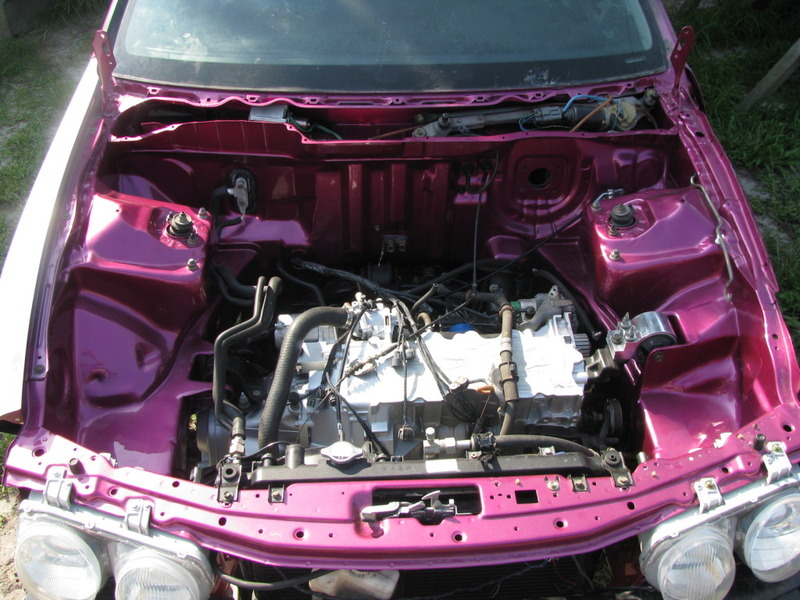
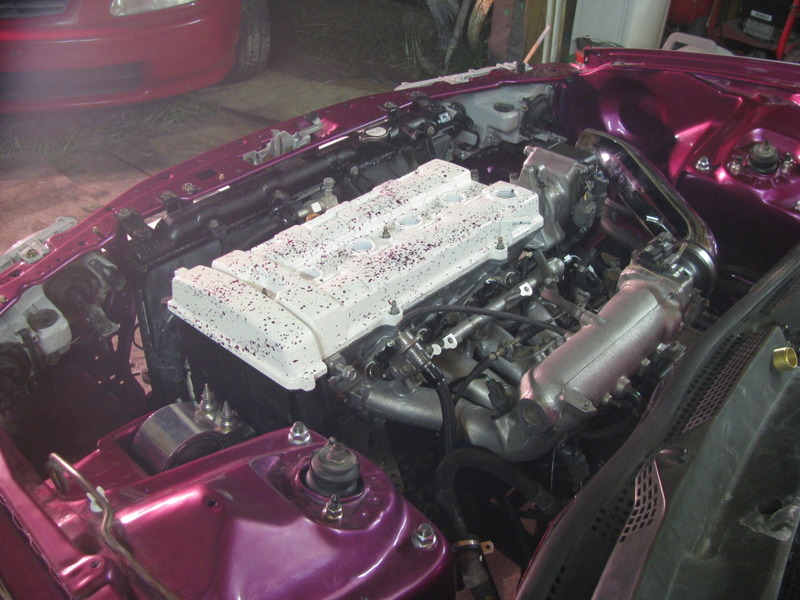
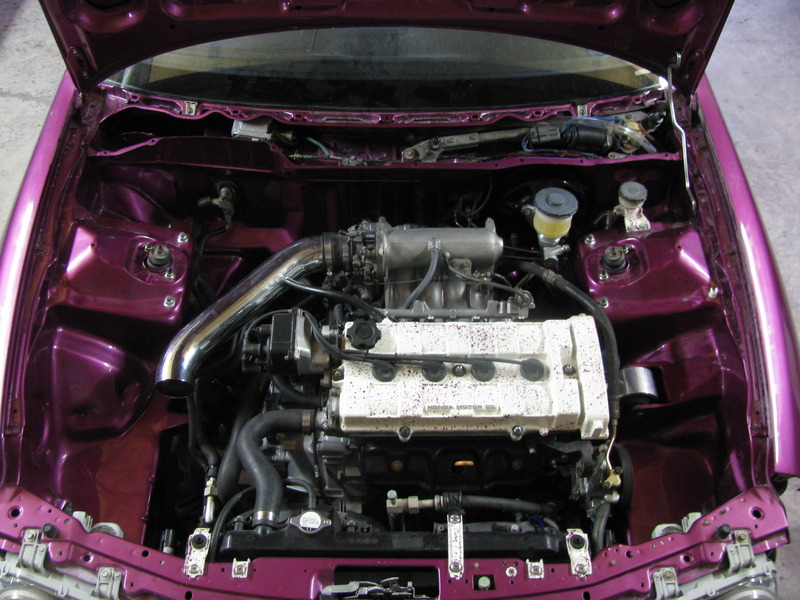
dark overhead pic of the motor in…
and finally…. a good pic of the motor in.
small update..
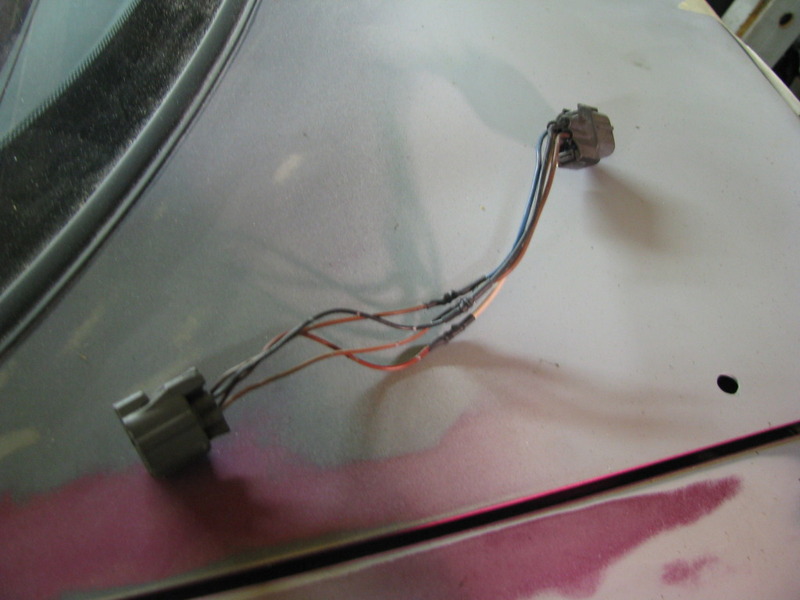
first, took a spare cruise control
unit and cut the plug off of my parts car integra and made a small jumper harness to connect the unit to the factory harness.
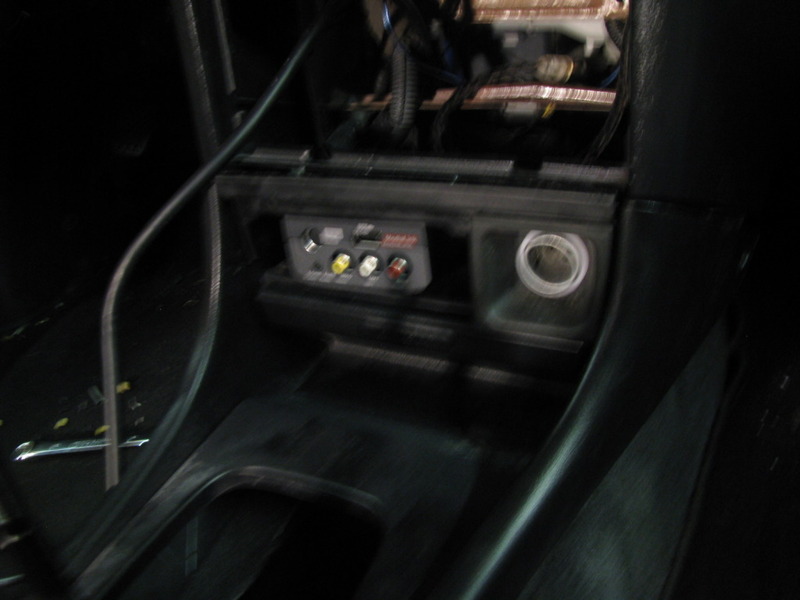
then, started on the radio install. started out by cutting, drilling, and grinding the rust off a piece of metal to make a mounting plate.
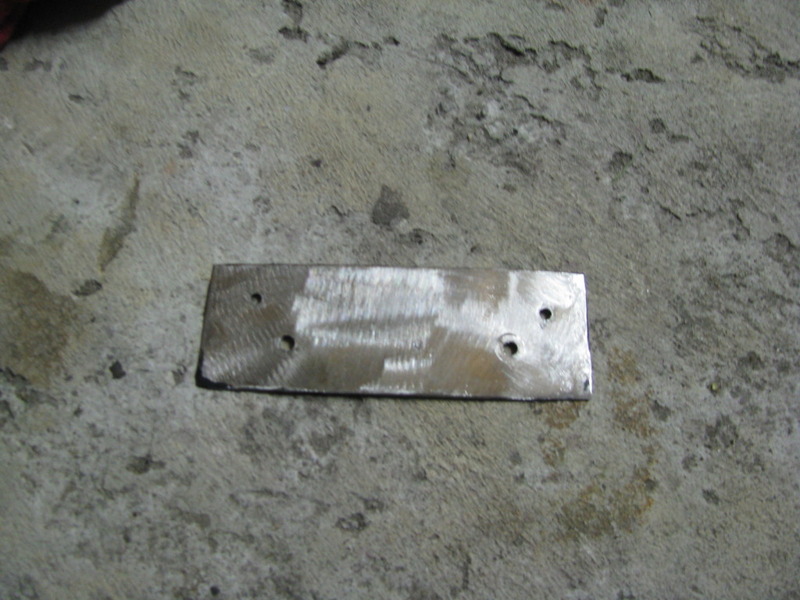
then painted it with some black paint to make sure it was less visible and protected against rust and mounted it to the console where the ashtray used to be.
mounted the accessory box to the plate with some self tap screws.
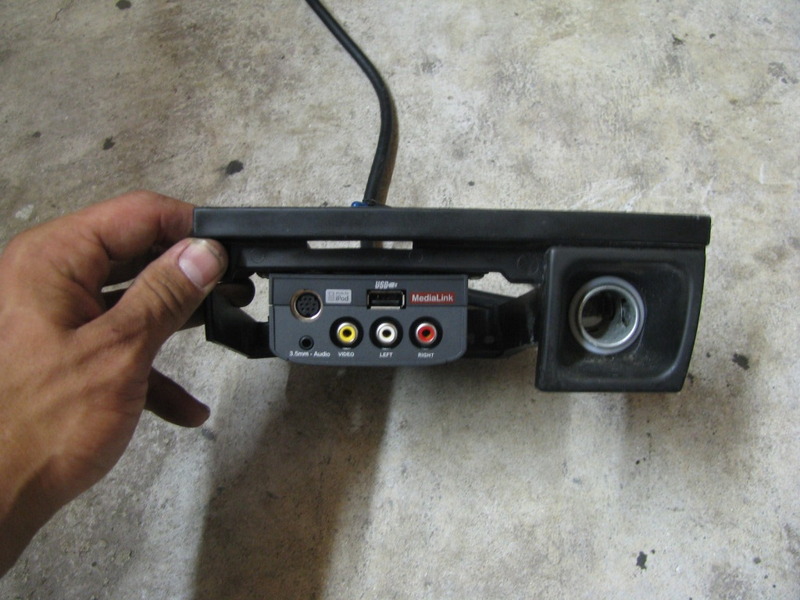
then threw it in the car to see how it was going to look once installed.. i think i’ll make some abs plastic inserts to close up the holes around it.
then got started on the actual radio harness.. this thing has a million plugs because of all the things it comes with… nav/back up cam/etc.
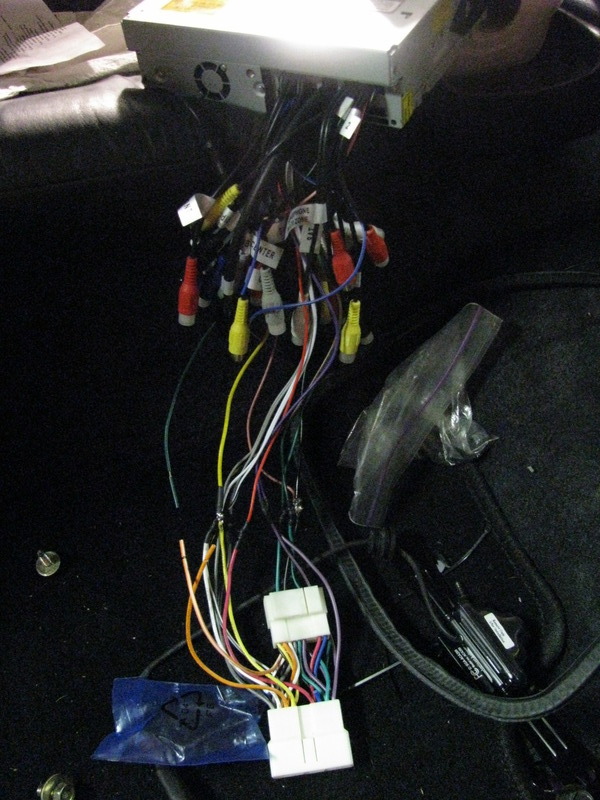
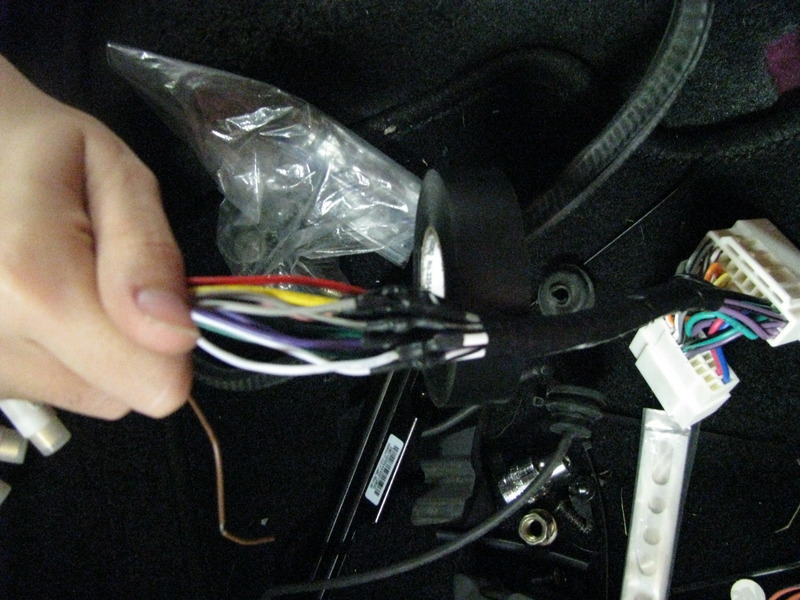
heat shrunk my solders and then electrical taped the harness to make it easier for a tight fit.
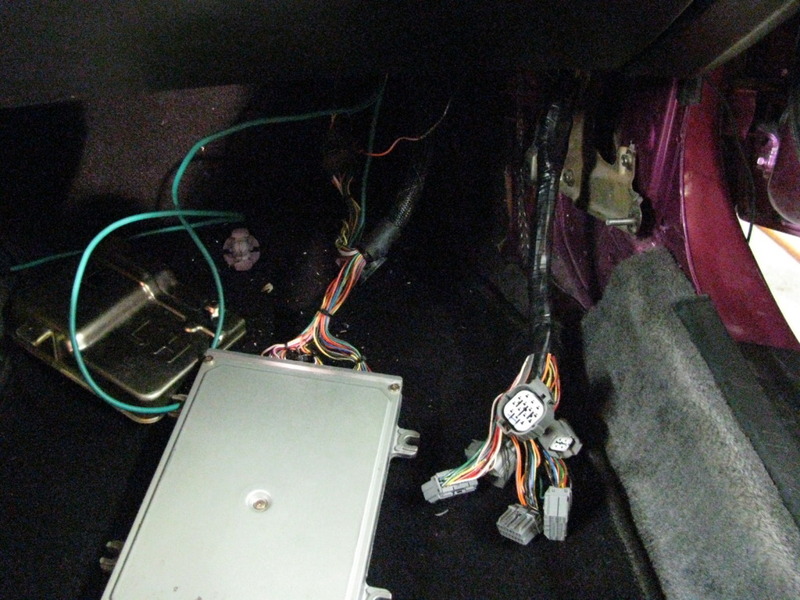
then got started on the wiring.. i forgot to take a finished pic, but you can see i taped the factory ecu plugs and all the engine plugs together, i took the bolts out of the ecu bracket and ran the wire behind it and the plugs fit snugly under the ecu in case i ever need them.
then worked on mounting the fuse box.. i ended up cutting some tabs off the normal metal bracket and bending it some to make it go over the factory bolt hole for the pass. side airbag.
fits great.
then, i dissassembled the passenger airbag (not reccommended) so i could use the cover from it because i saw no need in spending 70 bucks on a dash tray that wouldnt ever be used really. after getting it off i realized it wouldnt fit over the fuse box so i did some trimming!
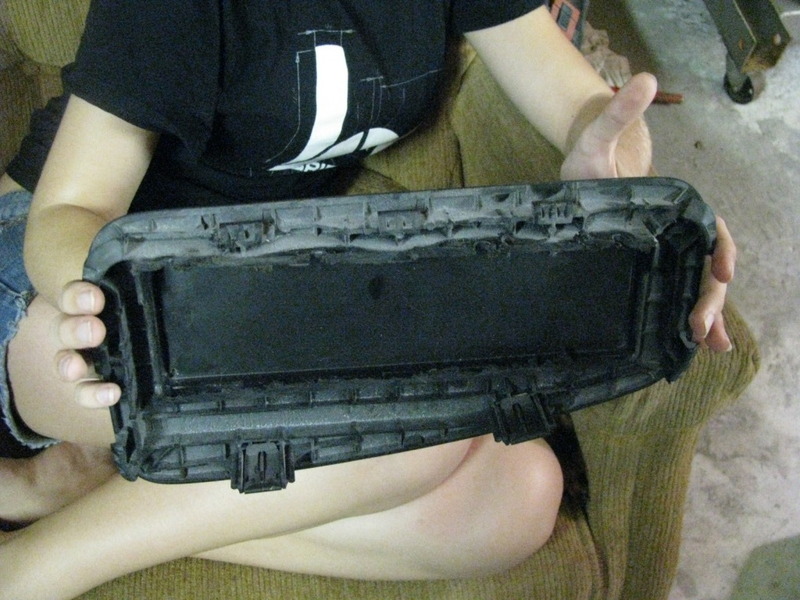
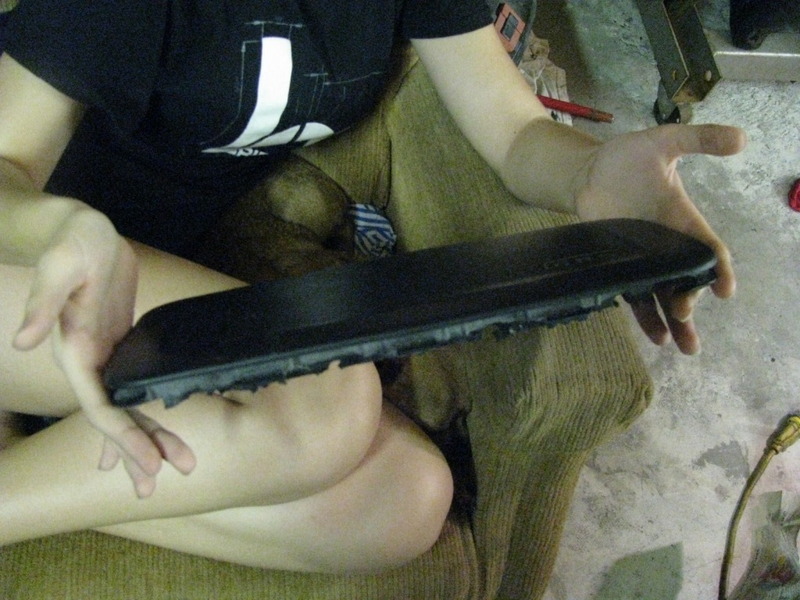
fits like a glove now.
put the cluster back in with the pink LED’s for it and the surround.. Also notice i used the 98-01 airbag (has the A emblem instead of acura written)
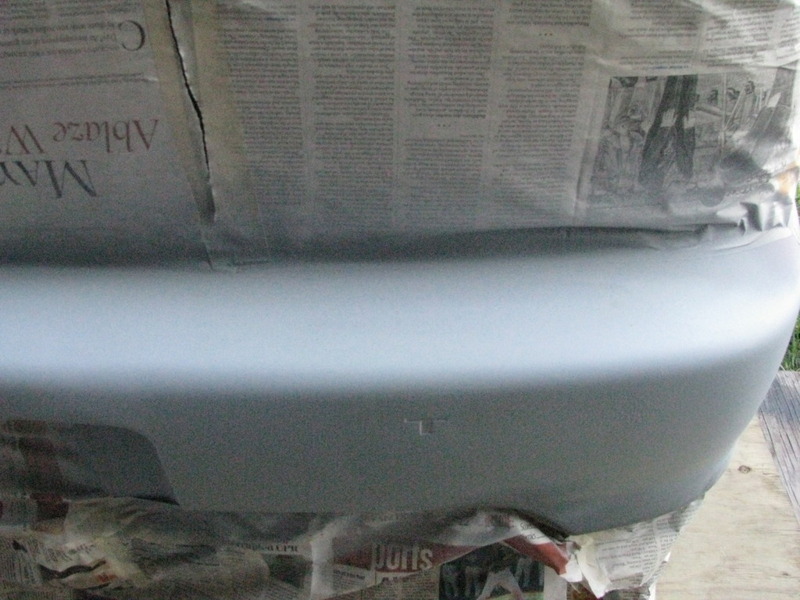
primed the bumpers.
headstuds should be here tomorrow so i can get a video of the first start up
more to come! stay tuned..
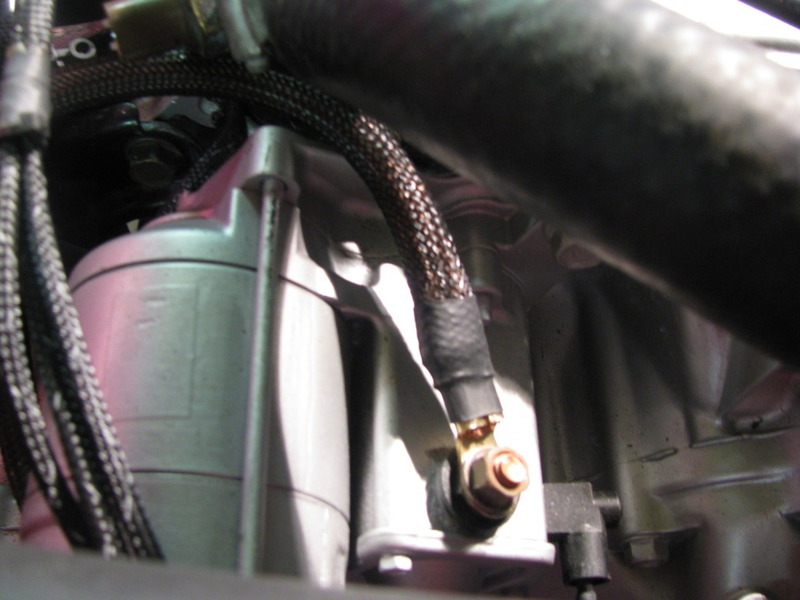
extra small update.
i didnt like how the battery cable that goes to the starter looked in the bay. so i too some sleeving and covered it to match the chasebays harness, put some heat shrink on the end and all done.
headstuds finally came in.
cleaned up the intake manifold and all the stuff on it and finally put the head on
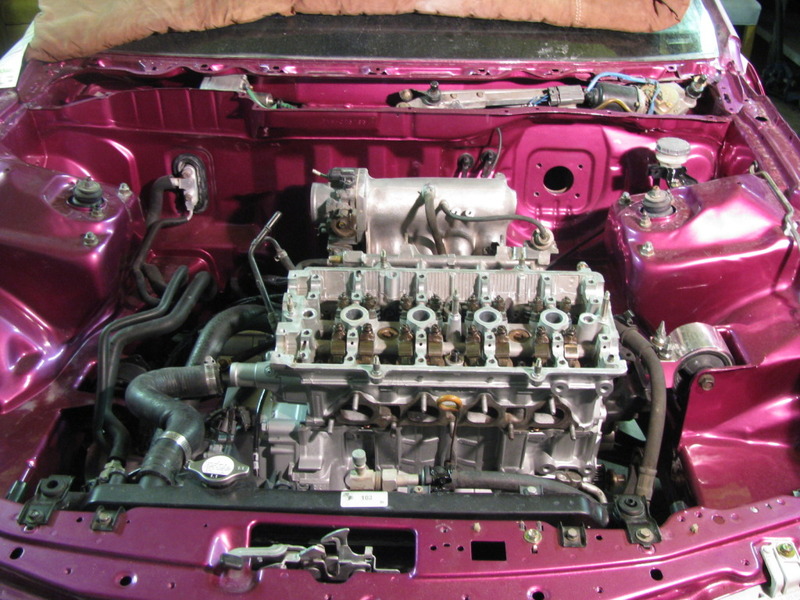
still have to make sure the head is torqued properly and put the cams back in.. tighten a few loose ends here and there and should be able to crank it soon
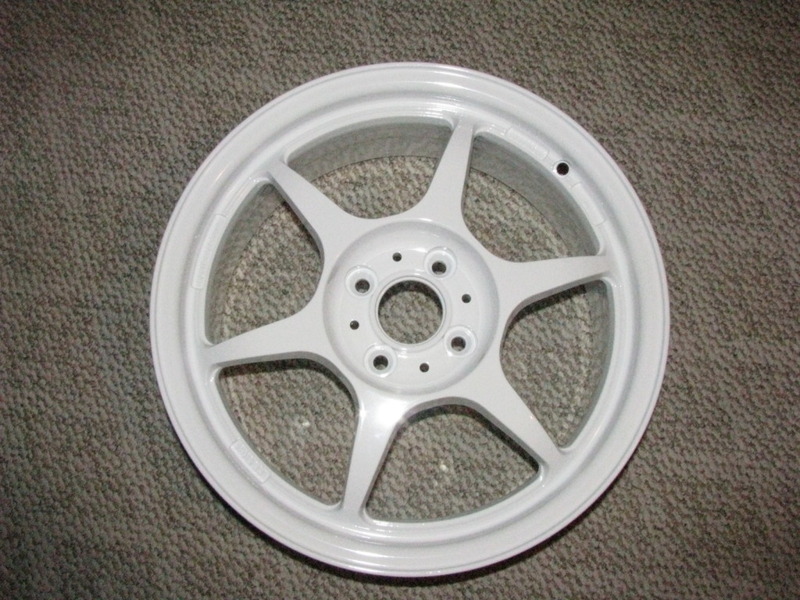
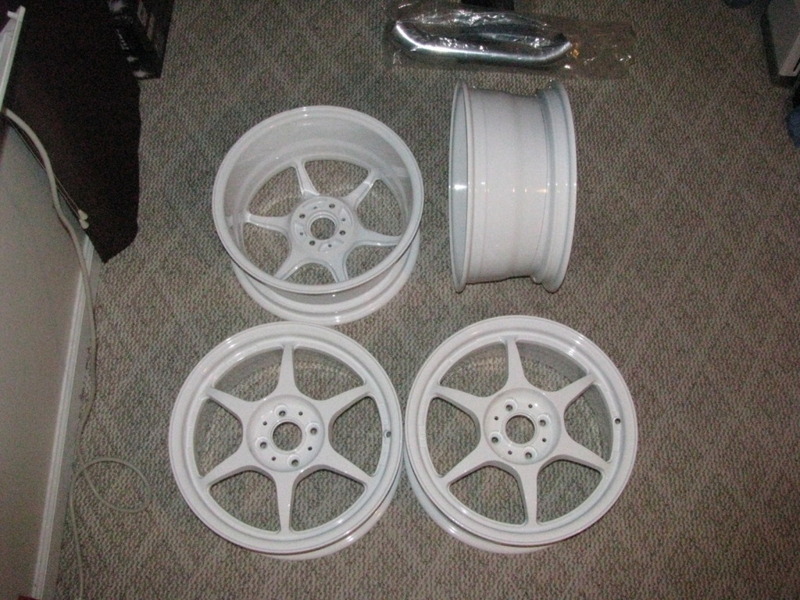
Got the wheels from powder coat today tires tomorrow.
they turned out sooo great! working on some custom center caps will post soon.
Finished up a lot of loose ends like routing the harness in the best place.. and the fuel lines, etc. just making everything flow together as best i could..
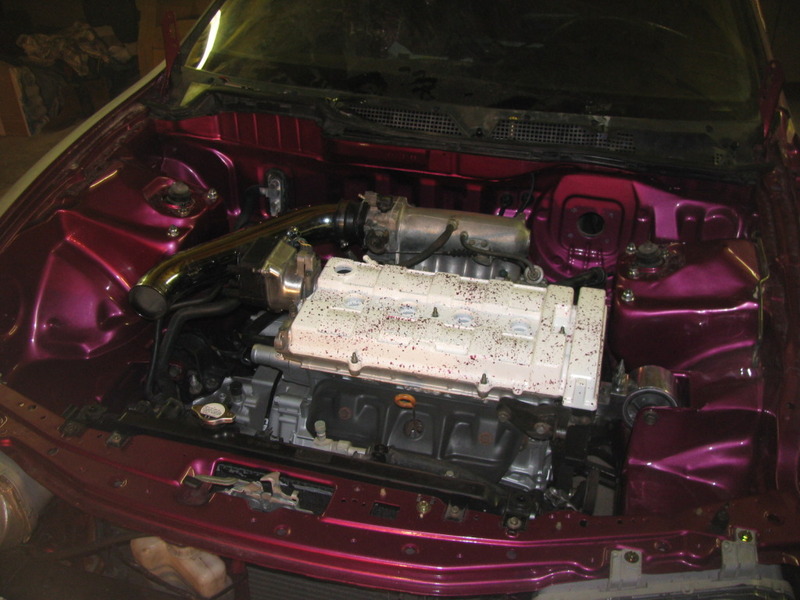
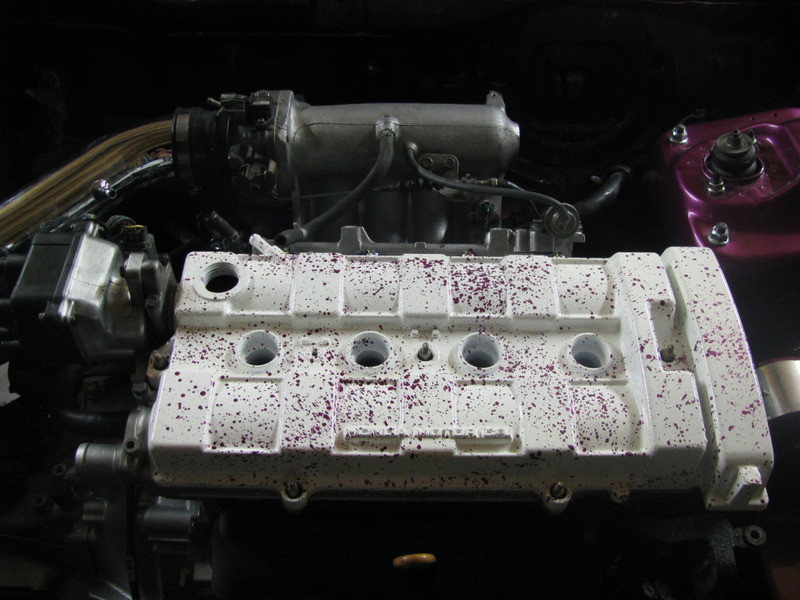
then had some fun with the valve cover
should have a video up tomorrow… all that is left to start the car (HOPEFULLY) is to put the axles in, radiator/heater hoses, and all the fluids.
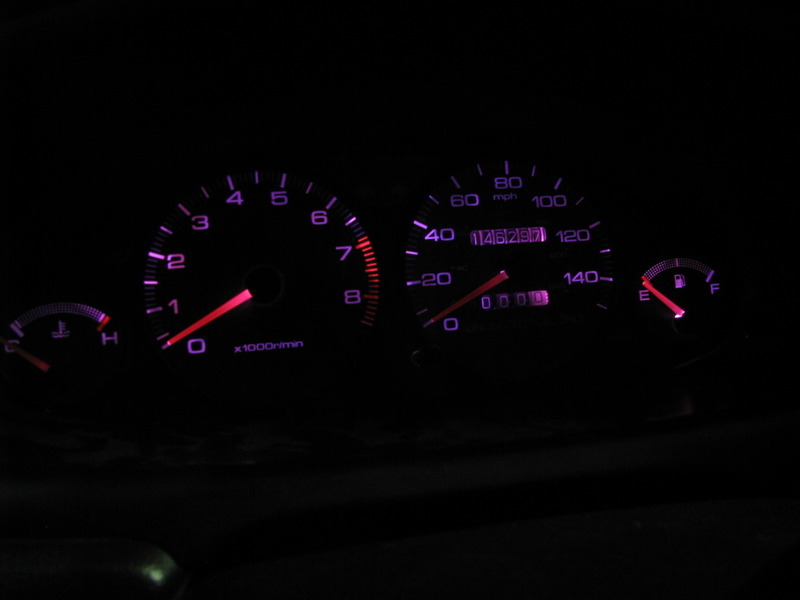
update…
quick shot of the gauges.. for some reason they look purple in pics but they are def. pink.
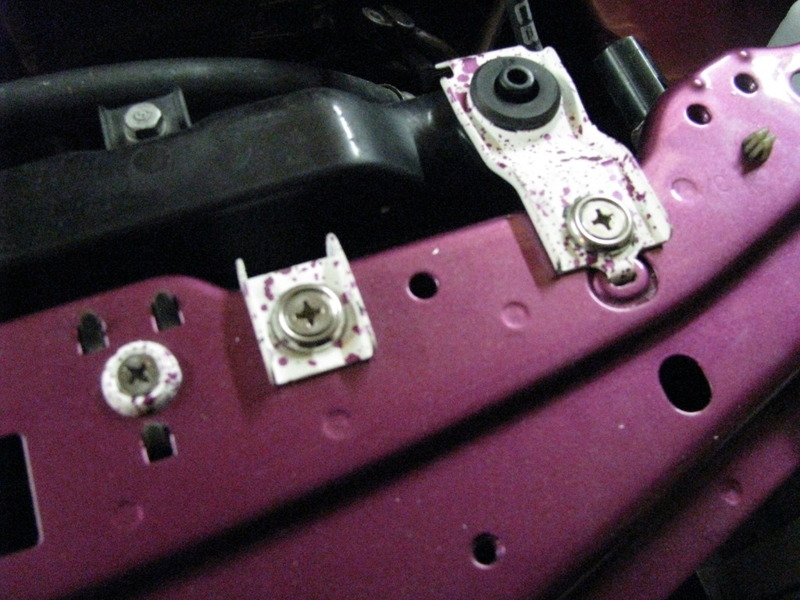
did all the misc. brackets to match the VC. then all the washers on the painted parts were splattered and used the plain stainless on all the splattered stuff..
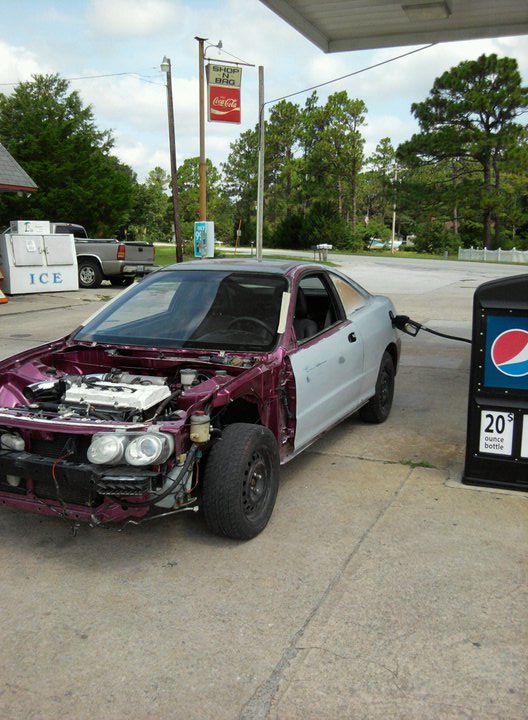
Drove to the store for some gas this morning… going to paint it wednesday.
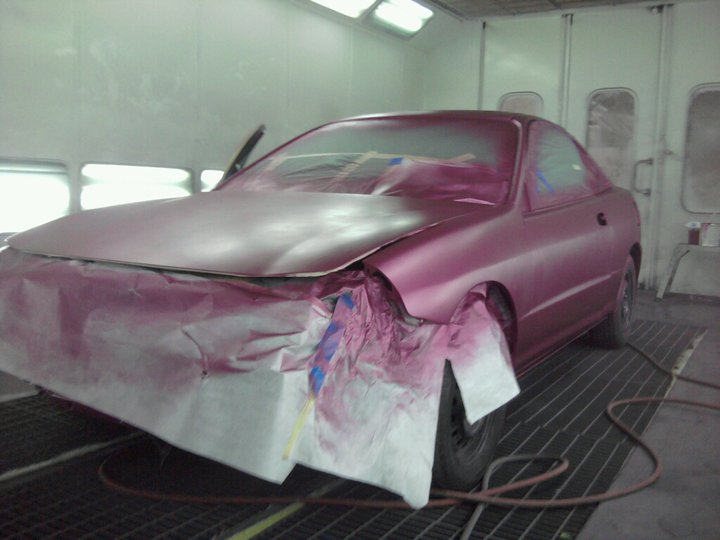
Yesterday was an INSANE day.. we stayed up friday night til roughly 2am doing some of the basic taping and just looking the car over really good to make sure the body work and sanding was proper. then yesterday i got up at 7am and started with finishing the taping and sanding out 2 small spots that we sprayed primer on.
from there we loaded the car on the trailer and made it to the body shop that i had a booth rented at.. from approx 9-11am we took a scuff pad and wiped the entire car down, then walked around it for 10 mins or so just blowing out every crack and corner to make sure no dust would come out when spraying.. then we wiped it down with wax and grease remover, and blew it all out again.. from 11-12 we cleaned the paint booth (they gave it to us in an embarrassing state) and got the paint mixed up..
from 12-1:30 we sprayed the car.. and from 1:30 to 2:15 we put the booth on 45 min timer to bake at 185ish. 2:15 to 2:30 pulled all the tape off.. its amazing it takes 15 mins to untape something you can spend 2 hours taping. 2:30-3 we towed the car home and got it back in the shop.. and then spent the rest of the day getting ready and celebrating my birthday and got home way to late the update..
now that you know how the day went, on to the pics.
these are the only 3 pics i took on my cell phone.. the rest are on the camera and i havent had time to go through them yet. will try to do it tonight.
and then got started on a wet sand and buff to take it from a good shine to a mirror finish

thats all i have for now… ended last night with the whole car sanded except the hatch and the rear bumper.. will finish that up and post some pics of it buffed out soon.
snapped a couple shots this morning after doing some buffing on the car.. keep in mind they are cell phone pics and only rubbing compound, still have to put a polish on it
and then i threw the wheels on to see how they were going to look.. gotta get the suspension on ASAP.. monster truck status.
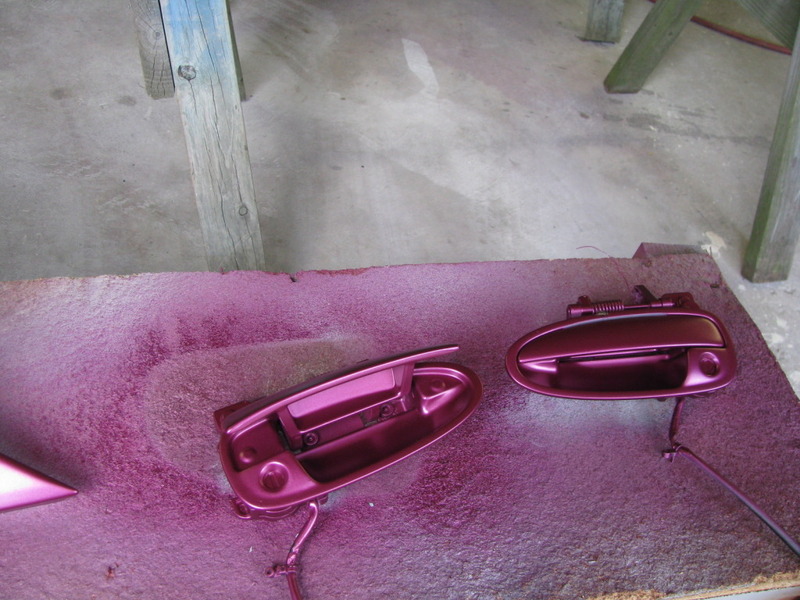
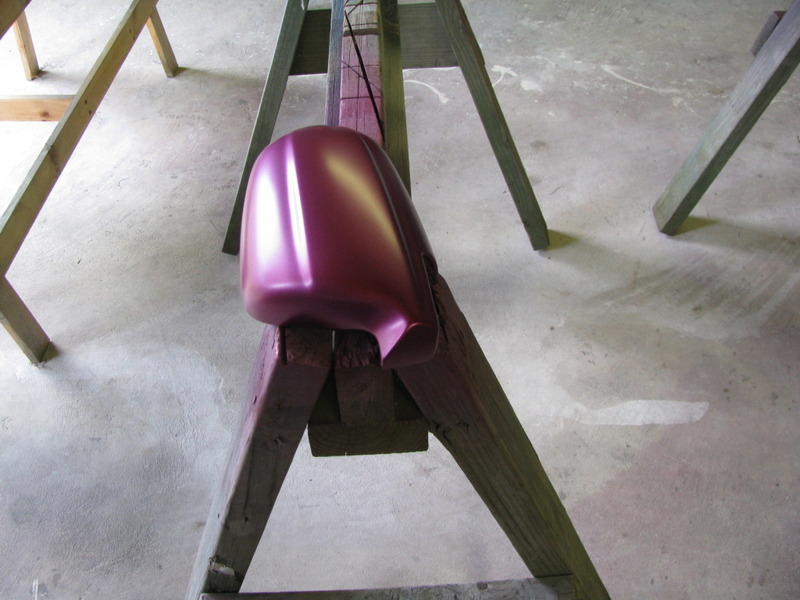
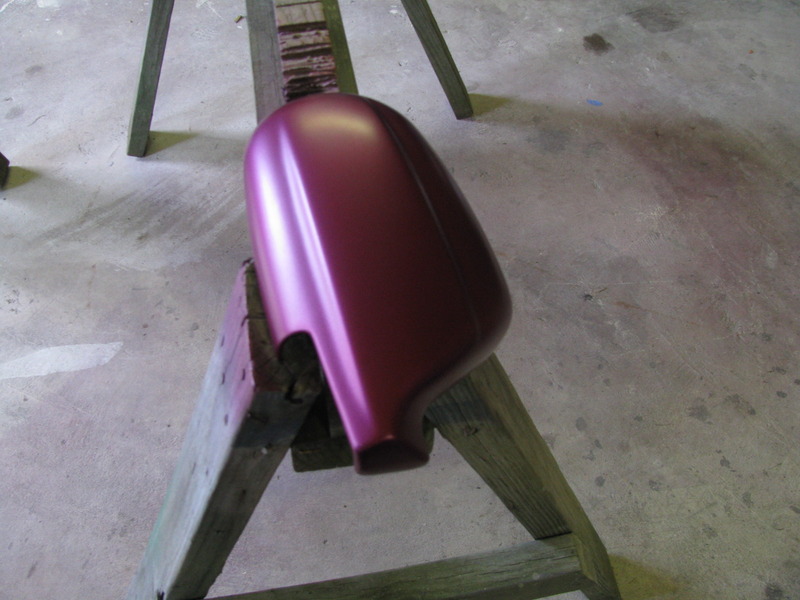
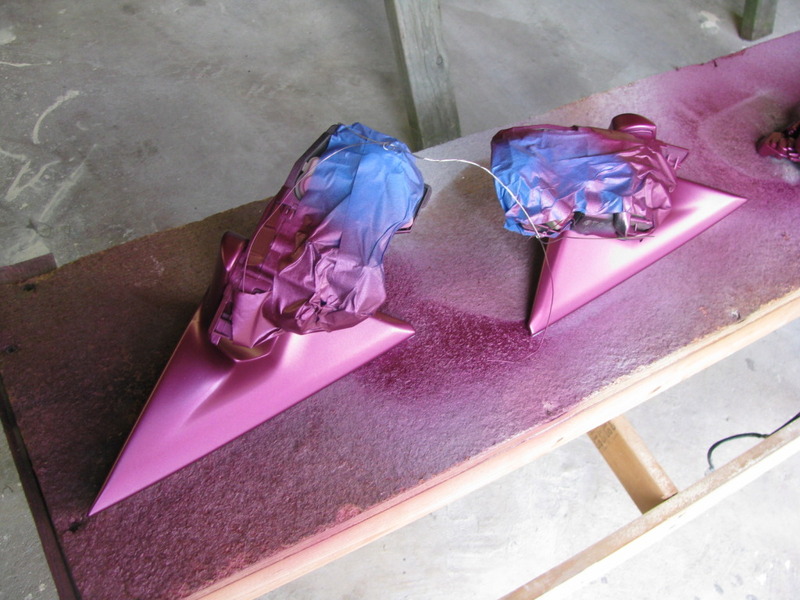
small update.. will start with the small parts.. i only took pictures of the base coating because the bumper and wing turned out so bad it just pissed me off and i was done for the day..
you can see that the handles were sprayed completely from every angle 
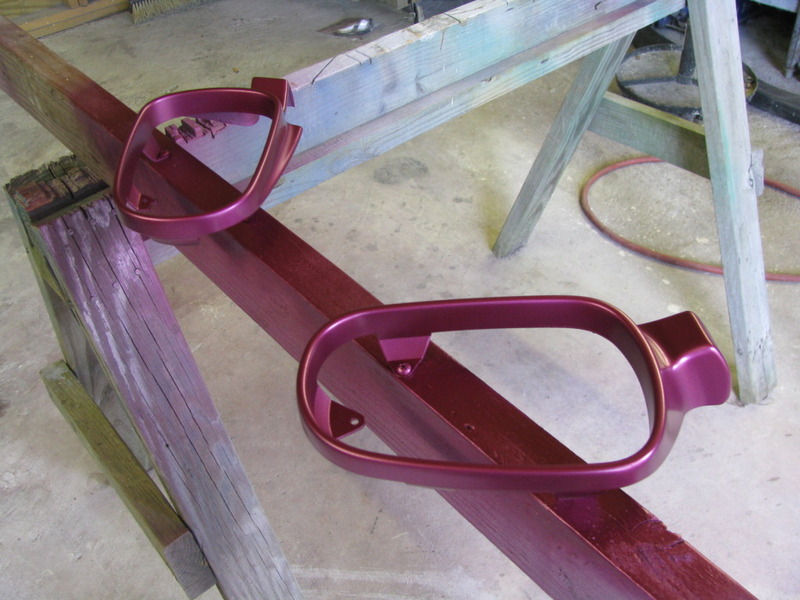
and the mirrors were sprayed completely dissassembled.
then decided to glue the 1/4 glass windows in.. i realized when i looked at this pic i have to fix the over spray on the stupid hatch wire loom.. forgot to tape it when i was dusting the jambs in.

finished the day up with sanding the handles and mirrors and getting them on the car as well as the molding at the top of the door.. will get a buff on them today..
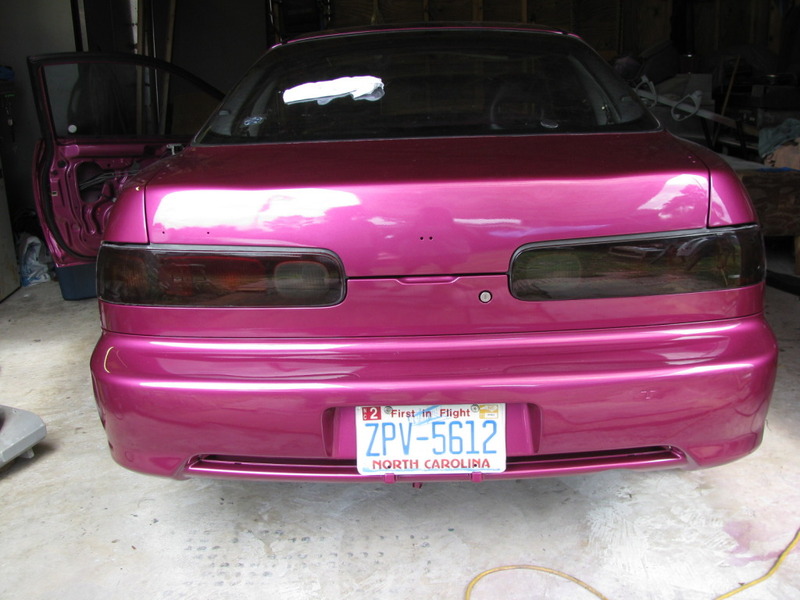
Finally got the rest of the parts painted  and take note of the shaved license plate holes
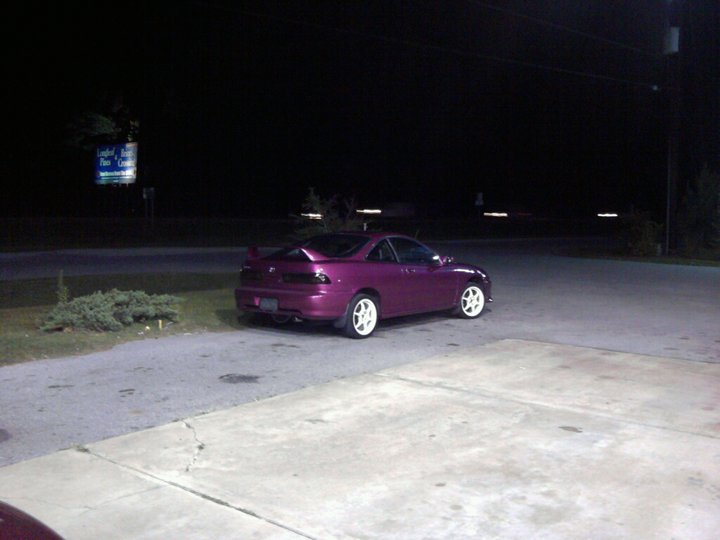
will get some pics up soon of car together and cleaned up outside in the sun.
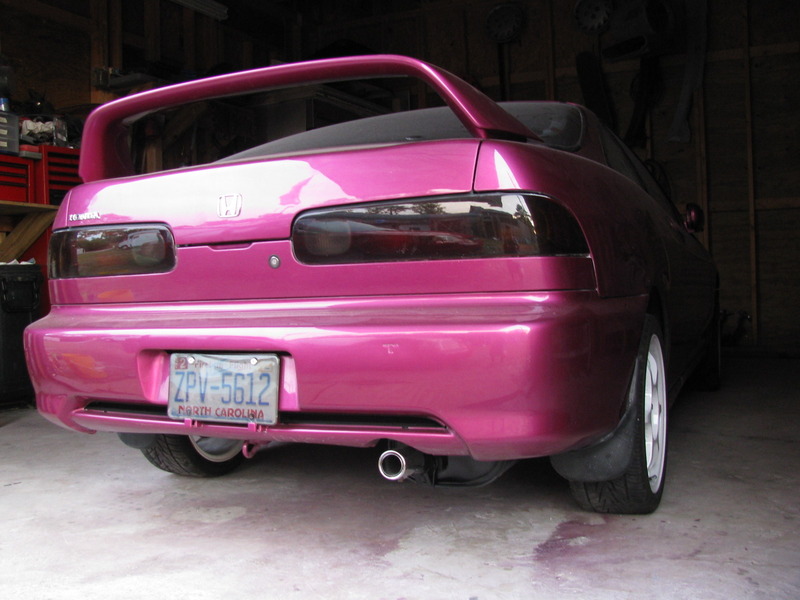
finished up the rear of the car…
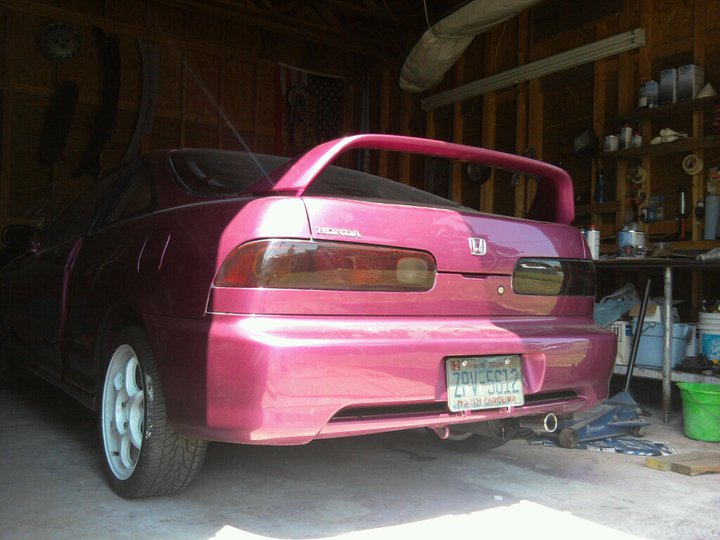
cant really tell in the pic but the wing is on, the honda emblems are on, the grills are painted black, and the muffler is painted and tip is polished.
spent some time polishing some things today. more pics to come.
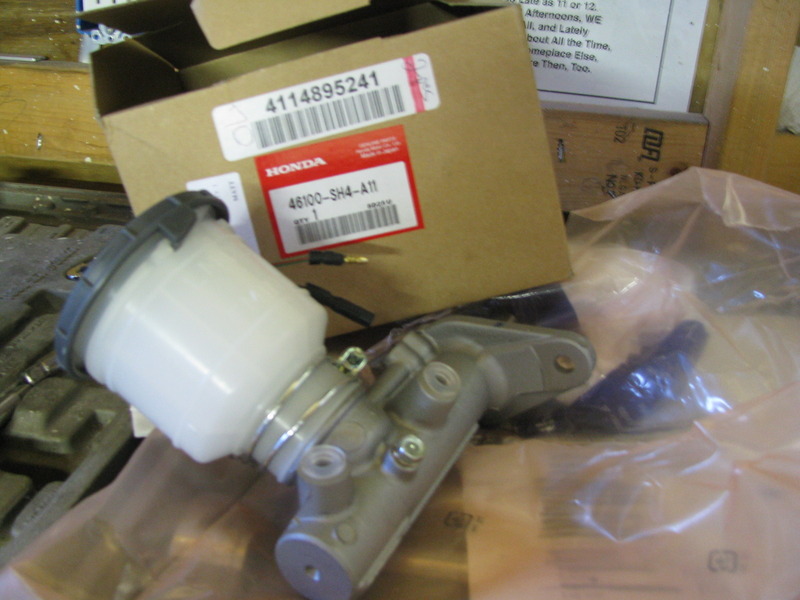
a few pics as promised..
new master cylinder.
during the whole leaking process  did re-clean all the powdercoated pieces while it was out. guess it wasnt all bad.
a shot with the new master cylinder, and you can see where i got a start on polishing the hood prop.
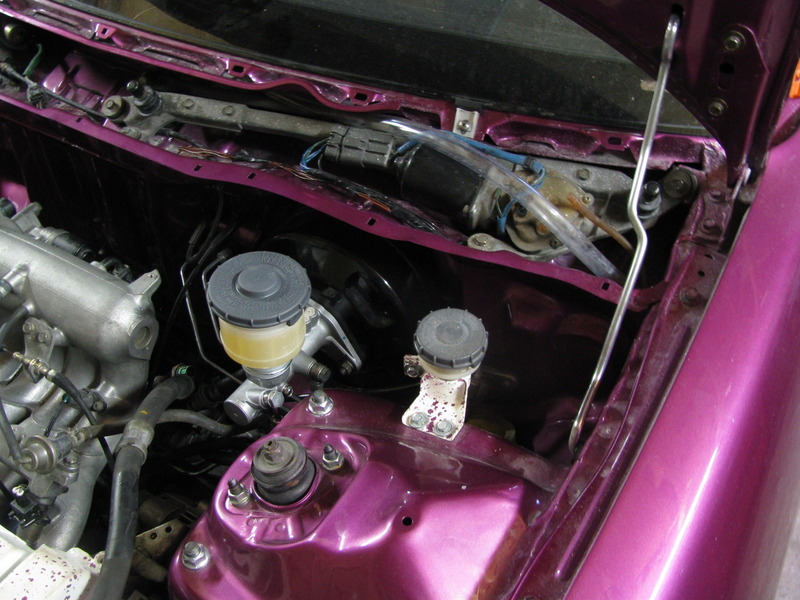
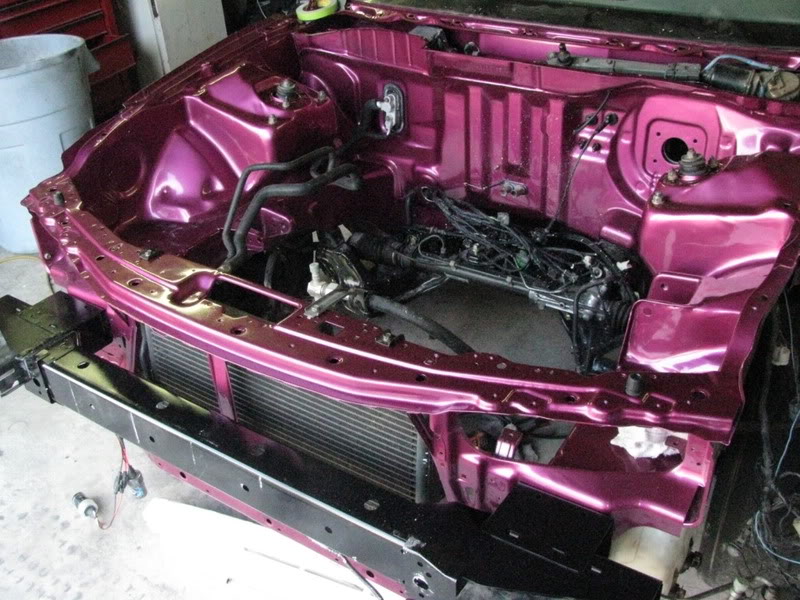
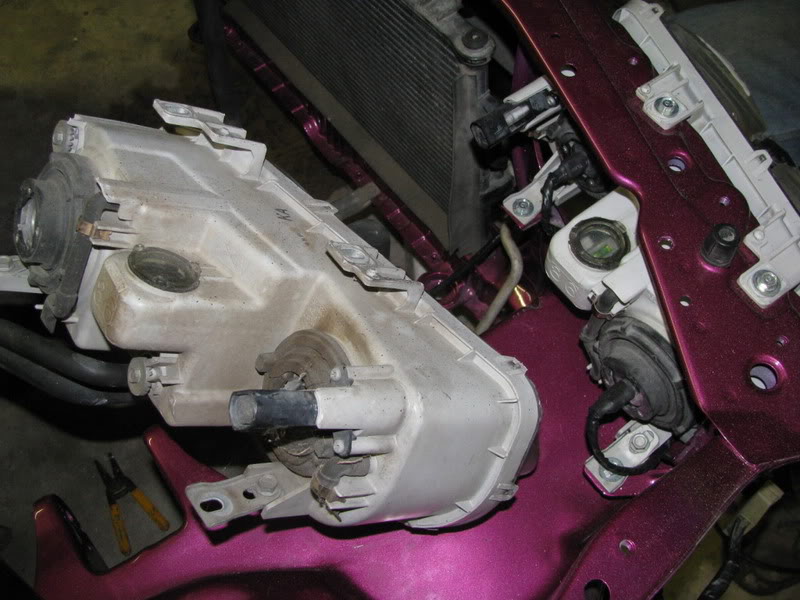
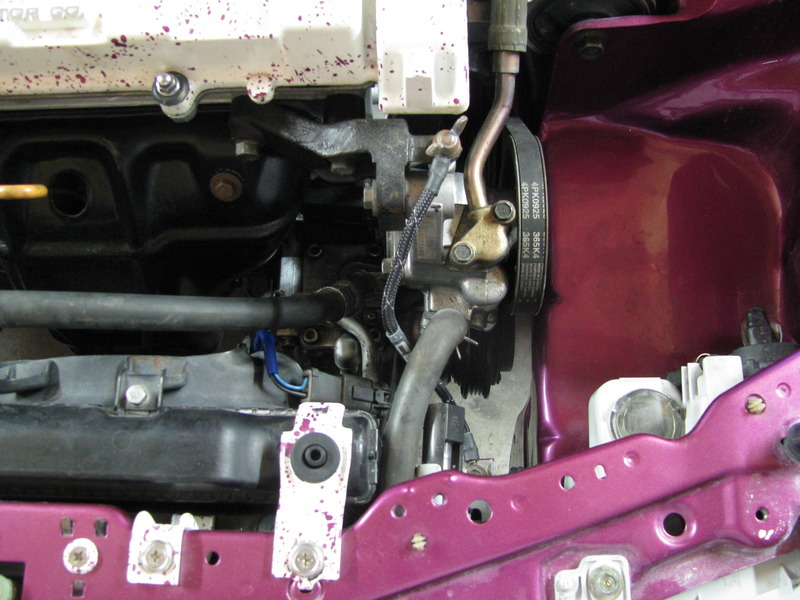
put the ac compressor in and will show a little more of how the power steering is setup.
mounted the power steering fluid res.
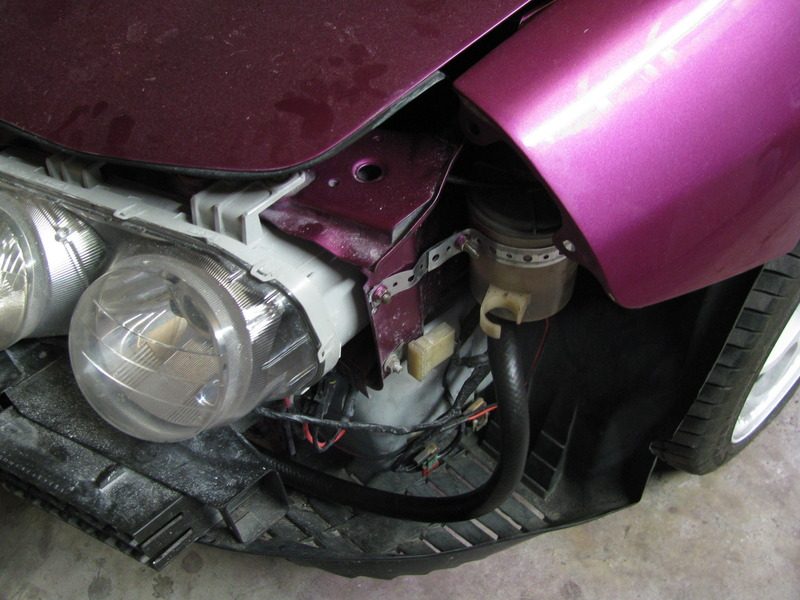
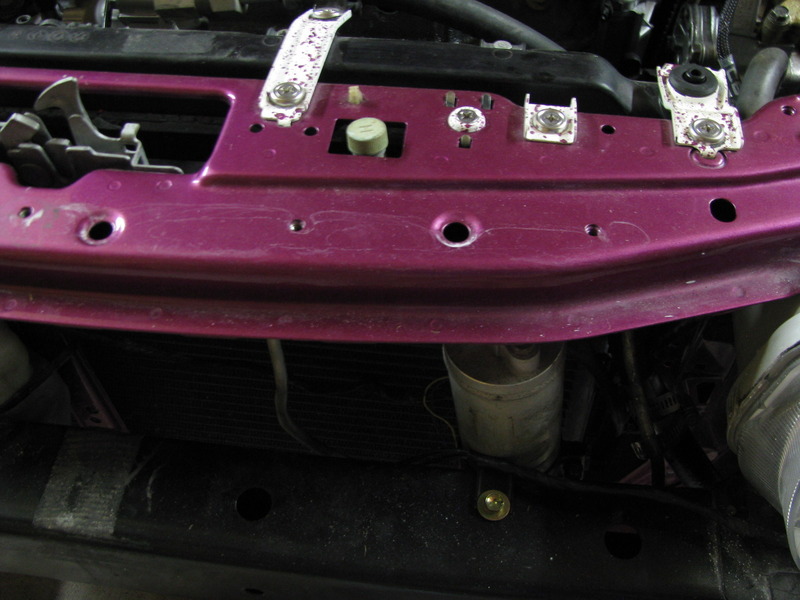
heres a shot of where i mounted the ac canister. drilled a hole in the front bumper support and tapped it for a 10mm bolt hole. The fill port is there in the upper radiator support.
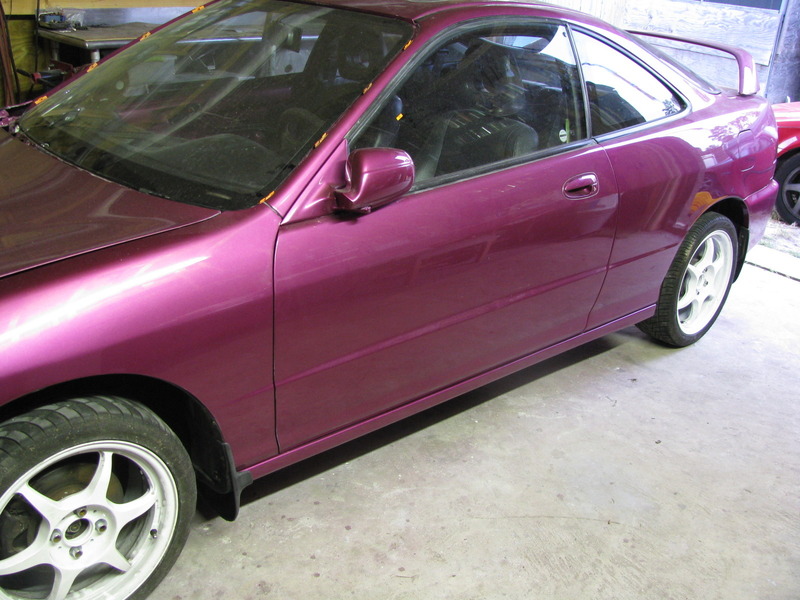
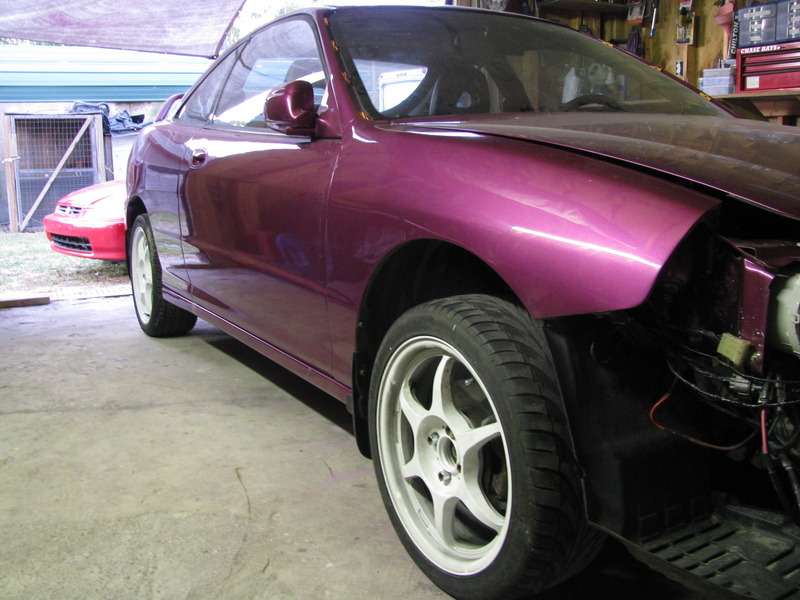
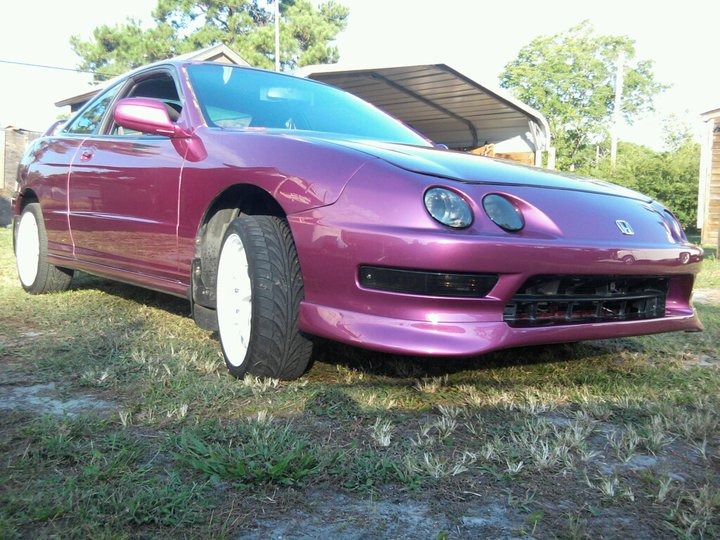
took a couple shots of the outside. you can see that all the pieces like the mudflaps, fender well linings etc are on. and also in the last one you can see a much better shot of the painted grills and muffler.
and before anyone asks.. the rear mudflaps fit funny because they are 94-97 ones still.. will be replaced with 98-01 ones soon 
will close with an over head shot of the almost finished bay.
the car is GROSS. now that its 90 percent complete we can focus on really going through and cleaning every crack again and making all the rubbers and plastics etc shine. more pictures to come.


Great Build, good attention to detail.
One of the nicest i Have ever seen. Lots of Love and Hard work!
bueatiful car love the splattered theme in the engine bay seen valve covers done before but brackets were a new one and they look great the color is extremely unique..very classy ride bueatifully built and designed props for all the great ideas u came up with