Authentic Import Honda Integra Type R build
Well its about time i made a proper one of these as im doin a brave bit of work on the car at the mo and a few people off the site says i should throw together a progress thread so here goes 😀
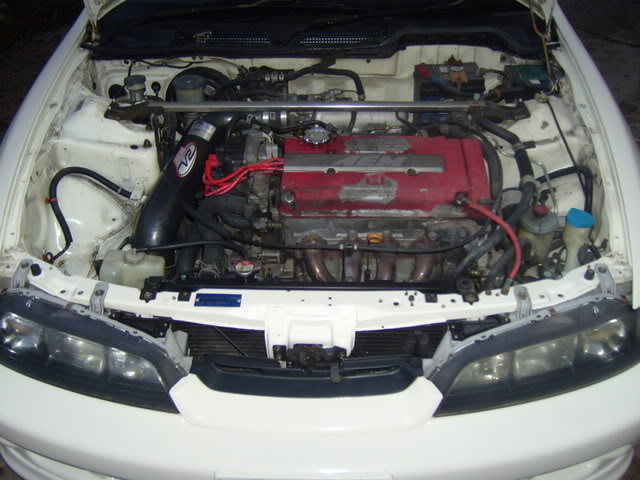
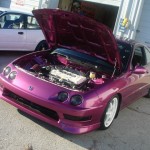
This is my Integra type R

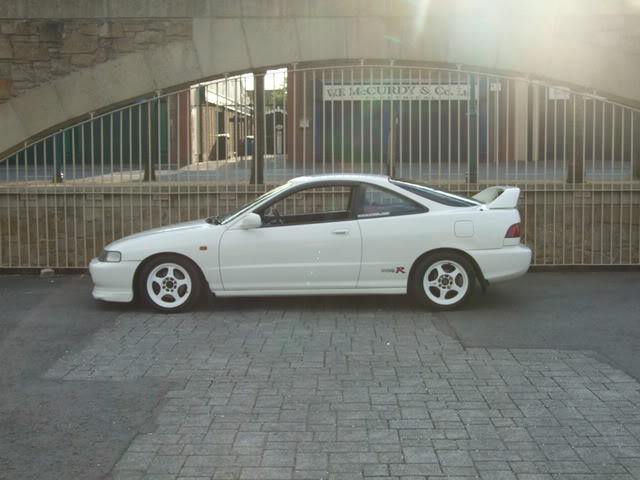

Thats her in all her glory, As most who know me know, im a big honda fan and iv wanted a type R for ages, since back in me schooldays, the cream o the crop was the mighty “type R” and i remember looking at something i never thought id get so when i finally got one now after the long wait, i wanted to make the most of it. As I intend on keeping this car for a while, i decided to spend a few quid on it. Started off small at first but began buying bigger and better things.
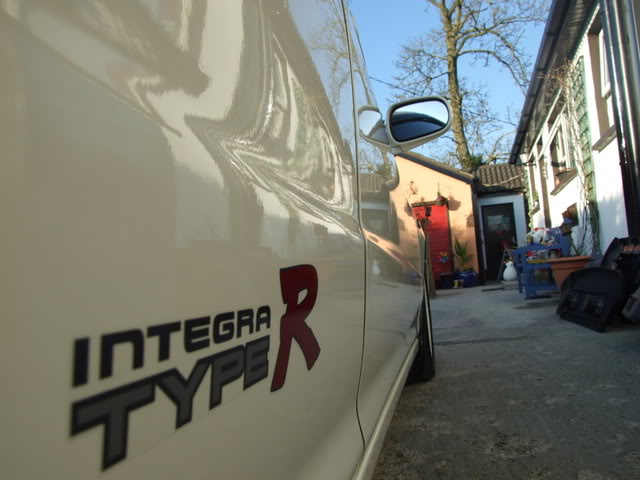
First off were a few small things, brand new oe honda red badges for front and back and oe decals for both sides and back (these can be seen in the pictures below)
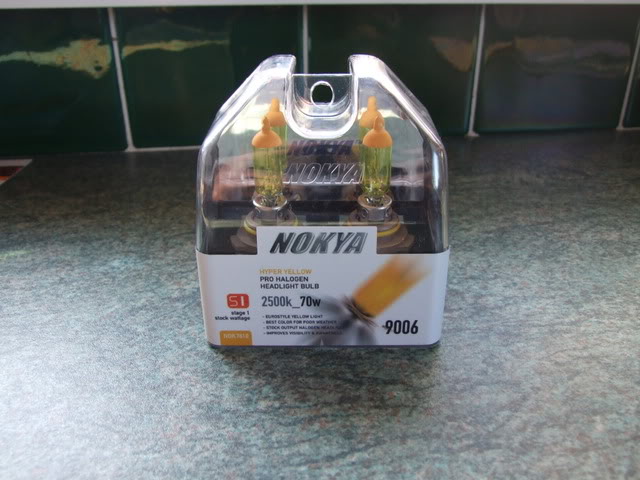
Also got a set of yellow headlights from kevtegra 😀 (sound)
And a set of oem Honda Integra Mudflaps from g.mc.m (also pure sound)

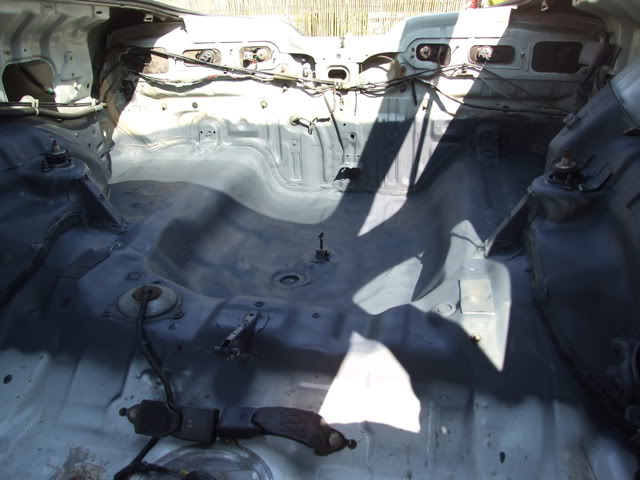
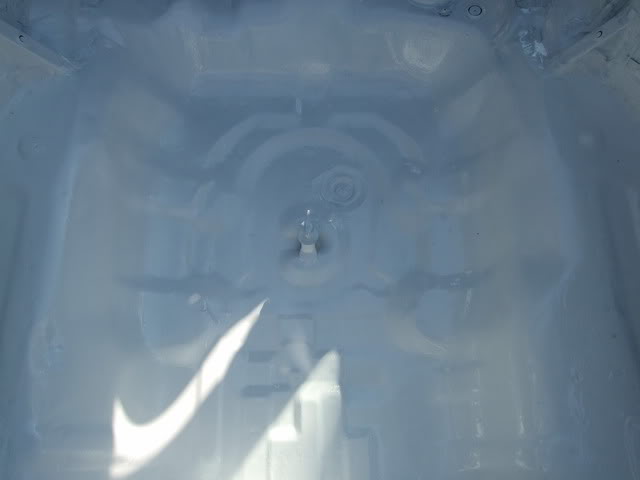
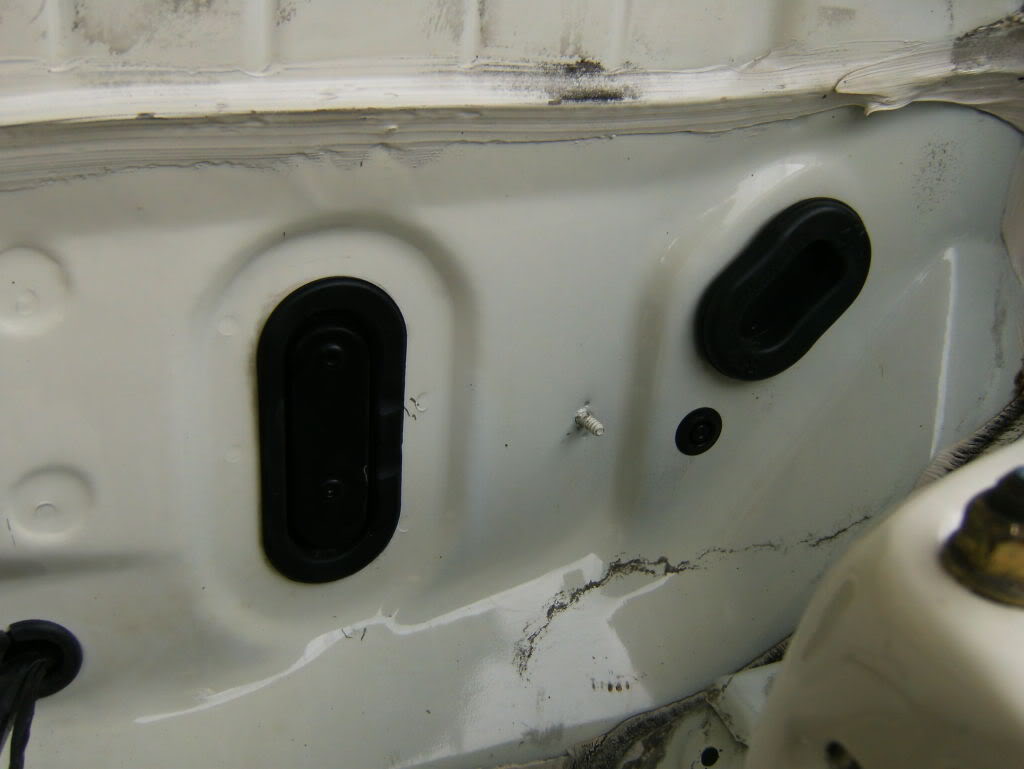
While up with Garret we were talking about how these *******s leak a lot in the boot so I decided to do something about it. After a little research from itr-dc2.com i discovered that the best thing to use to solve the problem is to sand all the rust back down to the bare metal, prime and use Hammerite gate paint to paint over the top to stop any rust ever coming through again.
Thankfully i took no photos of the boot before it was repainted lol
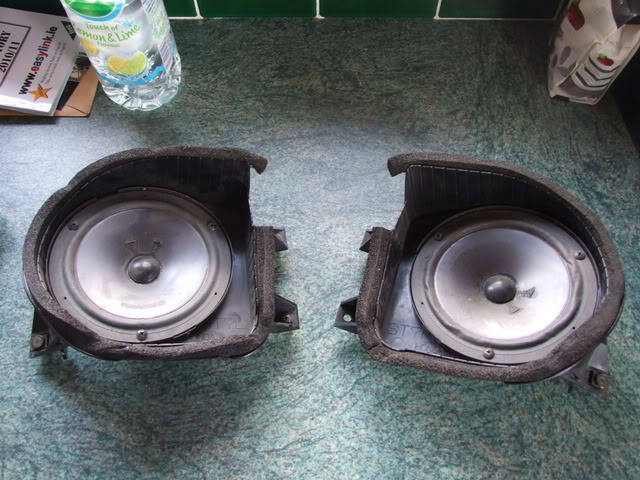
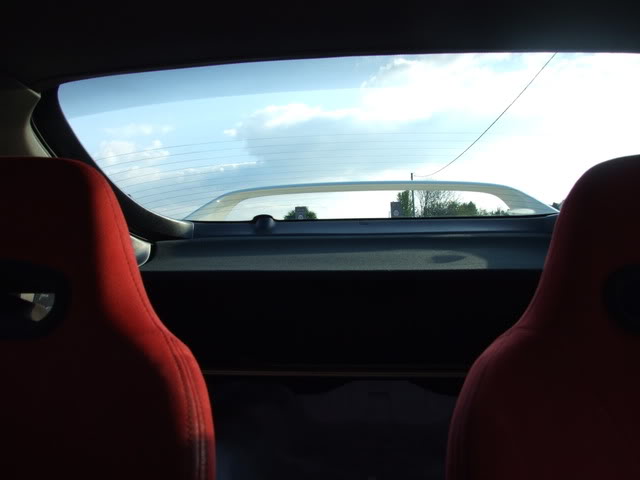
After i had the boot done i wanted to spruce up the rest of the interior of the car, so instead of those crap speakers that people cut into the parcel shelves i got some oem honda rear speakers 😀 😀
Took another trip over to g.mc.m to see what else he had laying around for me. Thankfully he had a teg up there for breaking that had in around 40 000 genuine miles, so i ripped the inner black plastics out along with the parcel shelf to freshen up my teg 😀
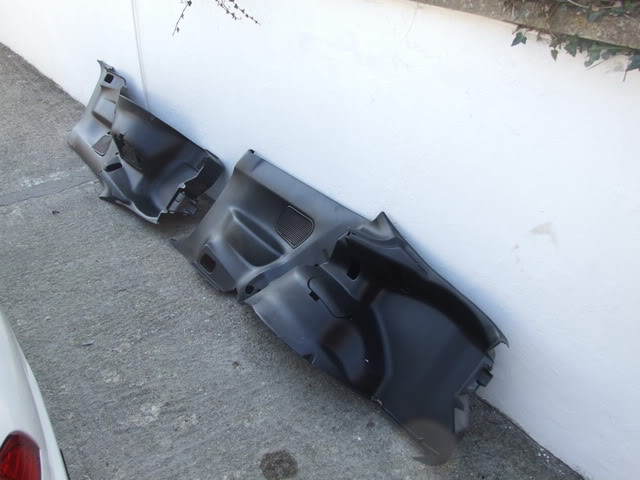
These plastics had perfect holes cut at the back for a rear strut bar so i took it aswell 😀
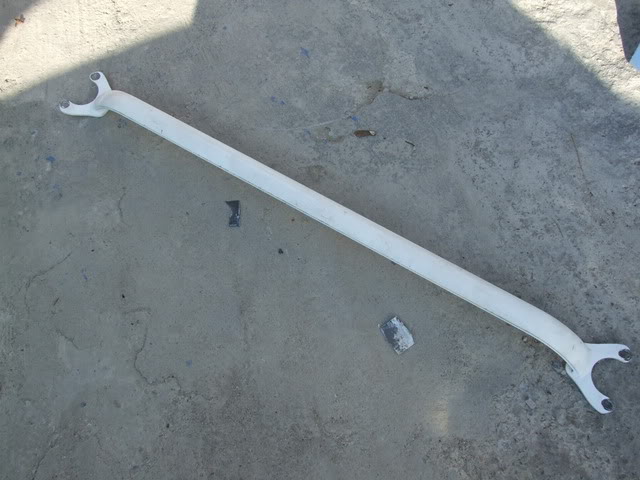
Decided to spray the strut bar gold, forgot to take a pic of this but i will get one and throw it in here when I next get a chance. This is the pic of it all together, new rear parcell shelf, black plastics and strut bar fitted
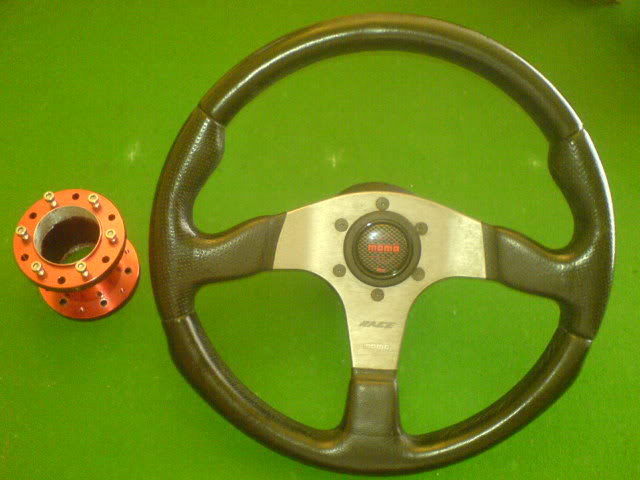
Up front the only thing the car really needed was a new steering wheel as the leather on the old one wasnt in the best of health and a new drivers red recaro. Im split between getting my drivers seat refurbed or just looking for a really mint set, still torn on that one but eventually mint recaros will be in this car lol. As for the steering wheel i managed to get a hold of this
A momo race wheel in near pristine condition (thanks to pearse9000rpm)
That was it for a while, had to save up a few more bob for what i had planned next. Money was put away and eventually at 183044 kilometres
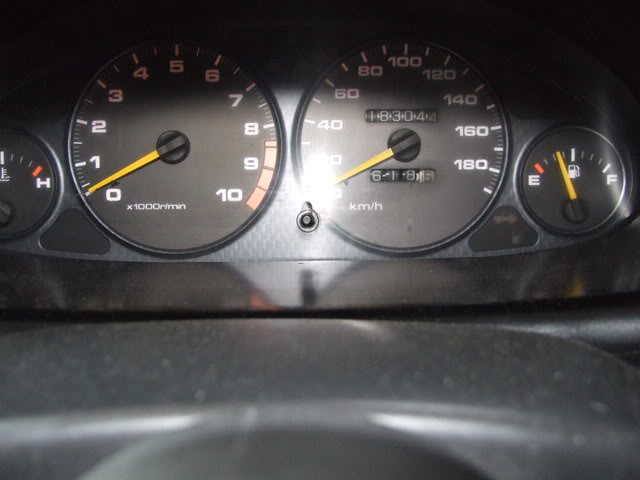
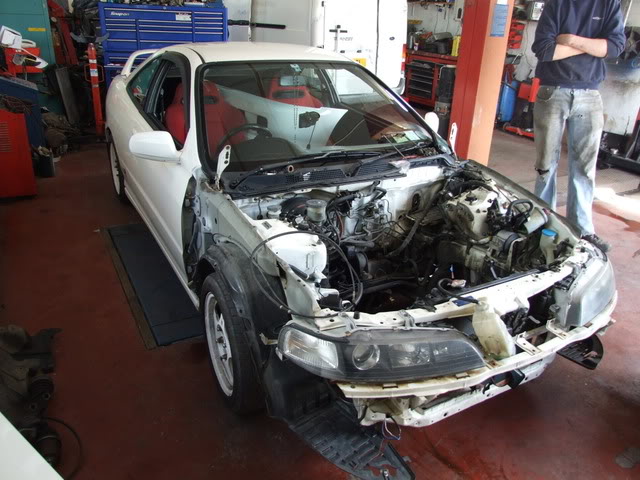
THIS HAPPENED …….. :happy)

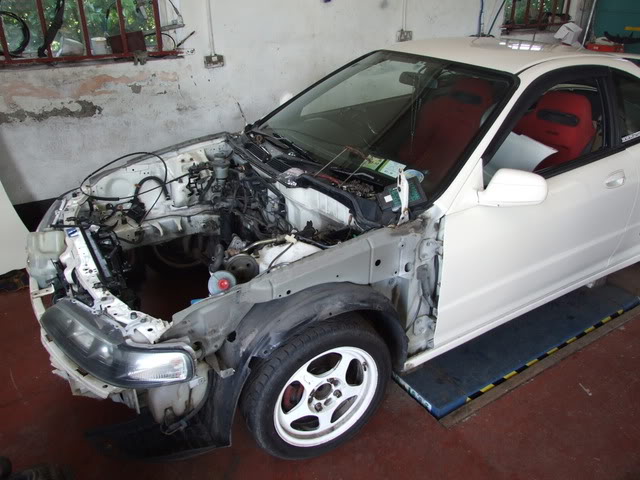

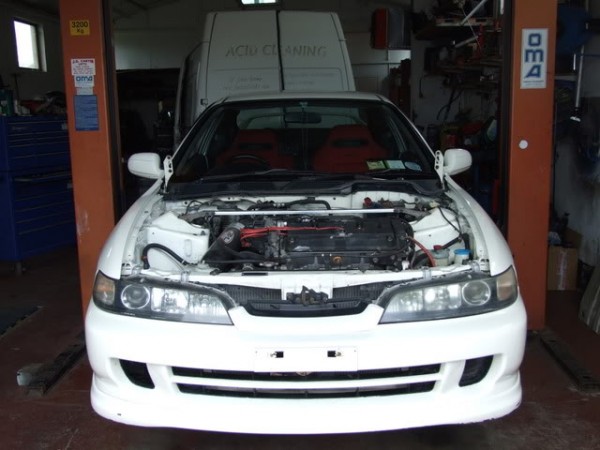
Yes yes the USDM bug hit. After looking at plenty of wire tucks and stuff from the states i really wanted to try it and make the car stand out from the many other integras about. Also felt that if im keeping this car for a while, I wanted to rebuild the engine. Poor oul Rhonda had done her fair share of km’s and she was gettin smokey and burning oil. This gave me the opportunity to kill two birds wi the wan stone. Began buying away at parts from Honda and kept them all on me kitchen table until the time was right to do the rebuild.
I left the car out to Seán Quinn of Quinn Motorsports in Tyrone and he began last tuesday the 29th of may. I took a few photos but have yet to be uploaded. Guna take as many pics as possible of the engine rebuild and of doing the wire tuck. Stay tuned 😀
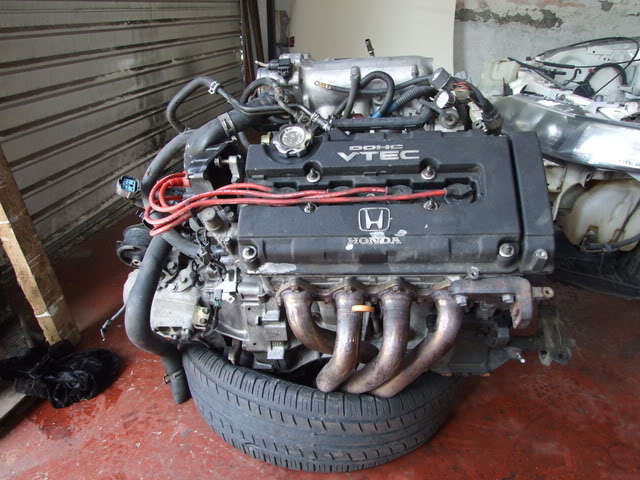
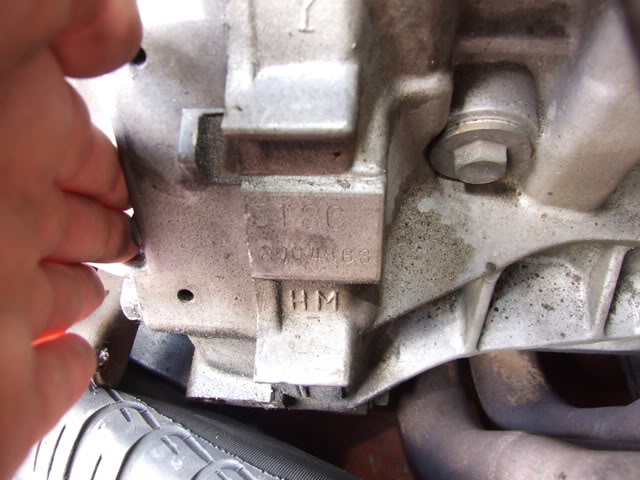
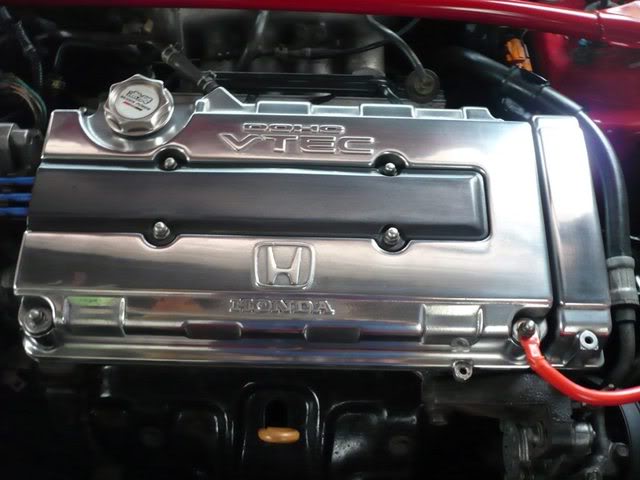
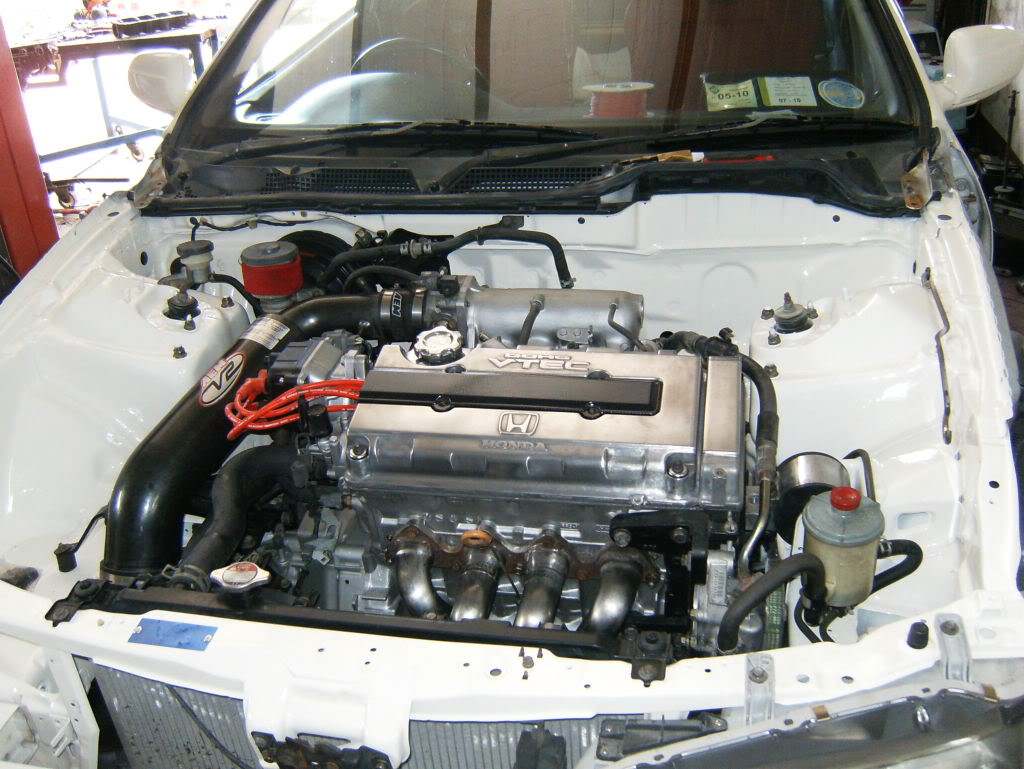
prroof, its a jap lump  , sorry bout the black rocker
(my own one is getting refurbed, more pics to come of that)
UPDATE
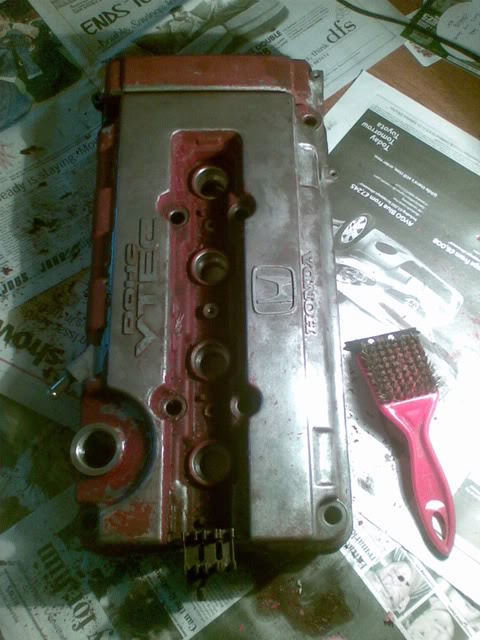
Ok as many told me, the rocker cover definately needed some TLC. I didnt want to respray because youl never get it to look oem no matter how well its done and it would always annoy me and then the flat paint jobs look (no offence at all intended to anyone who has it done) shit. Only two choices were to buy a brand new oem rocker from honda or try something different. so before parting with €200, i decided to do something different. As the end result is to have an uber clean engine bay i thought itd look cool to strip the remaining paint off the cover, sand it down to flat bare metal and then polish it up.
few pics
Before (brutal looking)

after a dose of wire brush/sandpaper
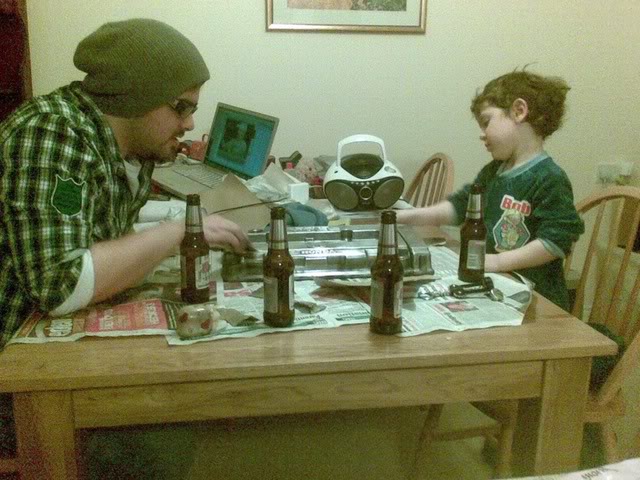
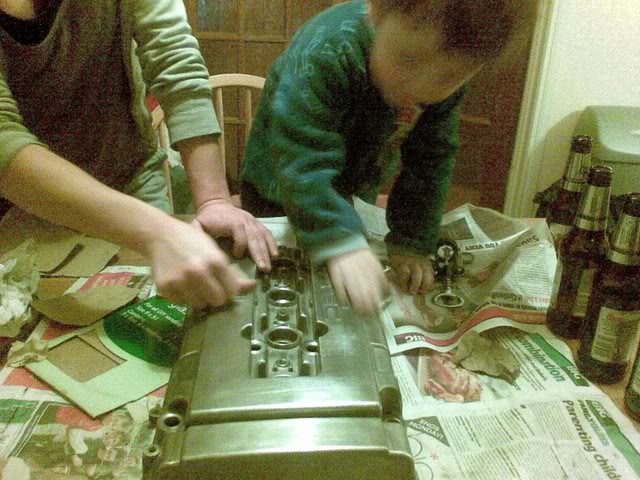
At this point i was royally gettin ****ed off of having no feelin at all left in my thumbs so i needed help. Grabbed the girlfriends youngun, few brewskies, locka tunes and made him earn his pocket money haha
So this is the finished product. Its not machine polished yet but all the roughness has gone and its really smooth
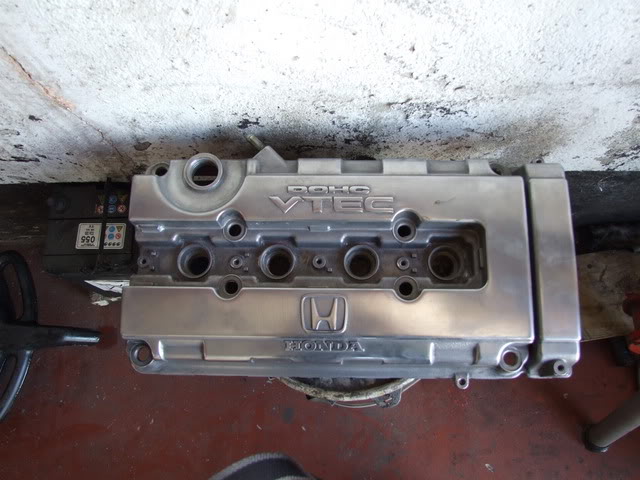
After a machine polish (thanks to Tedman) Itl look like this :happy)
UPDATE – 10/06/2010
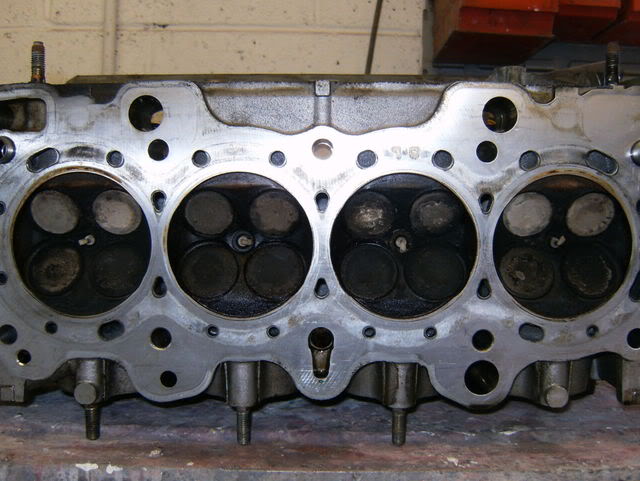
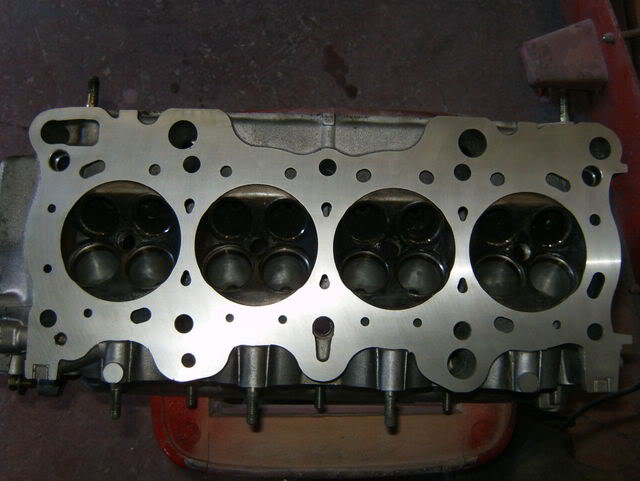
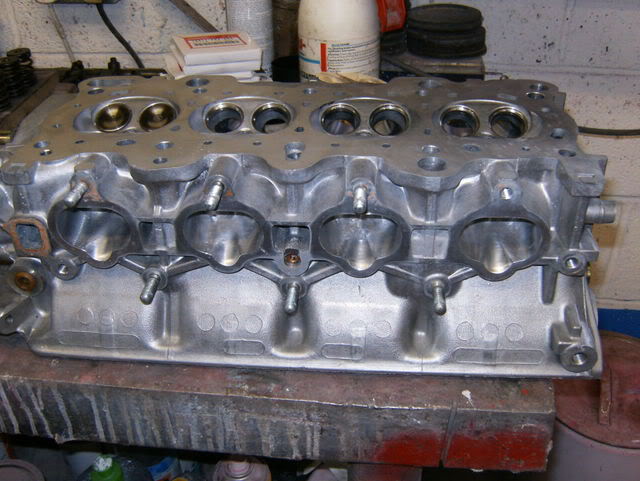
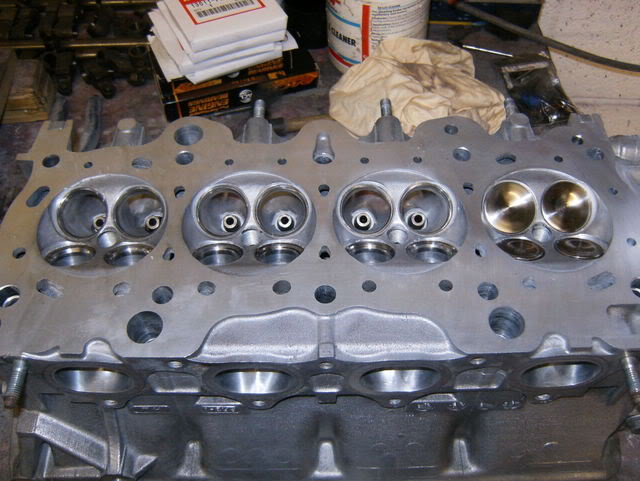
Ok a bit more progress made with this in the last week. Soon as we had the engine out, we took the head off to see what kinda shape everything was in inside. I took plenty of photos as pictures speak a thousand words and all that shite
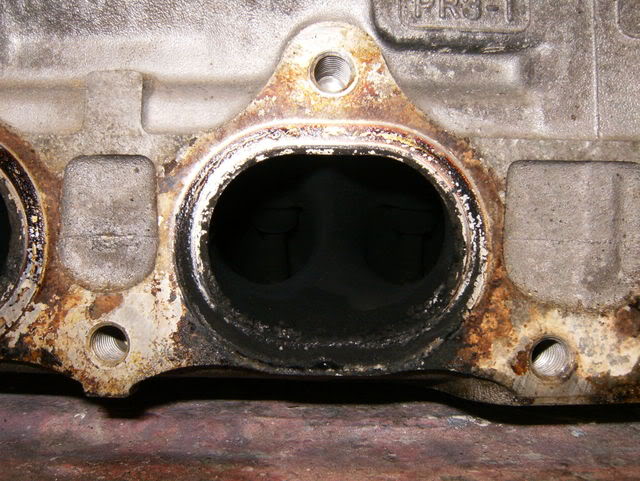
Lots of carbon build up
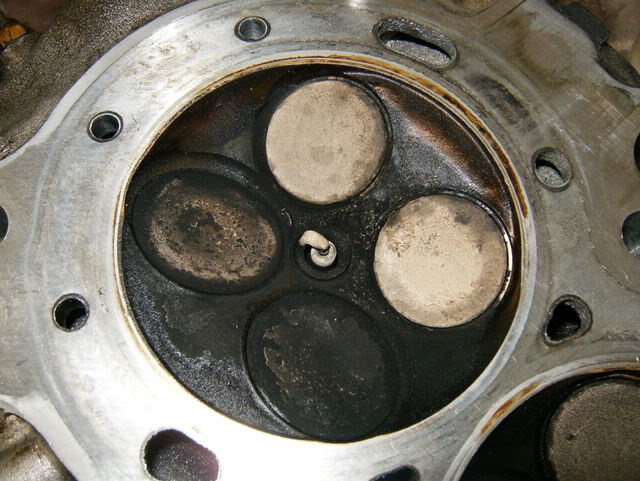
Intake valves
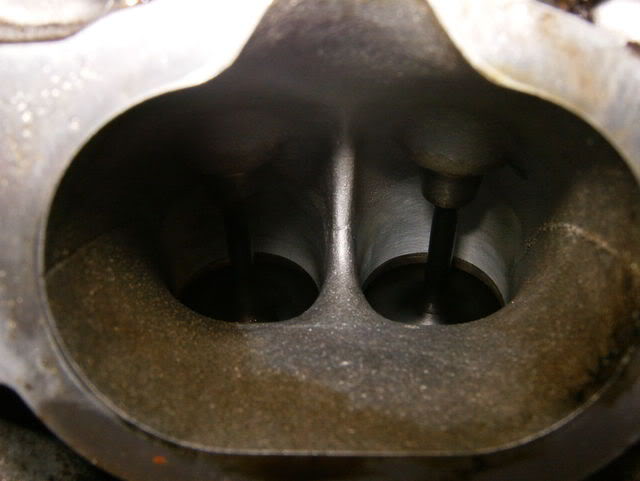
Exhaust ……
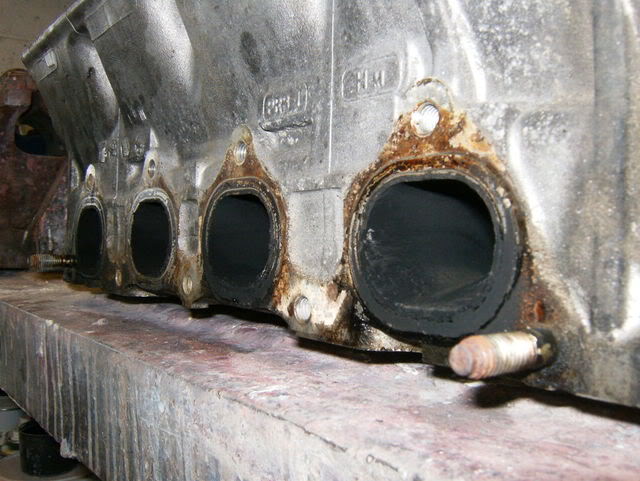
…..again
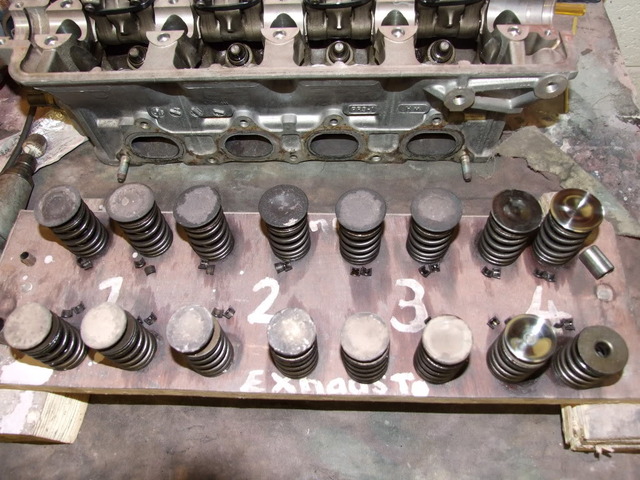
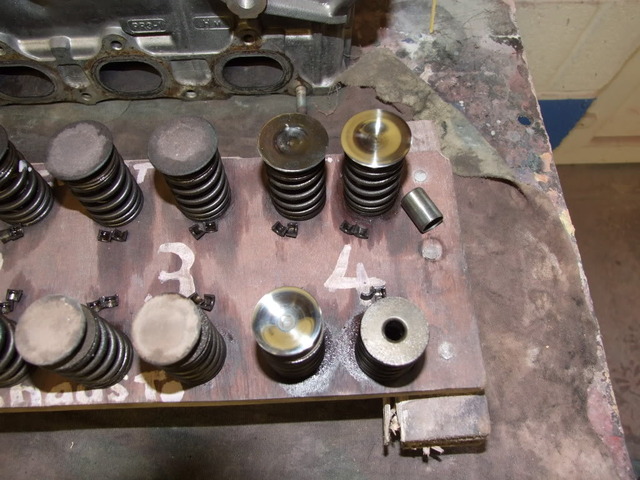
First thing we did was remove all the valves and springs and begin THE LONG task of cleaning them. trust me, this takes patience
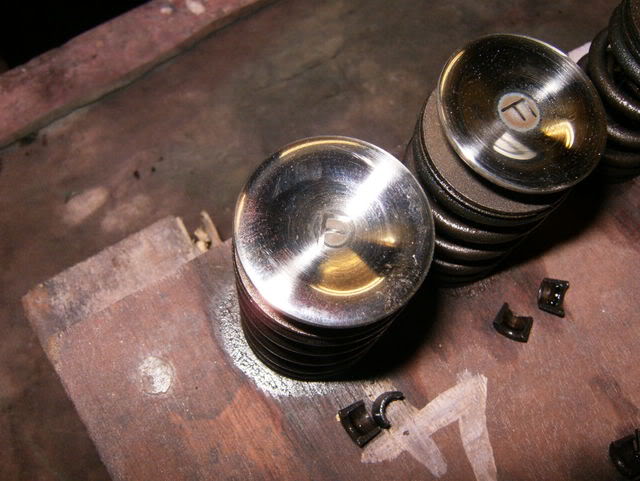
While Seán had the valves out and was cleaning them, i took the head down to Mervyn Elvin in letterkenny to get it skimmed, in on wed night, back first thing thurs morn bt
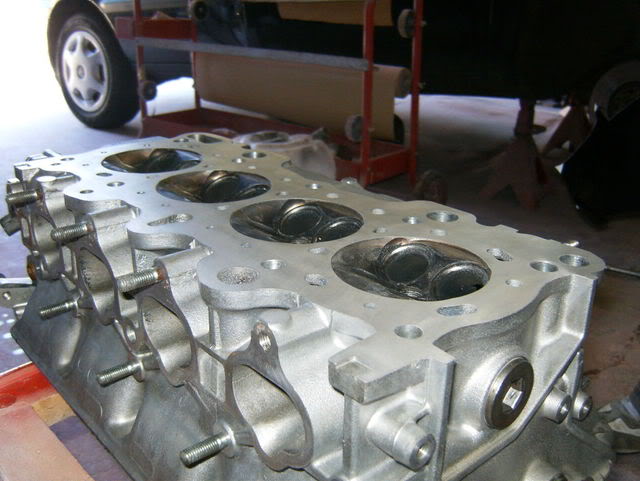
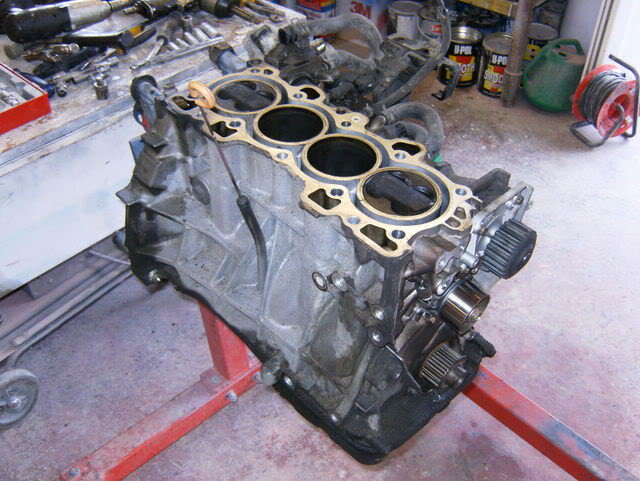
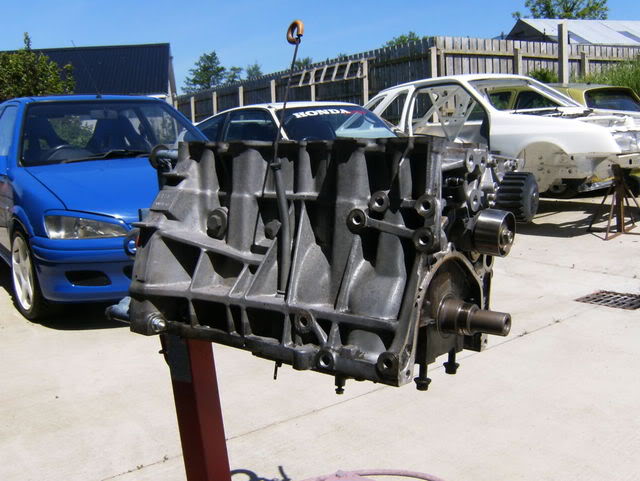
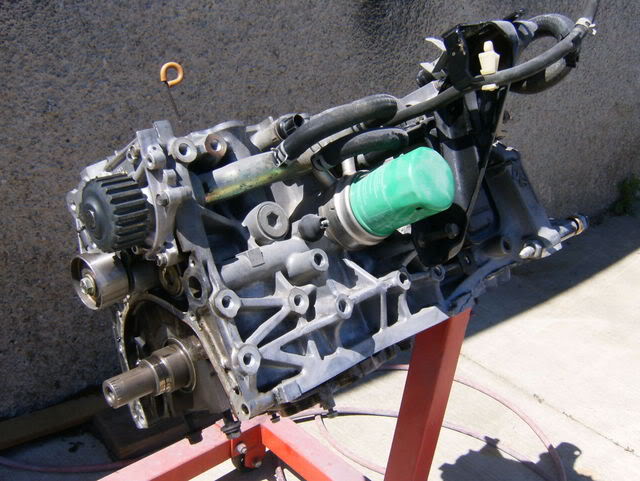
The block was taken out and given a little shower to clear all the gunk and shite off of it. This engine will be getting sprayed before its put back in but for the time being a good dose of the powerwasher will do
BEFORE
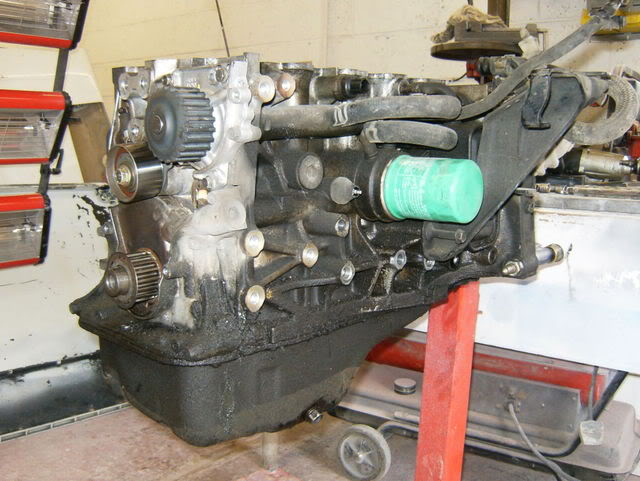
AFTER
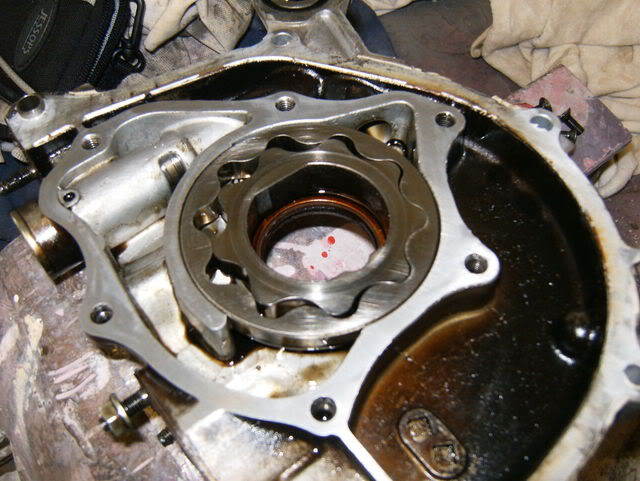
Other thing that was checked was the oil pump as this is the only thing i havent bought for the engine yet and i was lucky enough as it was like brand new anyway
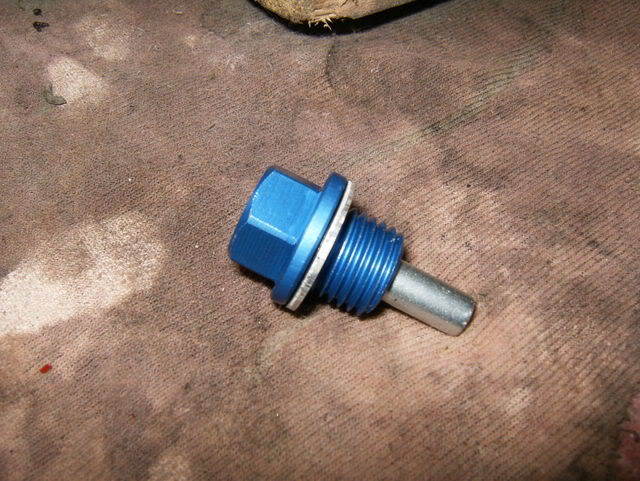
Only thing that i bought this week that i actually have in me possession is a magnetic sump bolt from mugensi lol.
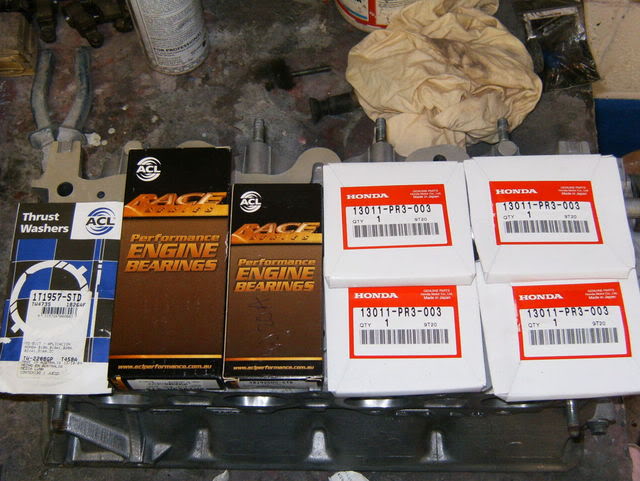
Rest of the parts should be here by next wednesday. I have the full headset, timin belt, water pump here. All im waiting on now are the piston rings which are en route from japan, ACL race bearings and ACL thrust washers which were only ordered a few days ago
More to come soon bt
UPDATE 25/06/2010
Ok more progress with this
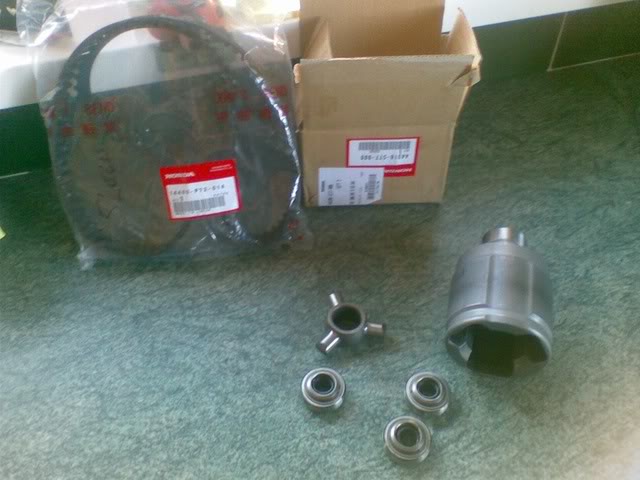
The agonising wait of parts to arrive is over :happy) . Heres a few pics of the treats that arrived at the door 😀
The drives on this car were weird, the drivers side was perfect, no wear at all on either joint, the passo one, the two joints wer fcuked so….
New timing Belt and inner CV joint for passo side
New outer Cv joint for passo side
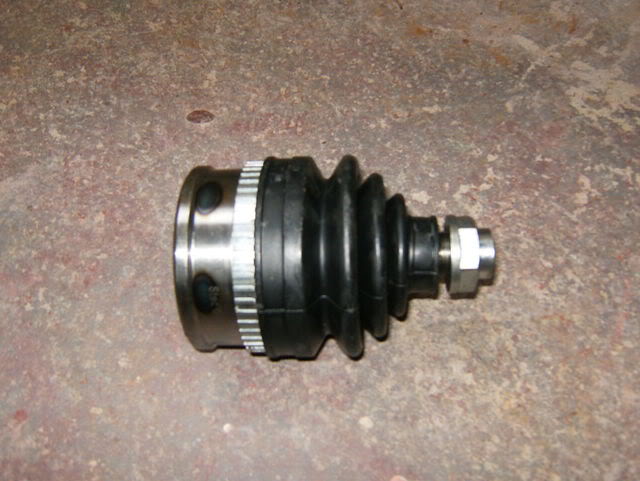
so that’ll be the two drivves sorted now 😀
Now onto the engine…….
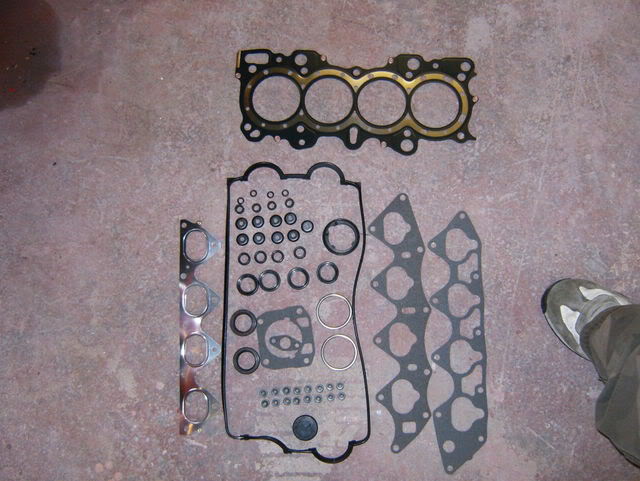
All new seals, rings, gaskets for the head
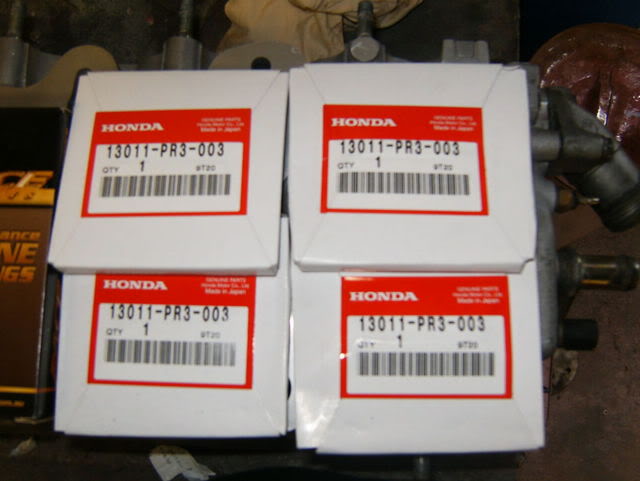
ACL con bearings, ACL race bearings, ACL thrust washers & OE Honda piston rings
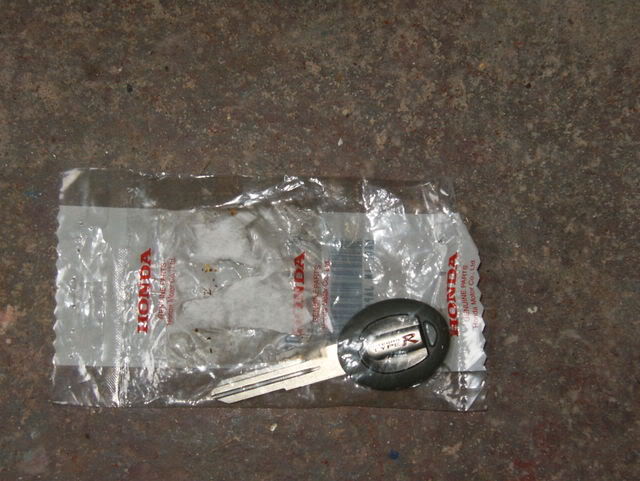
And no point in havin a brand new fully rebuilt engine without having a brand new key to turn the motherfcuker over bt
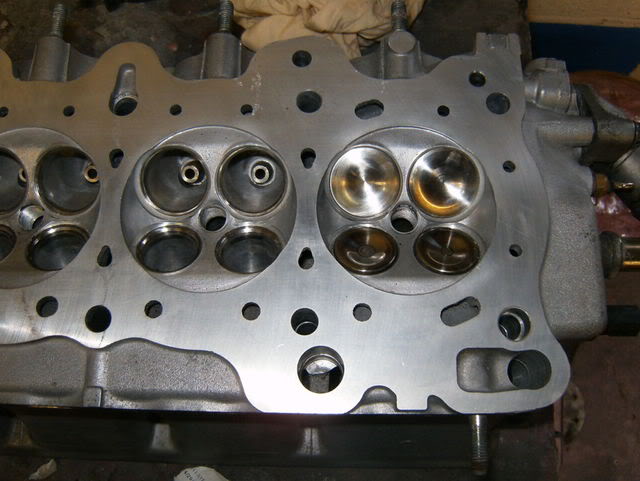
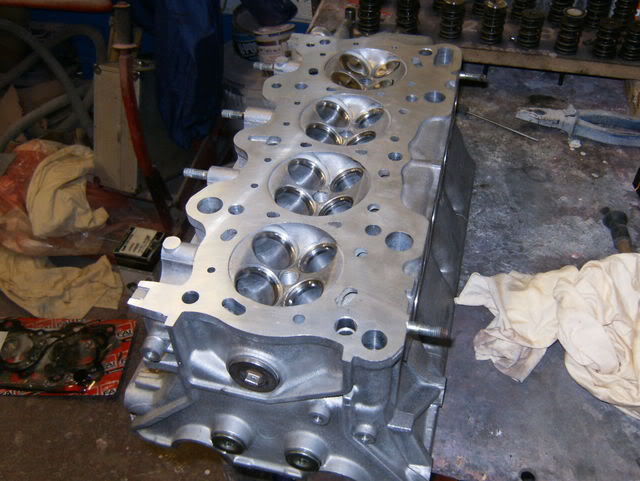
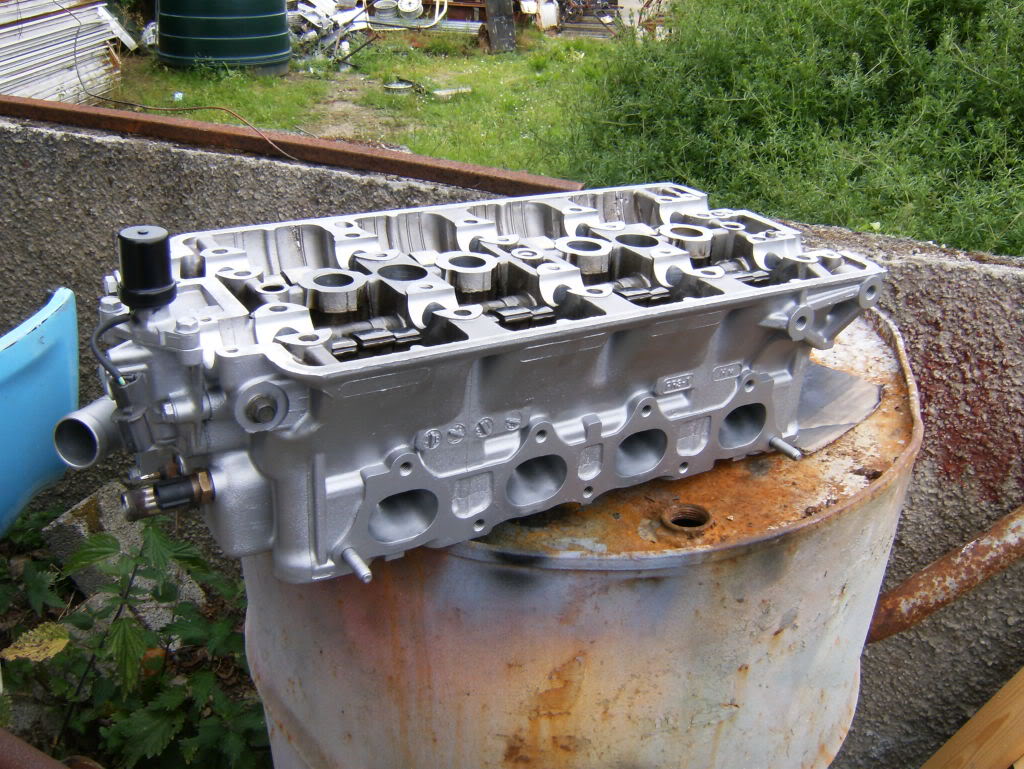
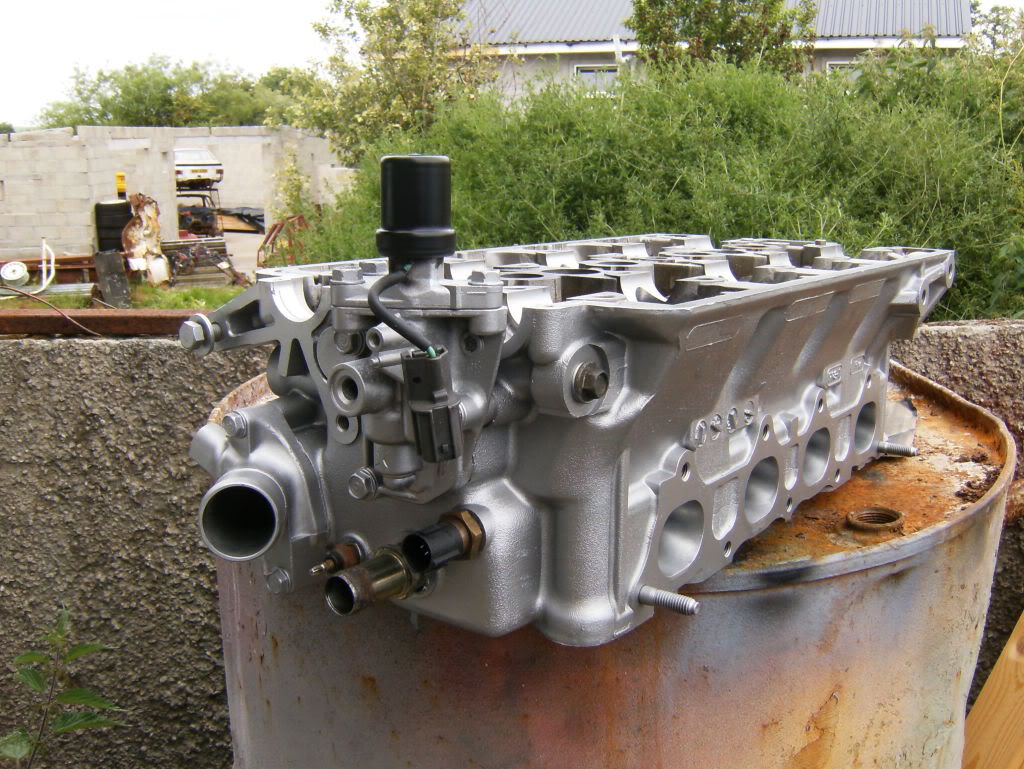
Ok so while waitin for all this stuff to arrive, the head was polished out and and all ports cleaned. A few pics of before and after me thinks
Before
After
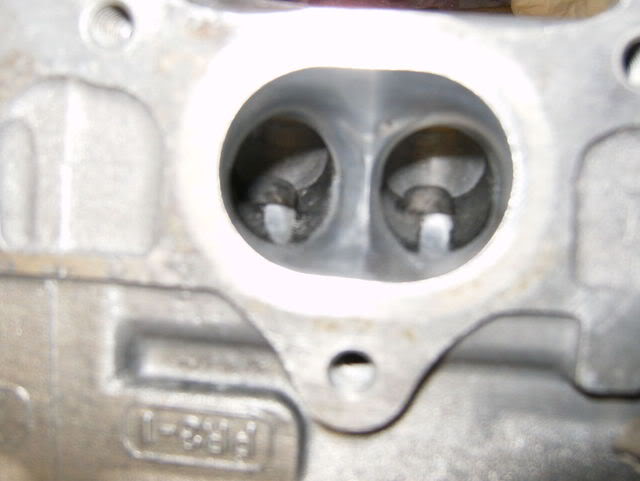
Intake ports Before
Intake ports After
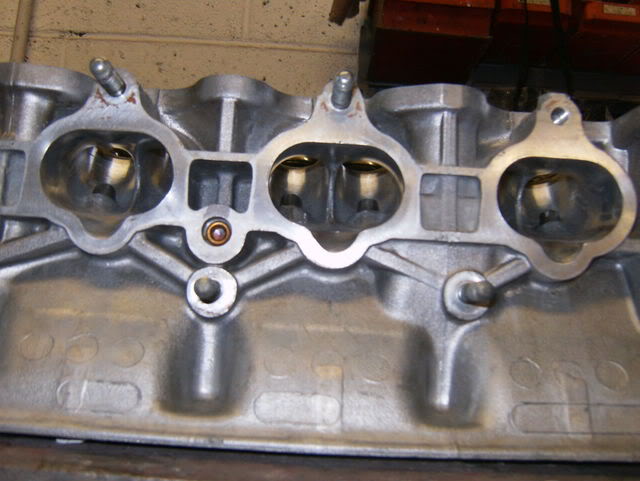
Exhaust Before
Exhaust After
These are just a few other pics o had of the head now all cleaned up

Only other thing i got this week that I HAD TO HAVE was this……
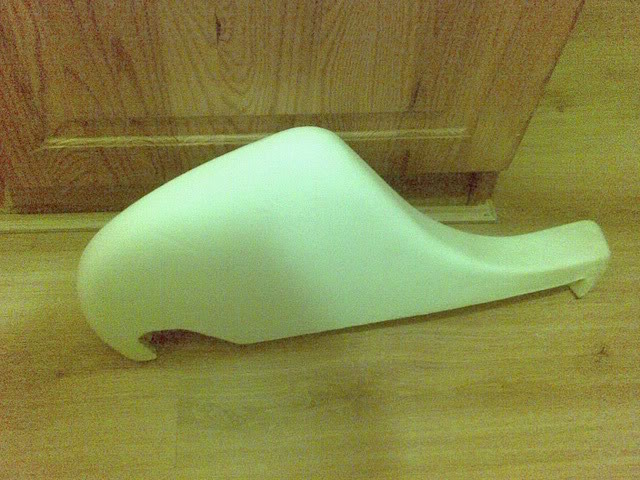
…….. A brand new drivers side recaro bolster from Recaro. This will freshen up whatever Recaros that go into this car. They leave the drivers bolster like brand new from what iv seen on ones that have been done before, removing all likes and creese marks
Hope to have more updates on this by early next week bt
UPDATE 13/07/2010
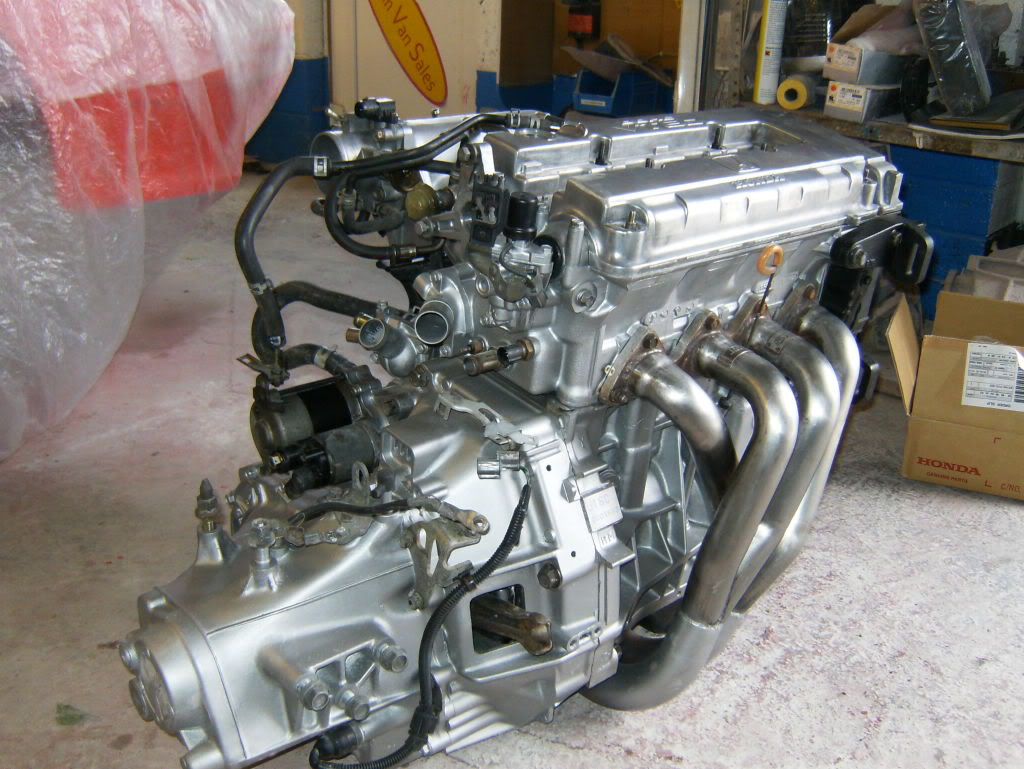
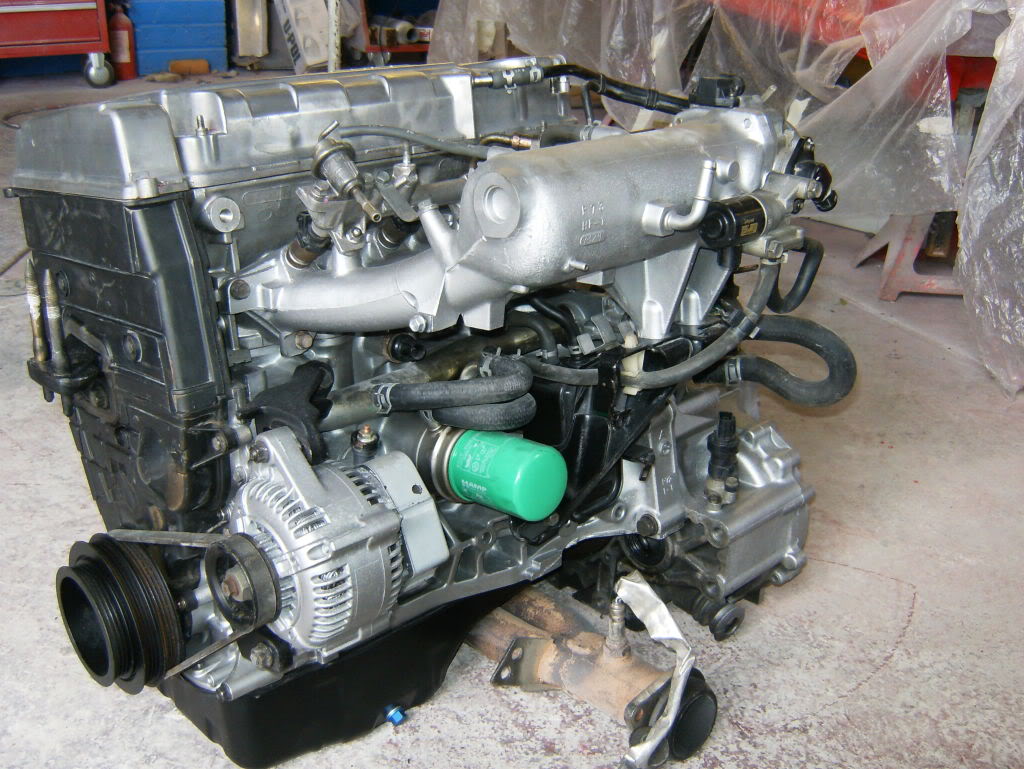
once the engine was built it was primed and sprayed

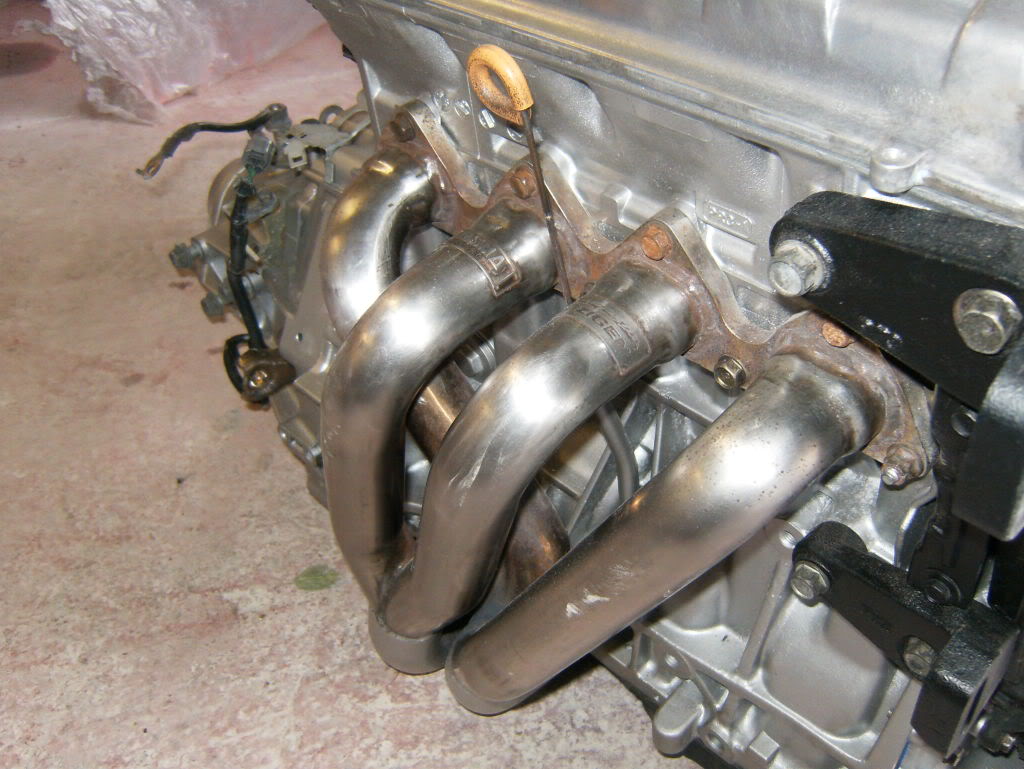
Block, manifolds and ancilleries primed and sprayed also
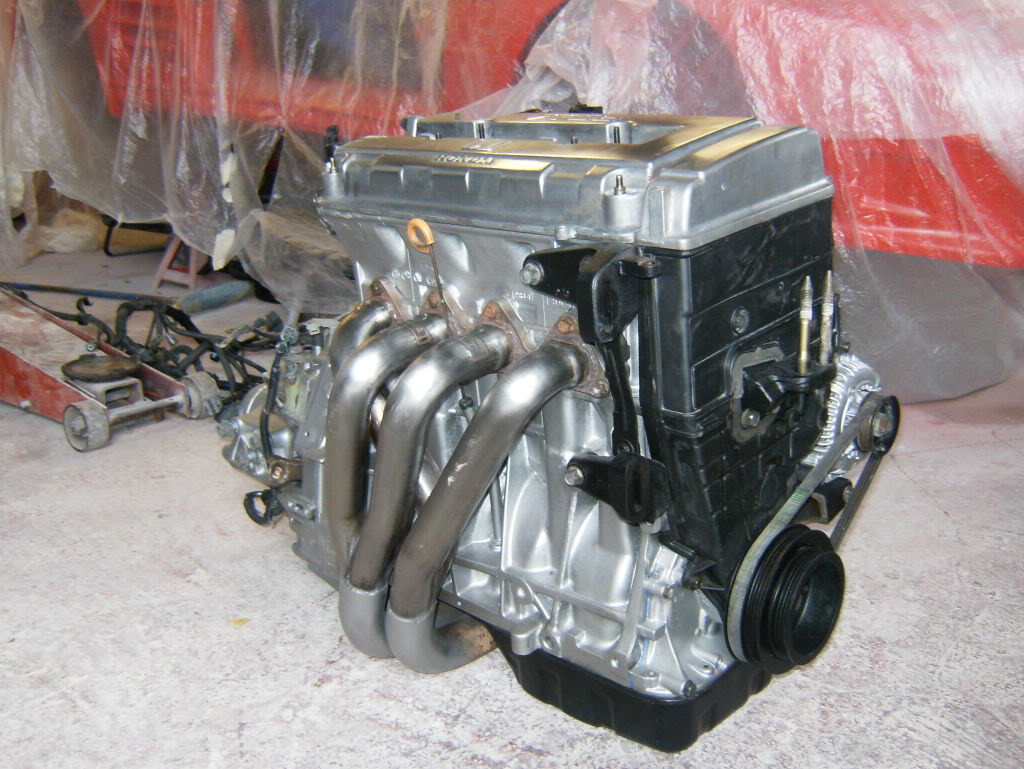
this is the engine finished and awaitin to be put back into the car
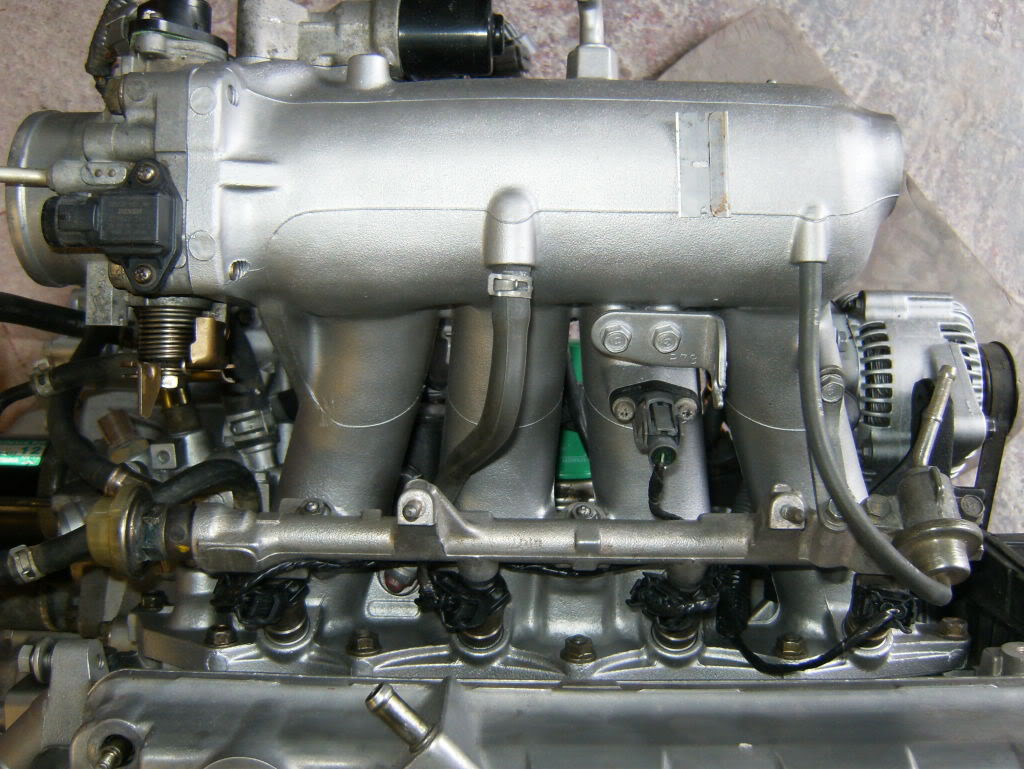
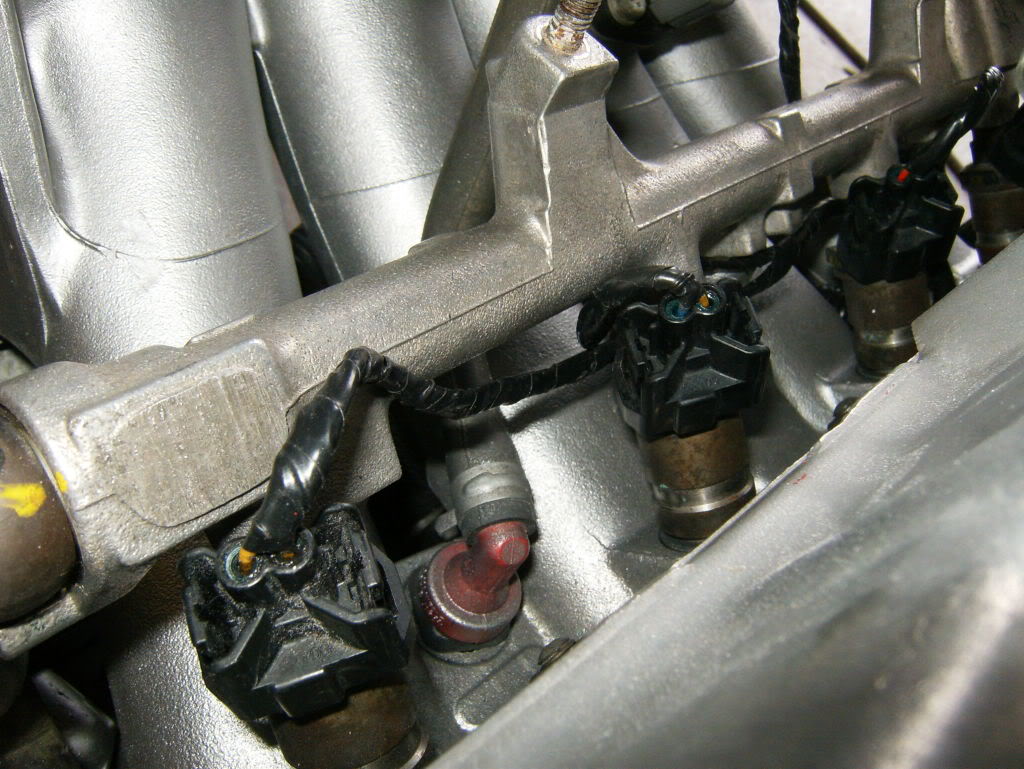
The next step is the wire tuck, cut down on as many wires as possible, started with in round the injectors
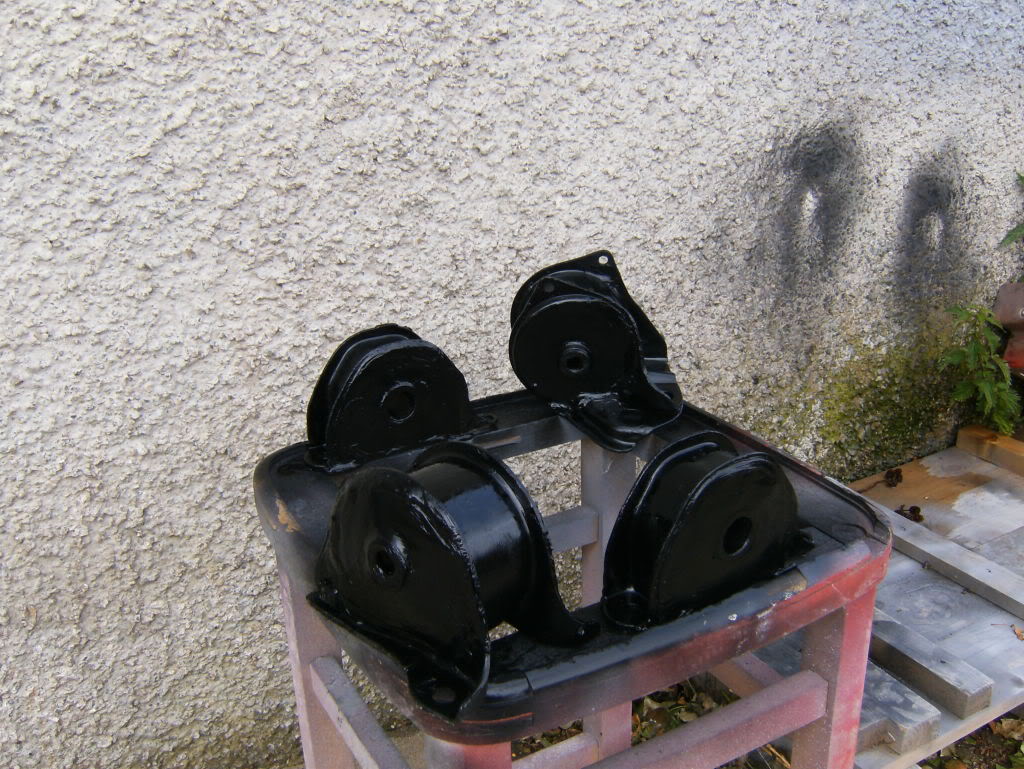
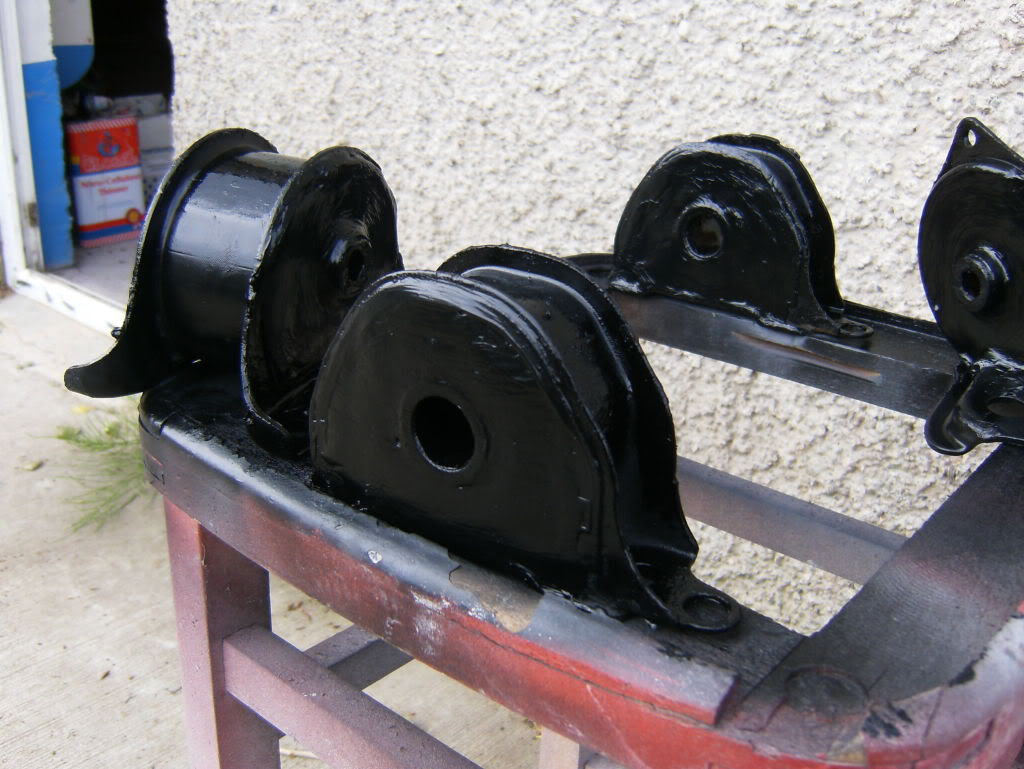
The old mounts were absolutely wanked as you can see below
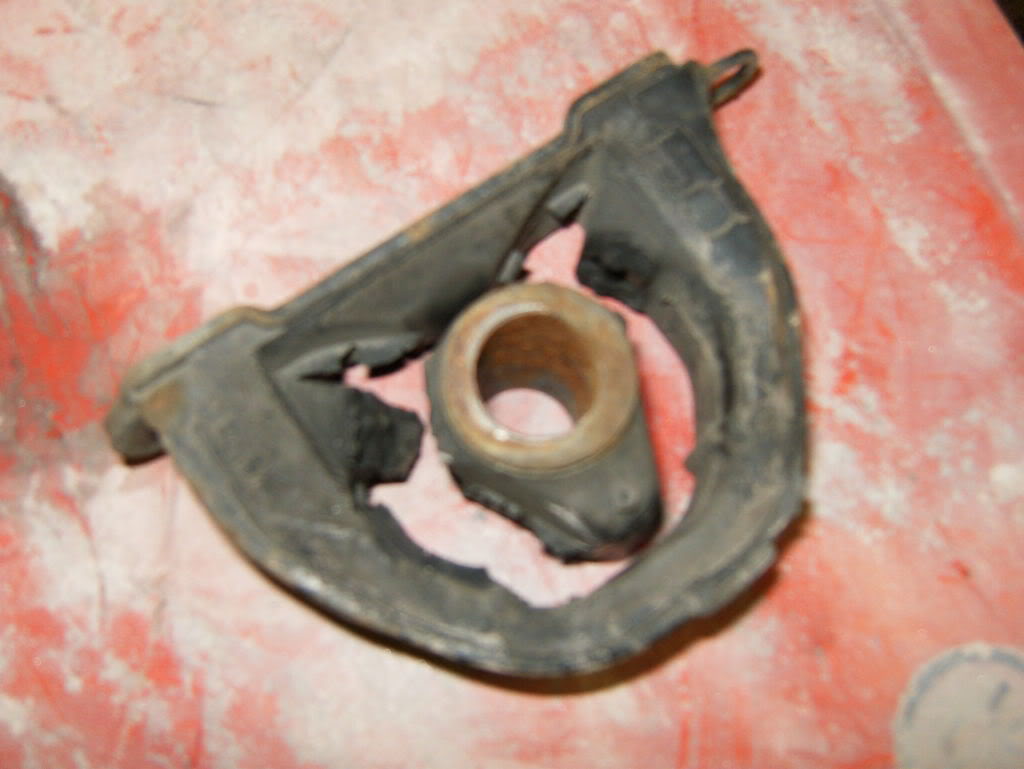
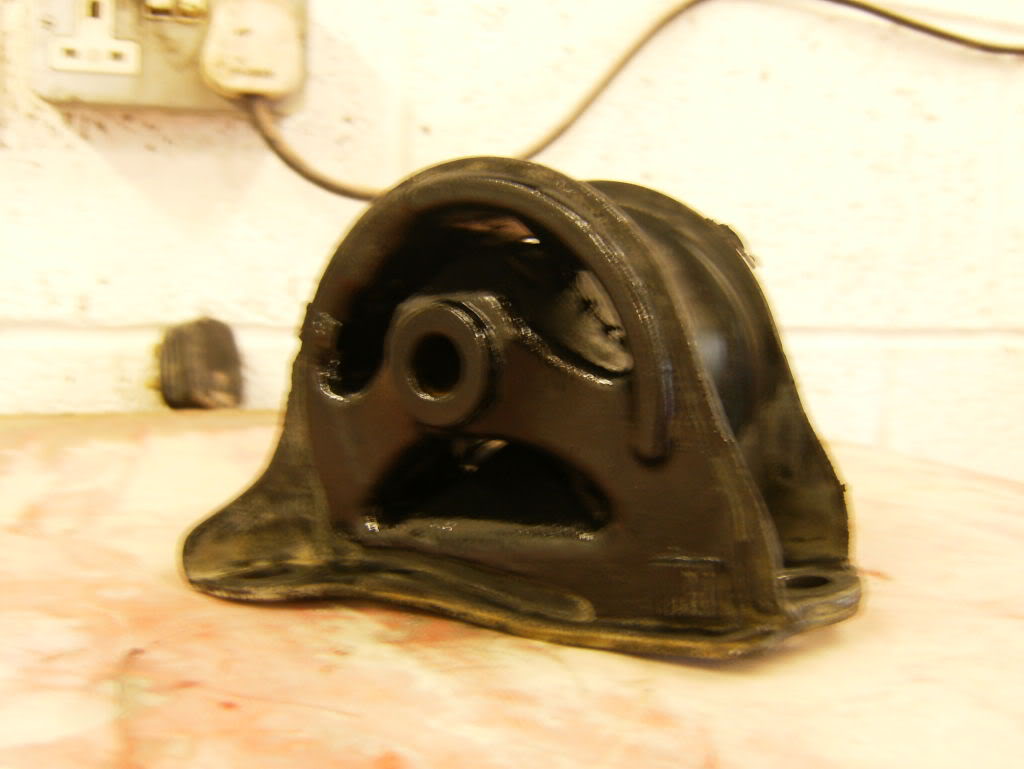
New ones were bought and filled to last longer
More to come by the end of the week 😀
2nd UPDATE OF 13/07/2010 :happy)
ok so heres the 2nd update of today and it goes a lil sumthin like this
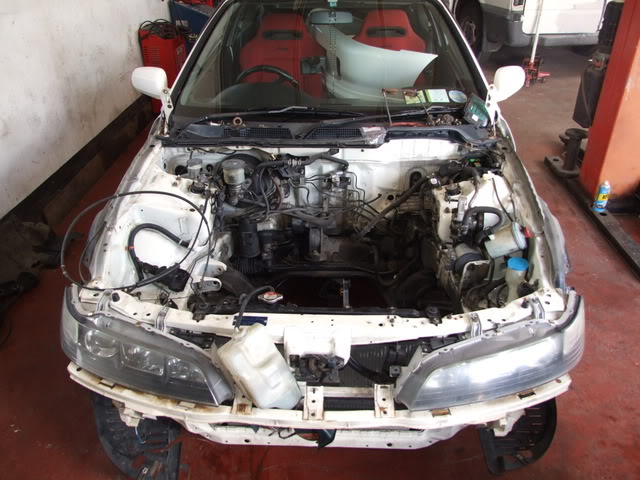
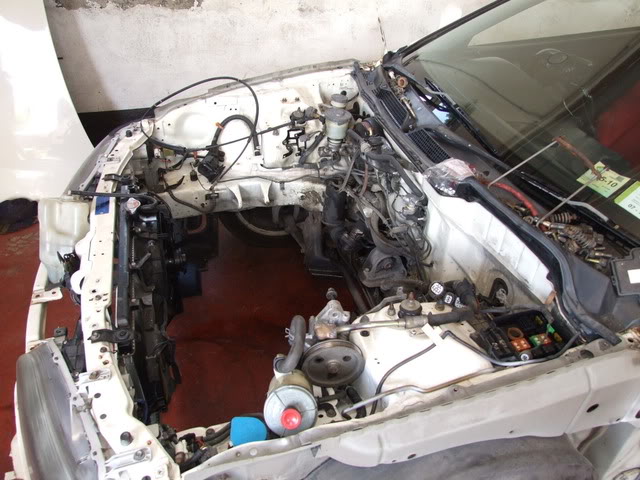
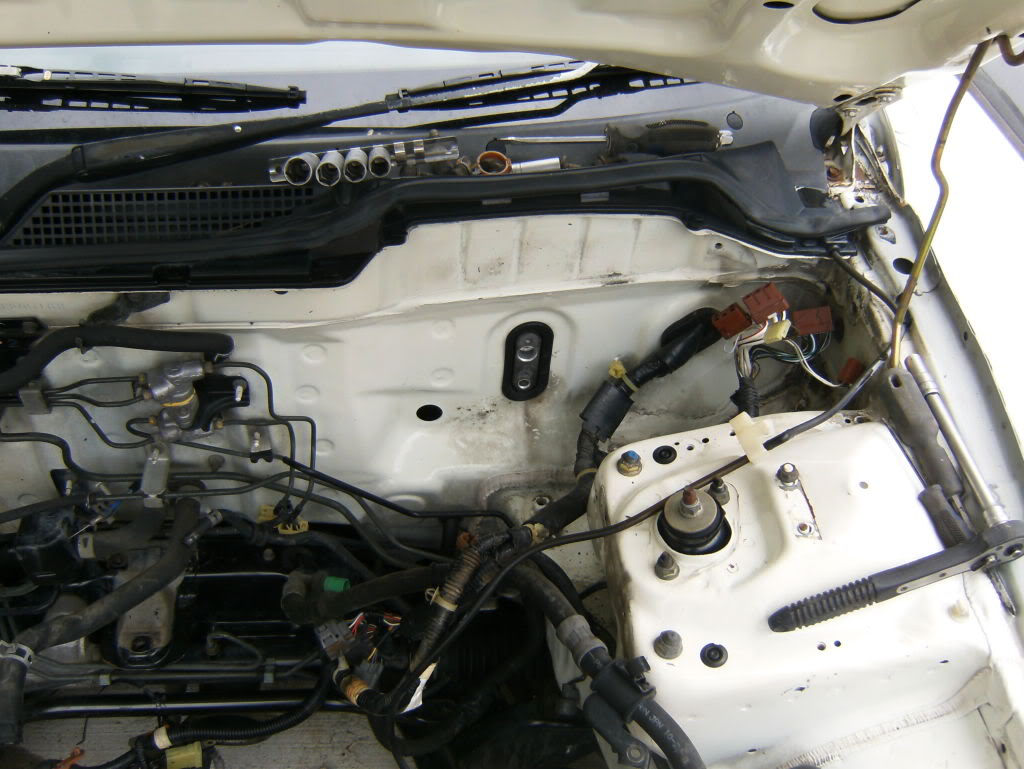
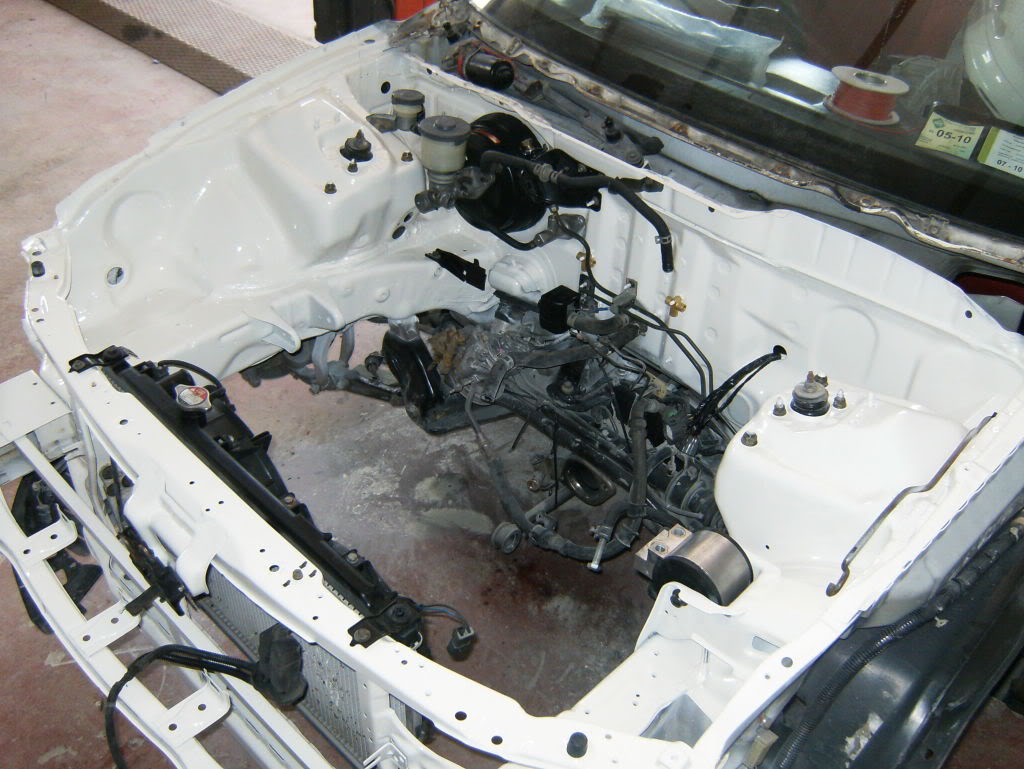
wayyyyyyyy back at the start, the engine bay looked like this, full o shit wires and all that so i wanted them gone but the car still to work…….
……ENTER WIRE TUCK
In the above picture, the abs has already been removed but i wanted everything moved out and hidden. A few months ago the air con was removed as much as possible while the engine was still in but now with the engine out, Quinn Motorsport really went to town on it.
heres a few pics of sum of the stuff that has been done so far
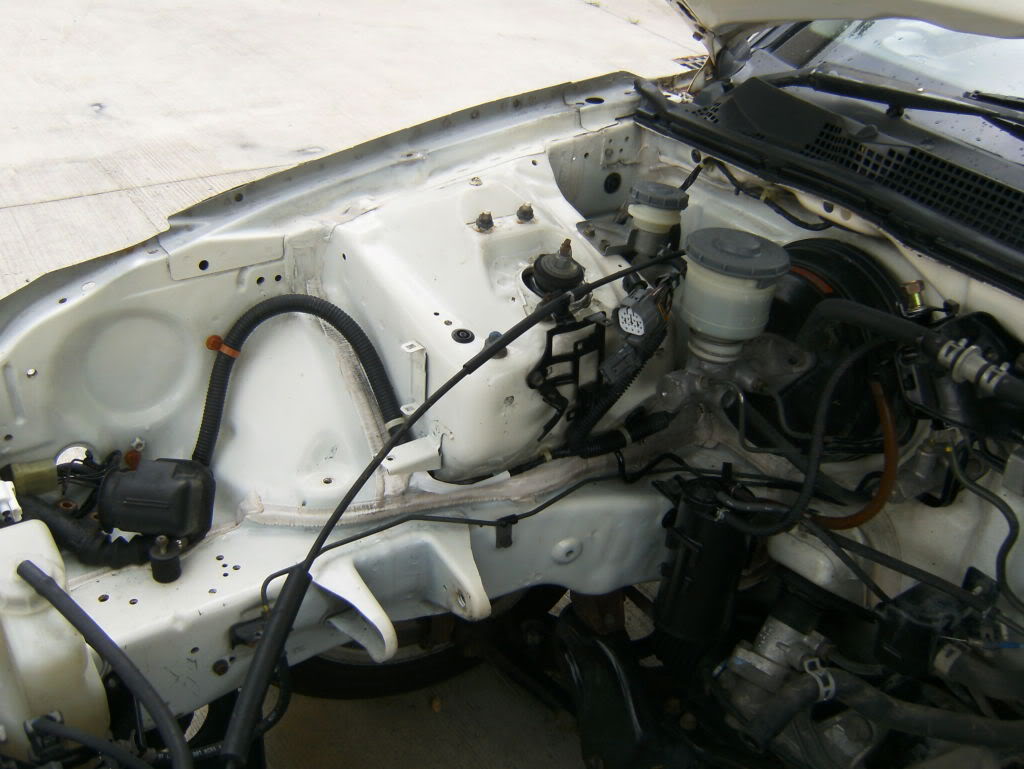
BEFORE PICS
AFTER A QUICK CLEAN UP
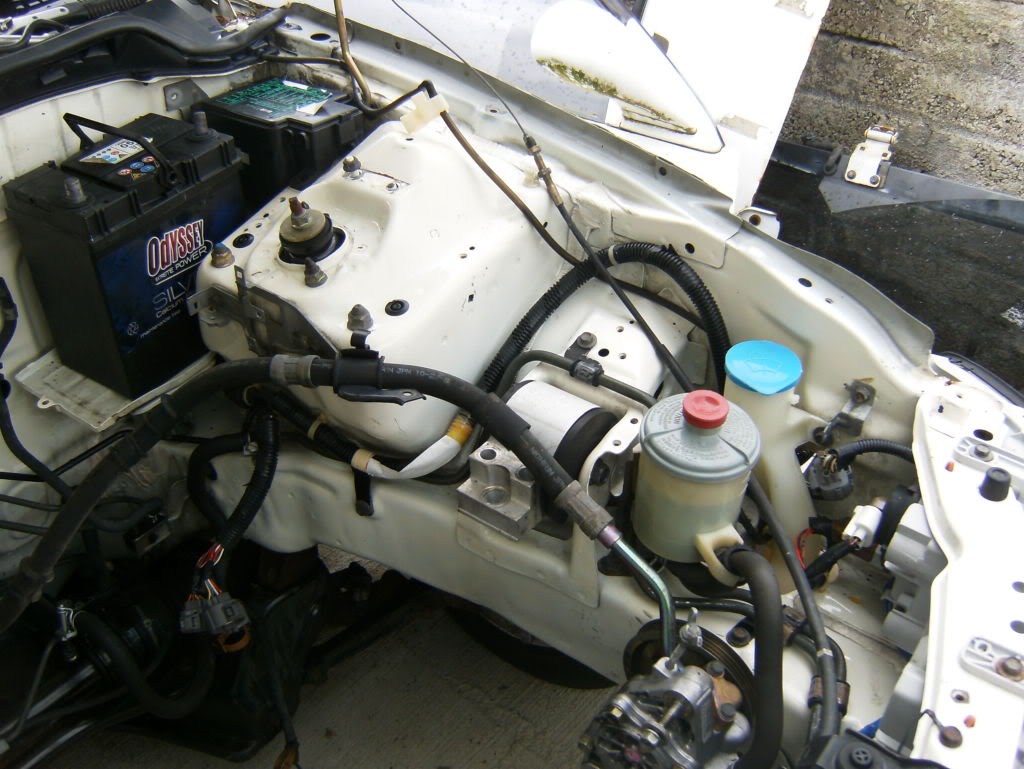
WIRES BEING TUCKED
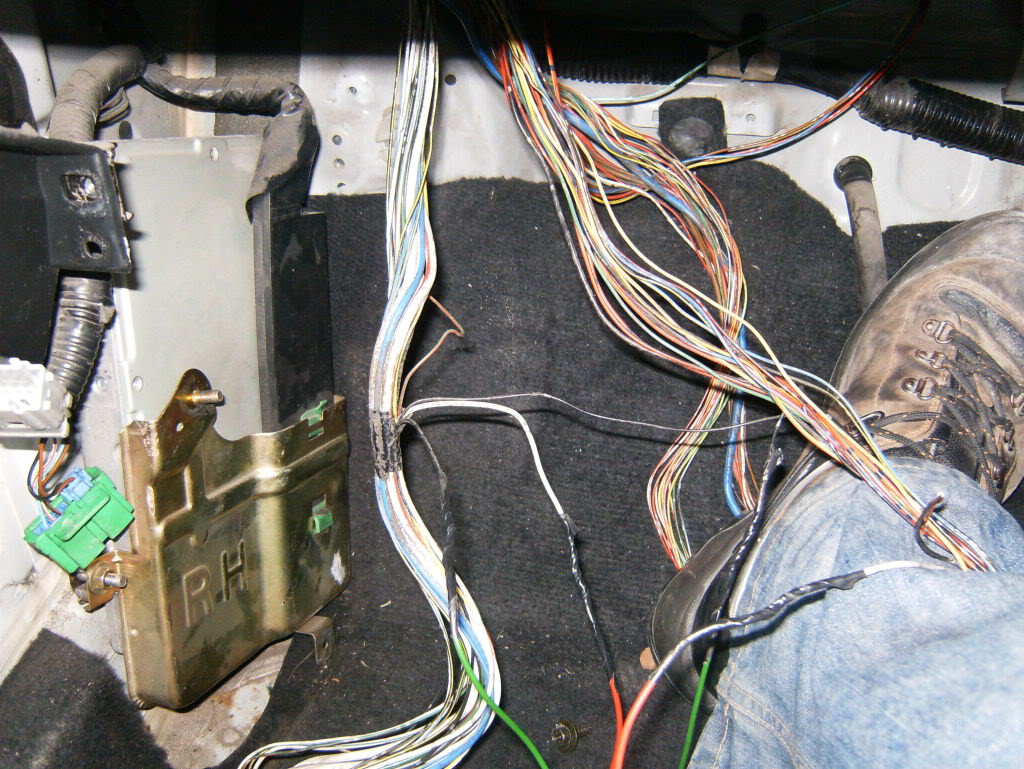
where the battery and fuse box used to be….
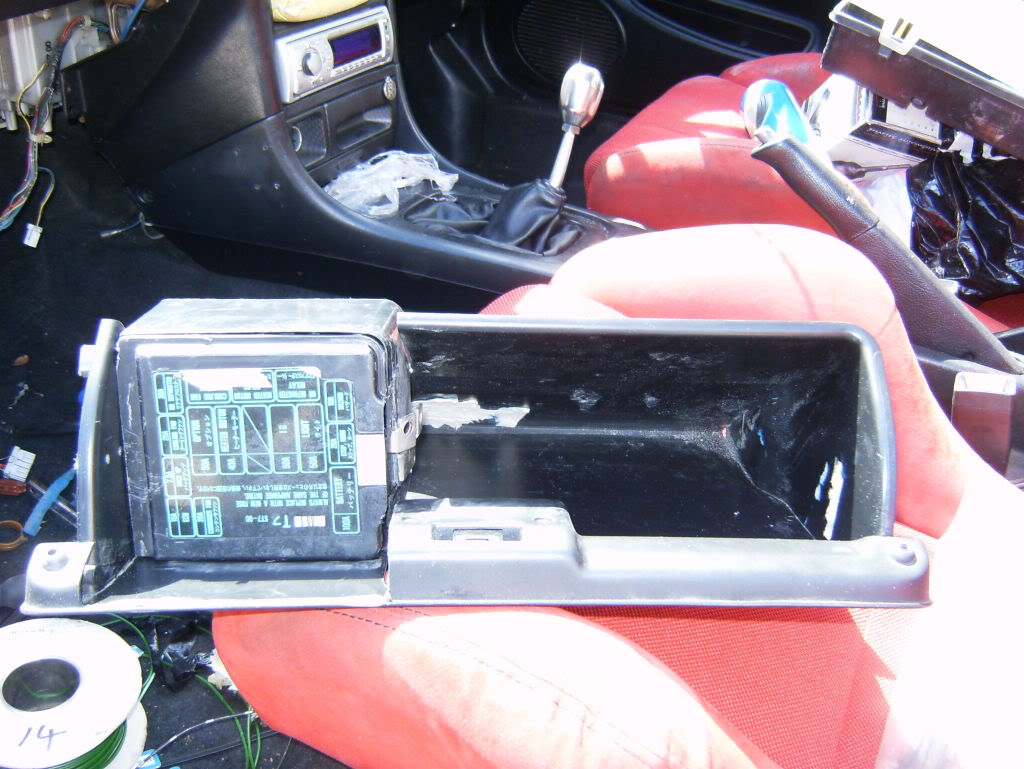
the battery is being relocated to the boot, we decided to bring the fuse box in through the bulk head and locate it into the fuse box
below you can see the heater box behind the glove box
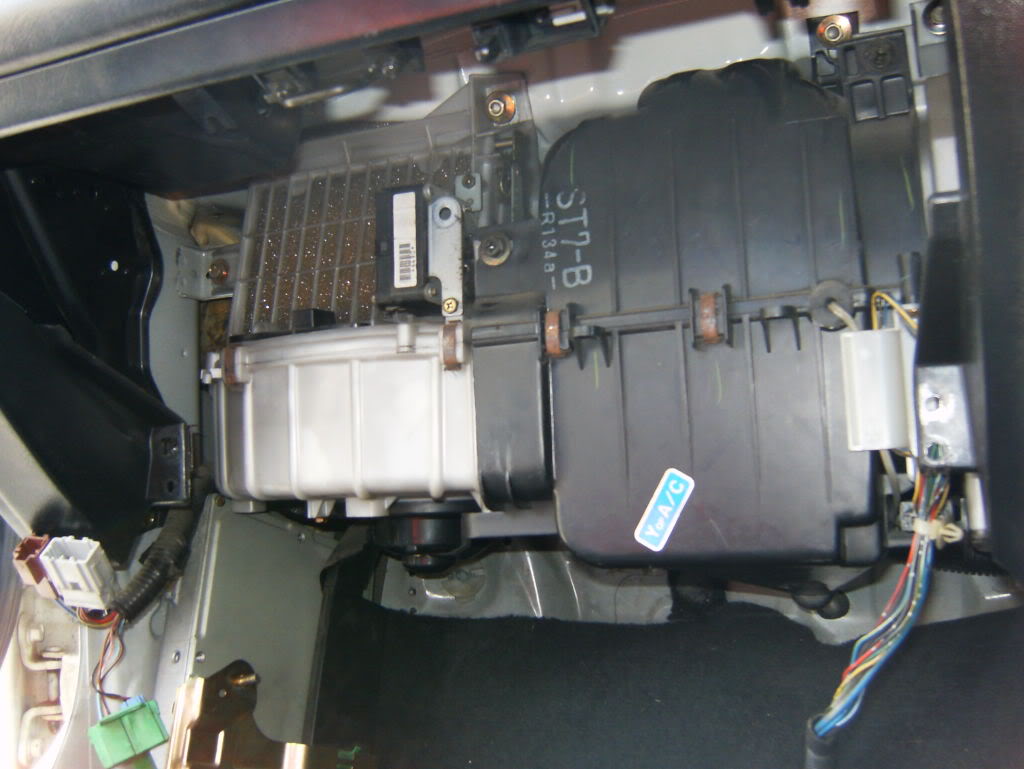
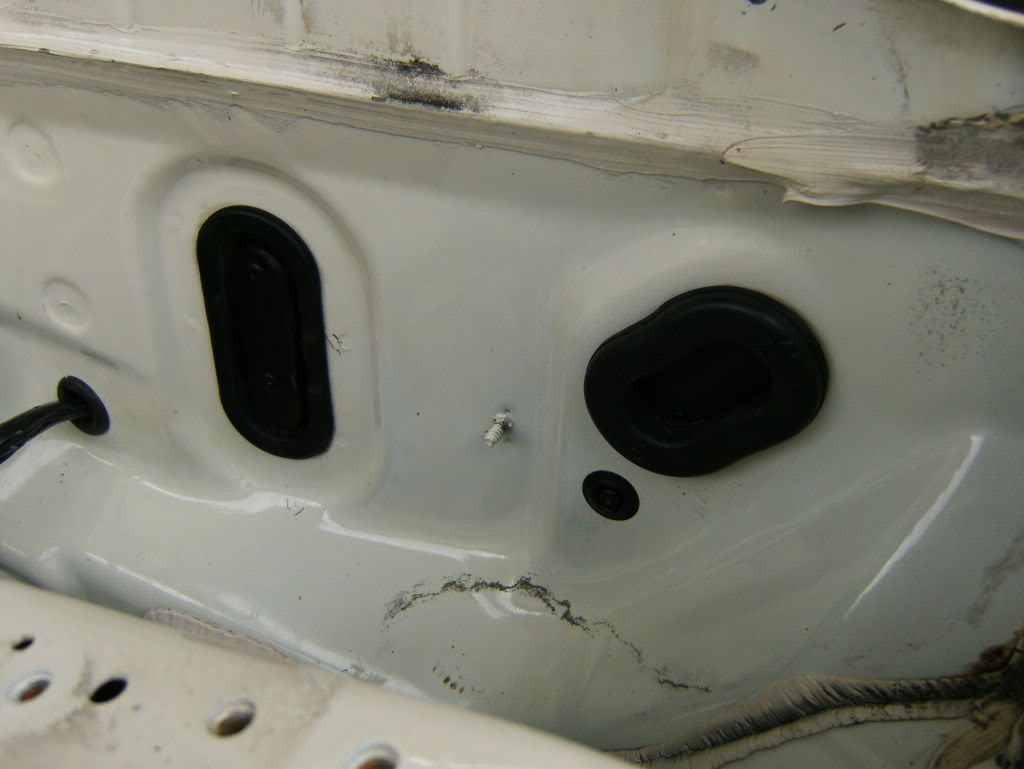
the heater box was removed to reveal this side of the bulk head
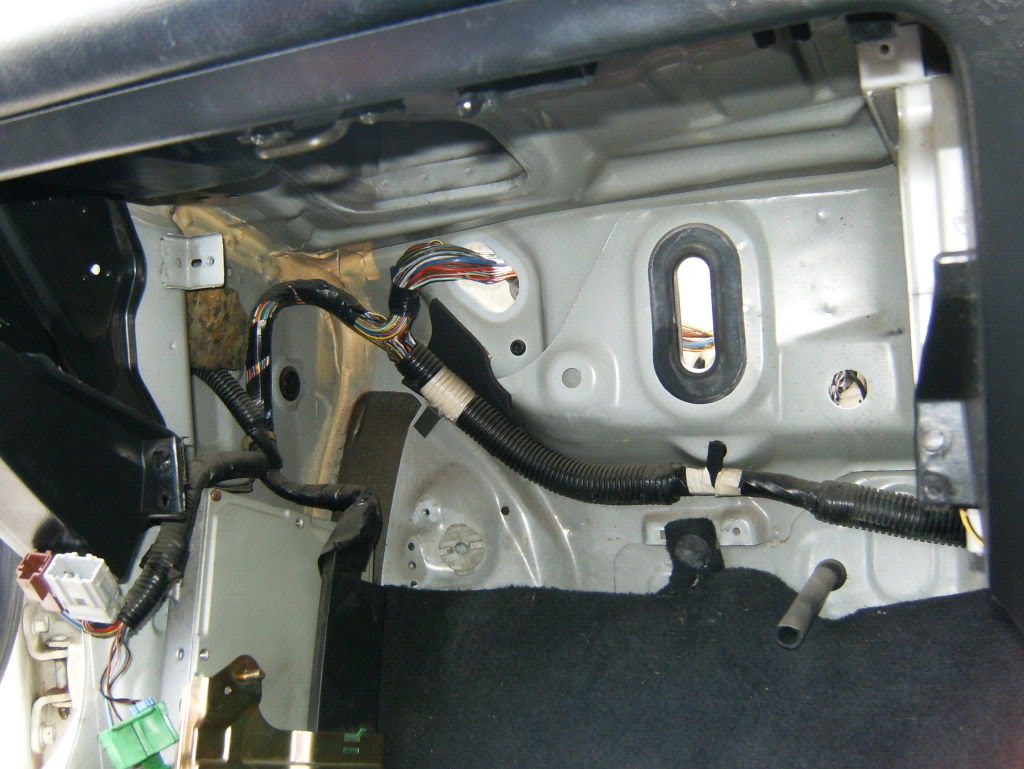
the wires being brought inside
the glove box with the fuse box now located inside
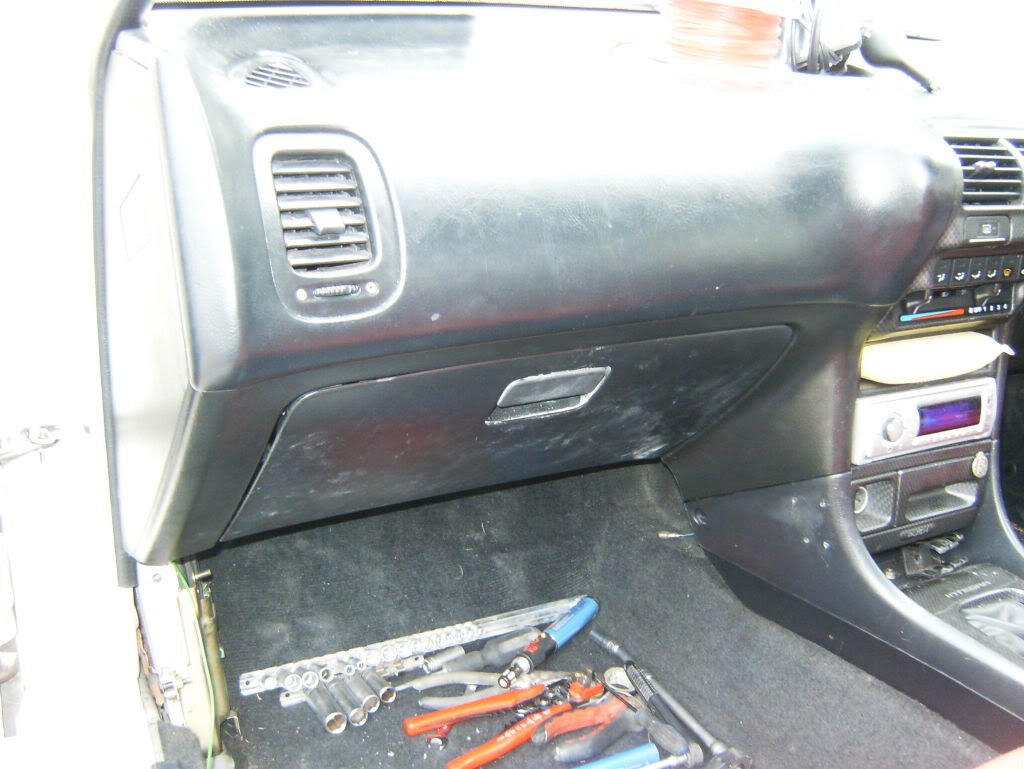
the heaterbox fitted and glove box fitted again with wires all connected up
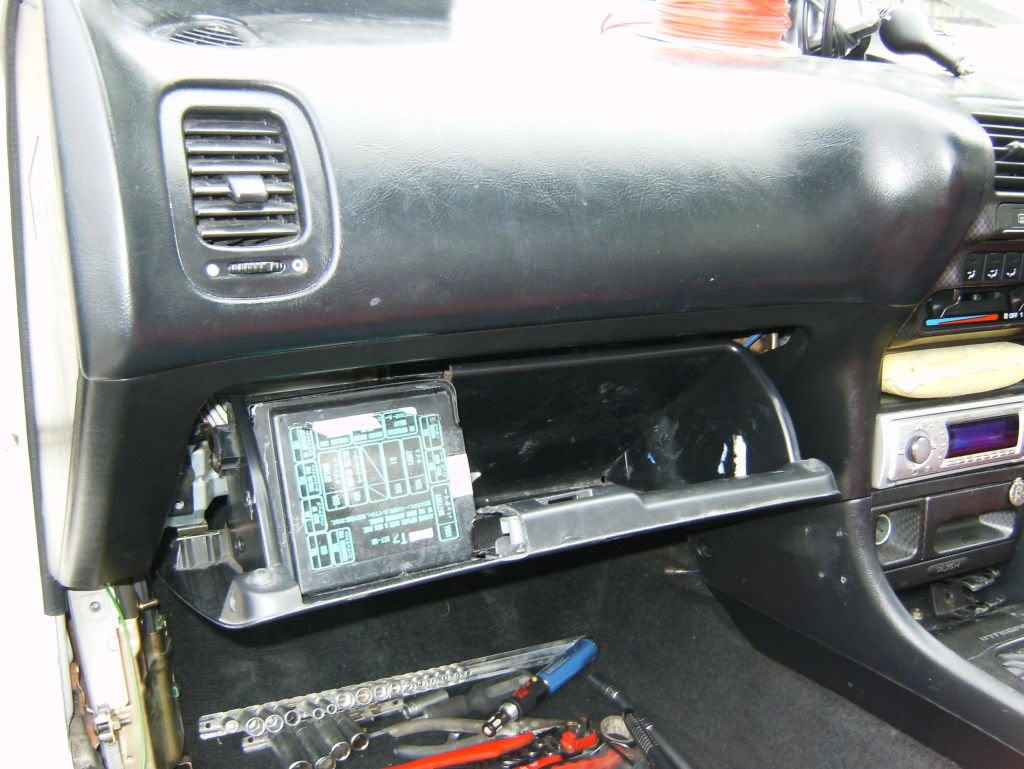
and the finished product, fits perfectly
Once that was all done, the outer holes where the looms would have ran out to the battery and fuse box were bunged up
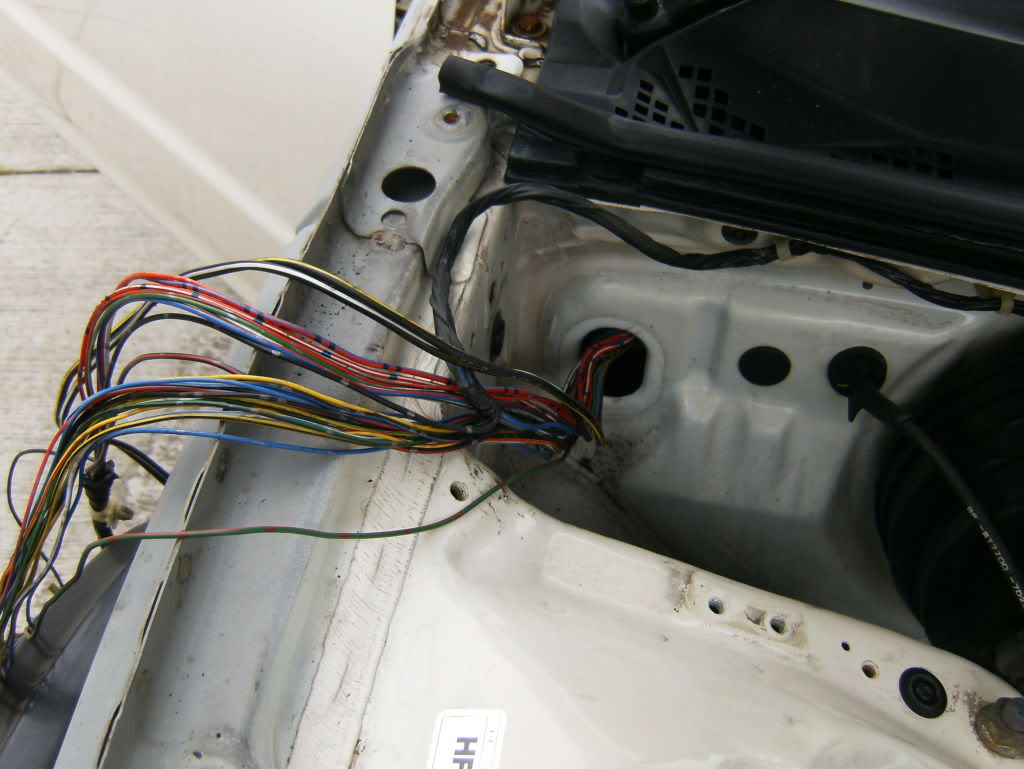
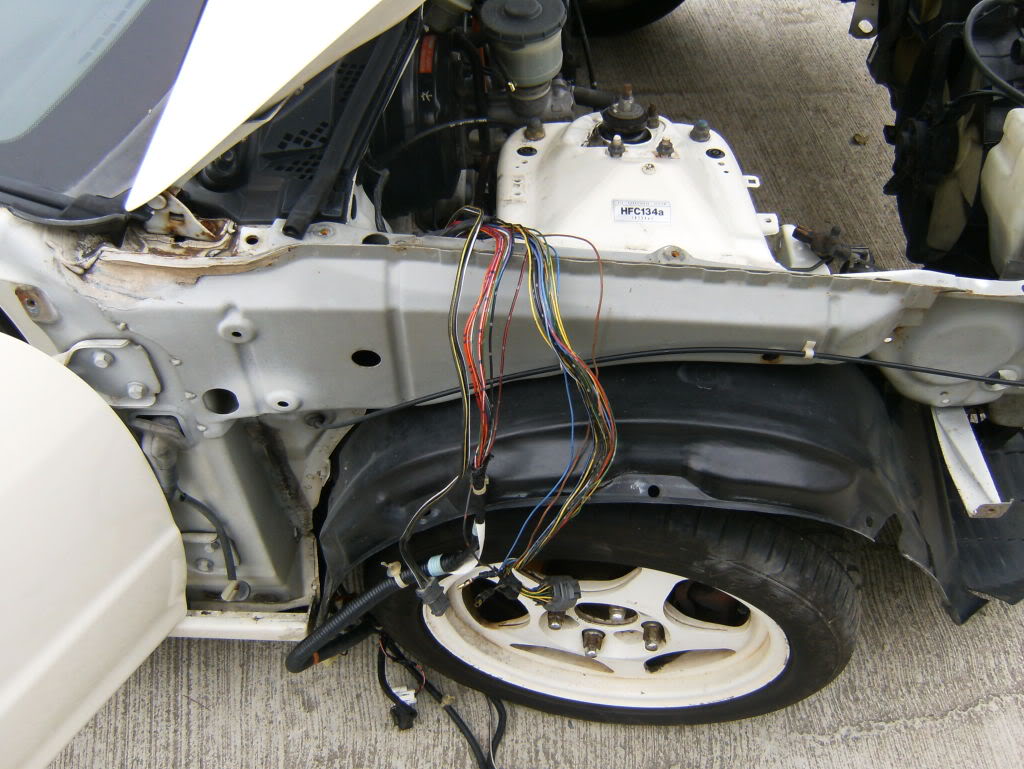
Next thing was onto the wire looms for the lights.
The looms were brought back inside the firewall and brought out through the holes wer the looms for the side indicators run
heres a few pics of what it looks like now
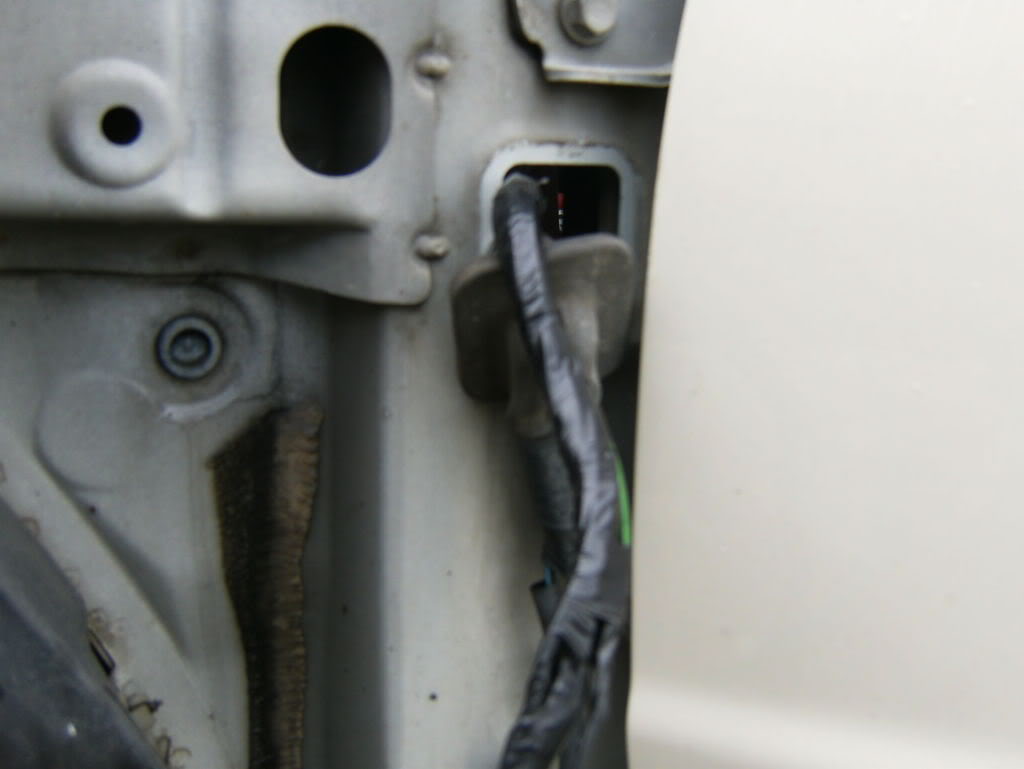
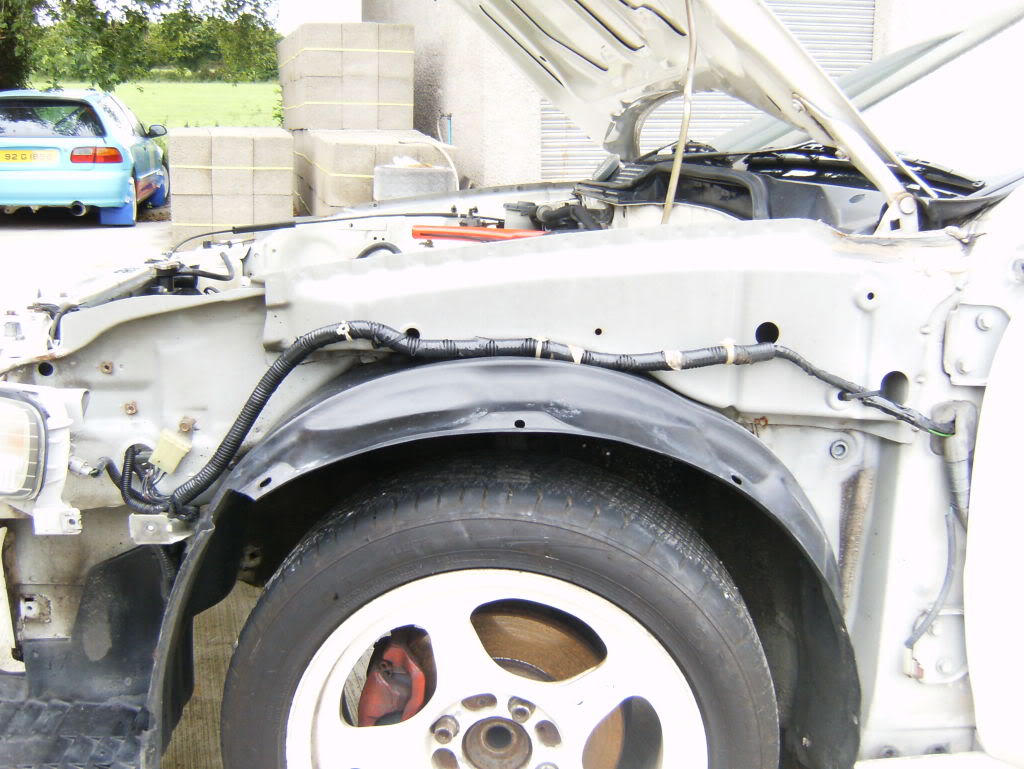
these will be brought back in at the bottom right into the lights
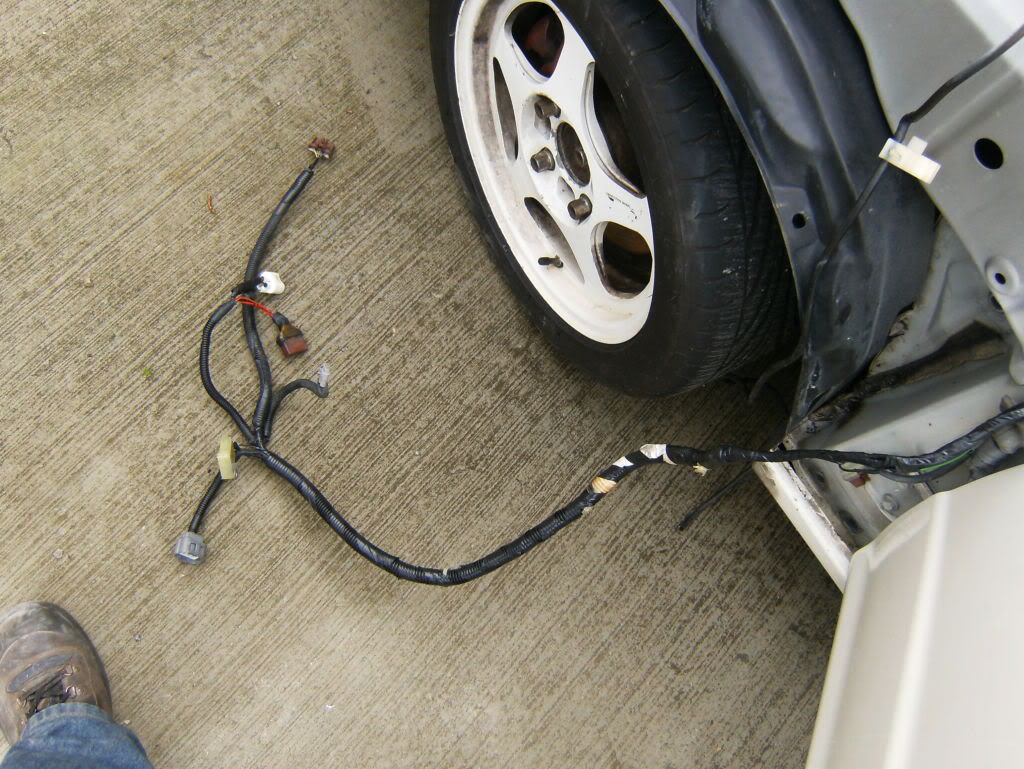
Next thing is the engine looms
These wires were lengthened so they would be able to be hidden low down in behind the engine, wires were stripped and new length added, soldered and re-wrapped again
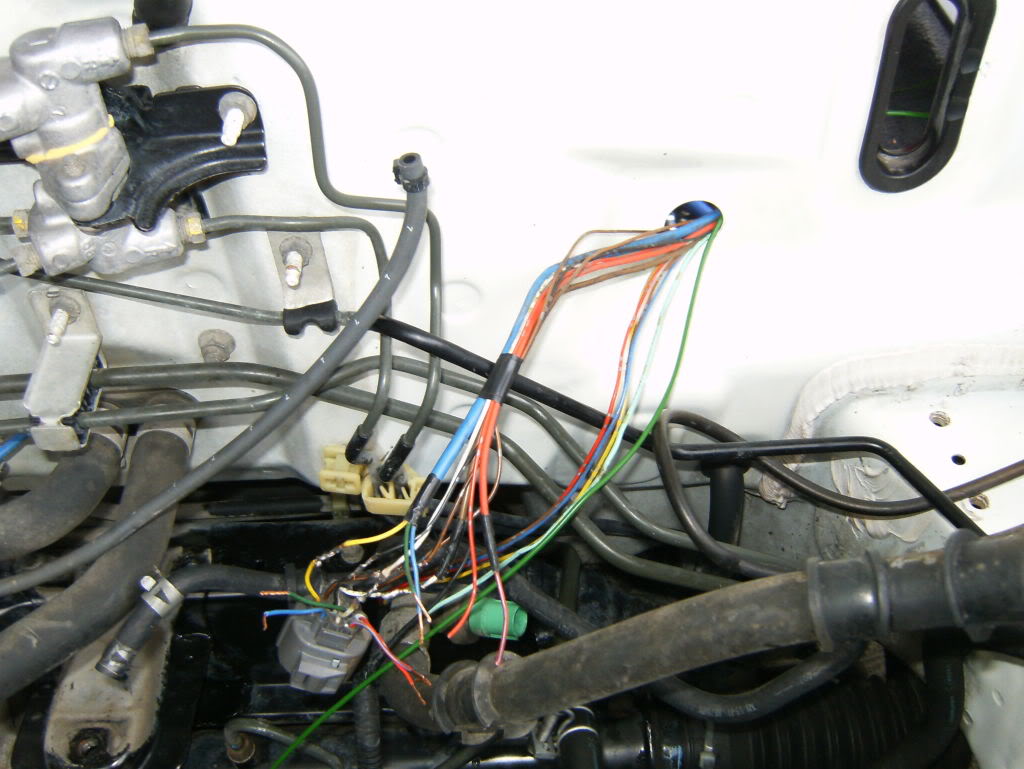
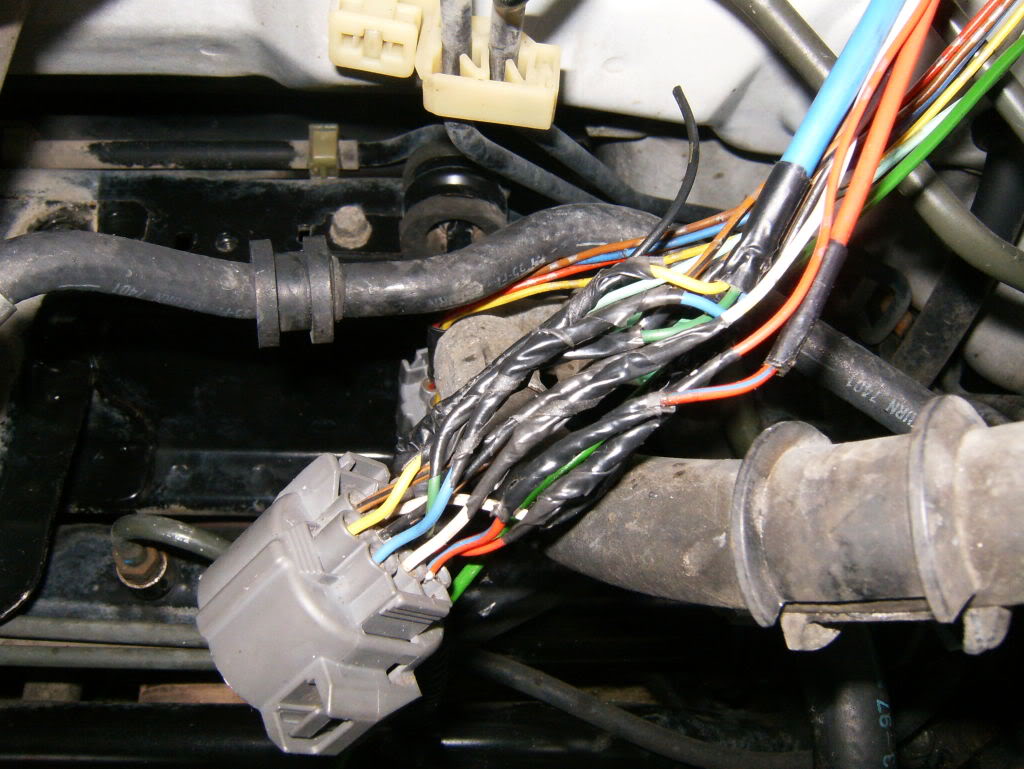
thats all i have for the time being, more photos within the next 2 days bt
UPDATE 16/07/2010
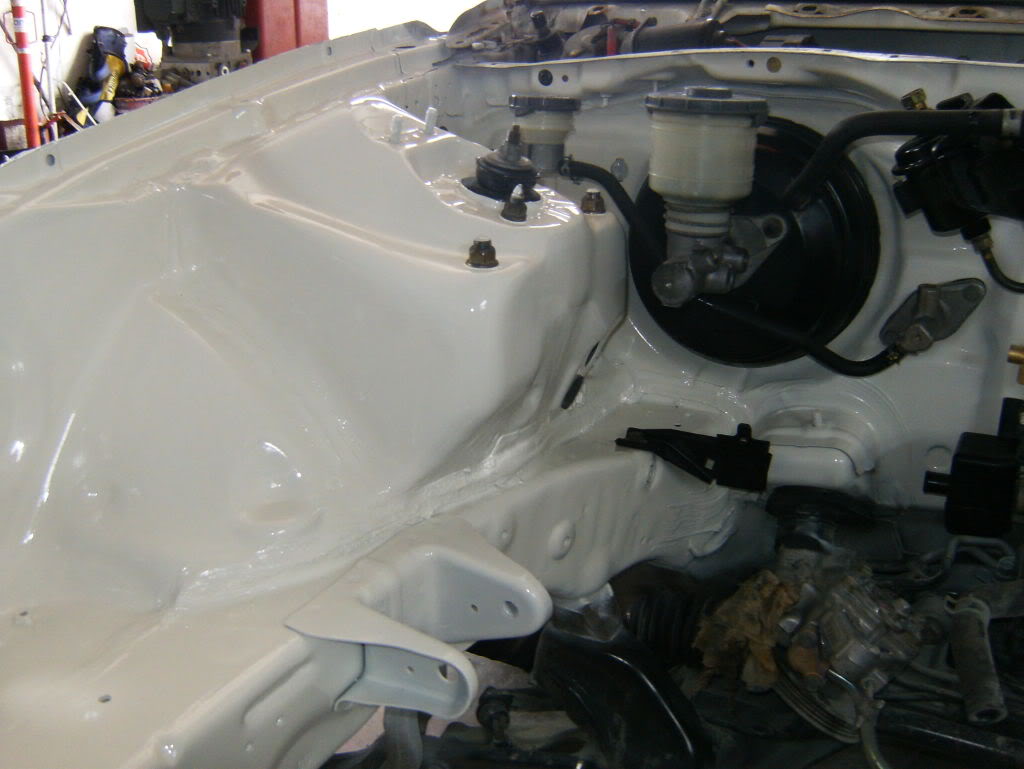
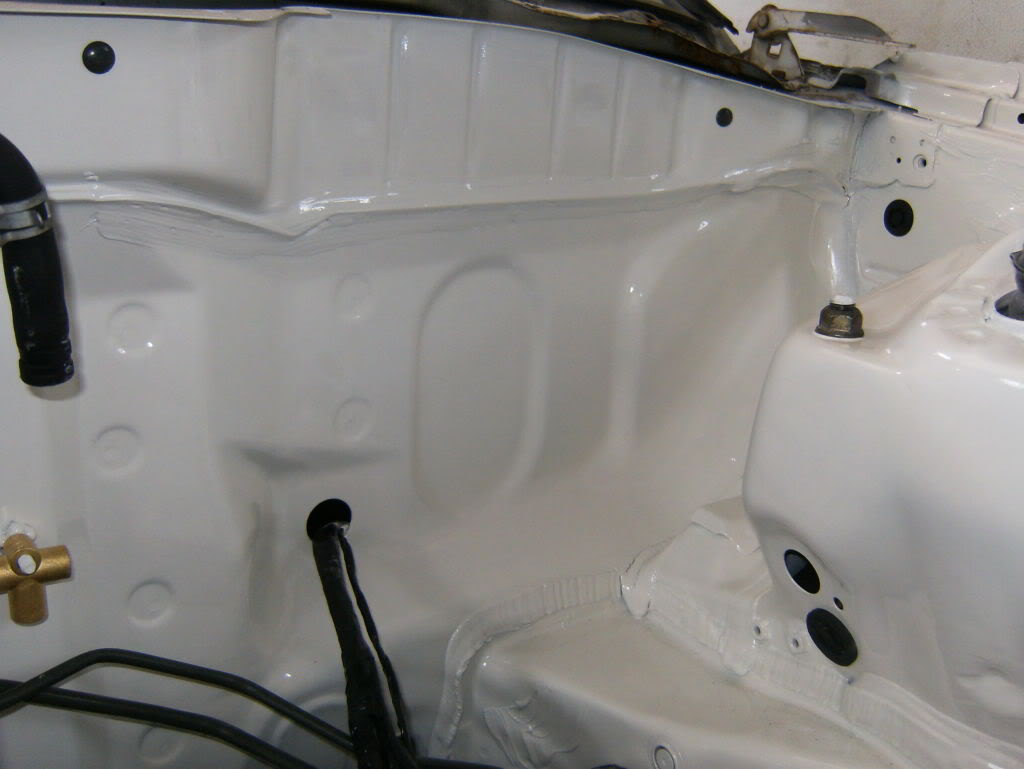
well we welded up all the holes in this mother ****er and got sum championship white paint made up and sprayed it in around the bay to leave it looking minty fresh when the lump is dropped back in
pics :woot:
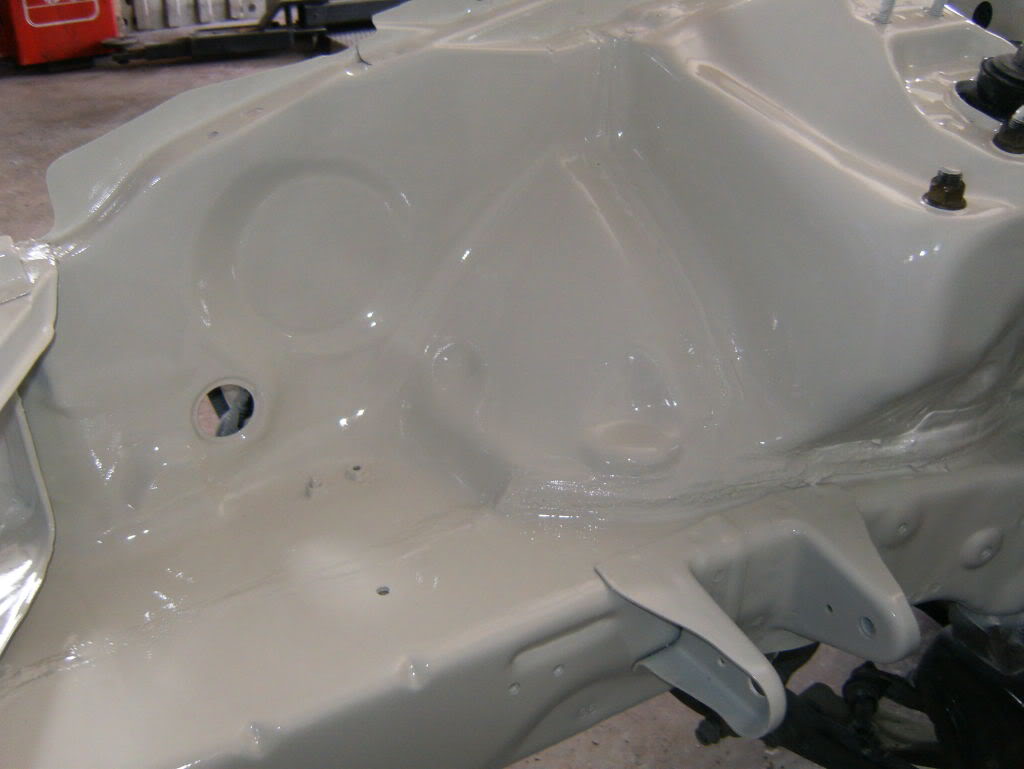
And where the battery and fuse box used to be
More updates on this, im absol knackered so il let the pics do the talking 😀
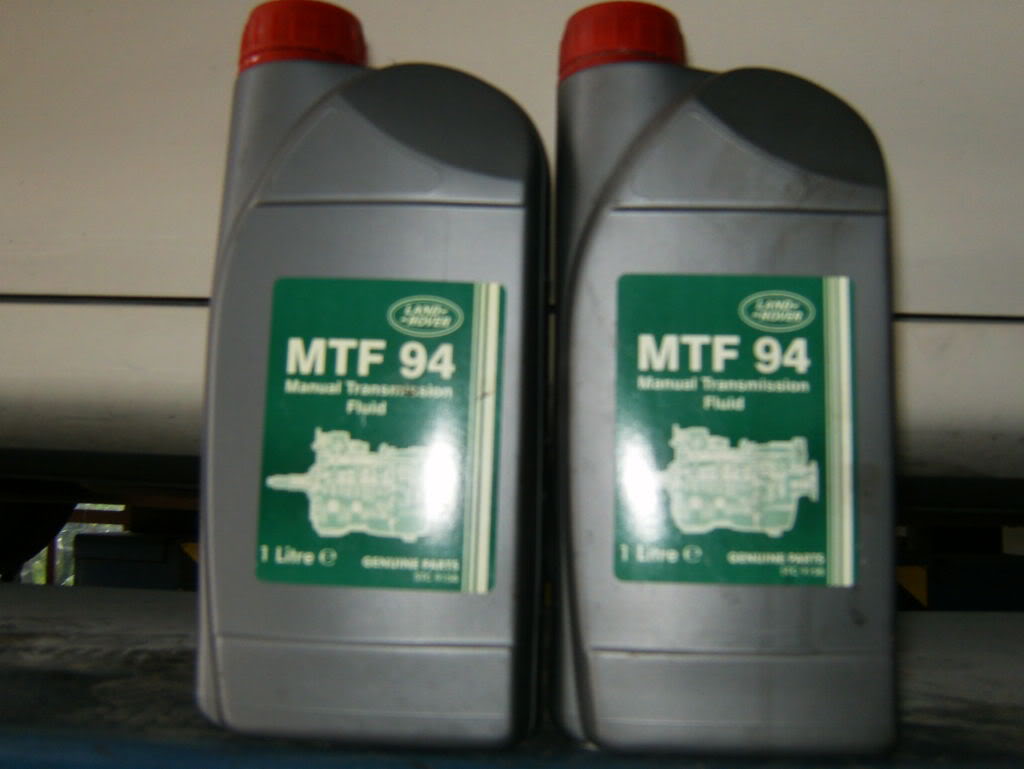
mtf transmission fluid
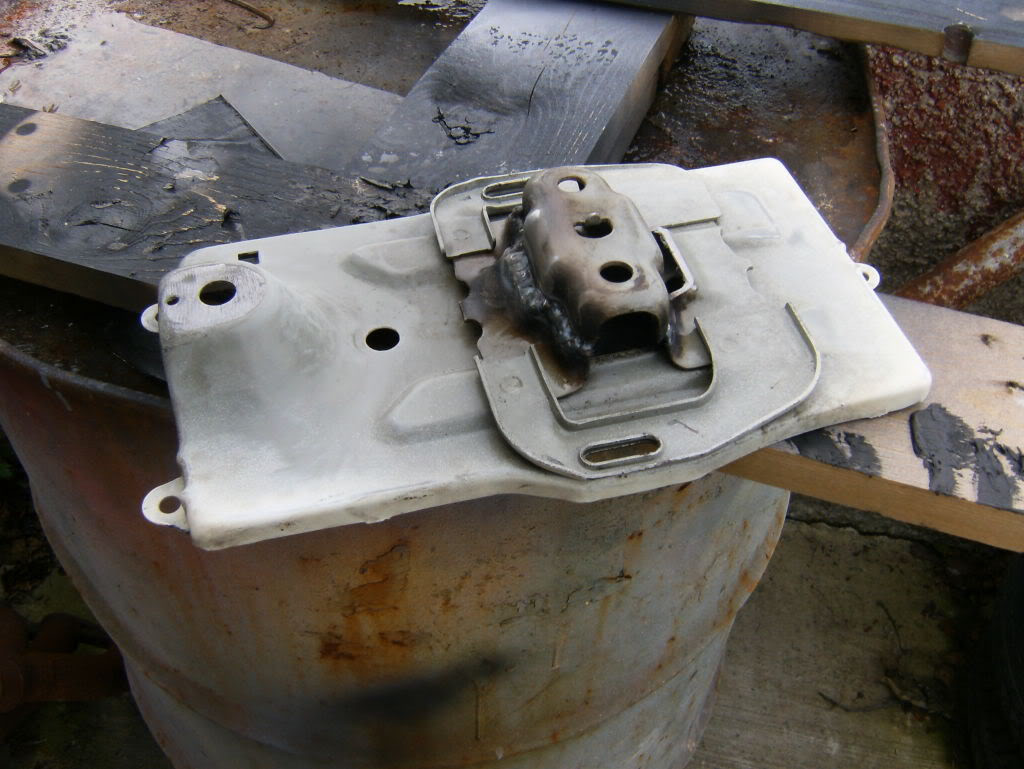
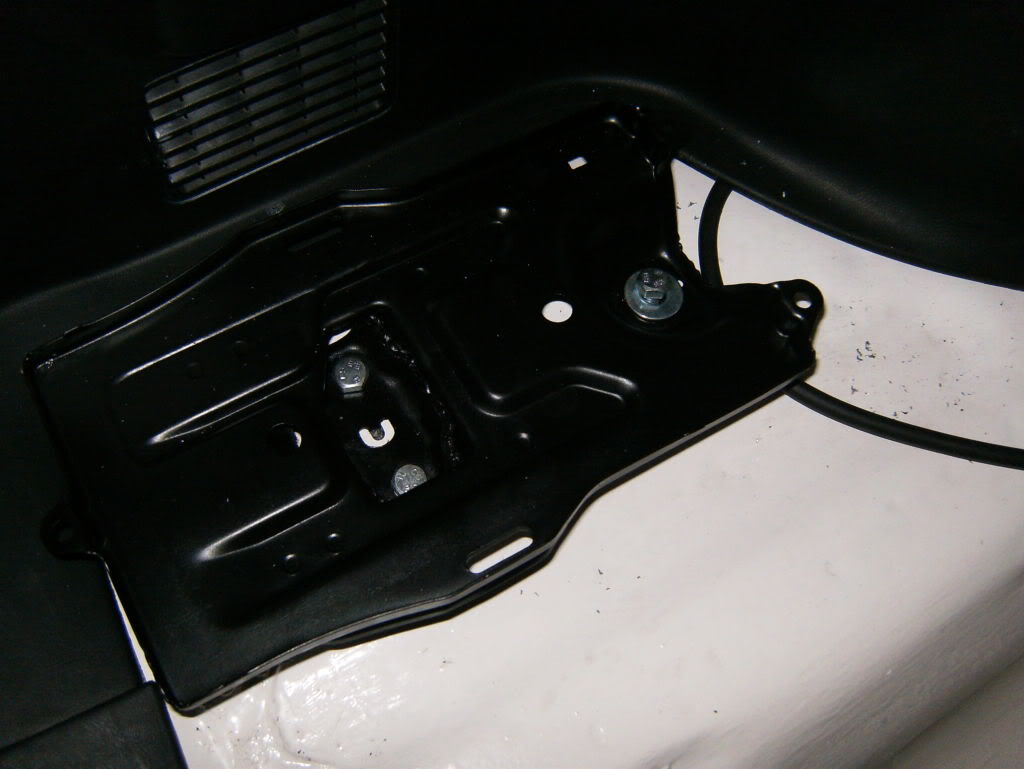
custom made battery tray for relocation to the boot
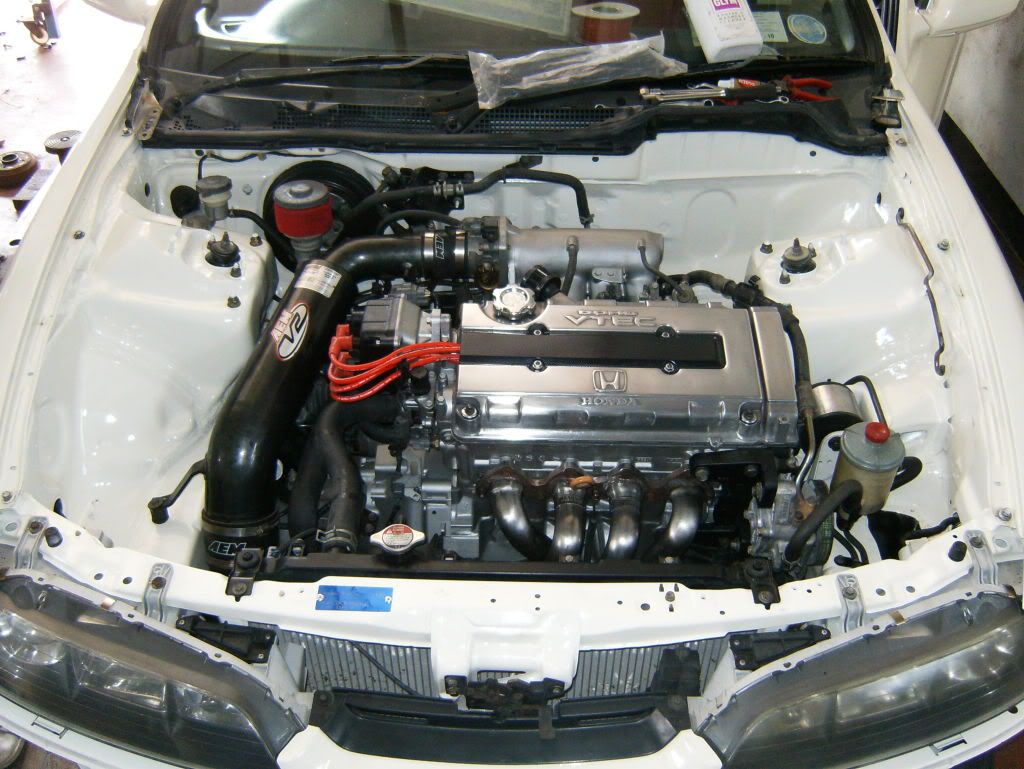
engine bay finished at long last 😀
More to come
IM HAPPY TO SAY I HAVE AN UPDATE :happy) :happy) :happy)
As ya might know, the car will be goin in now after christmas for a FULL respray, like a real proper job, factory finish standard so i decided to start collectin parts for it
Headed off yesterday and came back with this lot
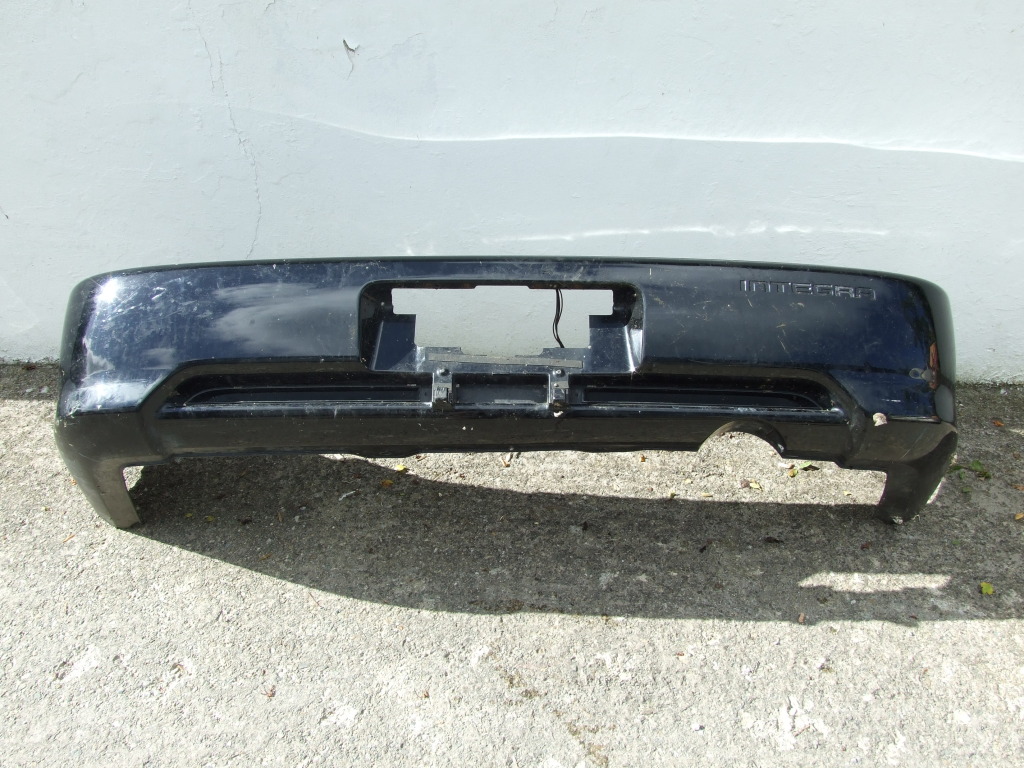
98 Spec Jap Rear Bumper
oem honda integra optional sideskirts :happy)
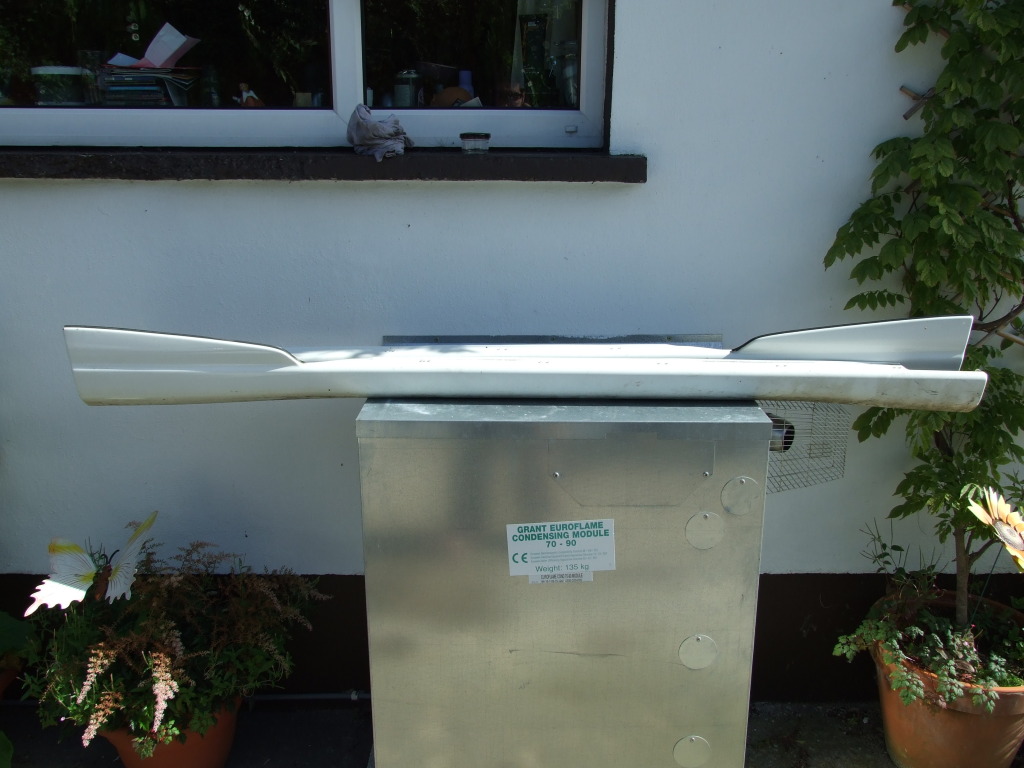
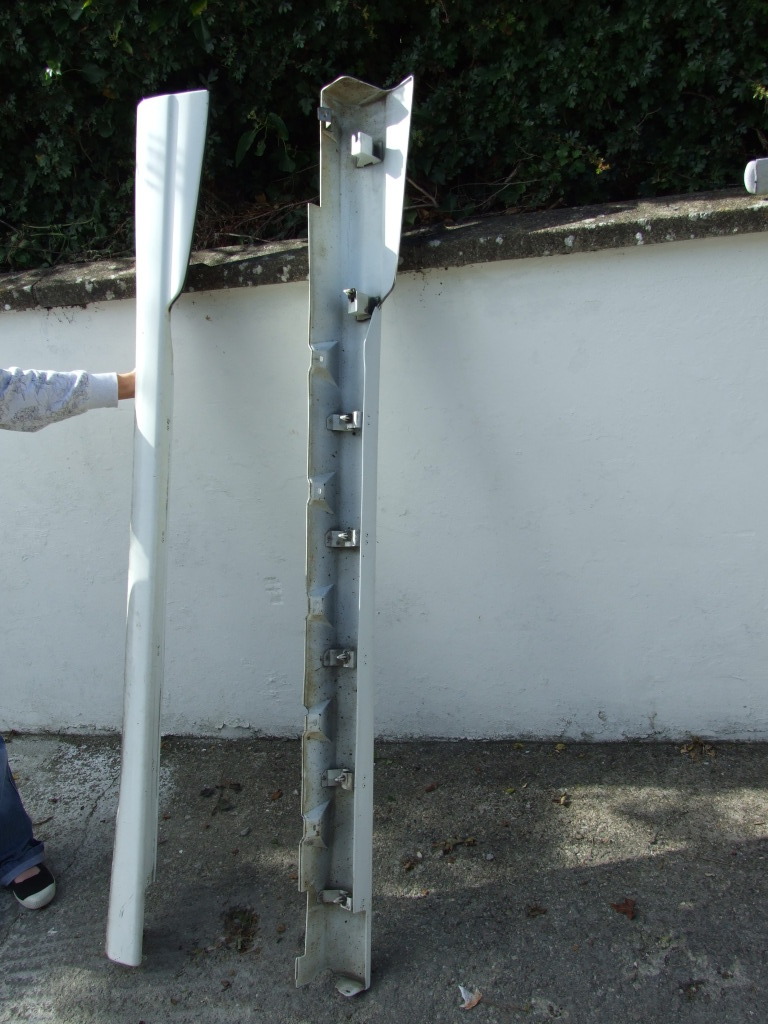
proof that they are oem honda
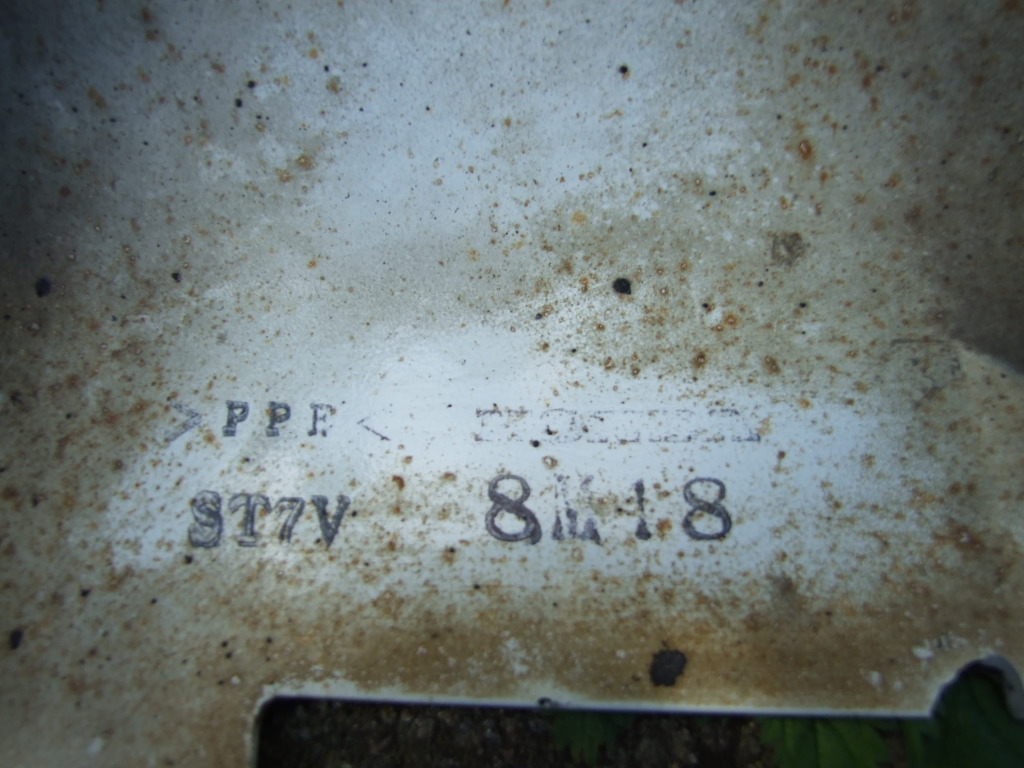
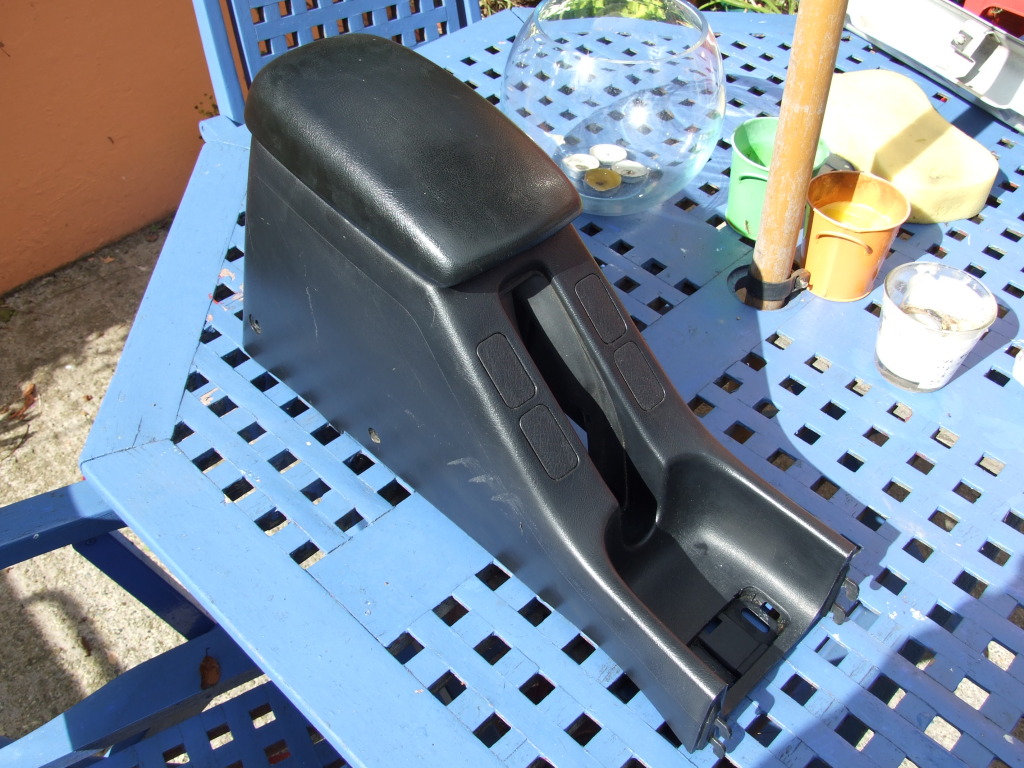
Sir centre arm rest, LOVE THIS 😀
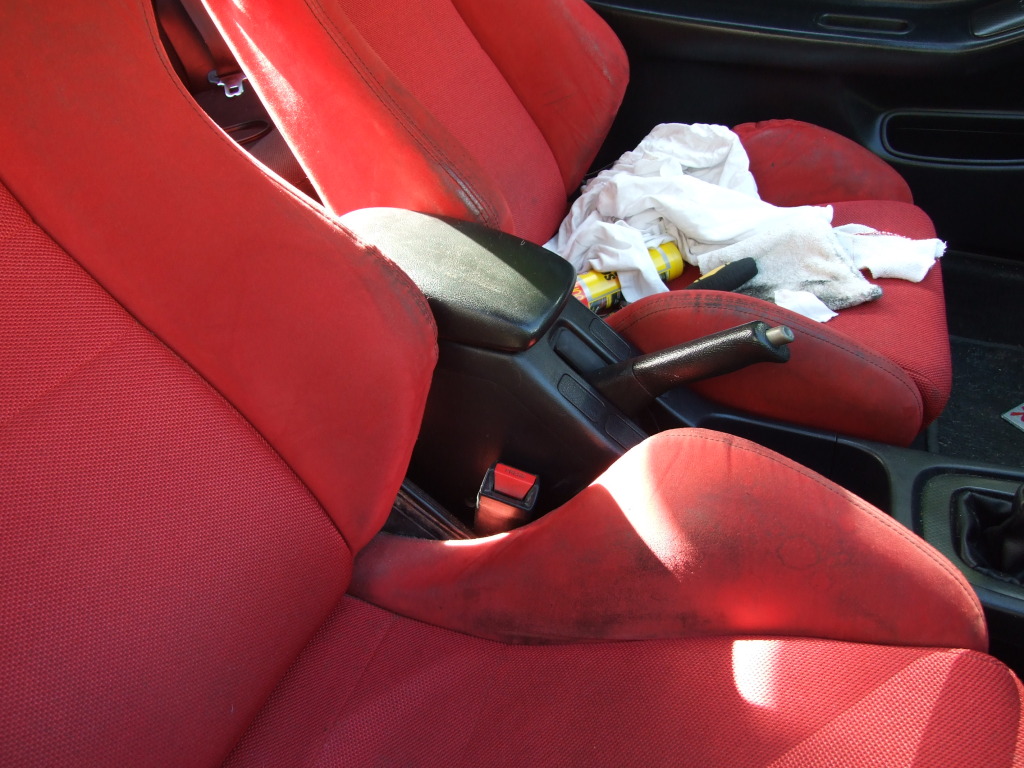
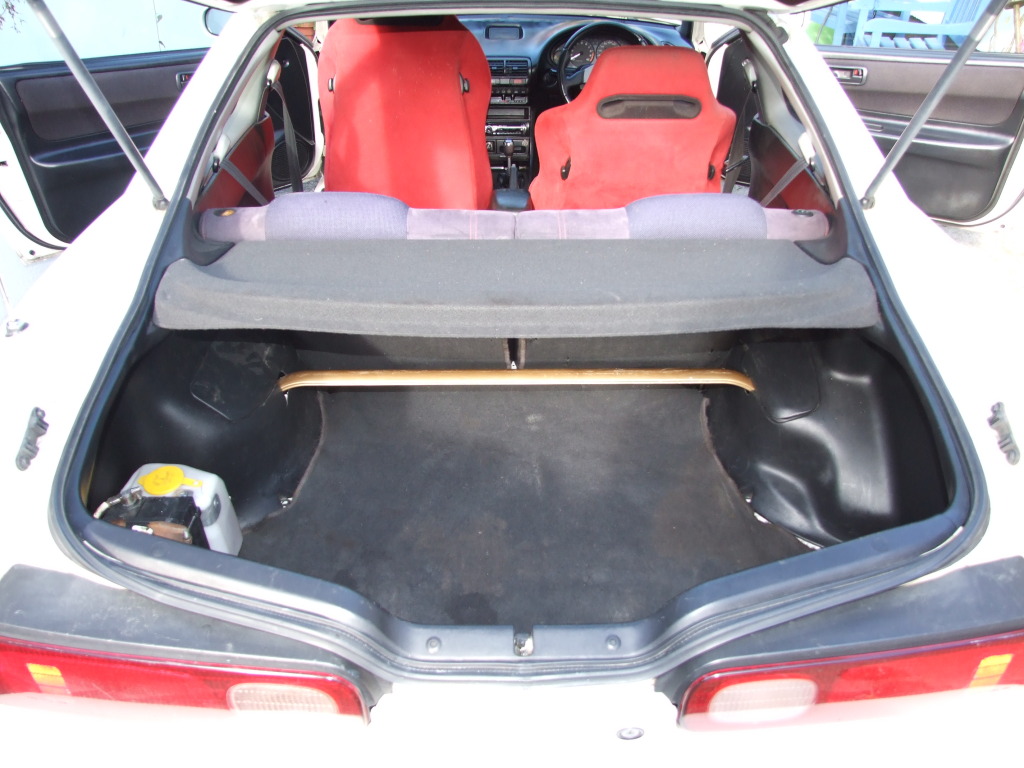
dont mind the recaros, g.mc.m is on the lookout for a mint set for me
have the original speaker cups in the back with pioneer speakers and they are epic, a sexy change from one speaker in the front workin. would like t thank tedman for wiring up the car properly for me. 4 speakers workin kicks ass lol
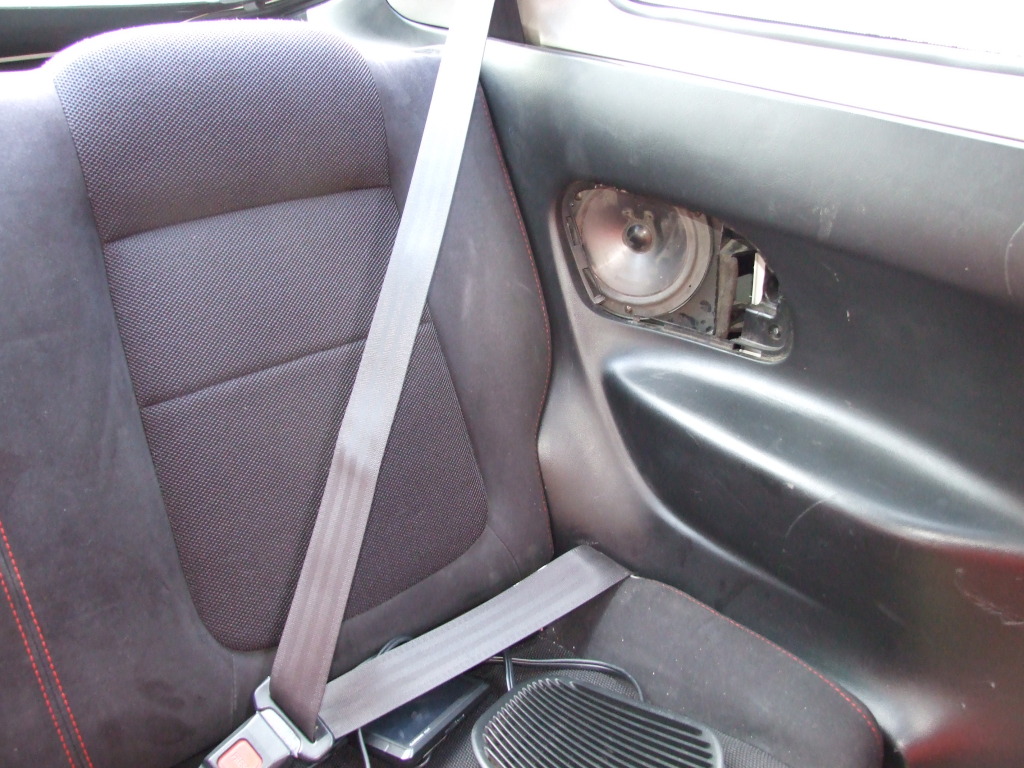
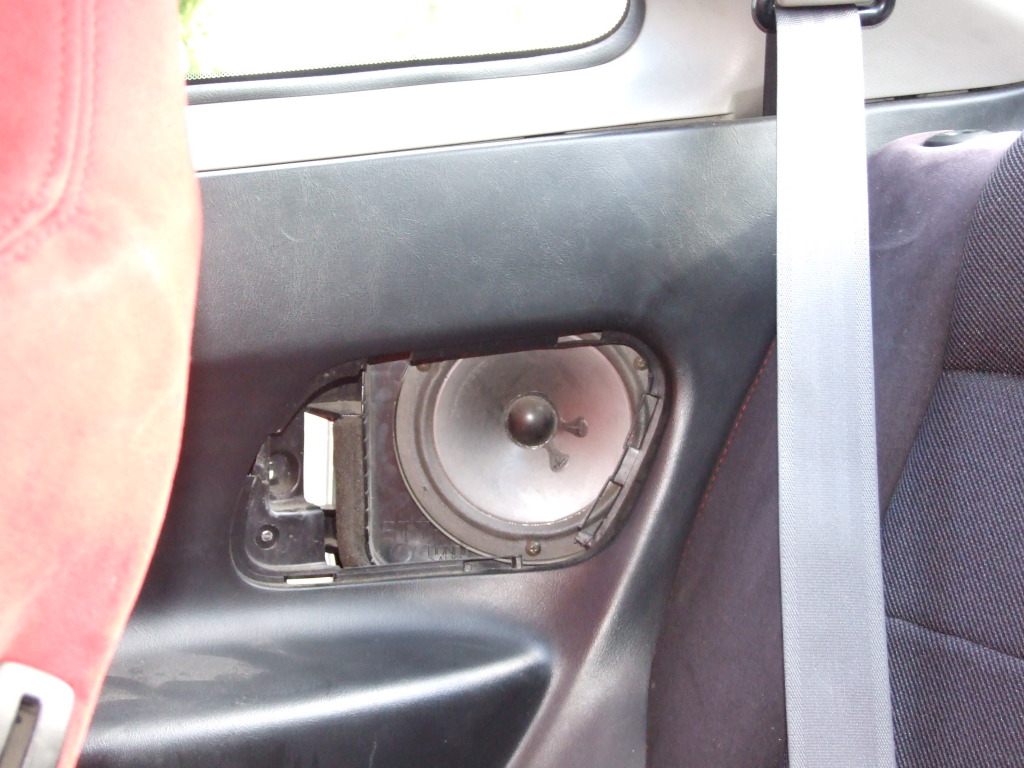
now with my unbutchered parcelshelf. i hated the one with the 6×9’s cut into it, my God but they look shit
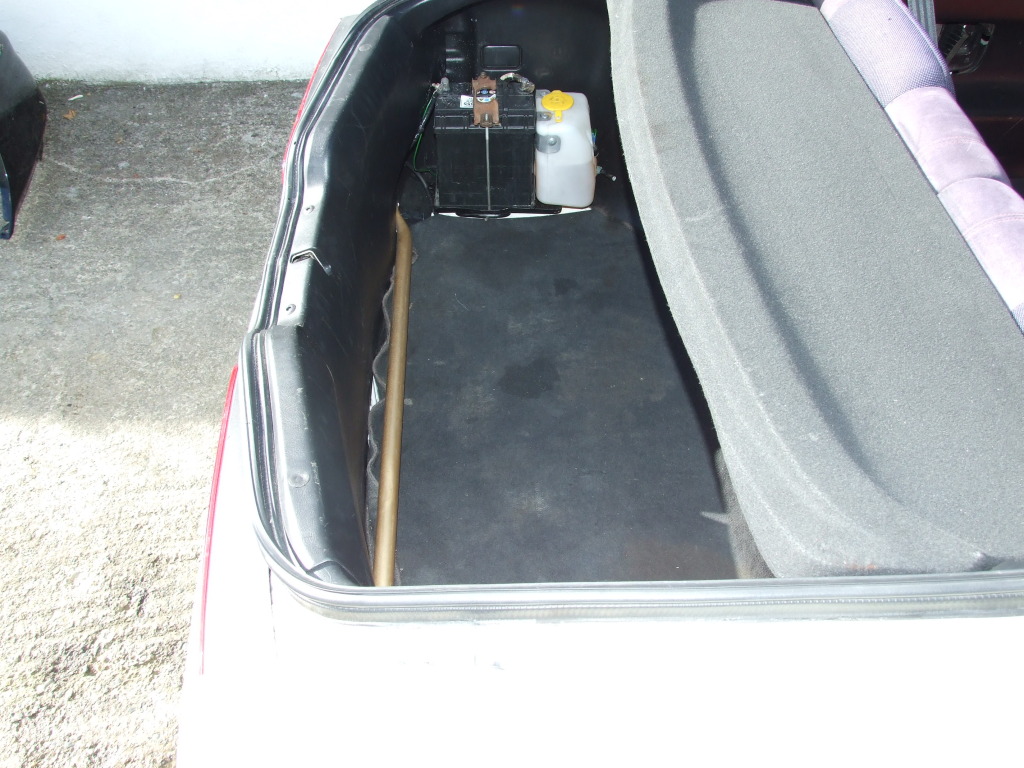
any tips on what to use to clean the boot mat?? was thinkin about powerwashin it but the material isnt the thickest and im scared o bustin a hole through the material
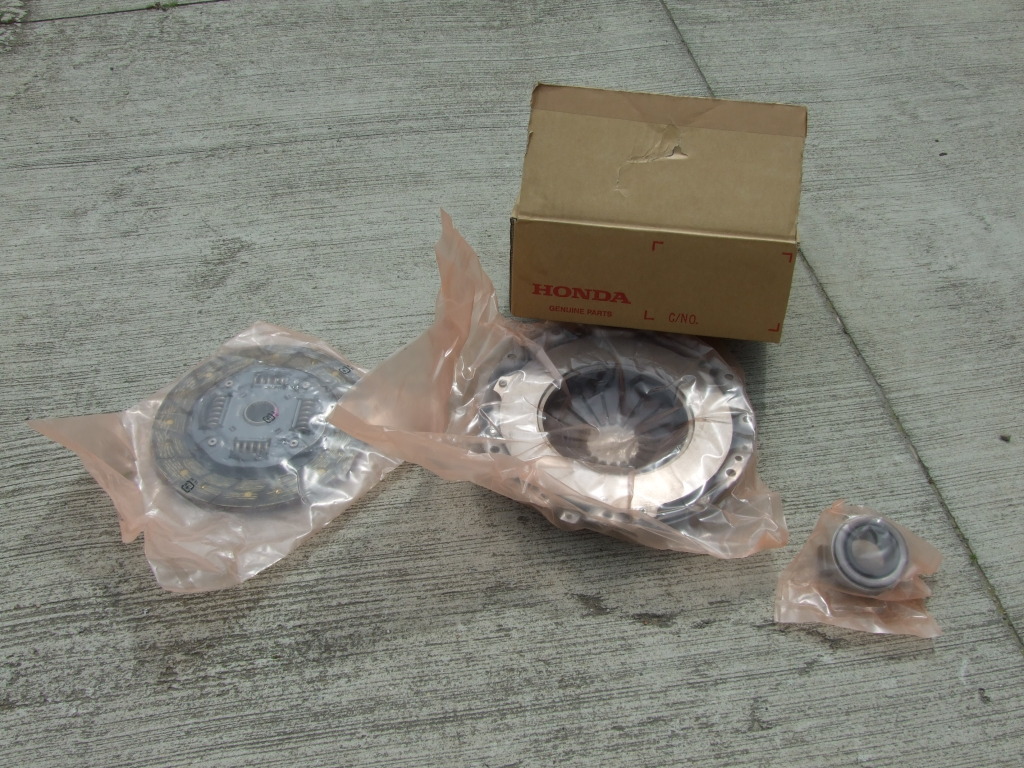
anyway when i was uploadin the photos i forgot about this picture that i had from when we were doin the build. this is the oem honda clutch kit that went into her. big thanks to benzai and to gizmo who brought it up for me 😀
anyway, il try and get more toys soon

I came across your site while searching for more information about my mower, but I always love a great do-it-yourself site. I’m going to bookmark the site and look forward to reading more articles.
Amazing! You did a great job. You should write a lot!
I like this. Bookmarked!
Howdy, I want to say thanks for an fascinating site about a subject I have had an interest in for a while now. I have been looking in and looking at the comments avidly so just wanted to express my thanks for providing me with some very good reading material. I look forward to more, and taking a more active part in the talks here, whilst picking up some knowledge too!!