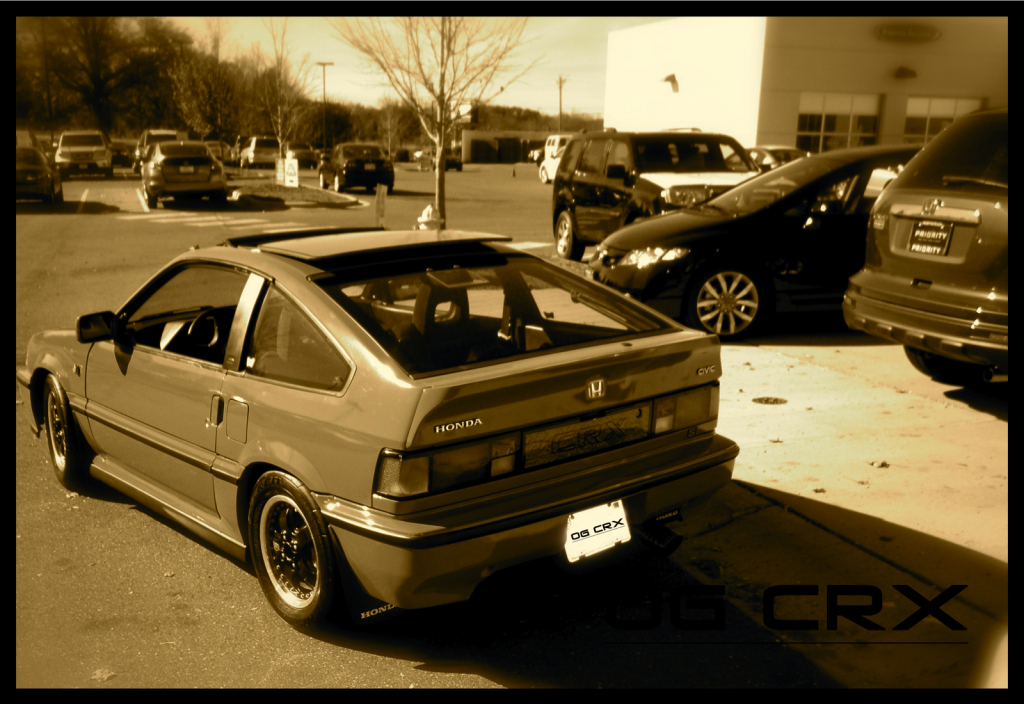
1986 First Generation Honda CRX Si Build
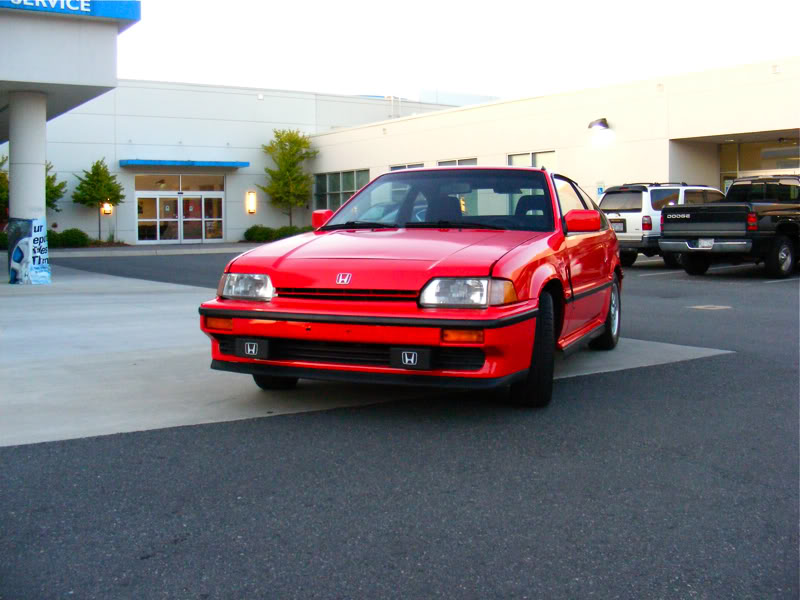
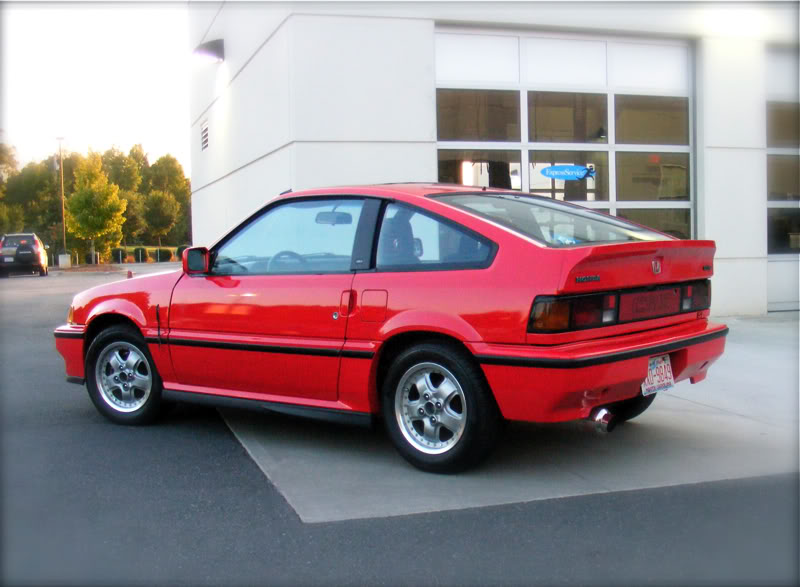
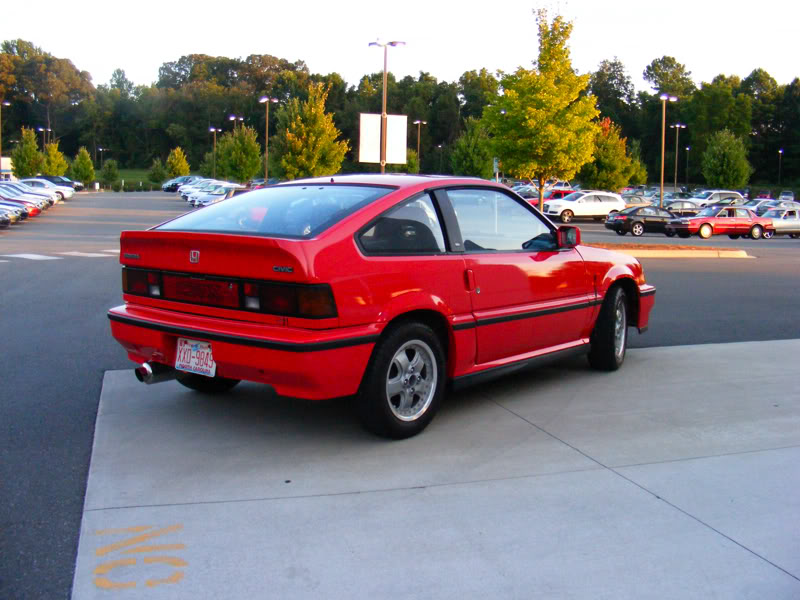
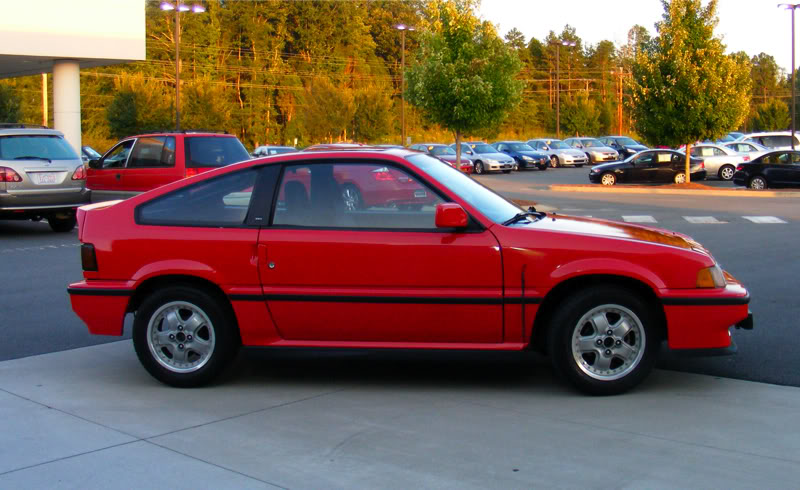
This clean CRX belongs to Dan T. of North Carolina.He took a shell and turned it into one of the cleanest and well built first generation Honda CRX we have seen so far. This is his build and story.
Most up to date Specs list:
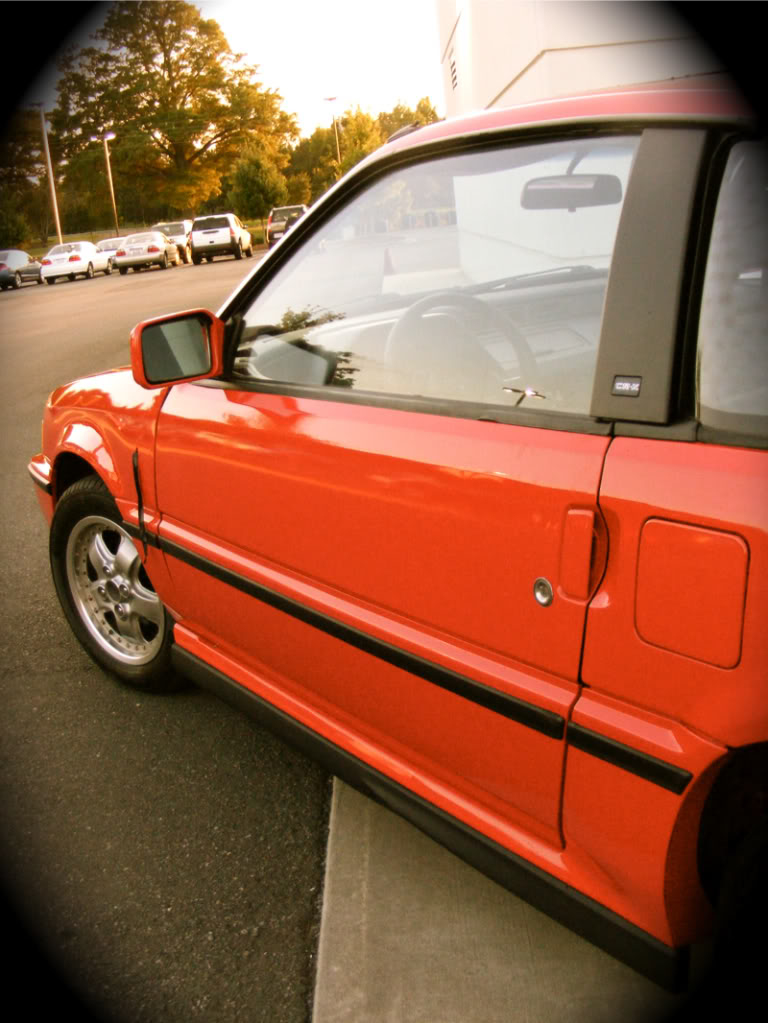
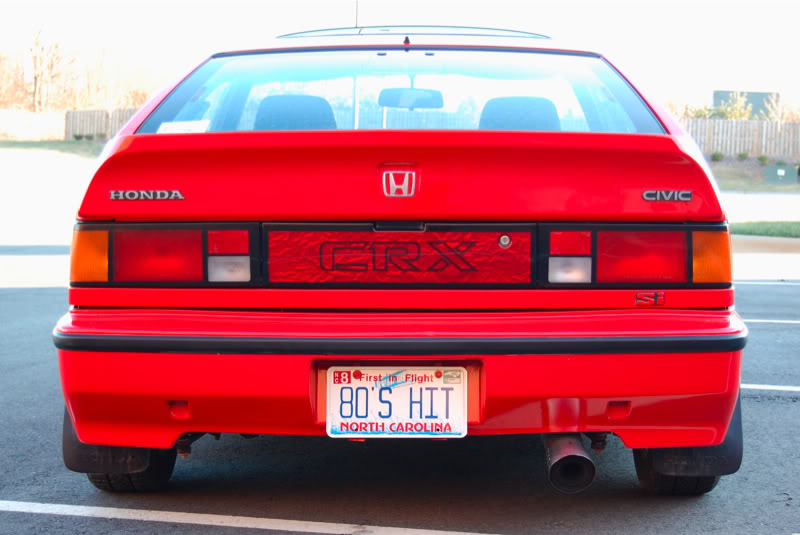
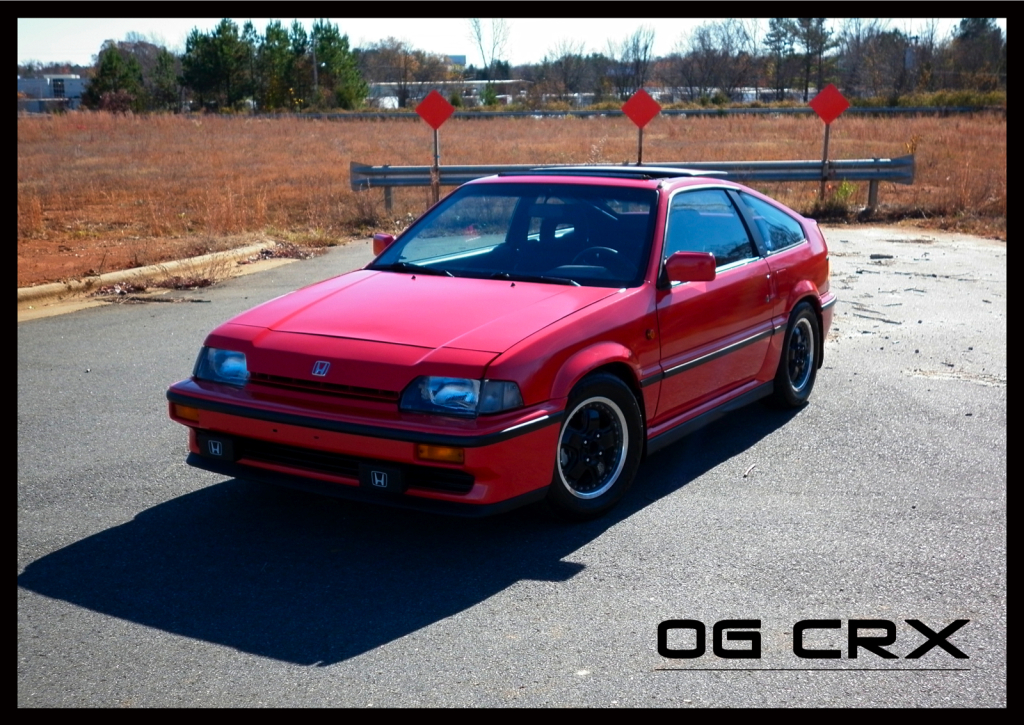
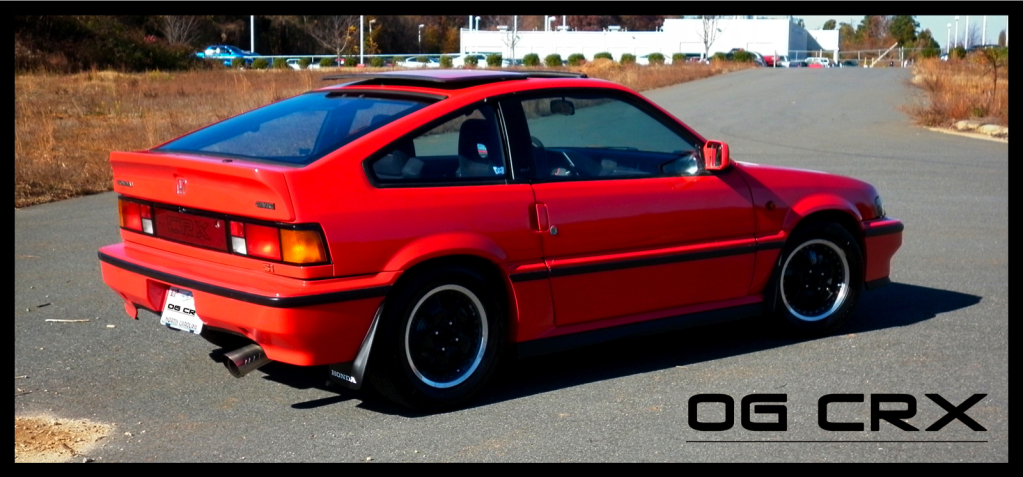
1986 CRX Si; Rio Red
175K on clock; 5-speed MT
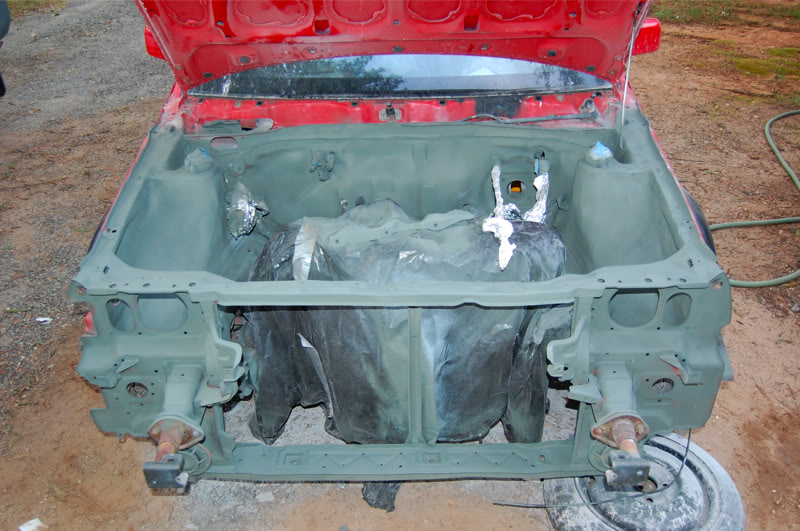
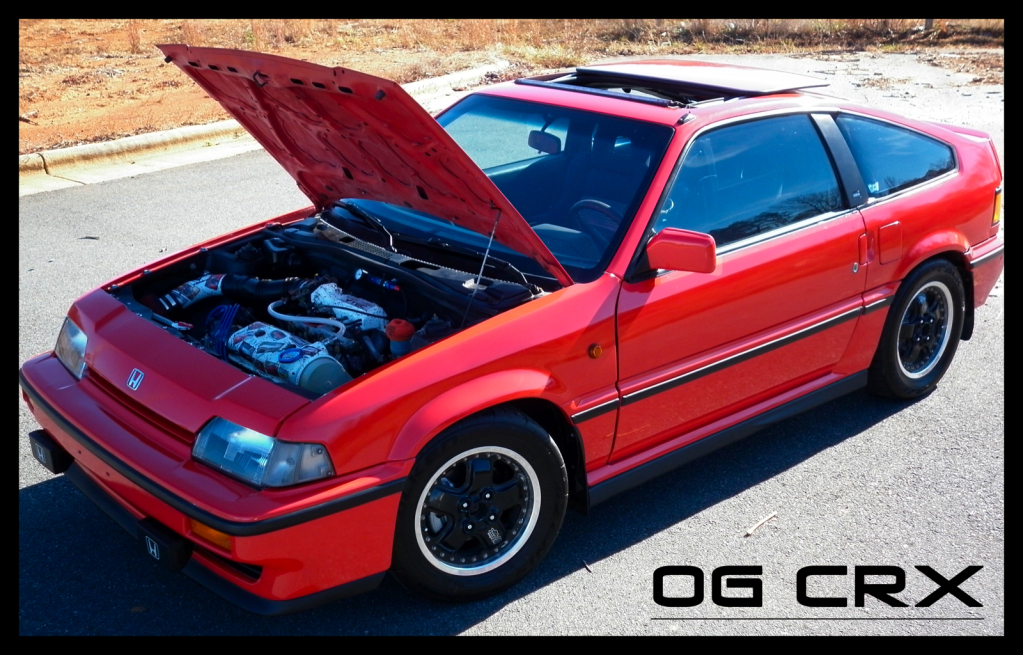
Tucked and Shaved bay
Bay and Interior painted with bedliner spray
Engine:
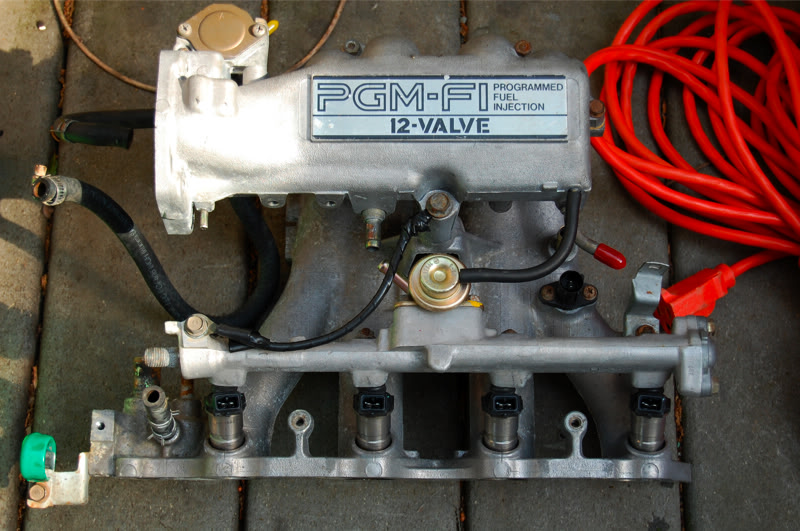
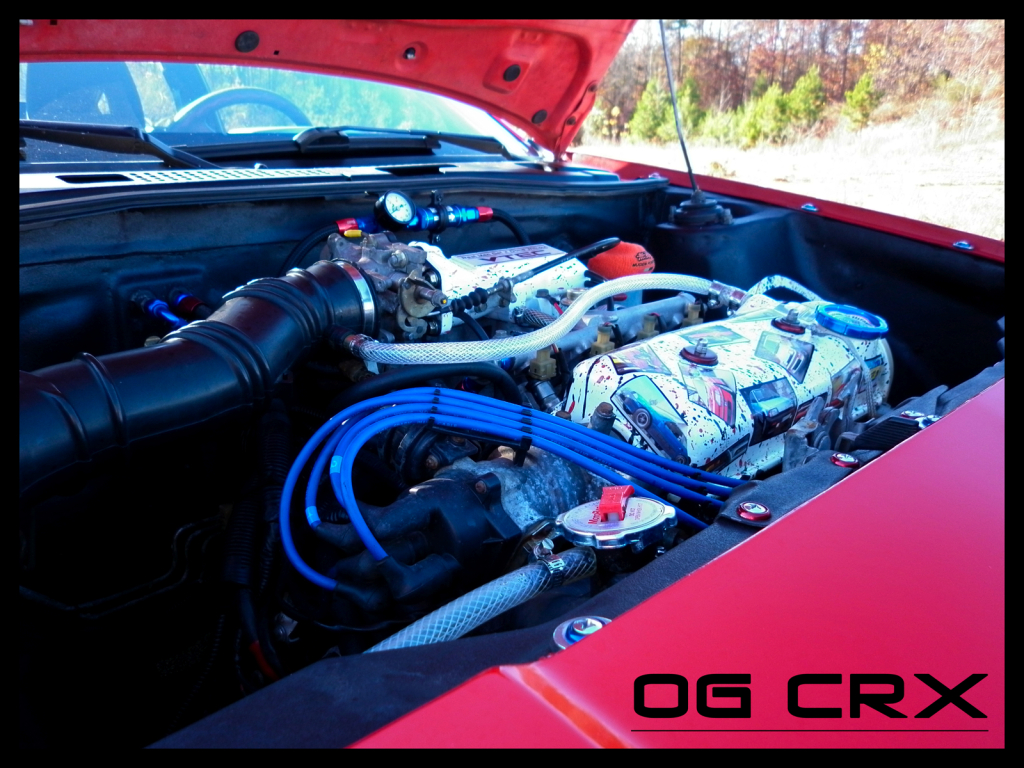
original EW4 1.5L SOHC engine; overbored (.040 pistons); P&P; 3-angle valve job; DX outer/Si inner valve spring combo, mild port work on TB
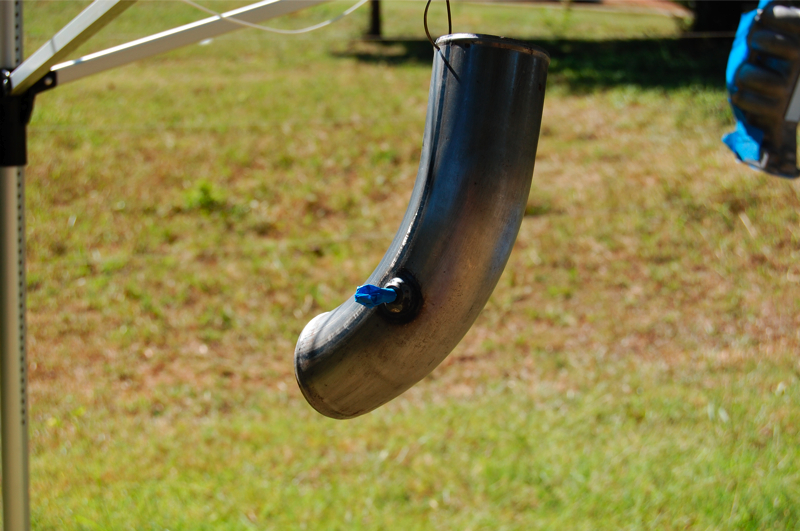
HKS elbow intake
Pacesetter 4-2-1 Headers
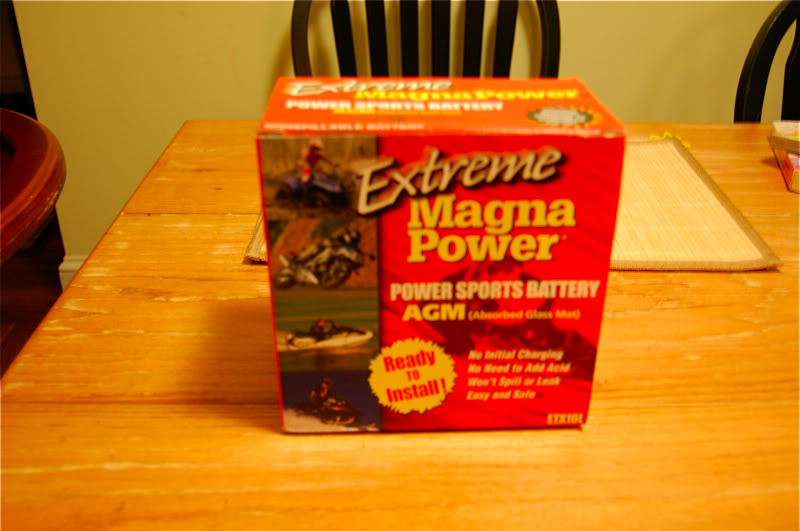
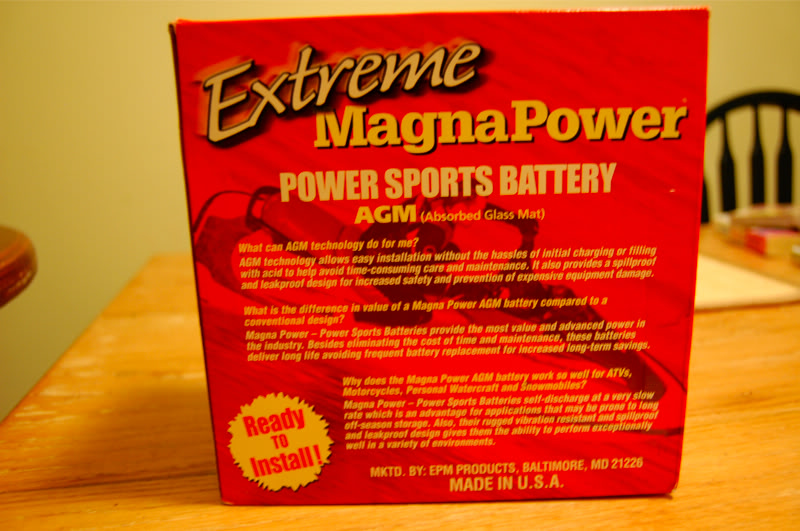
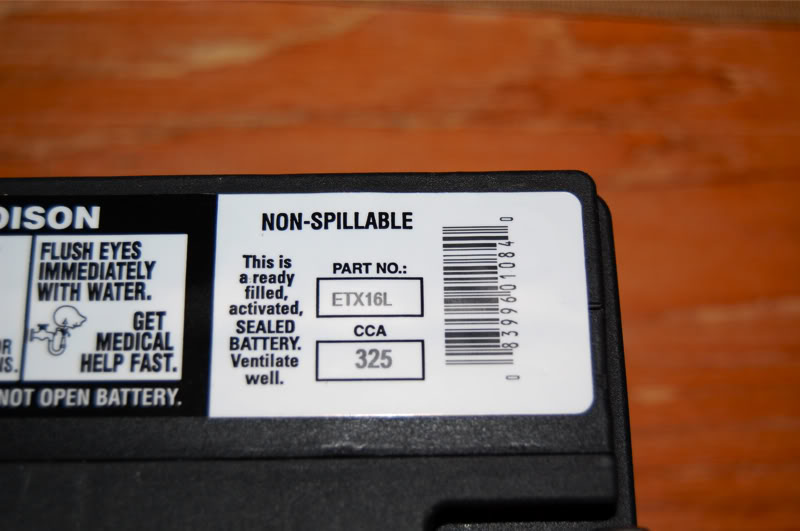
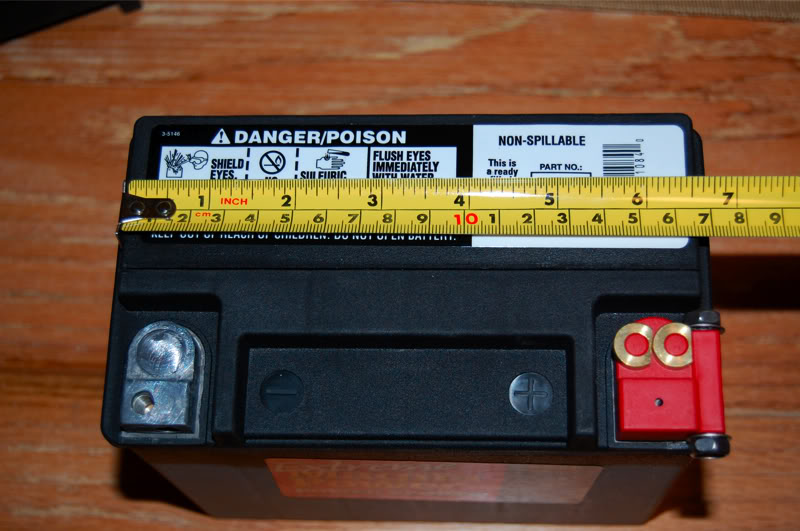
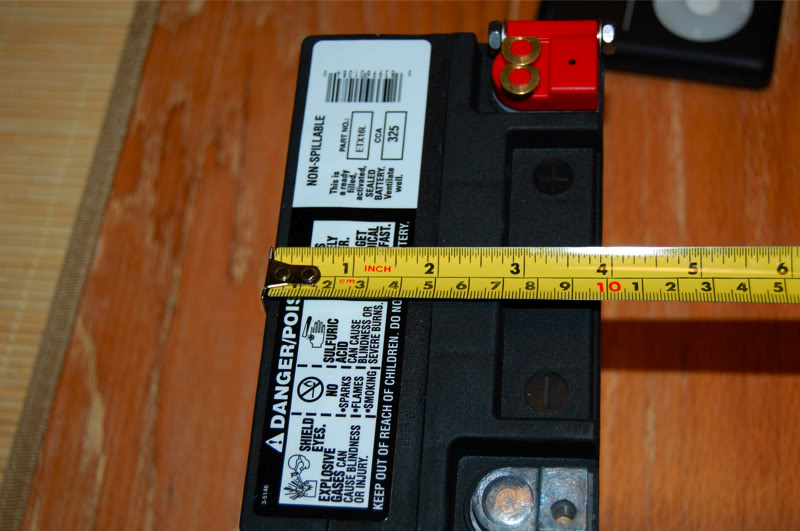
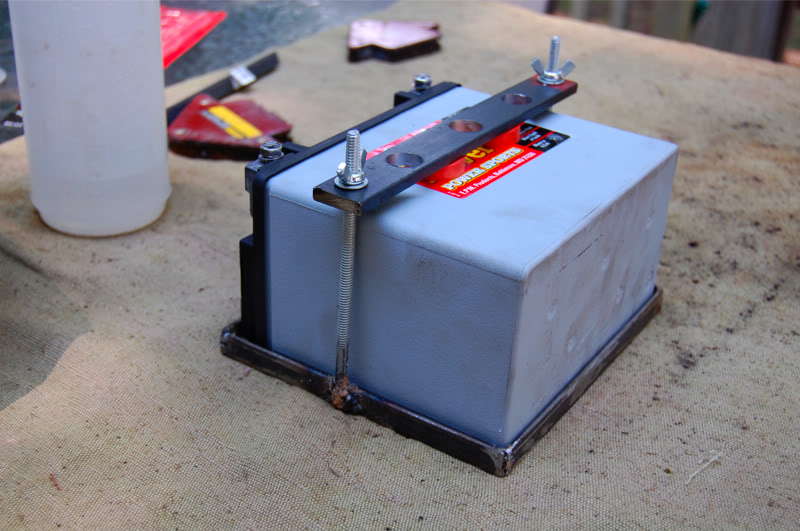
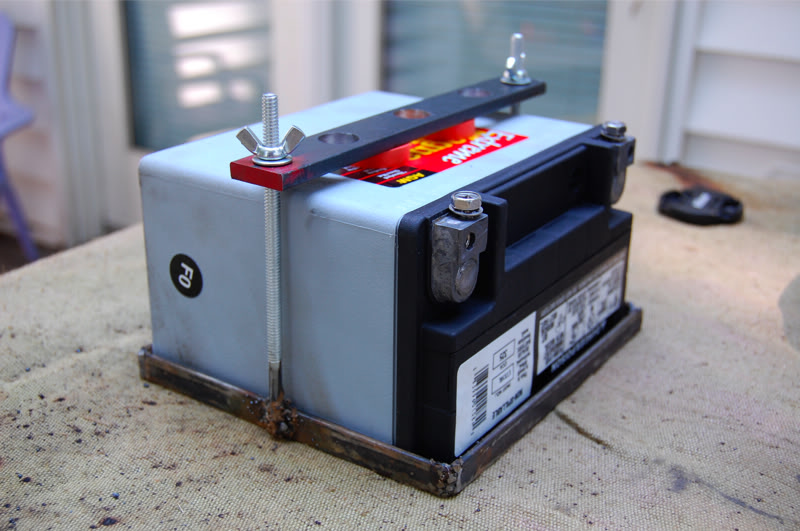
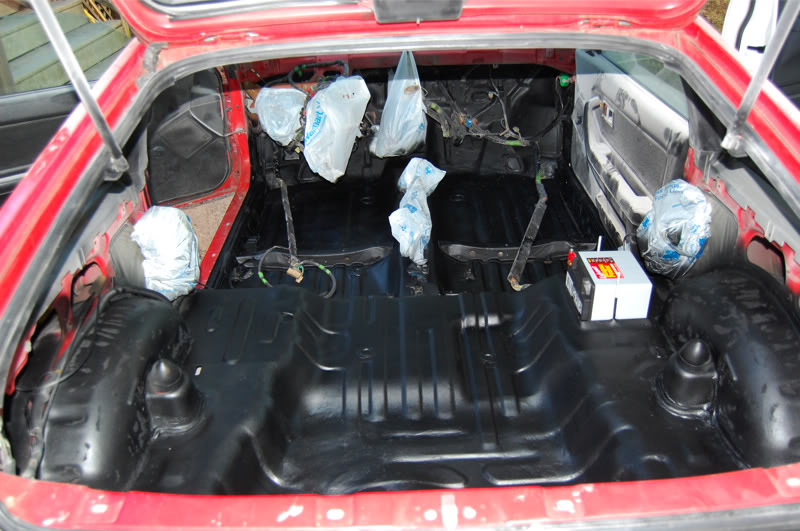
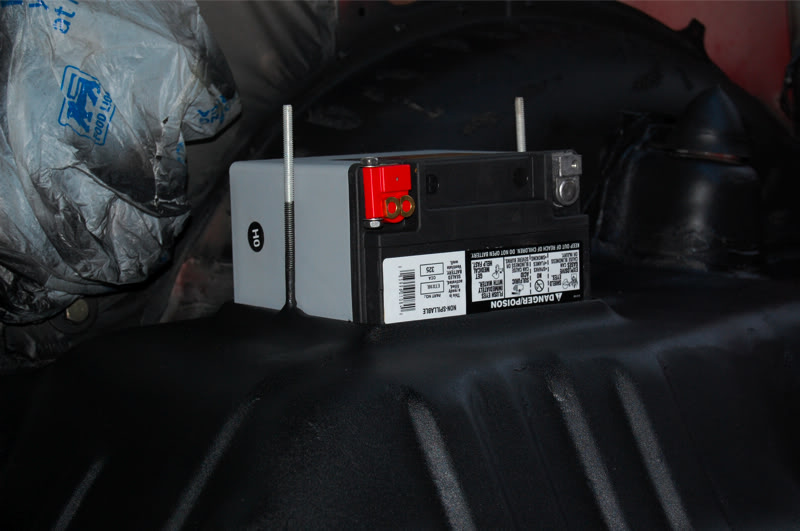
mini Sealed battery relocated to rear of vehicle
0-gauge battery wire from mid-90’s BMW
De-Vac’d
No heat or A/C
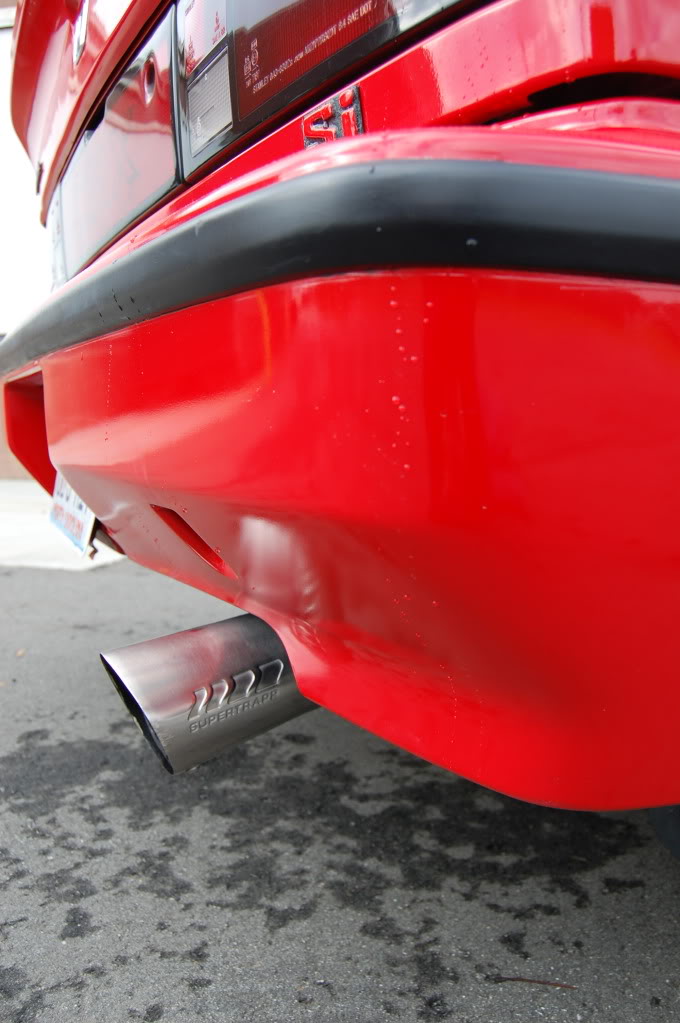
2.25″ exhaust w/ SuperTrap muffler
OPM LSD
Lightened flywheel
Spec Stage-2 clutch
Suspension:
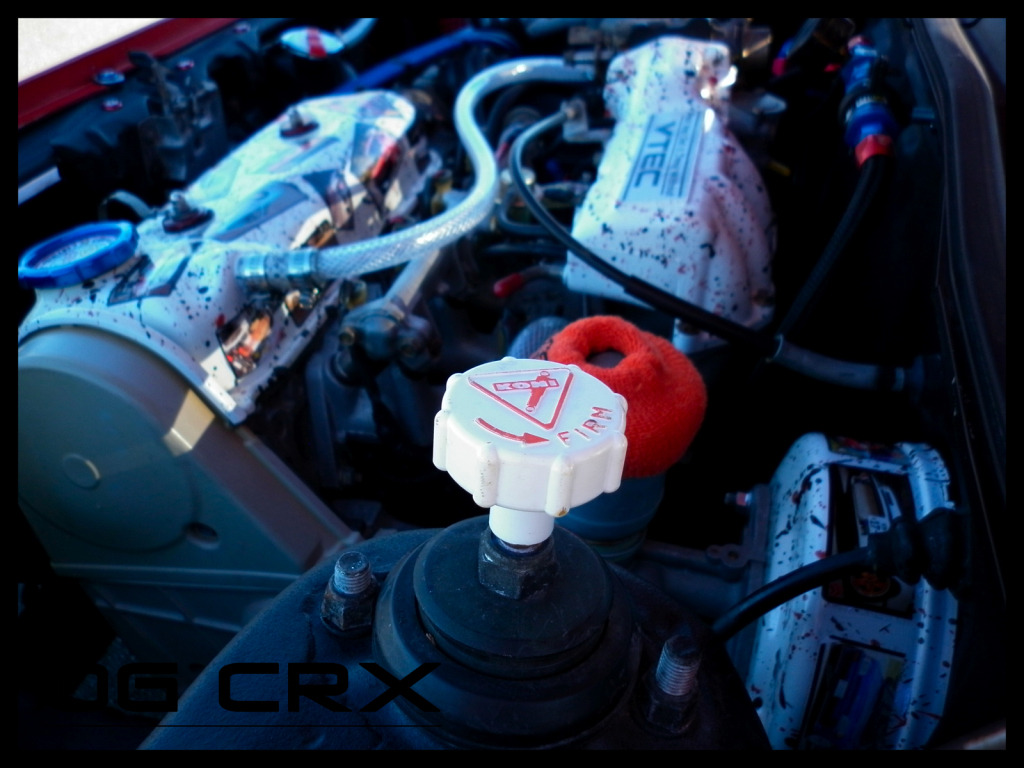
Koni yellow adjustable suspension F and R
Suspension Techniques front and rear sway bars
Front torsions lowered to their max. (Good chance these are aftermarket units, though this is unconfirmed; very stiff, no bottoming out)
GC rear coilover’s; dropped approximately 2.25″, 225-lb. Eibach springs
Brakes:
86-89 Integra Front rotors and Calipers
’85 Prelude (carb’d) 15/16″ Master Cylinder
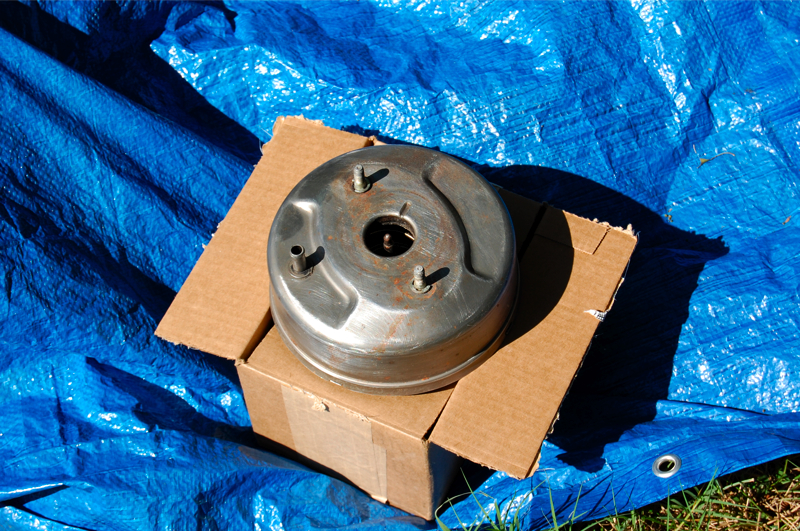
85 HF aluminum drum swap with HF backing plates
BG Goodrich brake lines F and R
ATE Super Blue Racing Fluid
Wheels and Tires:
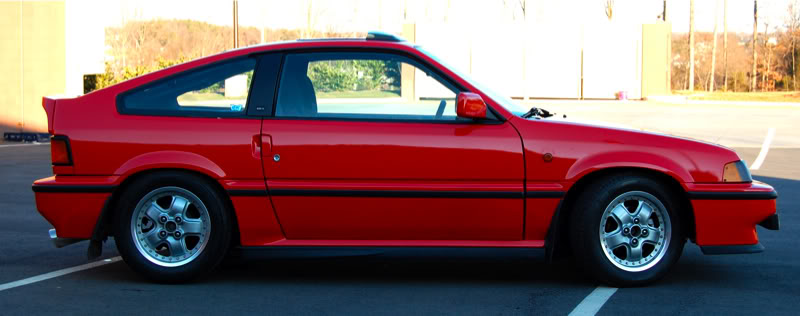
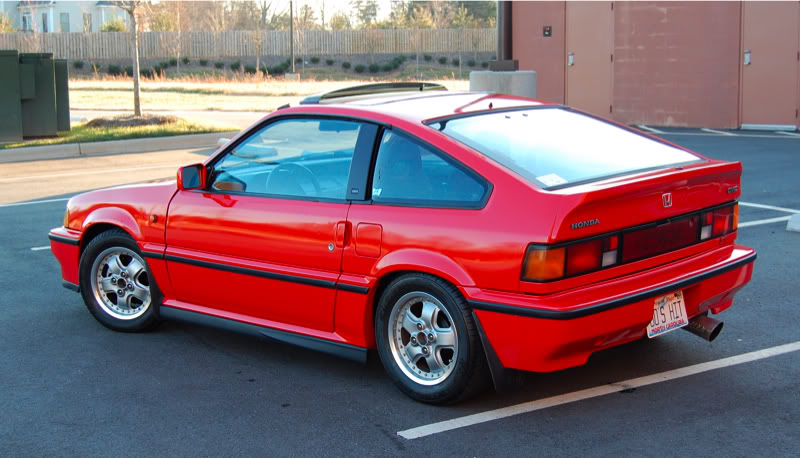
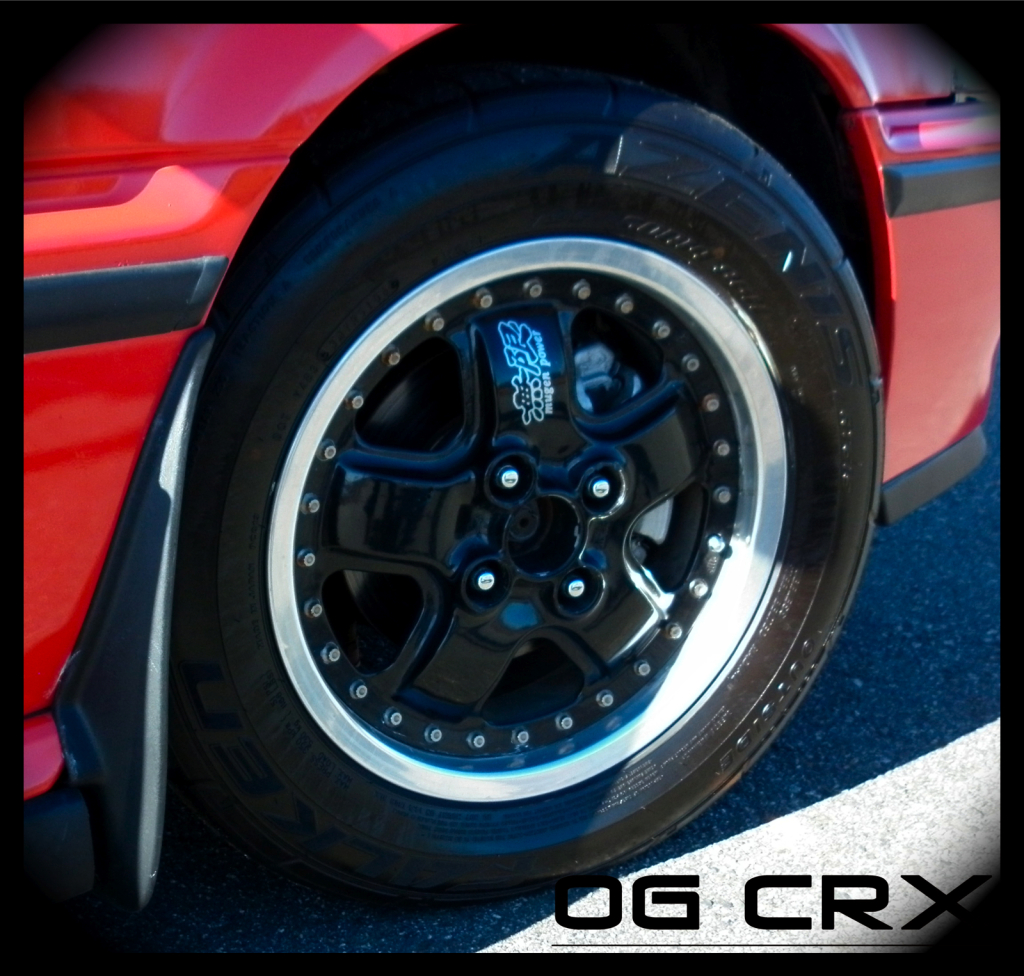
Summer- 14×6 Mugen MR-5; restored
Black w/ polished lip
Azenis RT-615 tires
Winter- OEM 14×5 “Phone Dials”
Falcon tires
Exterior:
Body work done by me; paint by Maaco in OEM Rio Red
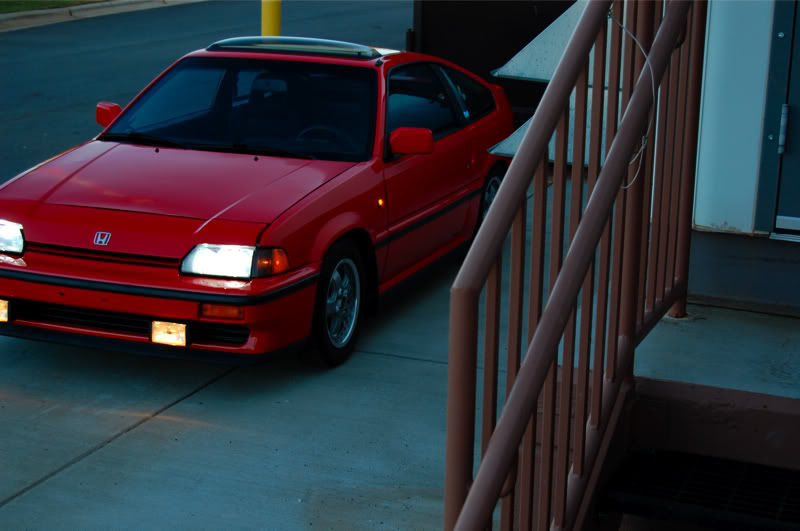
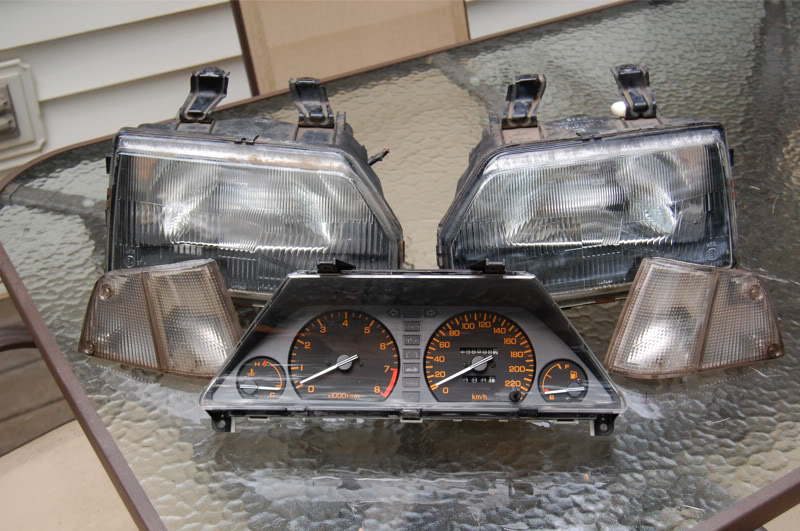
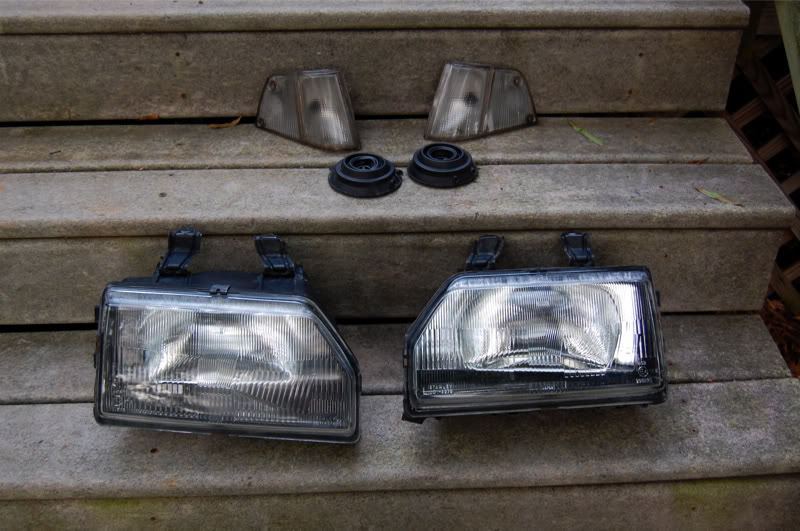
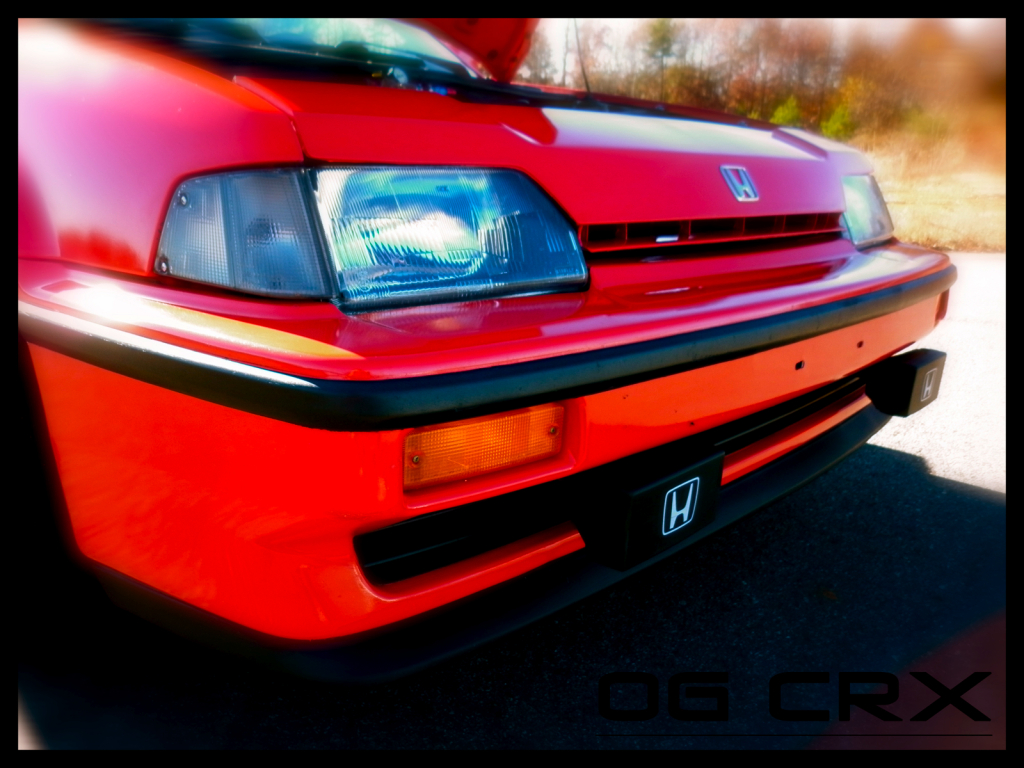
EDM black-housed headlights and clear corner lights
JDM fender sidemarkers
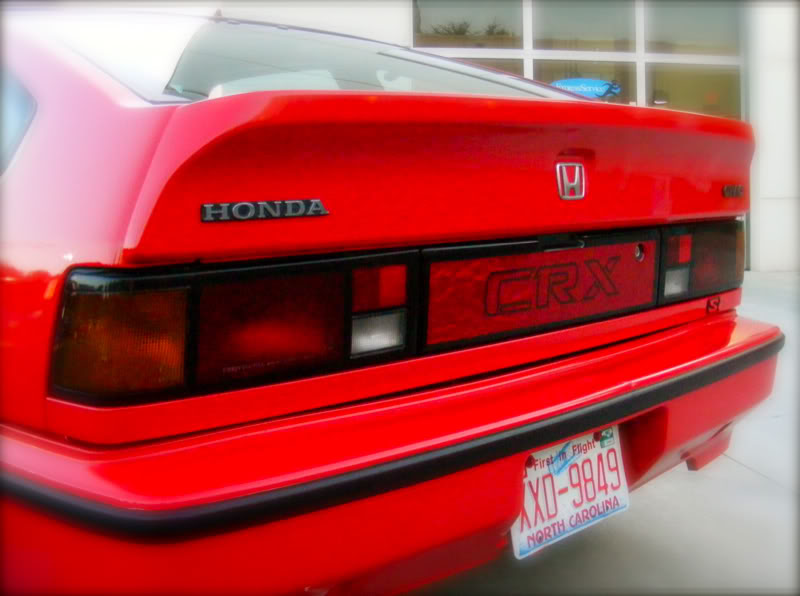
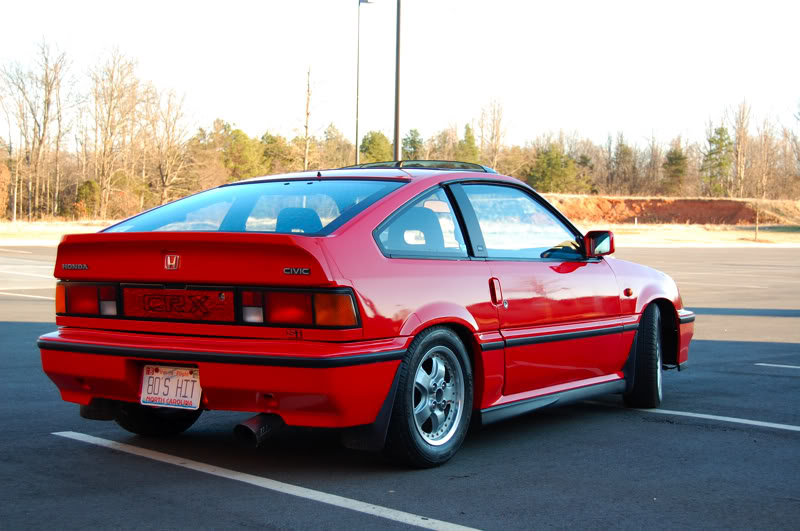
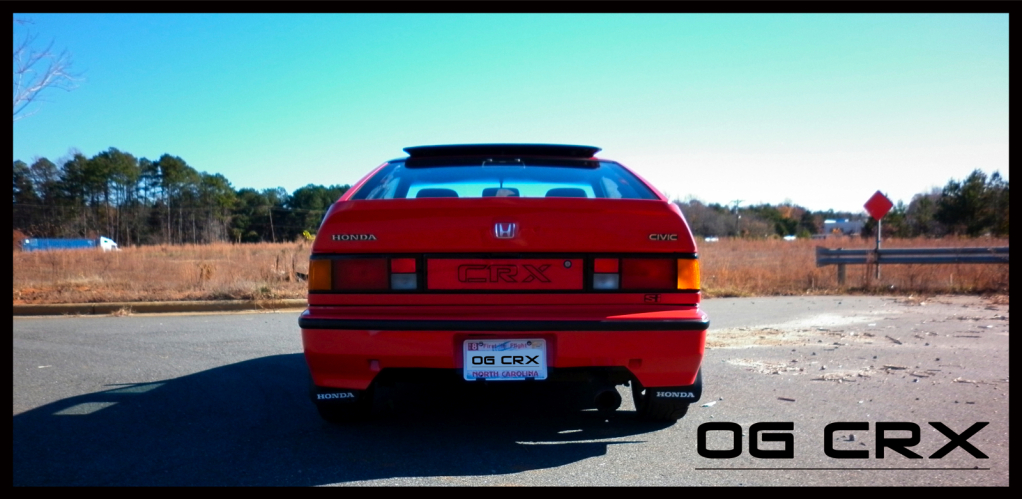
EDM taillights
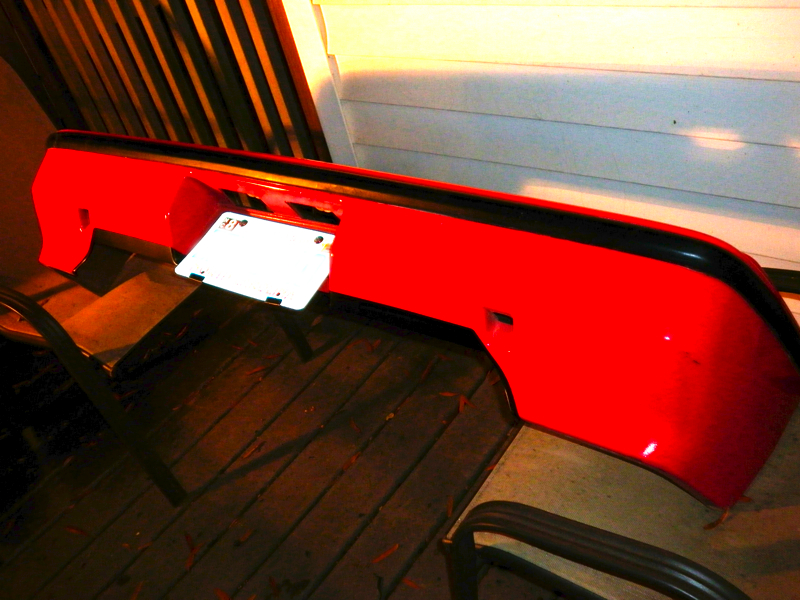
USDM optional red reflective center panel
NOS USDM optional fog lights w/ “H” plastic covers
HID 6K Low/Halogen Hi kit; German engineered slim ballasts; Ebay special
Nokya Hyper Yellow H3 bulbs for Fogs
custom sideskirts from 94-97 Accord
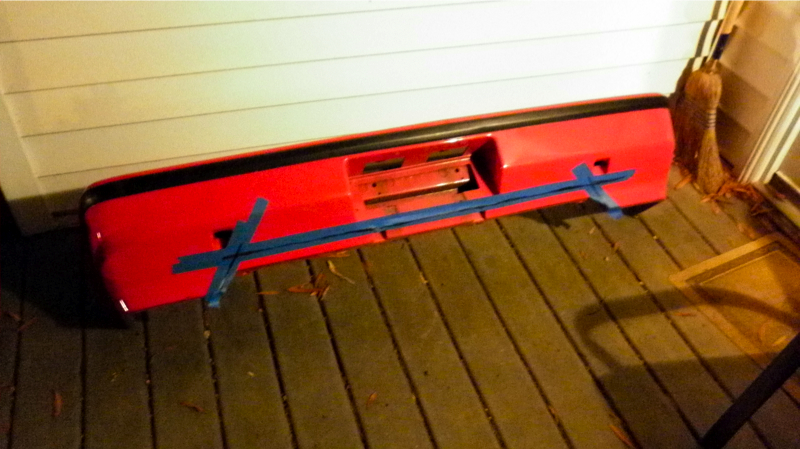
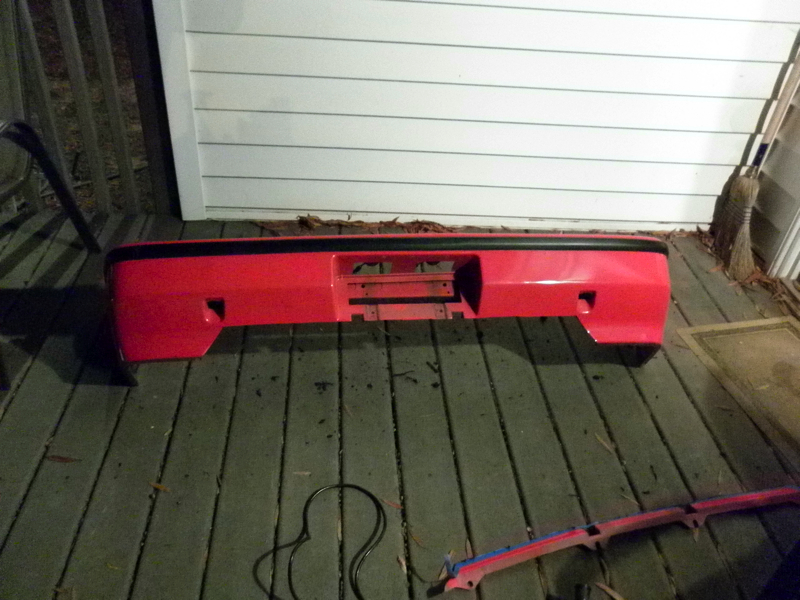
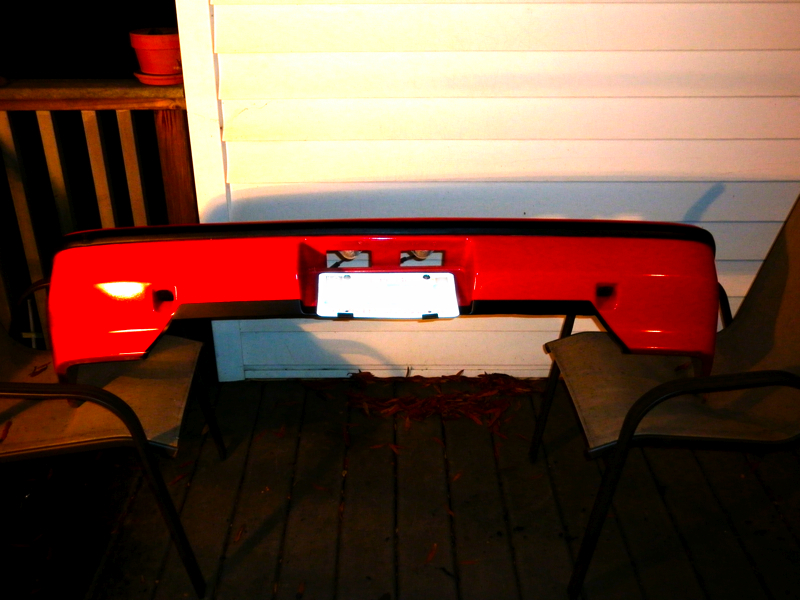
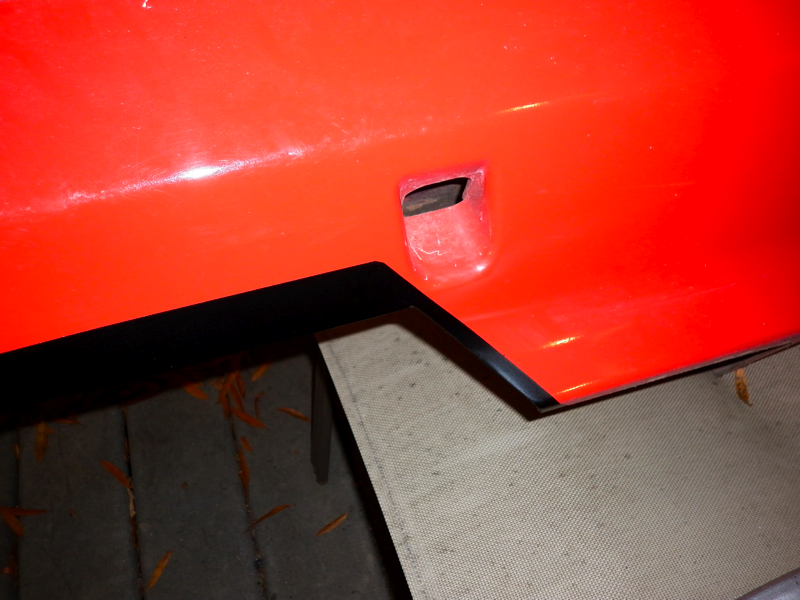
custom rear bumper air relief cut
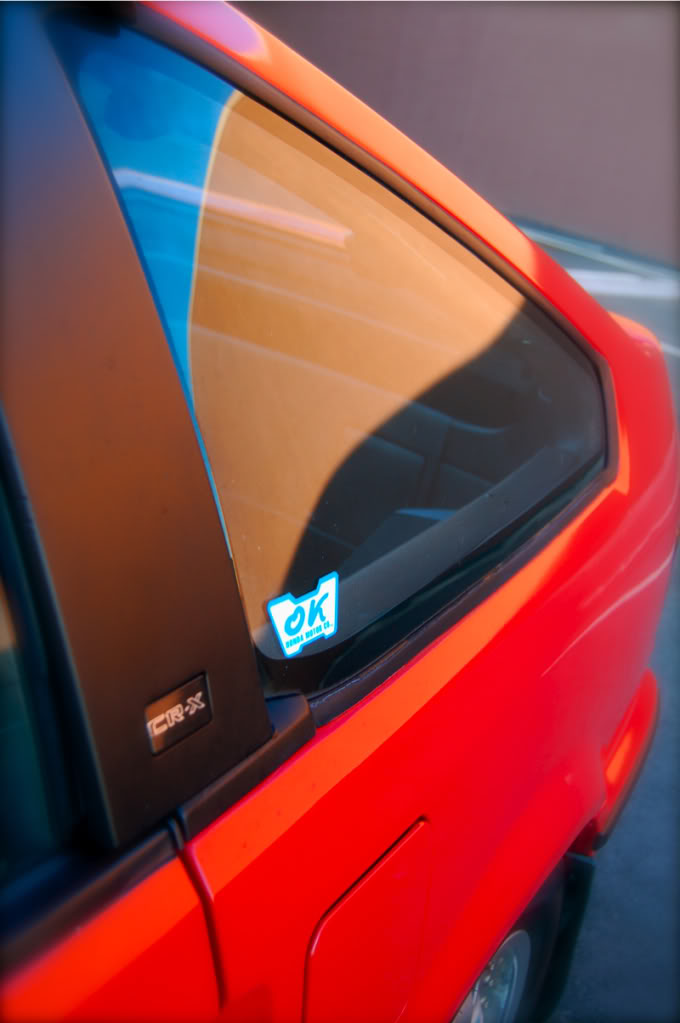
JDM “CR-X” B-pillar badges
“OK Honda” replica decals on rear windows
working sunroof!
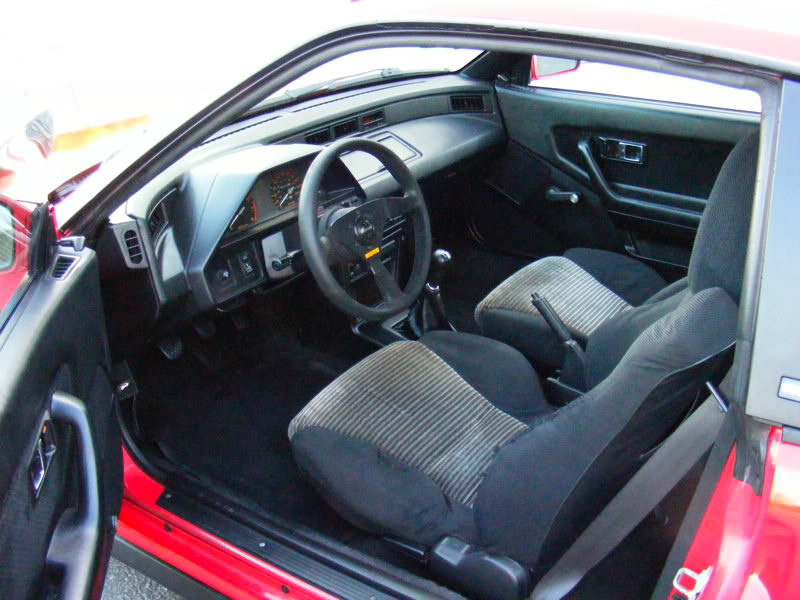
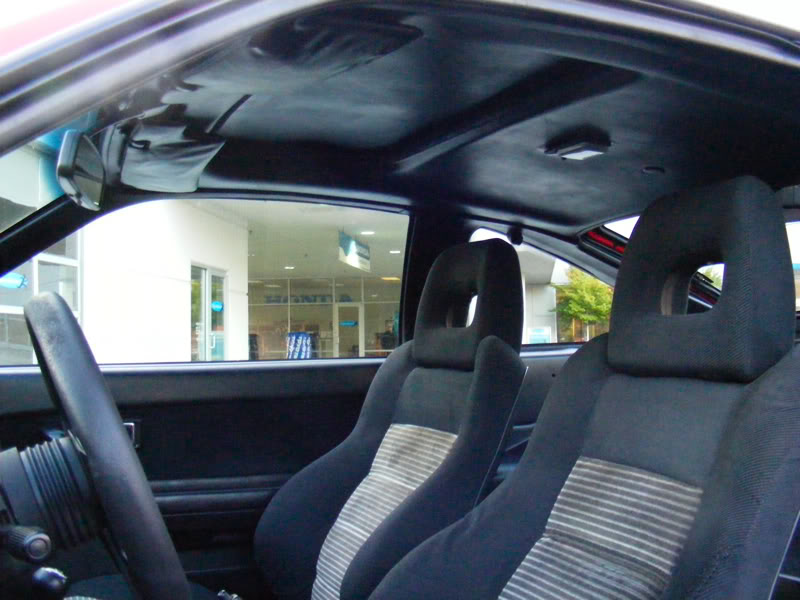
Interior:
90-91 CRX Si seats (w/ 84-87 CRX seat pans)
2G Prelude (non-Cruise) steering wheel
All interior panels died black w/ SEM “Laguana Black” spray die.
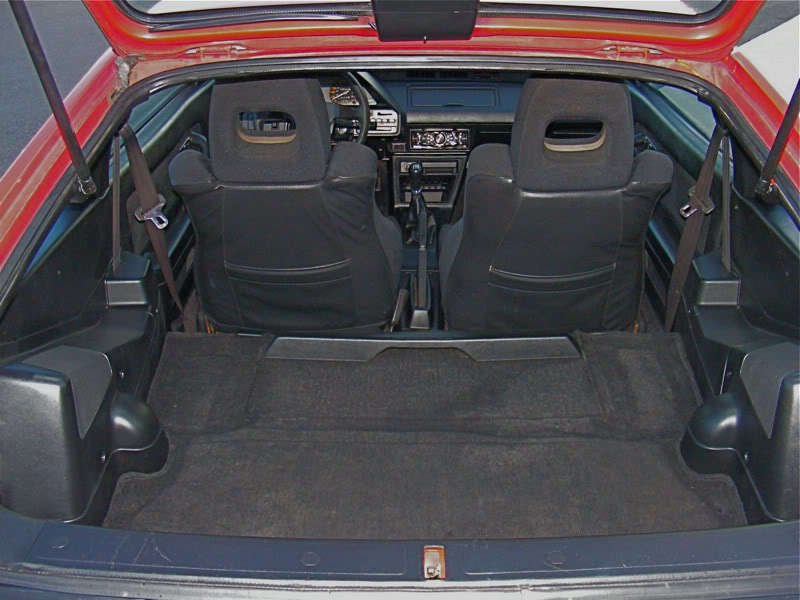
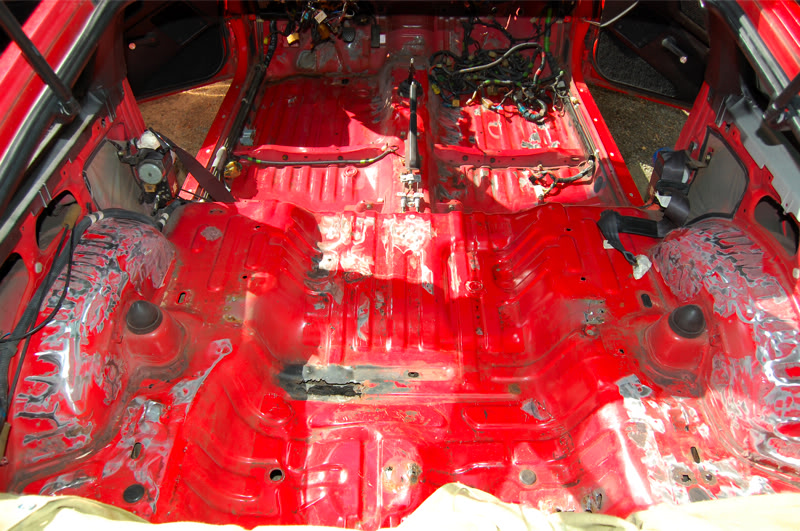
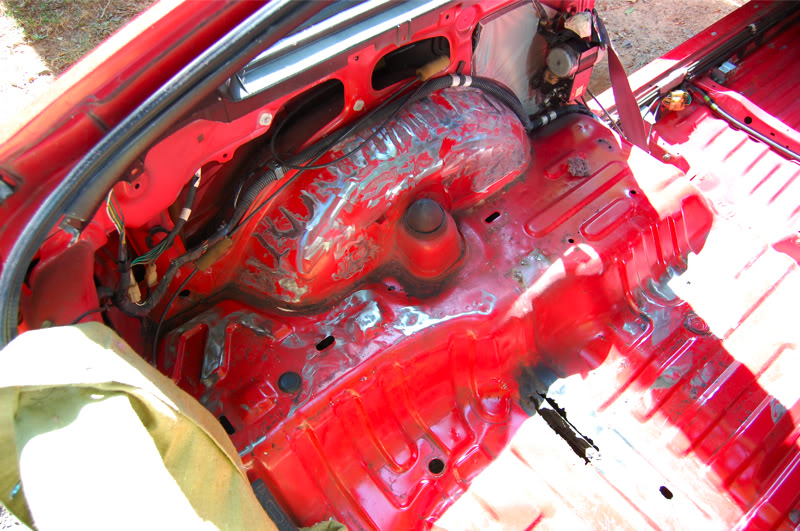
carpet and sound deadening stripped; black bedliner sprayed
all interior panels still in-tact, other than a striped floor throughout.
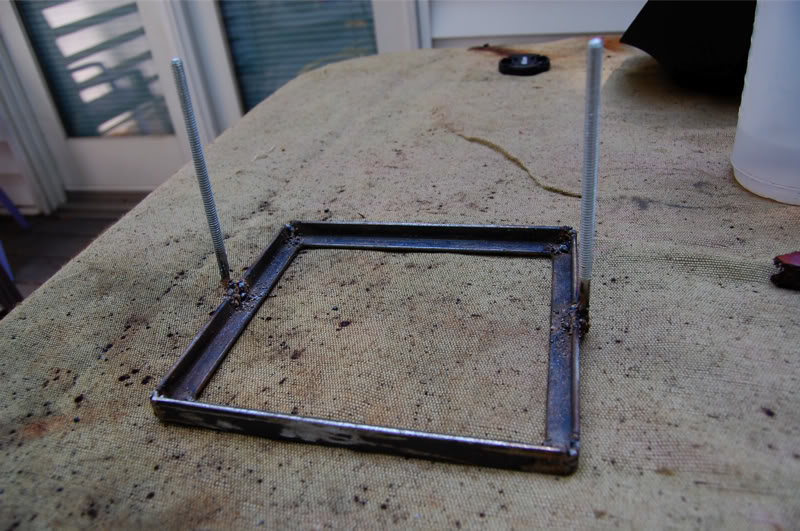
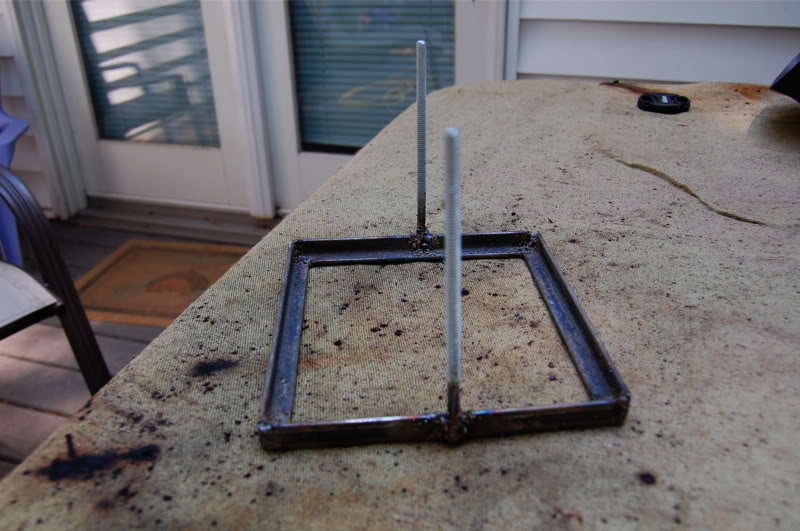
battery relocated to rear w/ in-line 100 amp fuse within 6″ from positive terminal.
Optional OEM EQ console (not yet installed)
EDM 1.6L (in km) gauge cluster (not yet installed)
Prelude amber-lit EQ (not yet installed)
I read about how 1G CRX’s were a great choice for autocross, and how they were competing very well in their classes. Being an RPR fanatic, this chassis was the obvious choice. So, off I went in the search for a car and parts.
I ended up doing my project backwards. I bought a parts car first, THEN bought a clean shell.
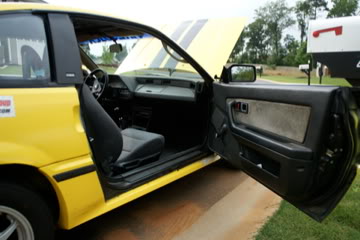
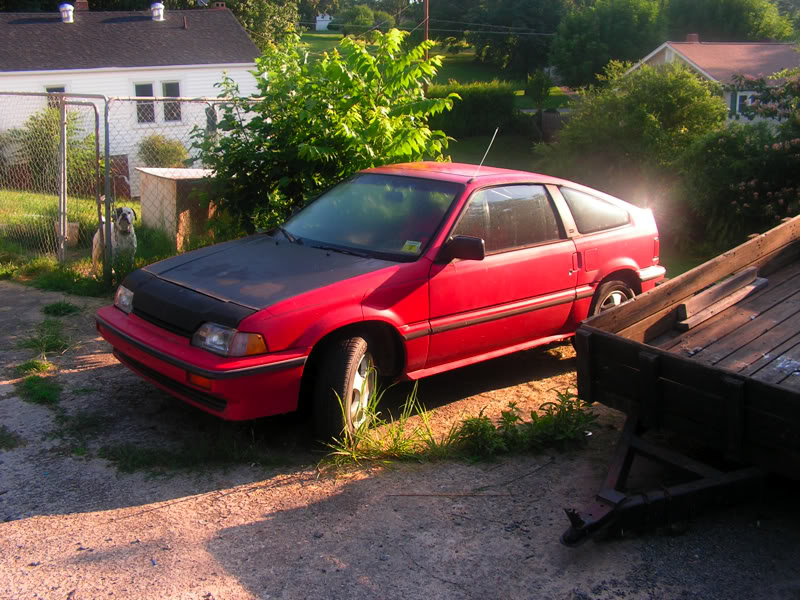
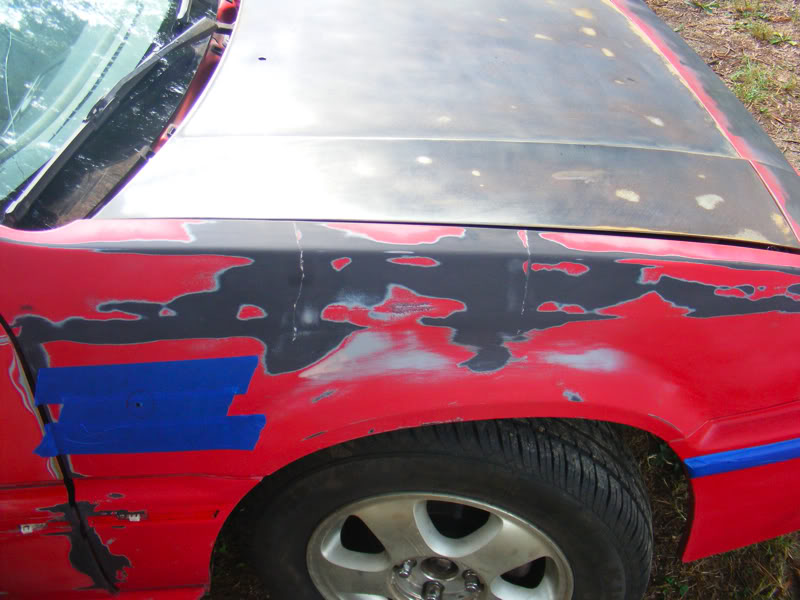
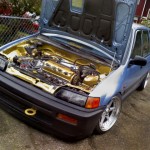
I was in the process of looking for a clean shell, but instead stumbled upon the gem below. The car was a crap shell, but an AWESOME parts car, so I snagged it while I could. This purchase gave me a HUGE jump start on collecting the needed parts for my build. The owner was a great guy, and sold the car to me for a very fair price.
Here’s the parts car the day I brought it home:
The best part about the purchase was that this car had an amazing engine, which had been totally re-built for N/A power by a previous owner. 0.040″ over pistons, intake and TB port-work, 3-angle valve job, new seals/rings, etc….. Dyno’d at 95 hp/94 tq. to the wheels. The tranny has an OPM LSD, stage 2 clutch, and a 5 lb. flywheel
Additionally, the car came with SO many parts, some of which were extremely hard to find parts that have since become unavailable for purchase new for the 1G Rex, and rarely even come up for sale used.
Included:
– Koni Yellow Adjustable shocks front and rear
– Peformance rear springs
– SuperTrap tunable exhaust; dyno-tuned
– HF radiator
– PaceSetter Headers
– ST Front and Rear swaybars
– Drilled front rotors
– SS lines front and rear
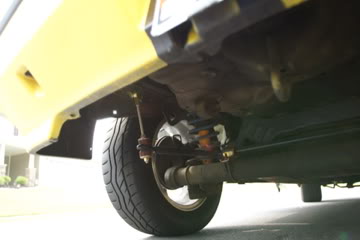
– HF aluminum drums in rear
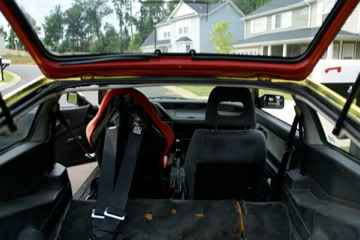
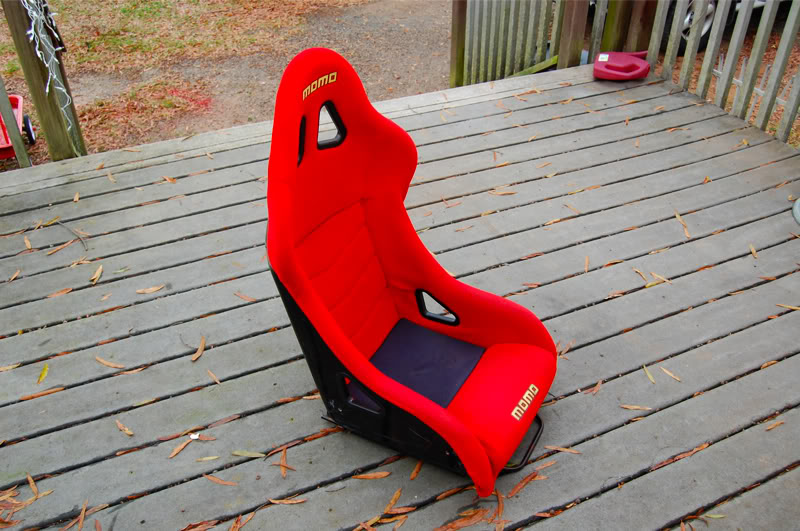
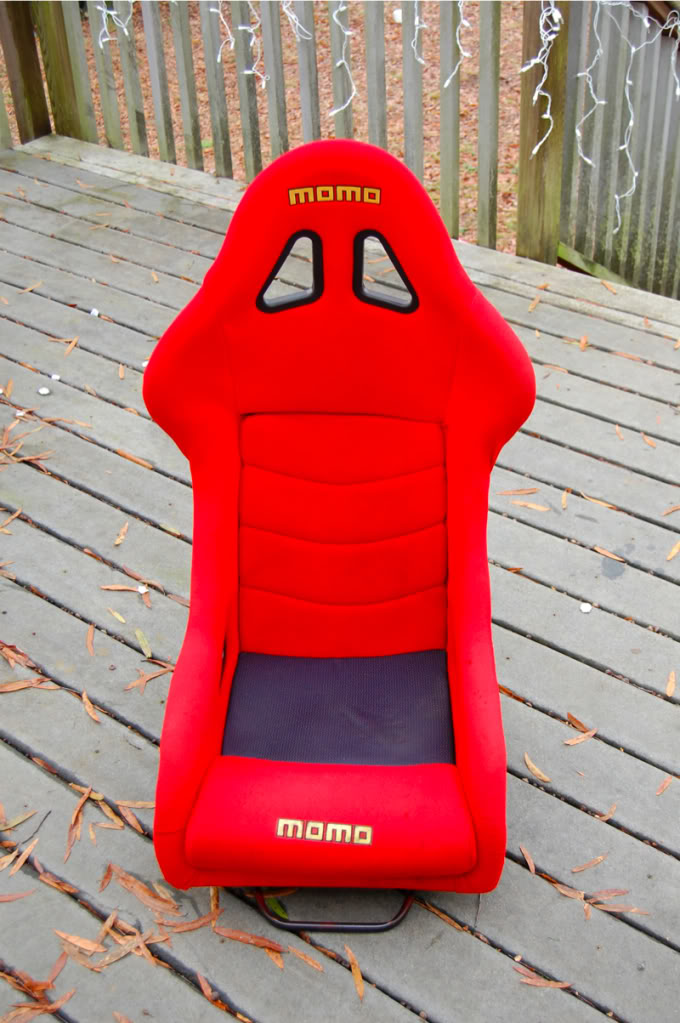
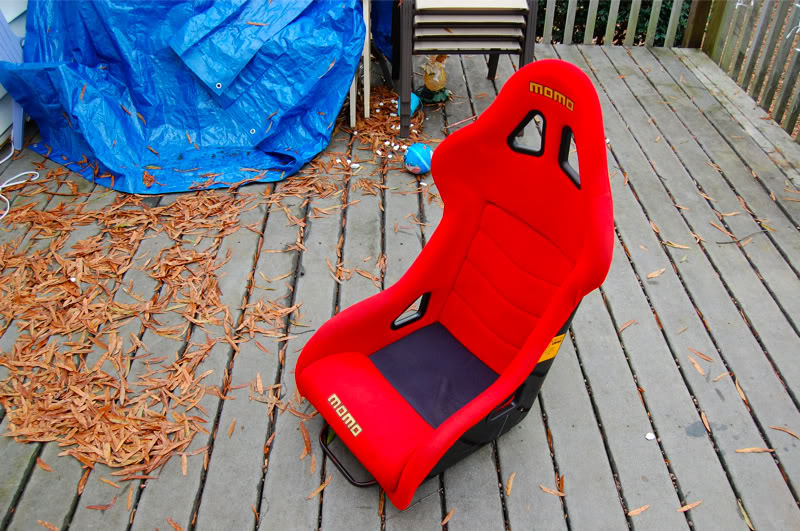
– Momo Cup racing seat
– Momo seude racing wheel
– G-Force Harnesses
– 92-95 HX Rims (sold to cover purchase costs)
– Azenis RT-615 Tires (for this spring/summer)
– 13×8 Racing Slicks and wheels (plenty of tread left)
– 8 14″ Si phone dial rims (soon to be stripped and polished)
– multiple other misc. usable items
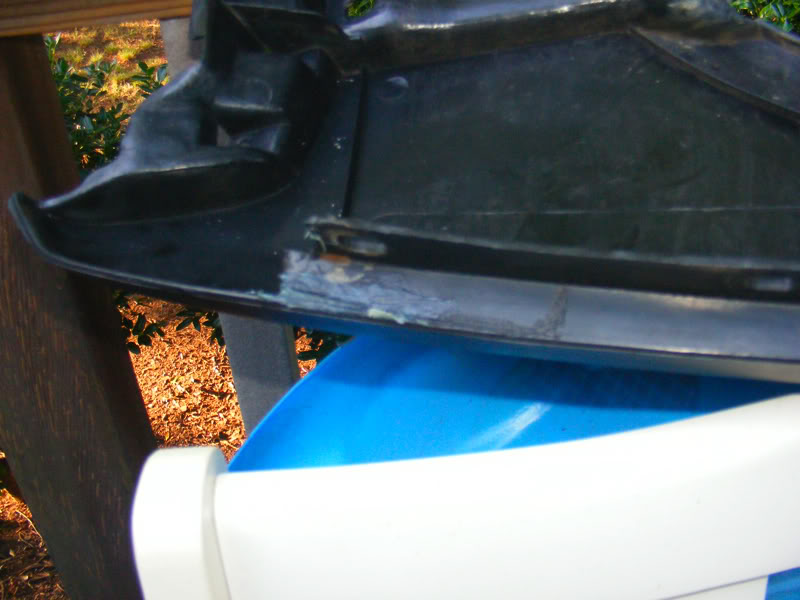
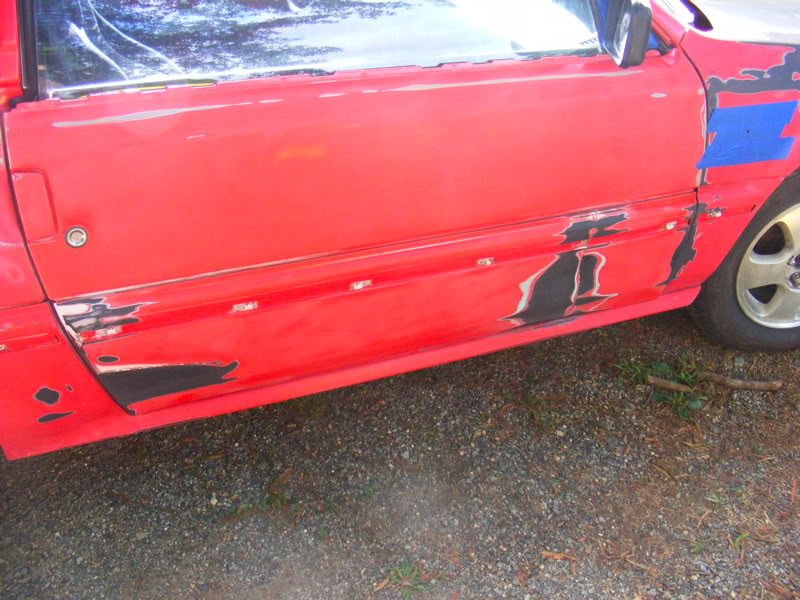
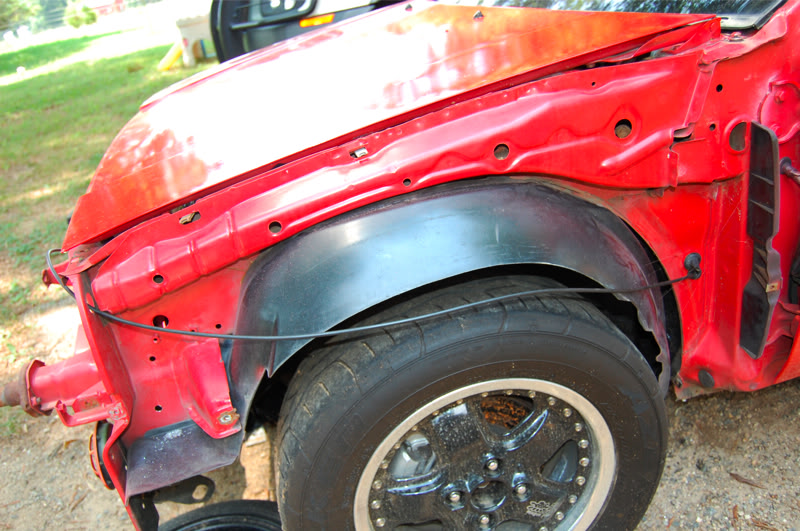
Unfortunately, as you can see, the body was shot. Auto-X action had cracked the fenders and rockers, and the header panel and door skins were both heavily cracked. Additionally, there was several rust spots and a previous owner had chopped off the driver’s side seat mounts b/c he was a mega-tall dude So, a clean chassis was still a neccesity.
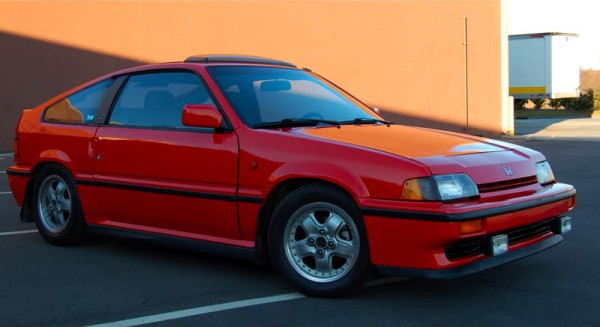
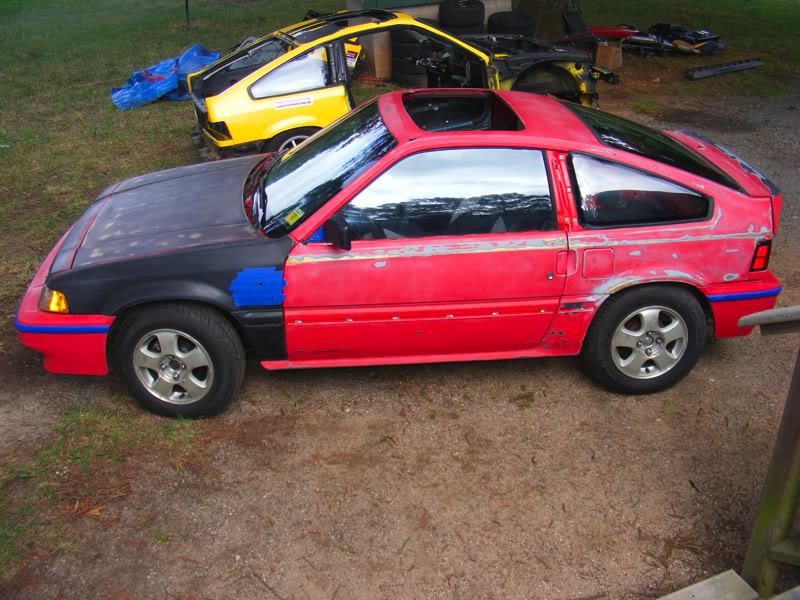
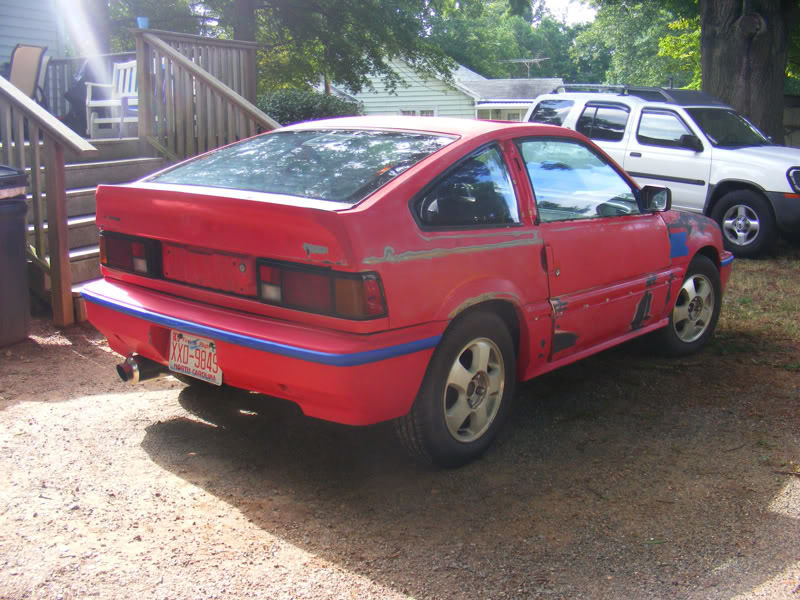
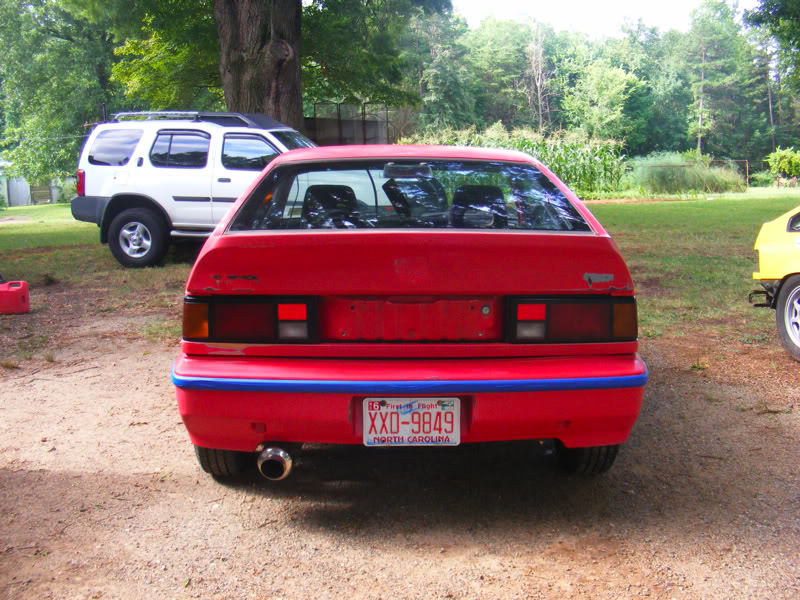
I ended up lucking out once again, and found another great buy locally on CL. I picked up this beautiful, rust free, crack-free (if you know 1G CRX’s, you know this is definitely a biggy, non-cracked plastics are like GOLD!) ’86 CRX. It had no engine. Perfect! Just what I needed. Here’s a pic just before I rented a U-Haul and hauled her home!
Then, progress begin to strip down the new chassis, remove and swap in the engine and performance goodies from the parts car, and prep the car for paint.
Pics-
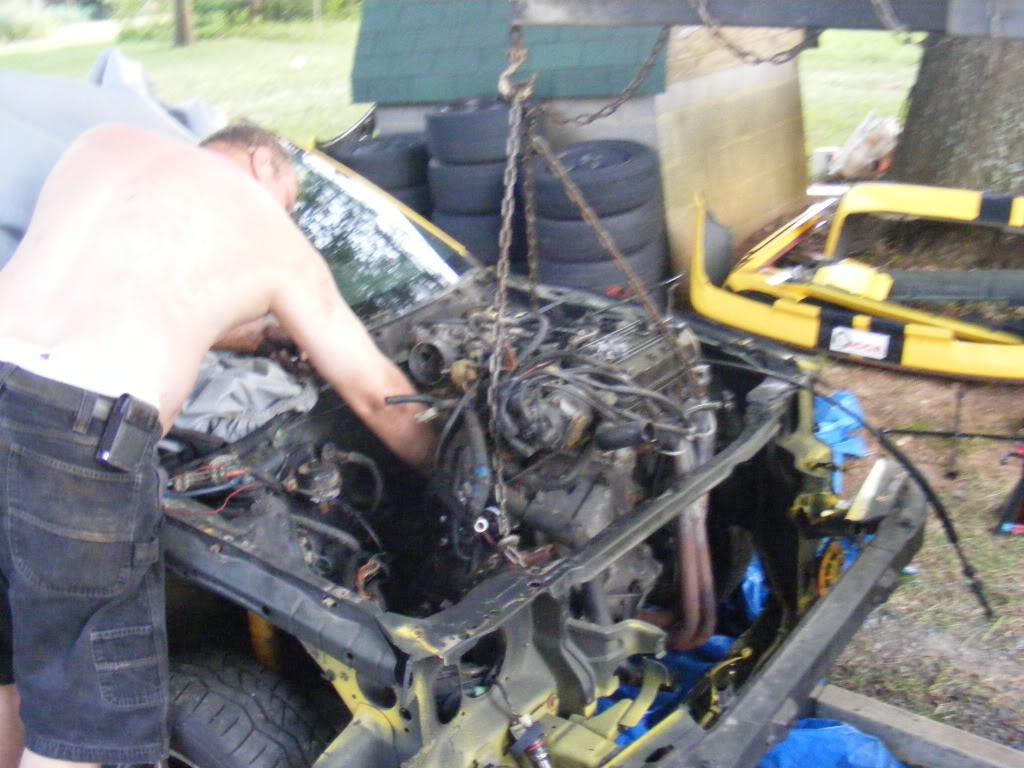
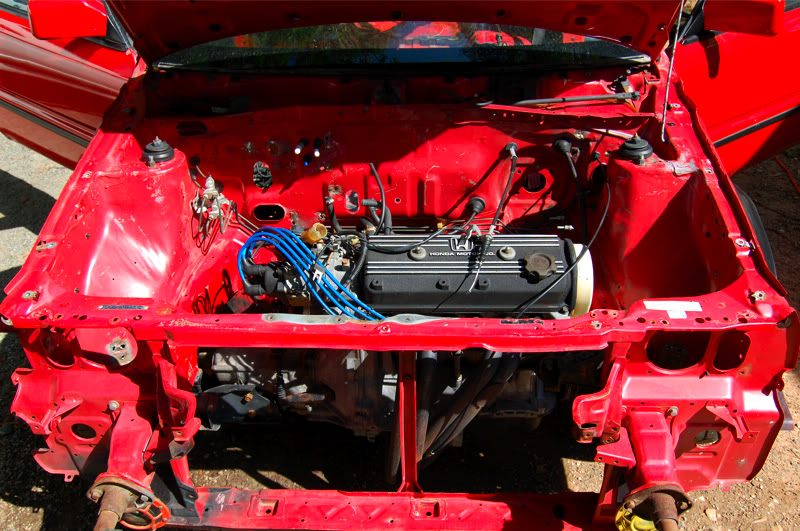
A buddy of mine helped me to remove the engine from parts car:
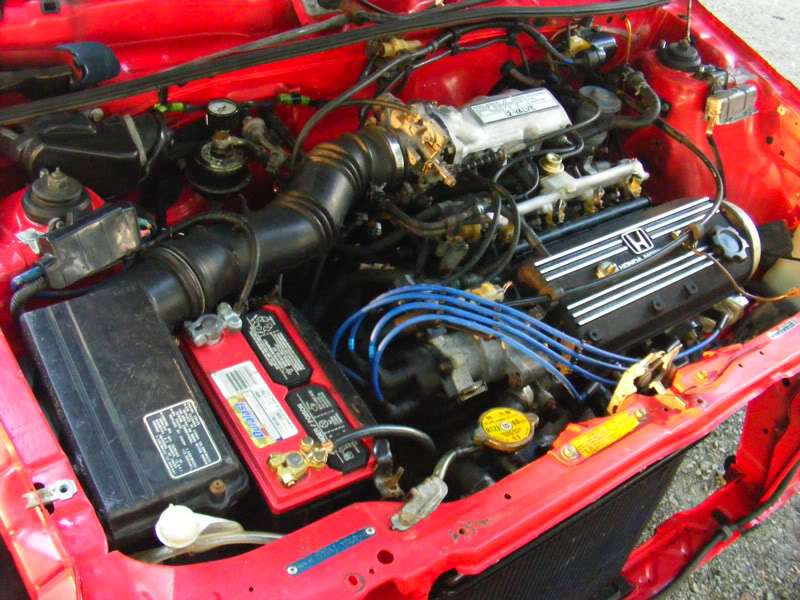
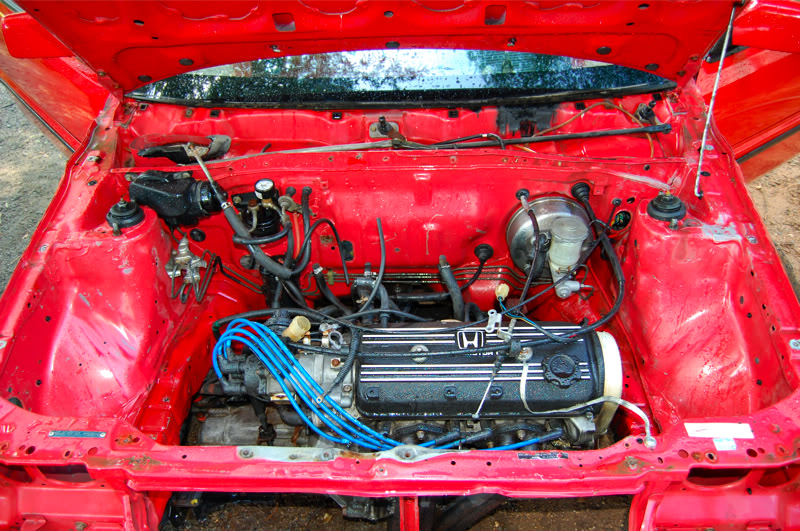
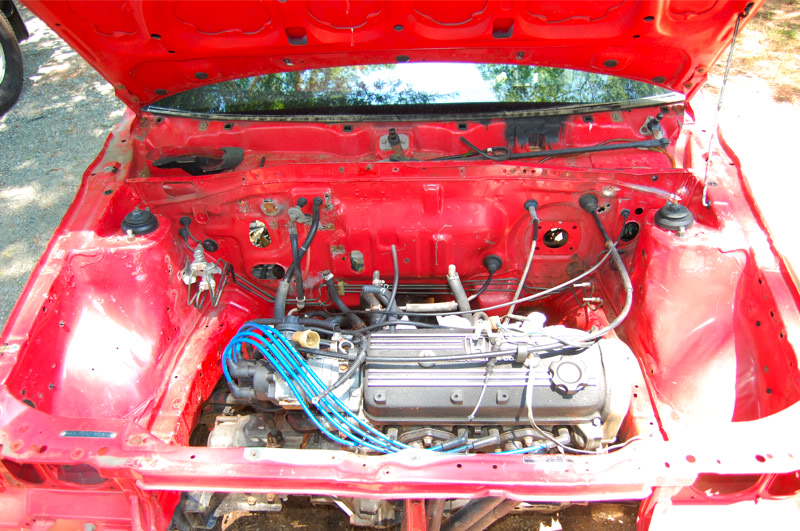
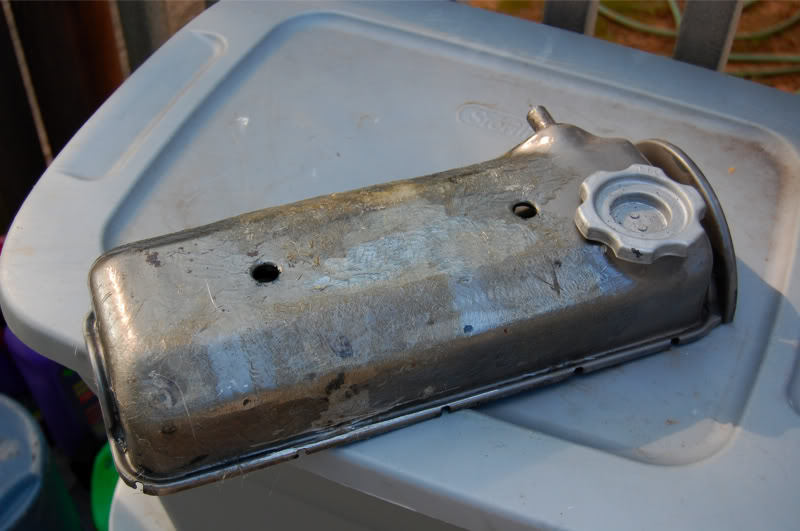
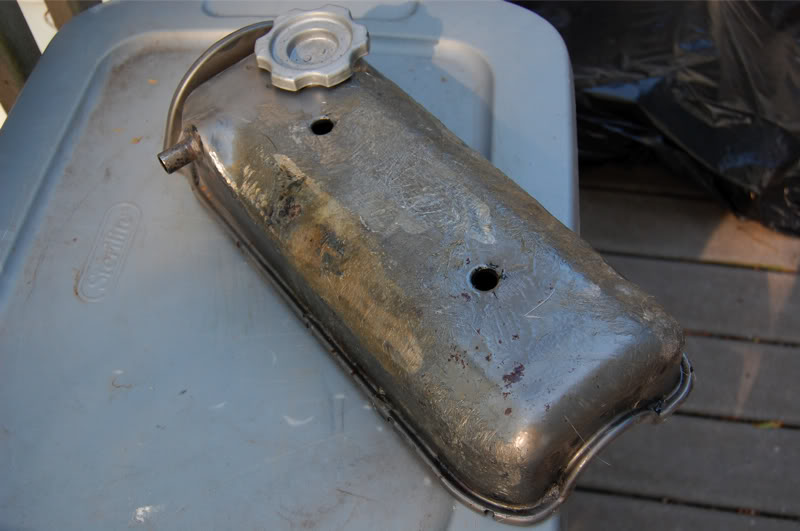
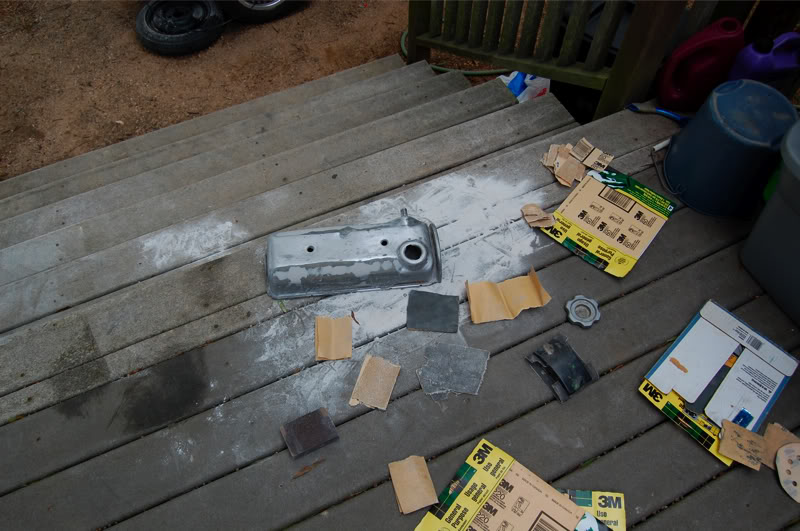
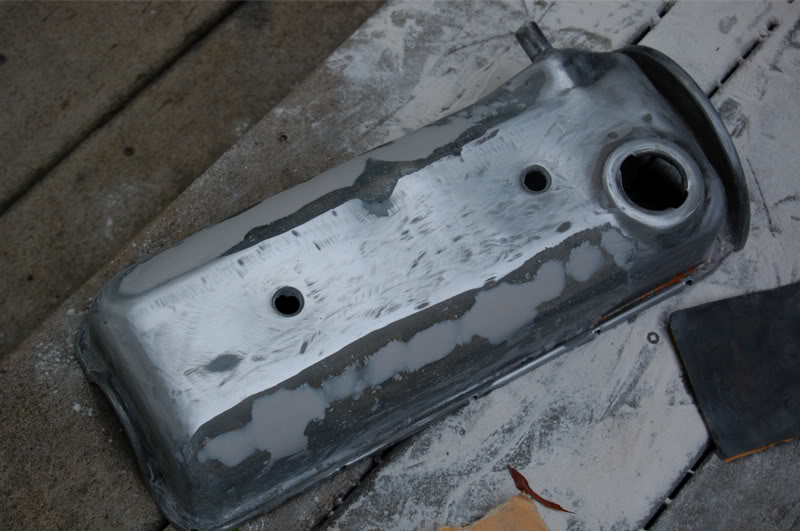
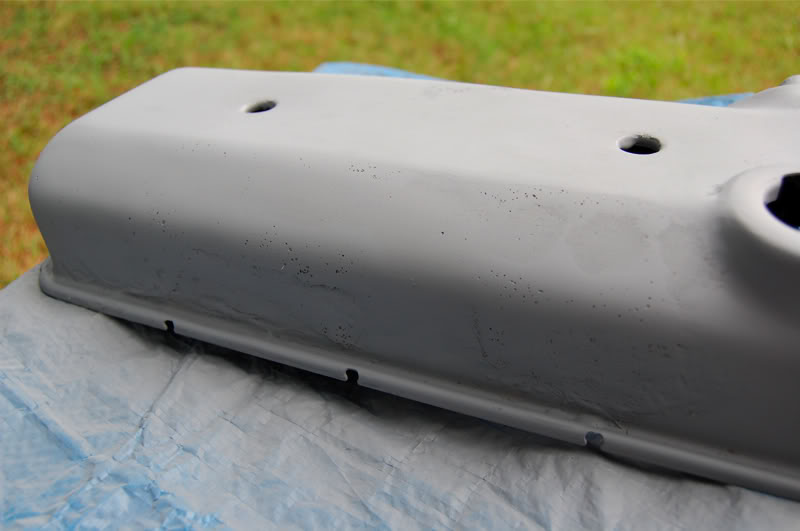
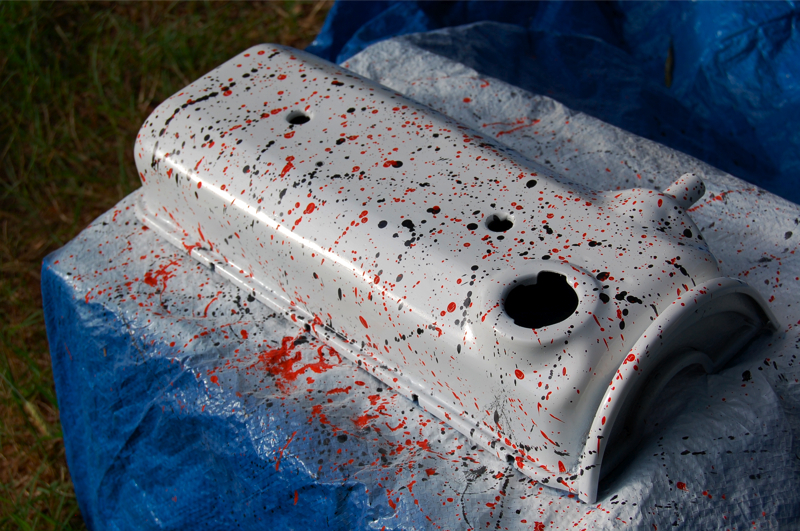
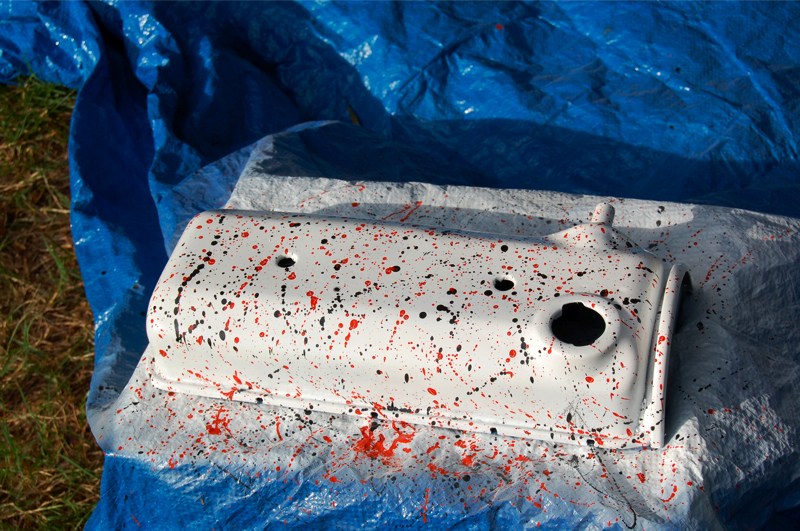
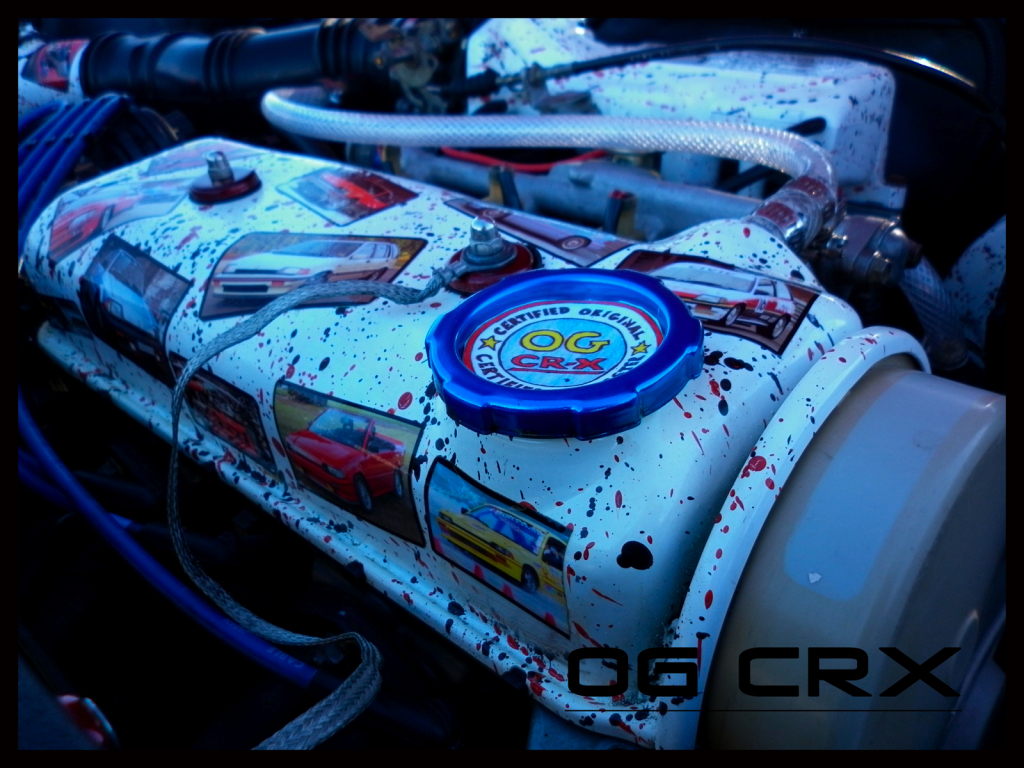
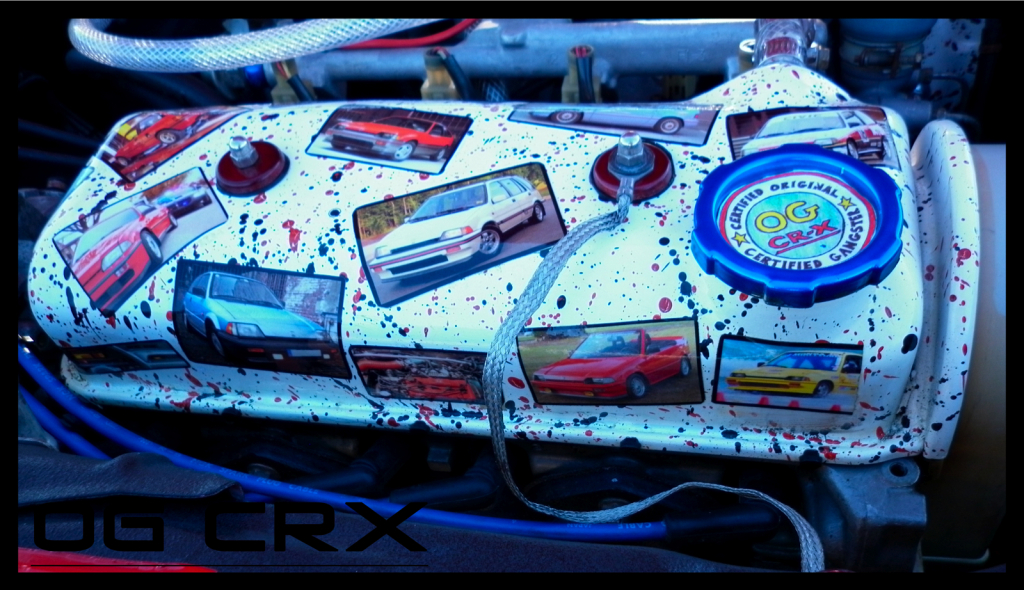
Then, degreased, pressure washed, tooth-brushed the engine from the yellow rex. Put the cleaned-up motor in the red rex. Painted valve cover, drilled holes in stock airbox, installed cleaned and re-oiled K&N filter, painted Pasesetter headers and radiator with high-temp satin paint:
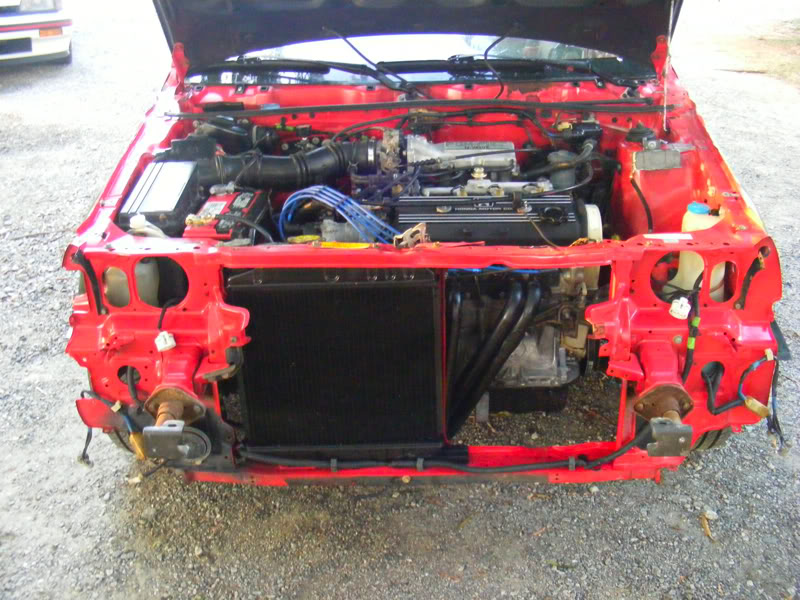
We had the whole car up and running in 2 days, and it was time to start hitting the interior and exterior work.
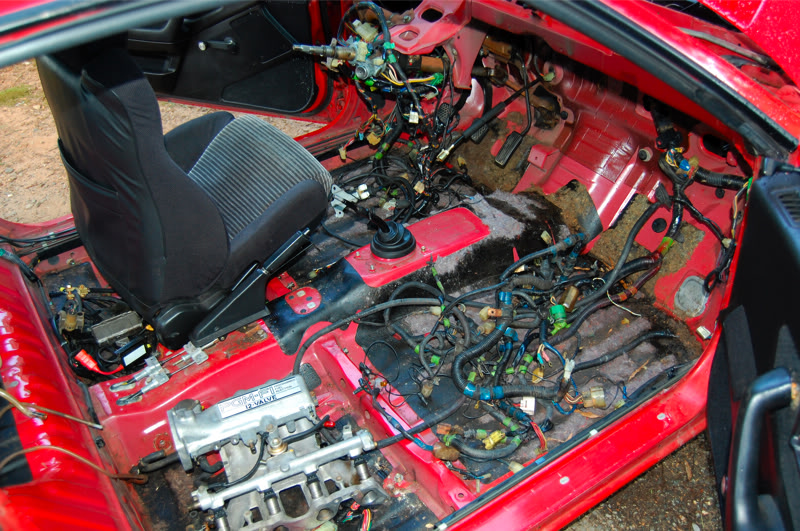
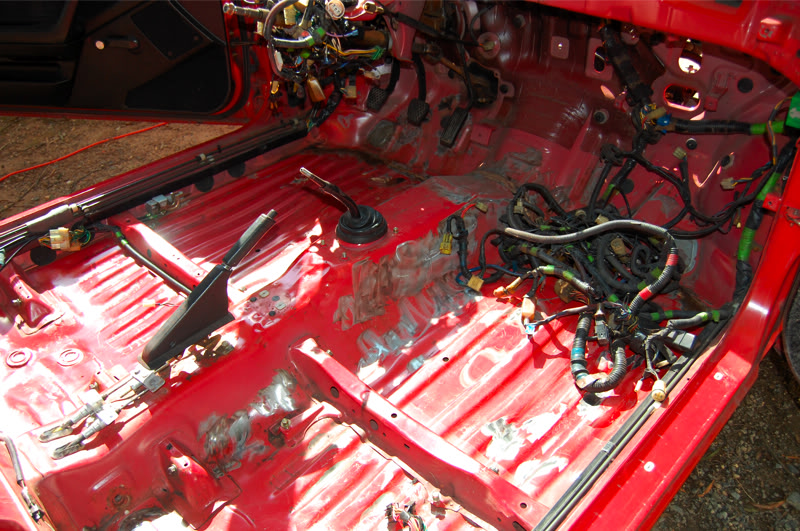
Then, came the interior work.
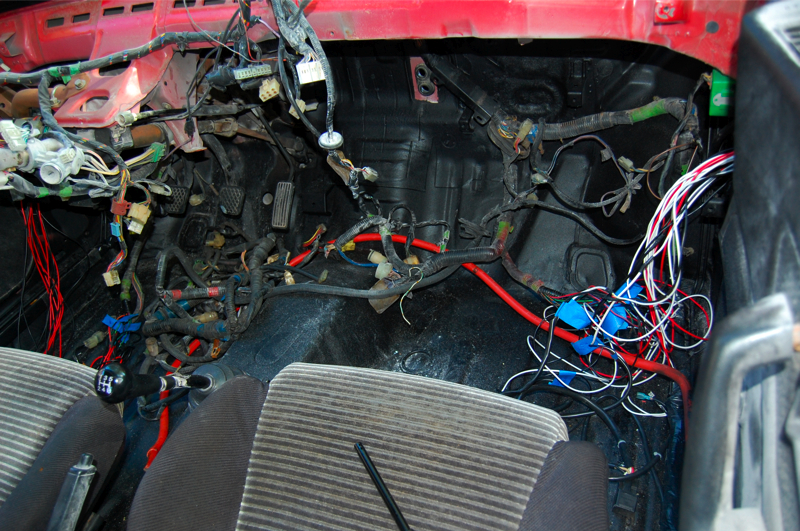
Stripped down the interior pretty good for cleaning and a dash swap (the dash on the parts car was a big cleaner than the Red car).
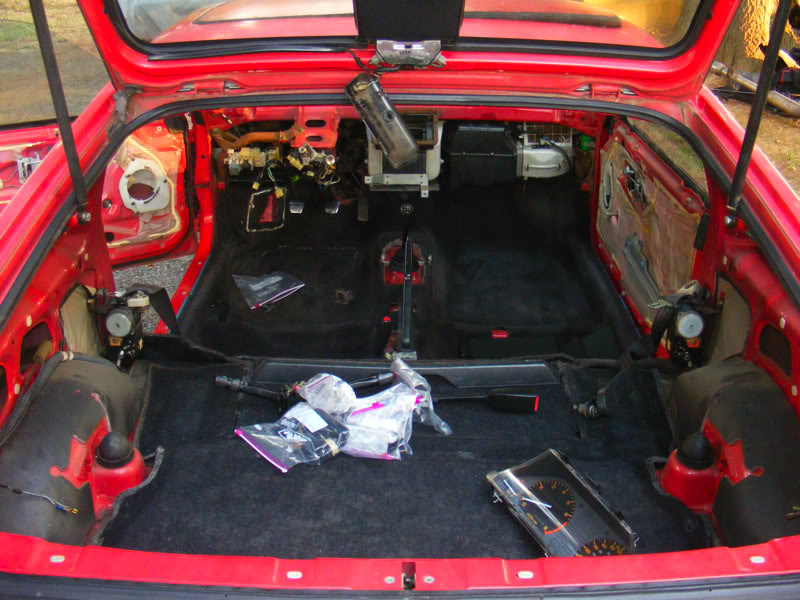
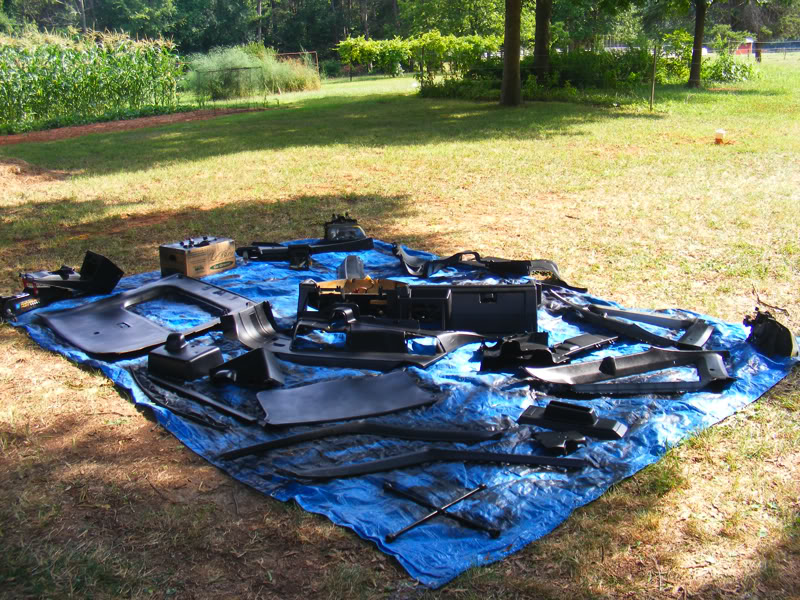
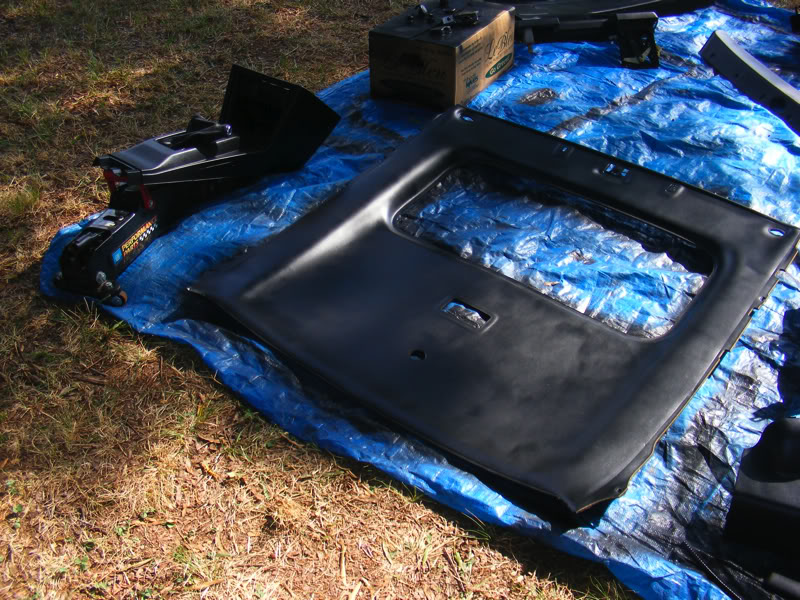
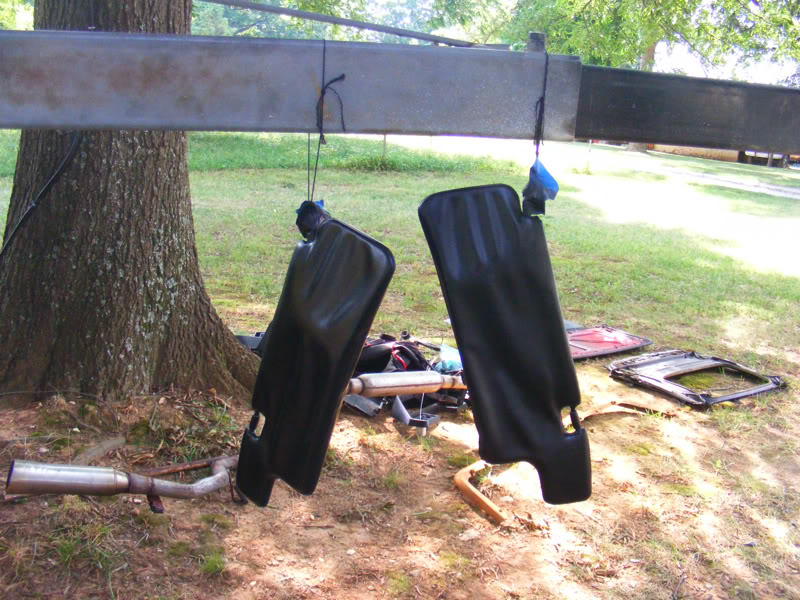
Spray-dying the interior black, as the upper parts of the CRX come a light grey from the factory.
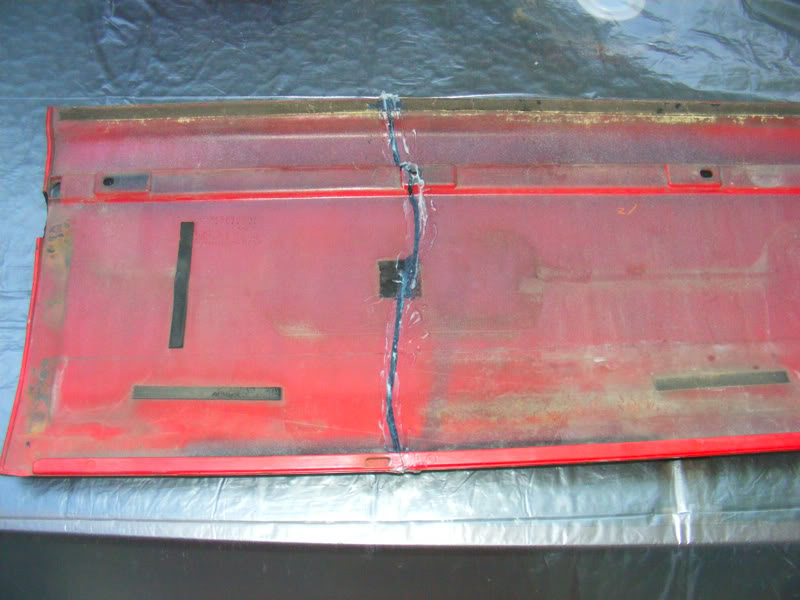
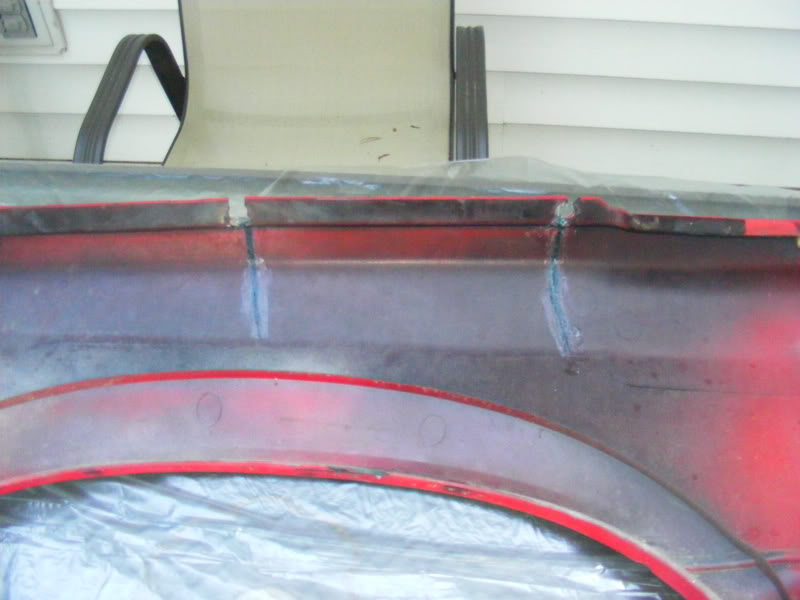
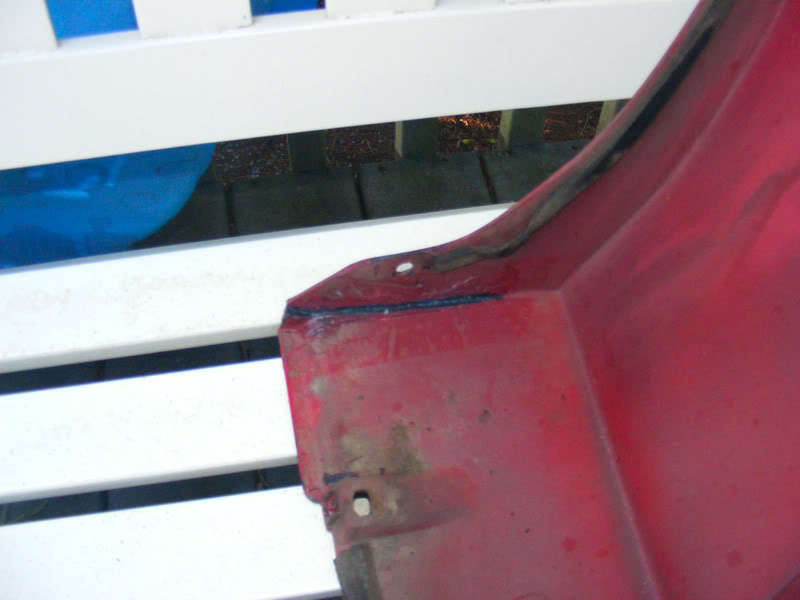
Then, came the process of body work. I still had a few small cracks to take care of on my plastics. I drilled grooves along the cracks,
plastic welded them with a plastic adhesive, and then fiberglassed the backside of all of the cracks for added strength.
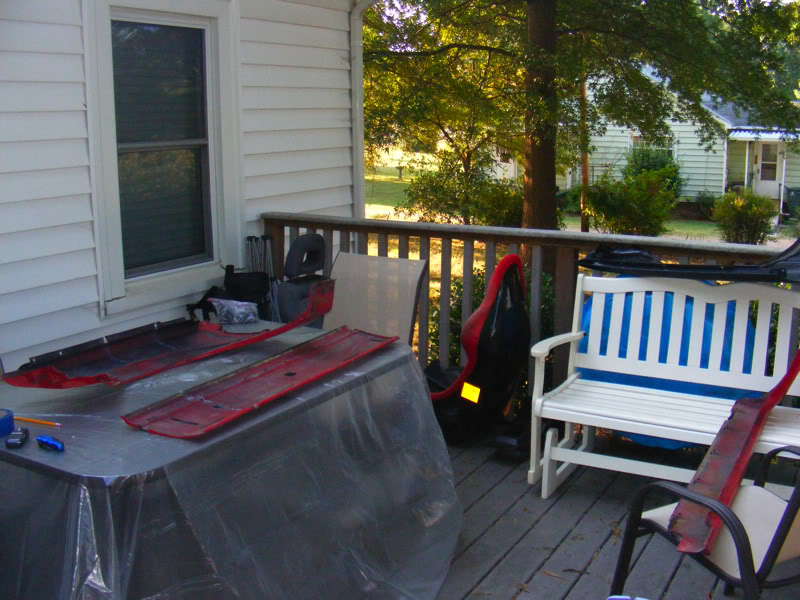

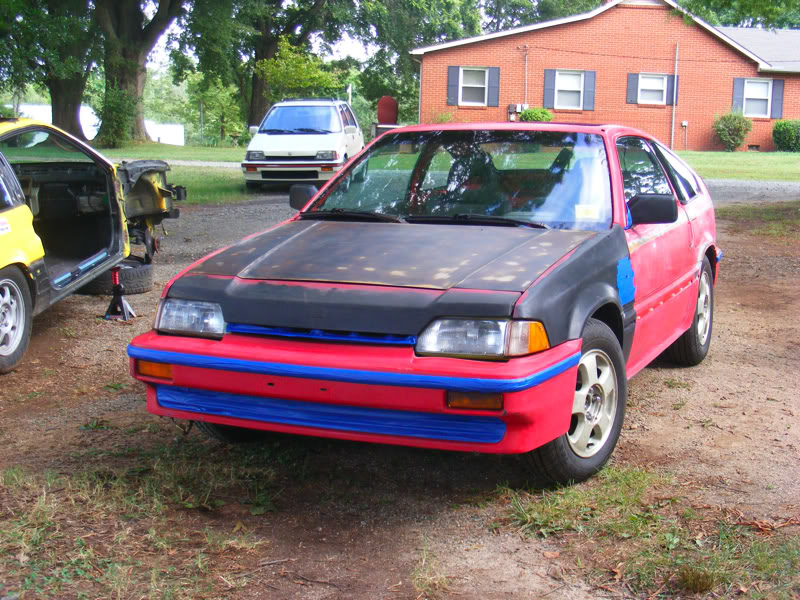
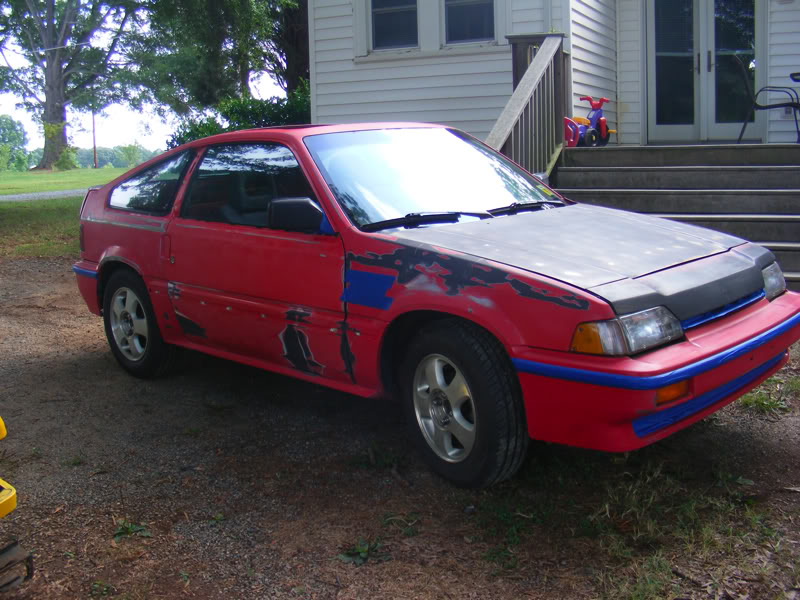
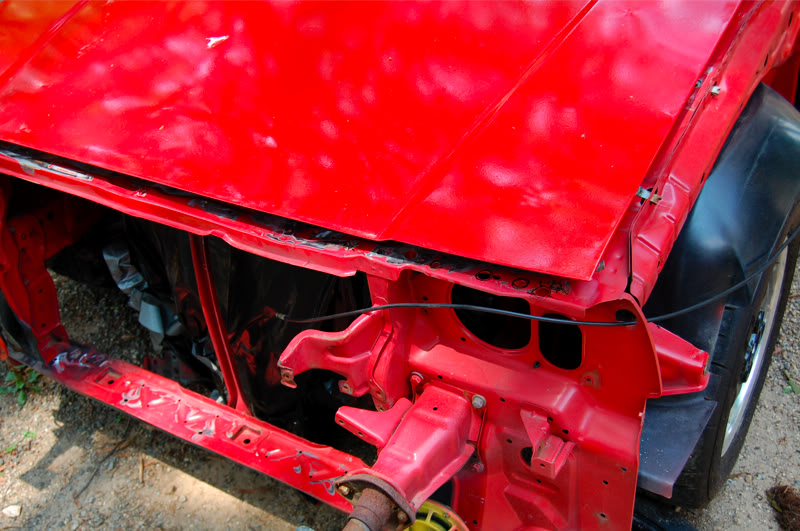
Next, came all of the body work. Took a few days, but here was the car the day it headed off to the paint shop.
Now, many knock Maaco, but I have found great success with a local Maaco here in town. This CRX is the second car they have painted for me.
They painted my wagon as well. I have gone both times with their “presidential” paint service, single-stage w/ integrated clear.
I’m very happy with the results of both cars. For the money and turn-around time, you can’t beat it. You just have to be anal with your prep work.
I got the car back in 3 days, and began re-assembly.
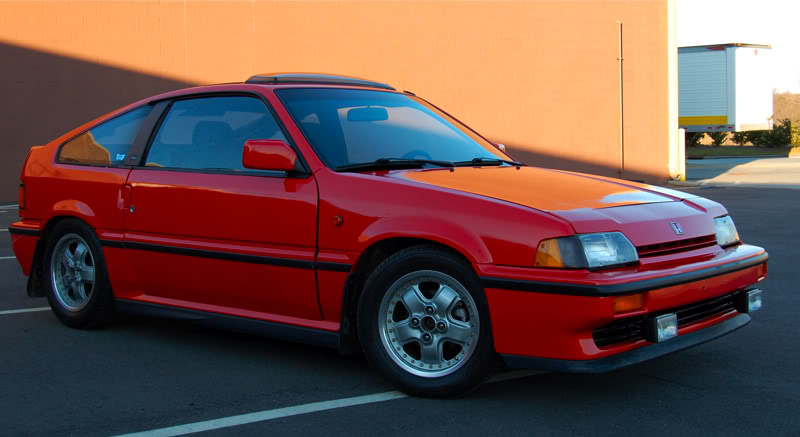
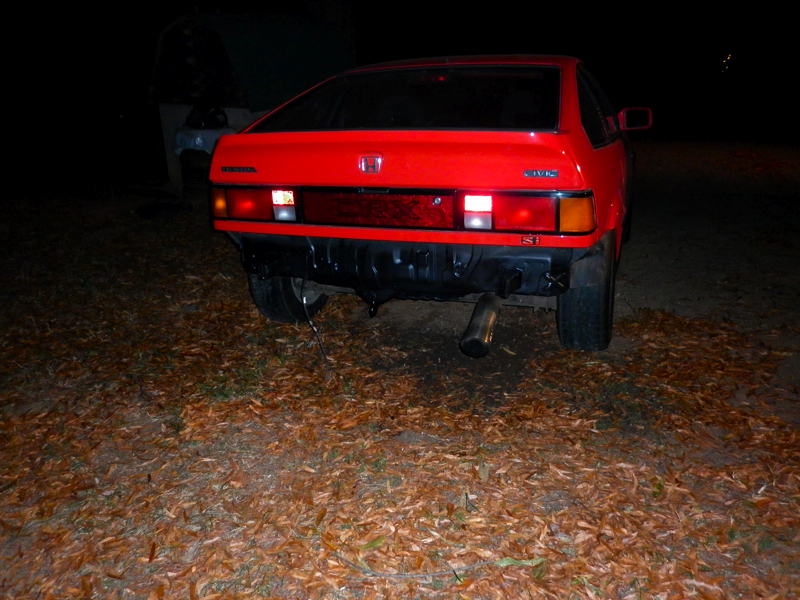
Here’s the car a few days after paint, in near-finished trim:
Once I passed inspection, I put on the SuperTrap exhaust from the parts car.
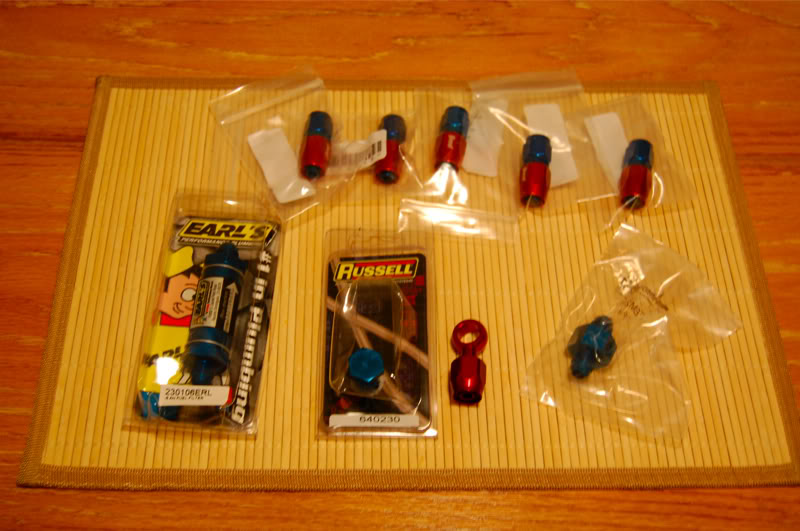
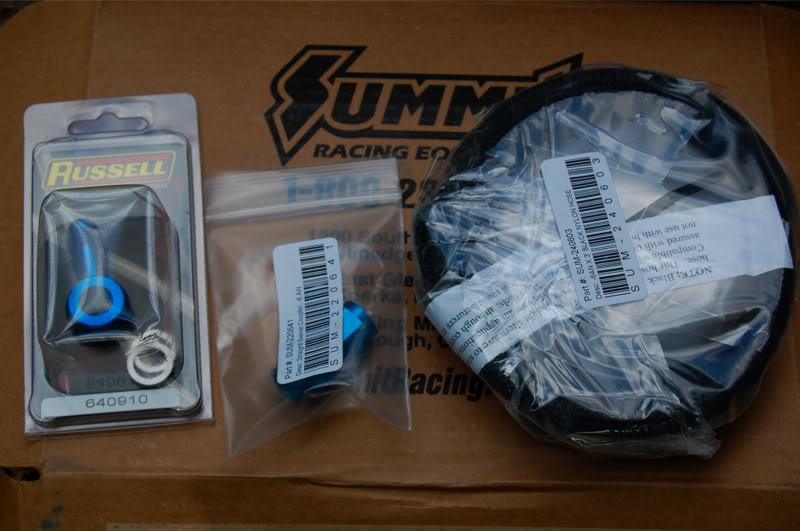
Additional parts I obtained for the CRX through the summer and fall:
– JDM “CR-X” B-Pillar emblems
– JDM Side-markers
– EDM Tail-lights; 85 non-smoked models
– USDM optional red “CRX” rear reflective panel
– 14″ Mugen MR5’s (taken off of the wagon)
– 2G CRX seats (1G seat pans swapped on these to complete the install)
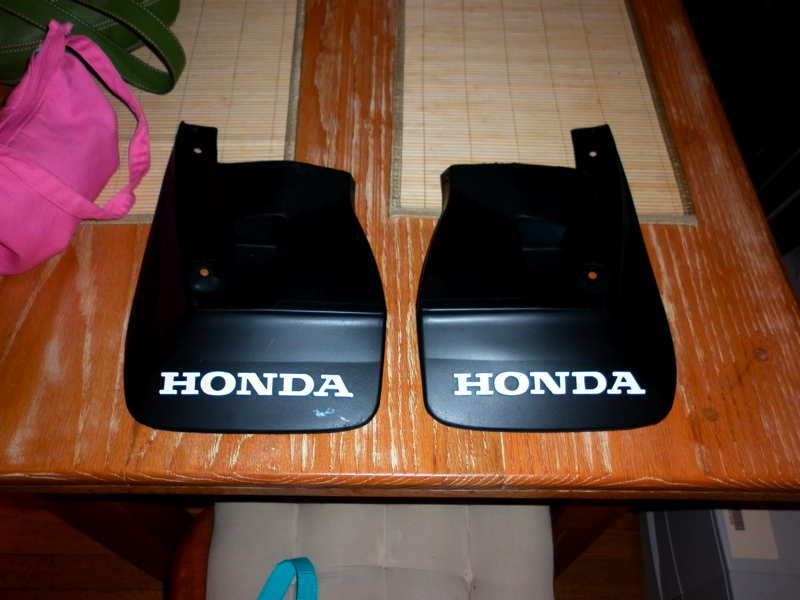
– OEM Mudflaps front and rear
– CD Accord side-skirts (cut to fit)
– CD Accord sun-roof visor (actually fits the 1G very well!)
– OEM CRX Si front lip (neither of my cars came with one)
– OEM optional rear speaker pods
– NOS 1G CRX Fog Light kit w/ wiring and switch
– “OK Honda” window decal reproductions off of Ebay
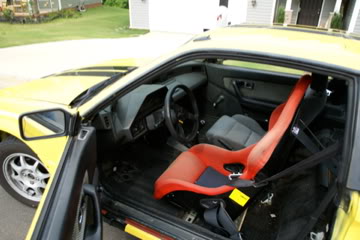
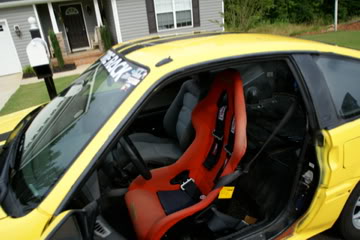
I cleaned up the Momo racing seat, which was quite worn from (actual racing!) use when I purchased the parts car. Used SEM fabric spray-dye in “Flame Red”.
Before:

After:
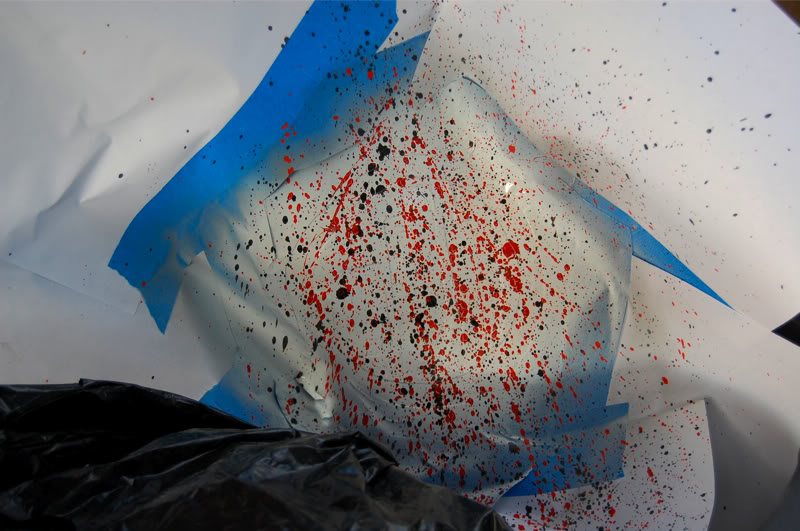
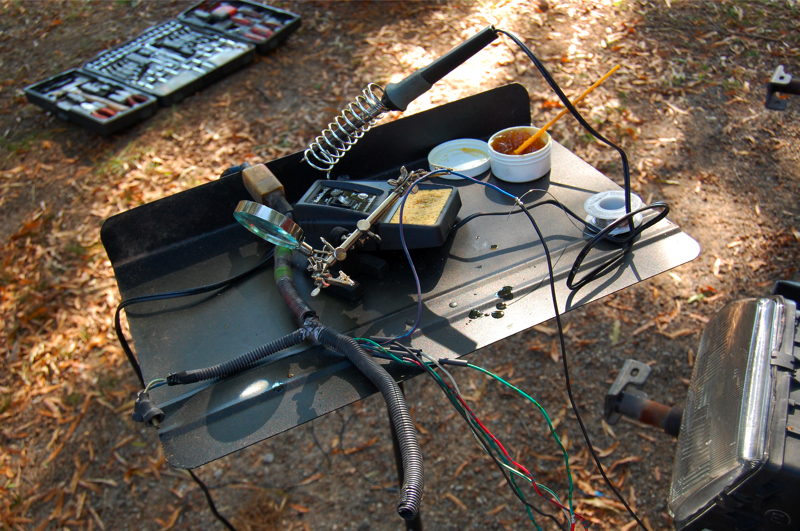
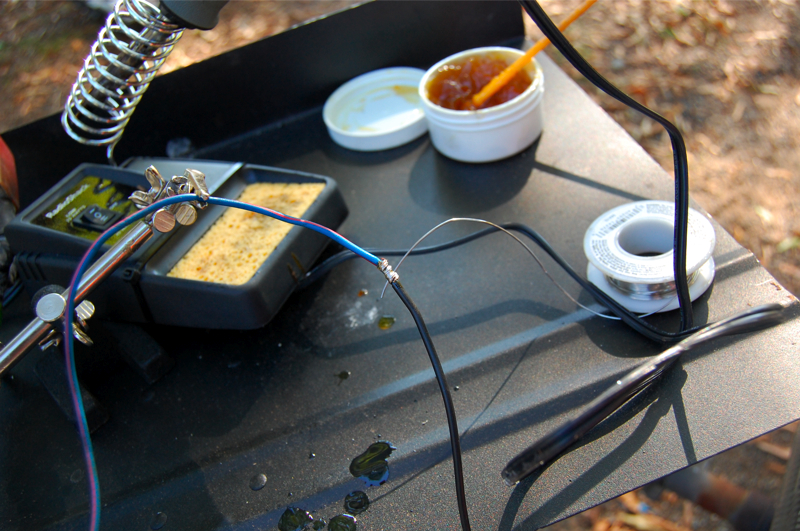
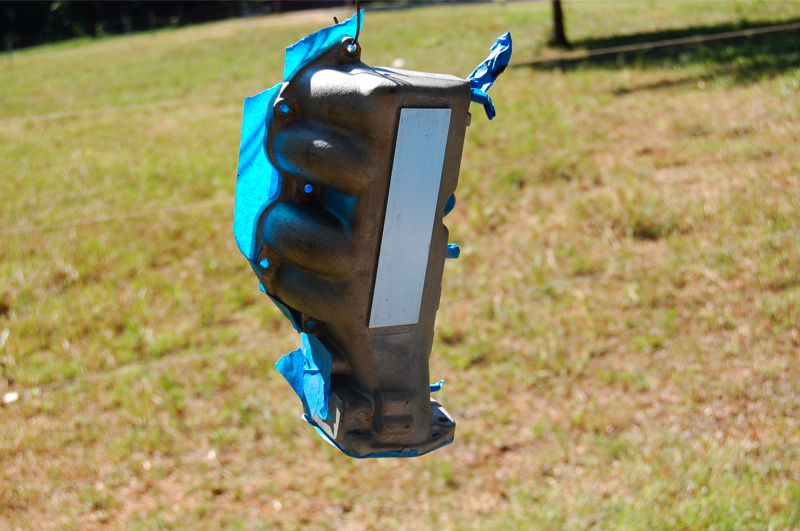
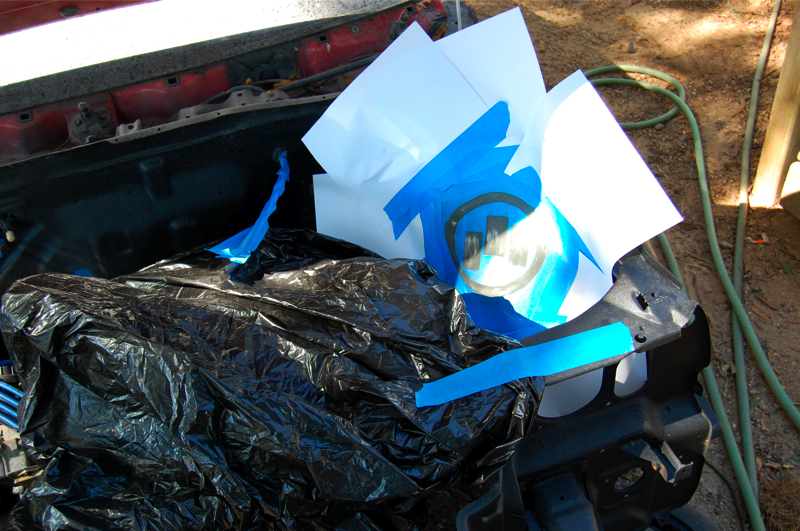
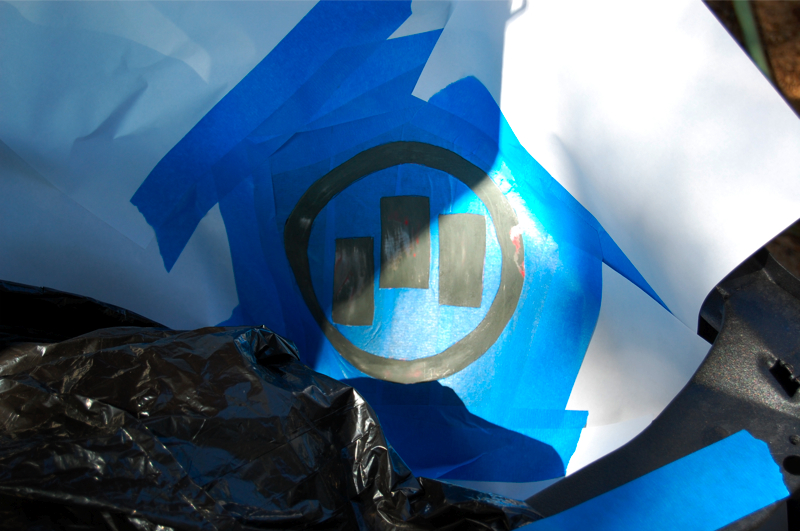
I then did a DIY job on my headlights, to try and emulate the look of the black-housed JDM/EDM lights.
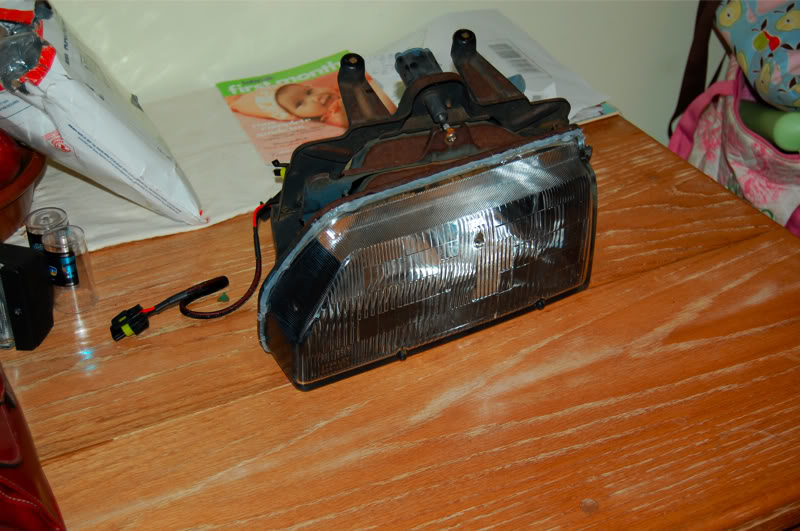
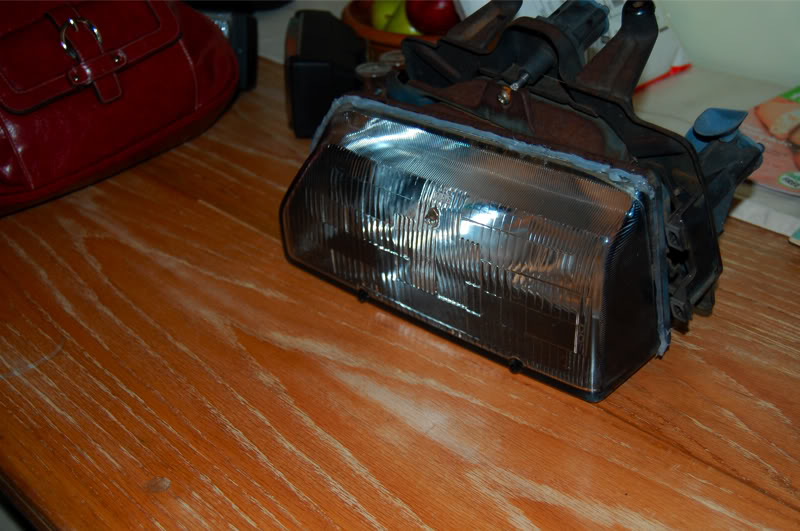

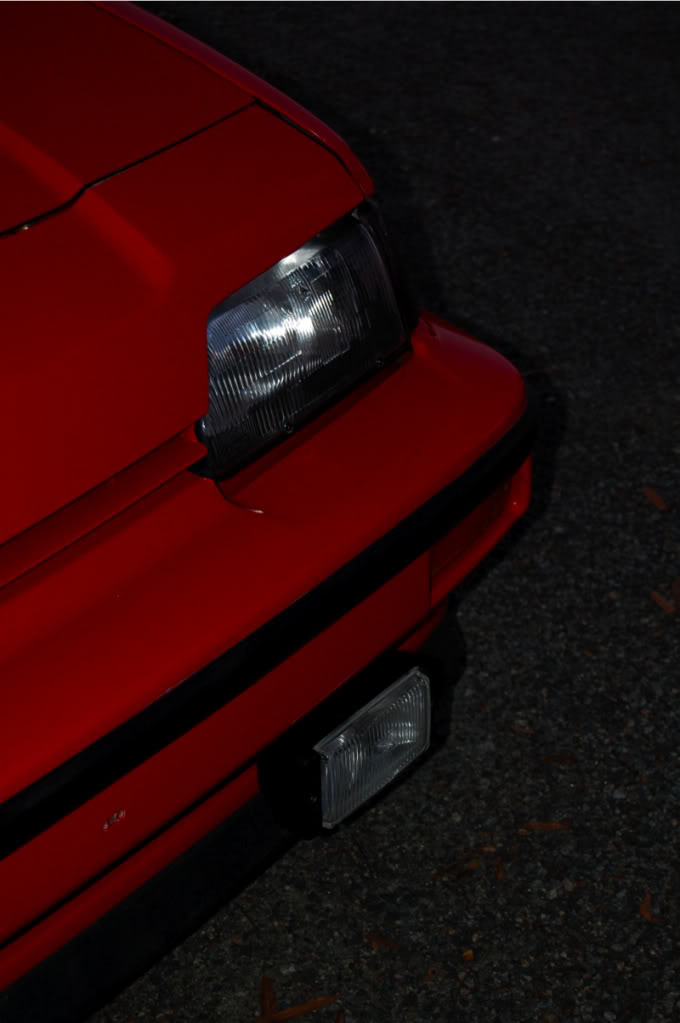
While installing the new headlights, I wired up and installed a set of 6K HID bulbs w/ halogen highs, and put some Nokya Hyper Yellow H3 bulbs in the factory fog housings.
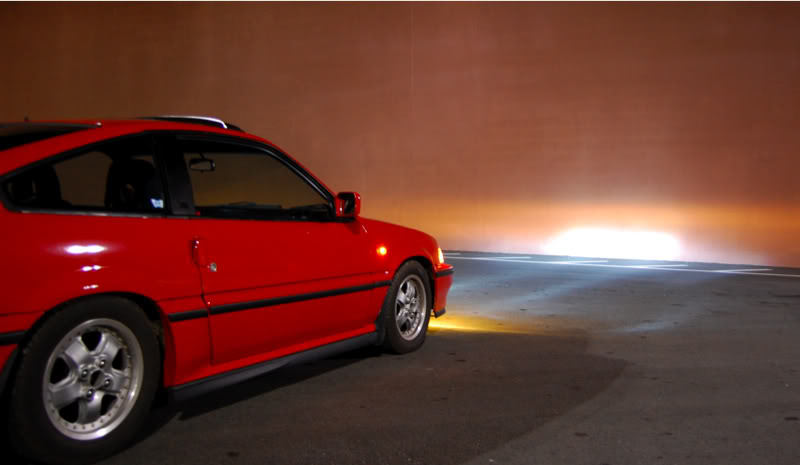
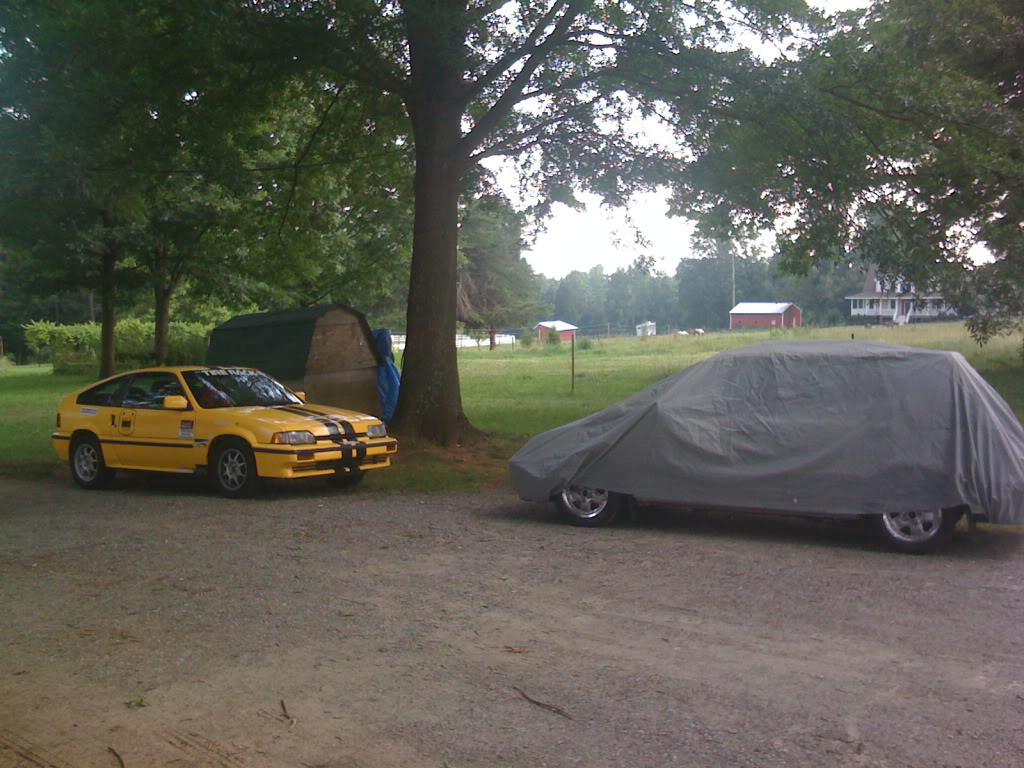
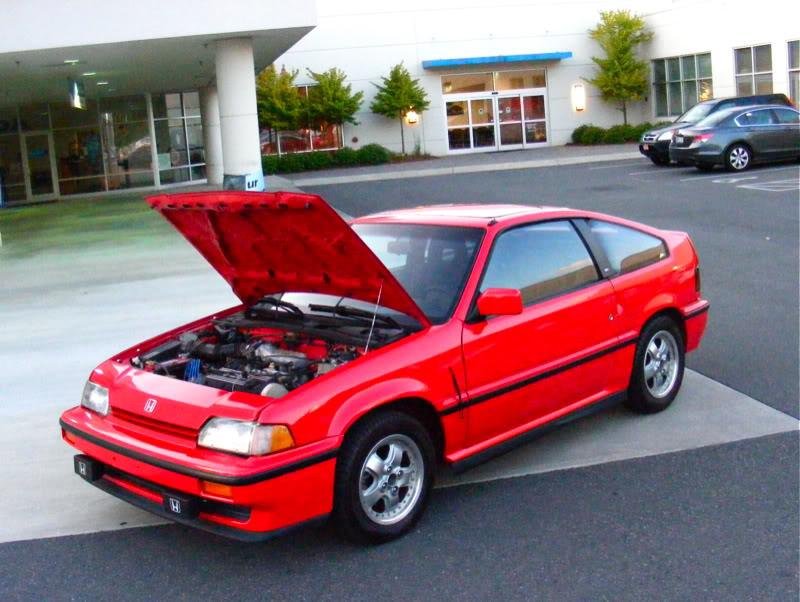
I then lowered the car a good bit. I also did some much needed alignment work on the front bumper and header panel, and snapped some pics with a recently purchased Nikon D40. So, here’s where I’m at with the project now:

There’s still much more left for me to do. I drive the car every day, and am very happy with the performance and comfort. Insurance is dirt cheap, and I’m enjoying the 30+ mpg in the city.
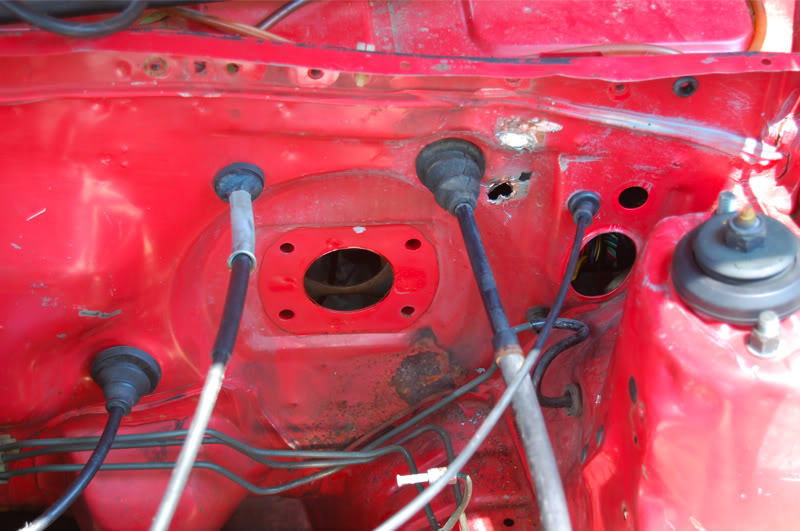
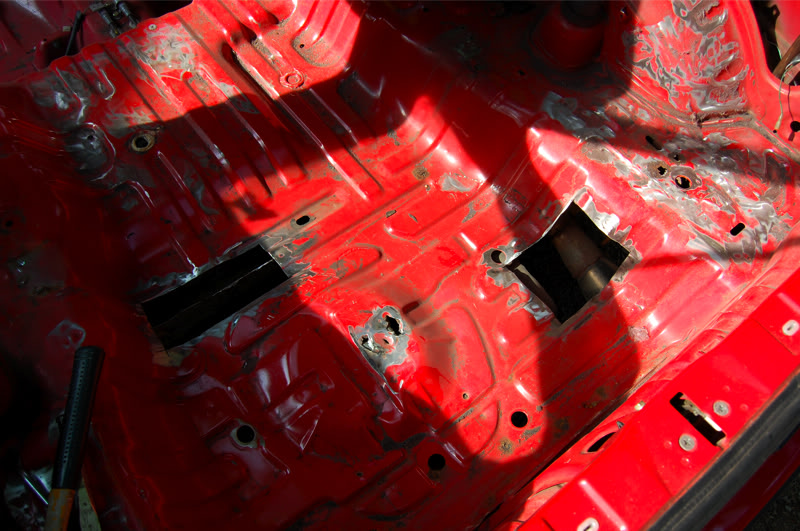
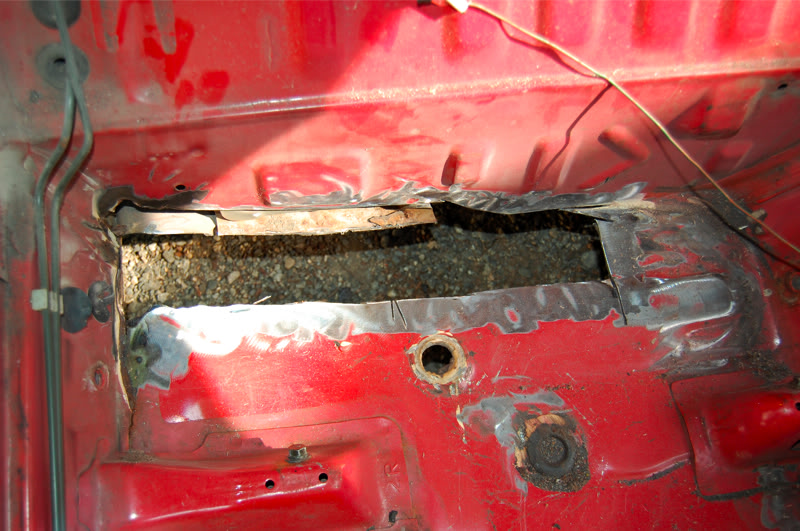
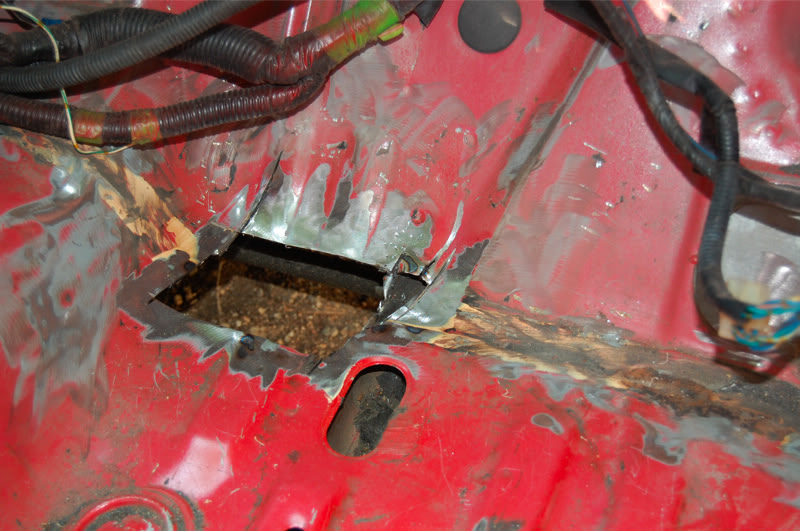
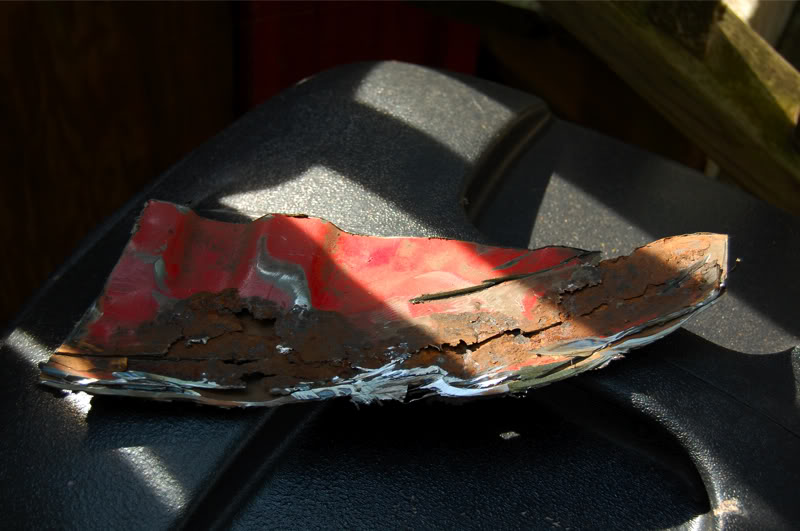
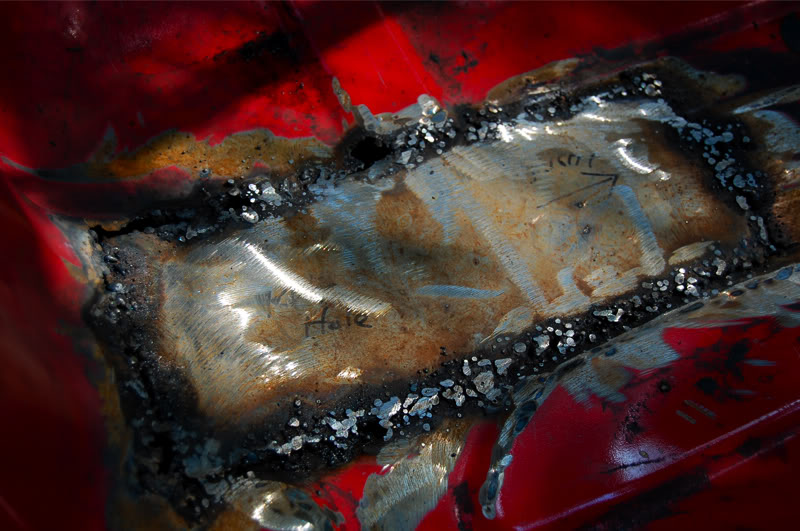
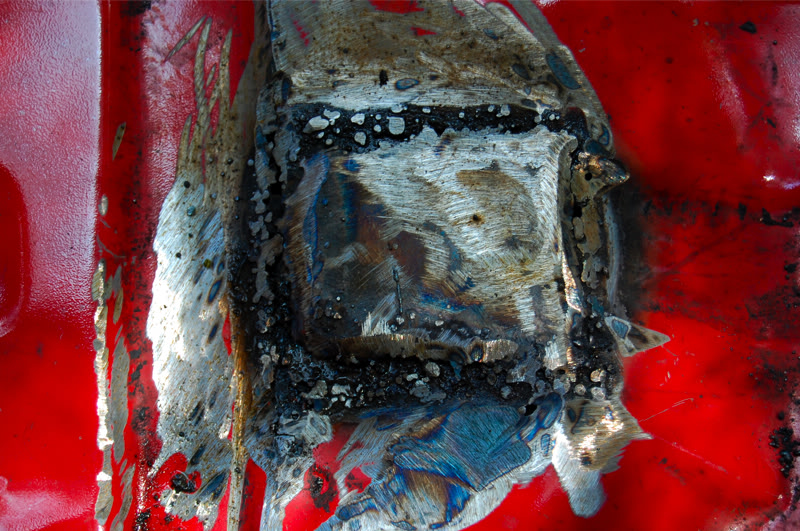
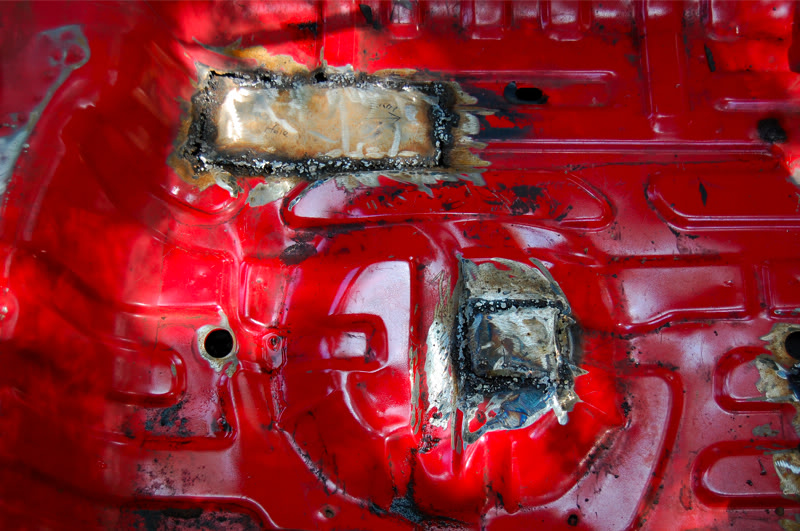
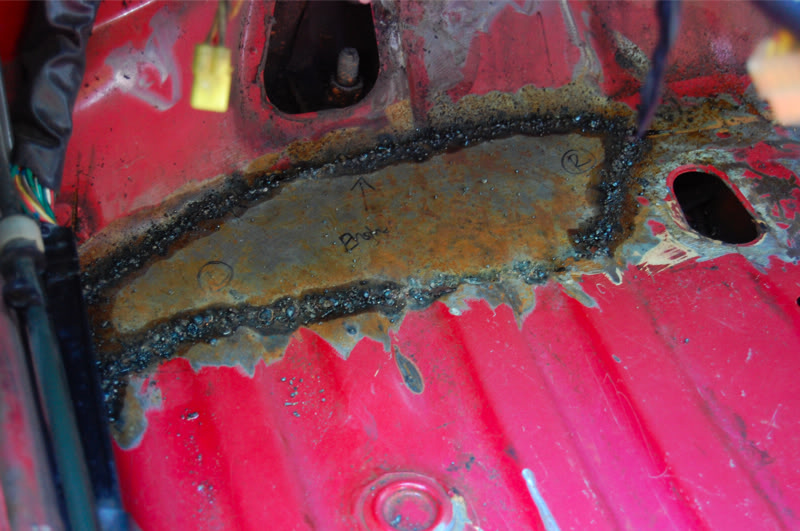
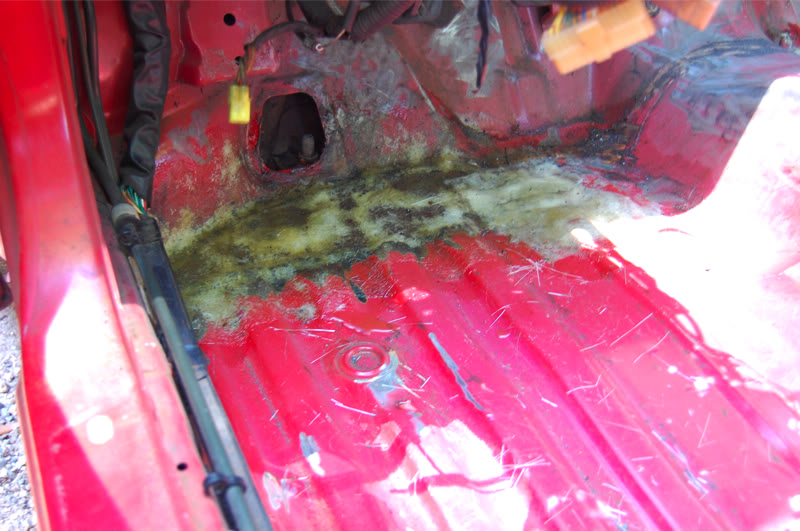
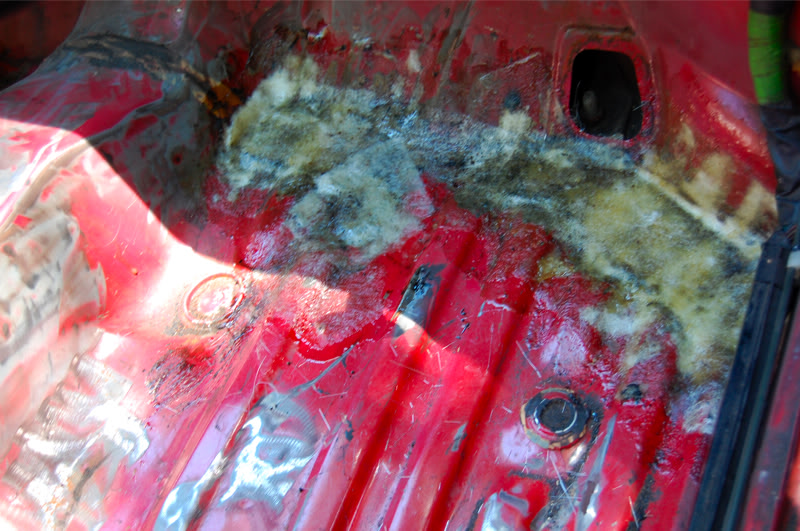
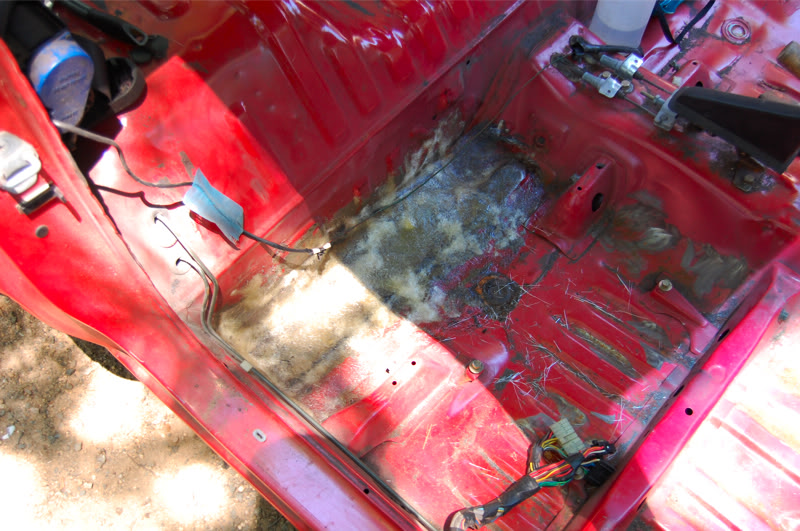
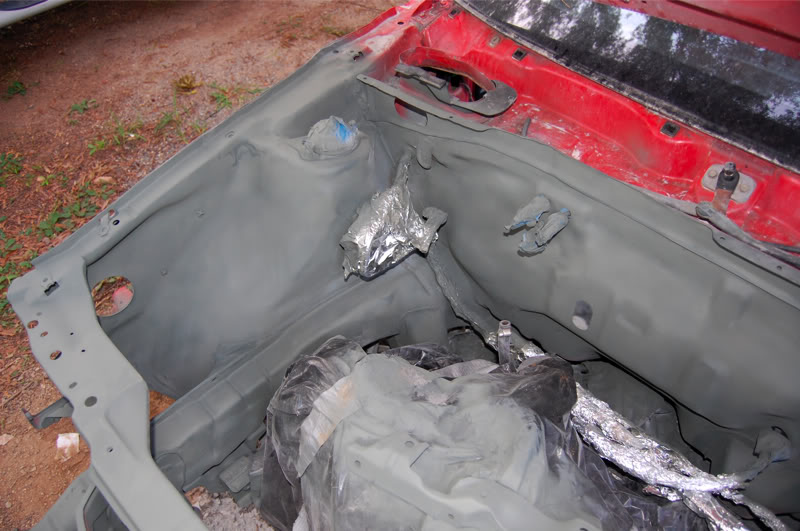
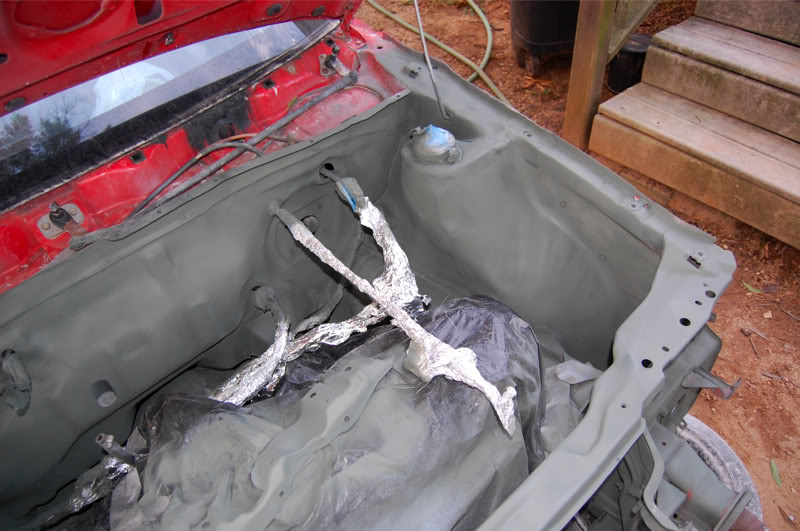
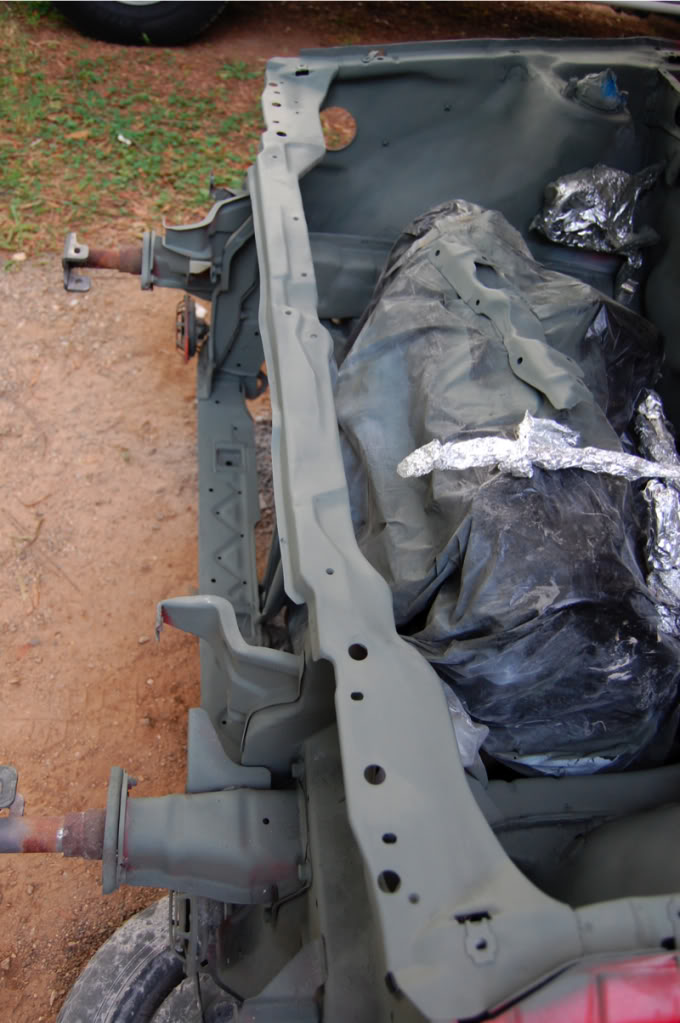
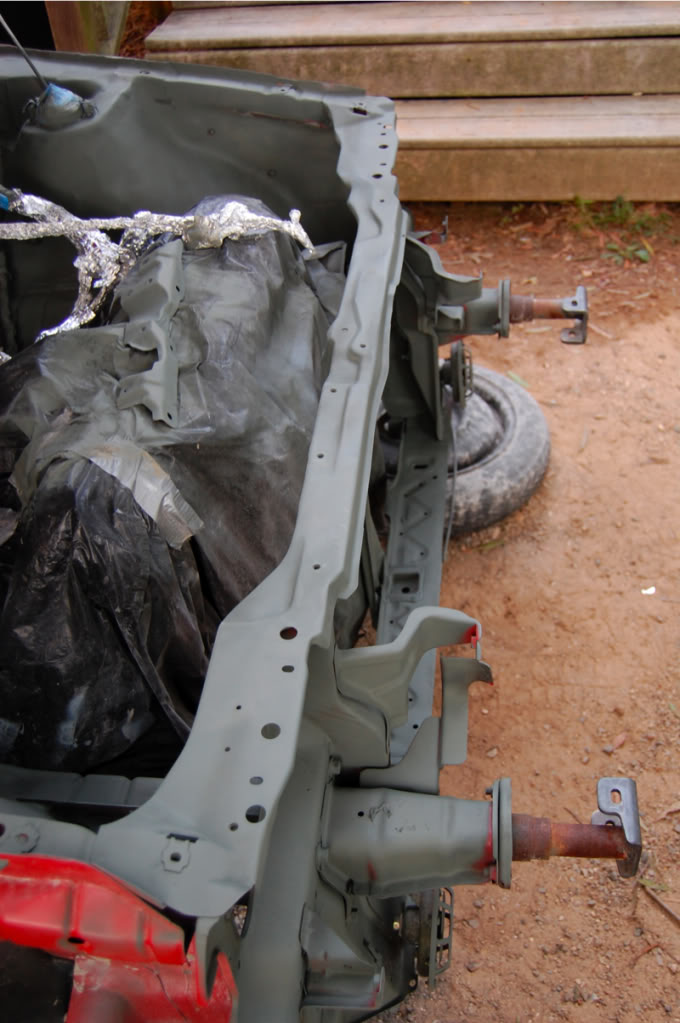
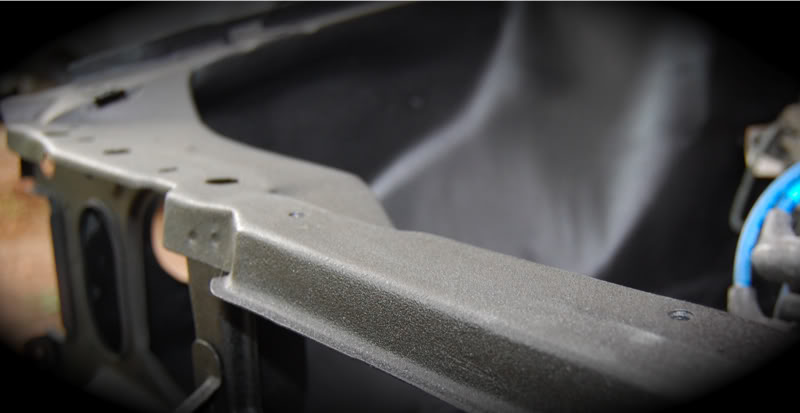
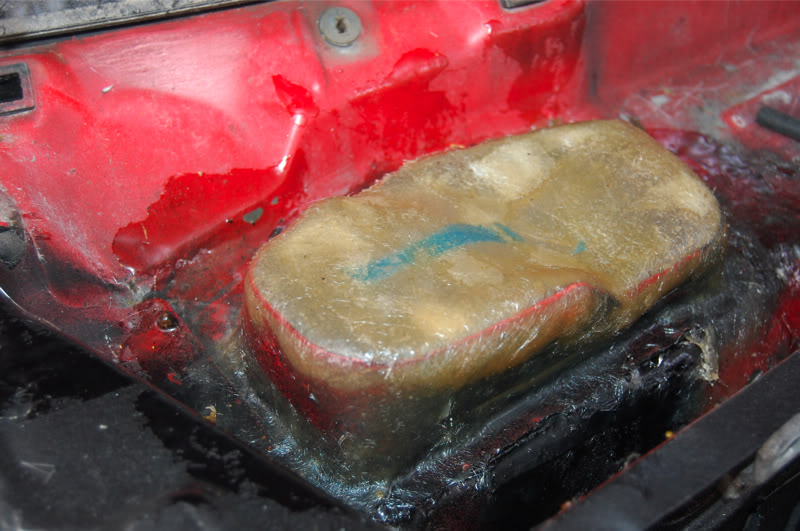
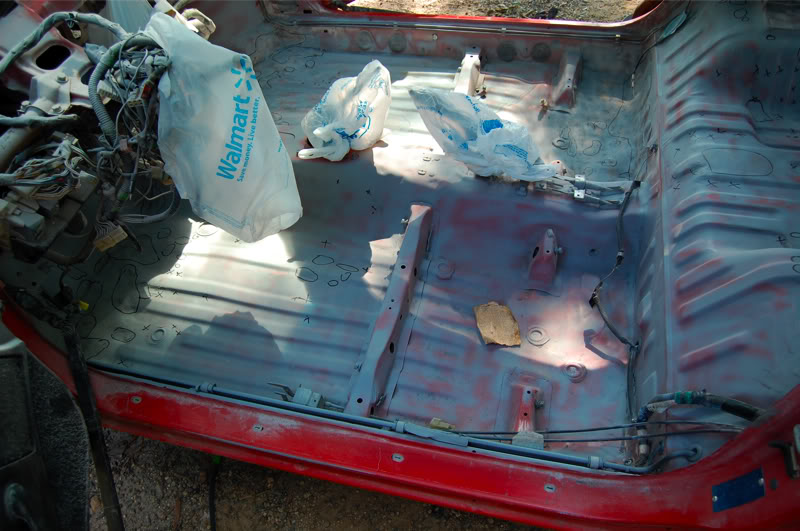
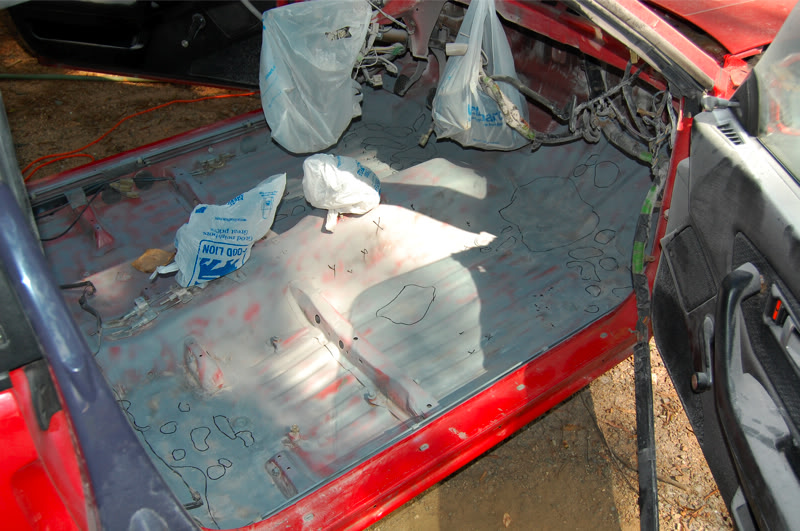
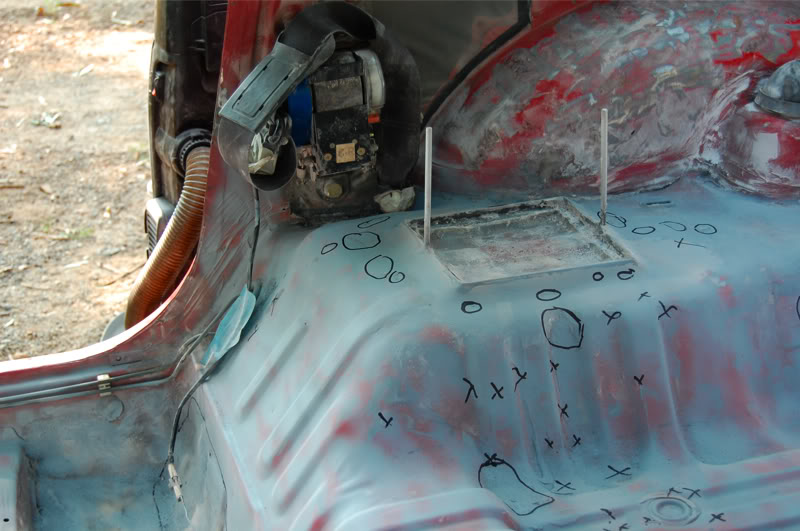
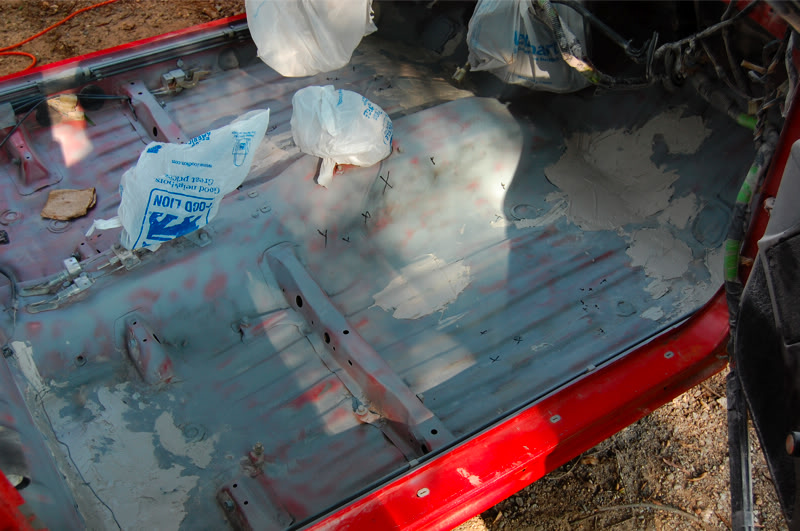
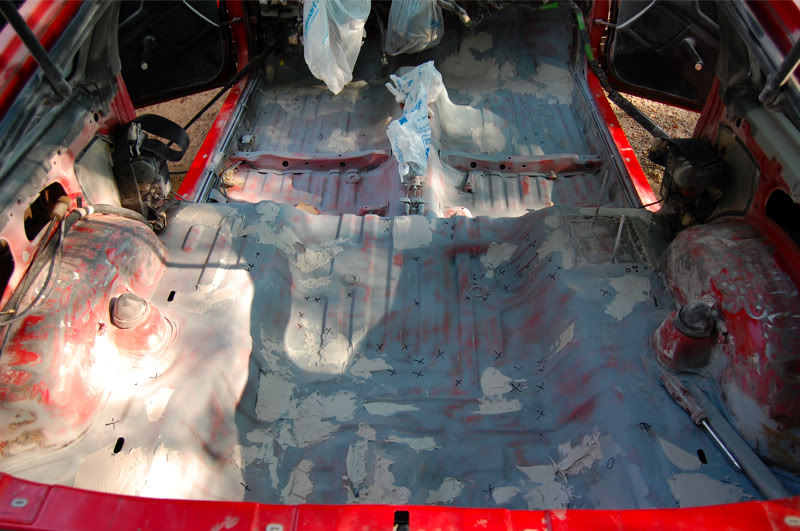
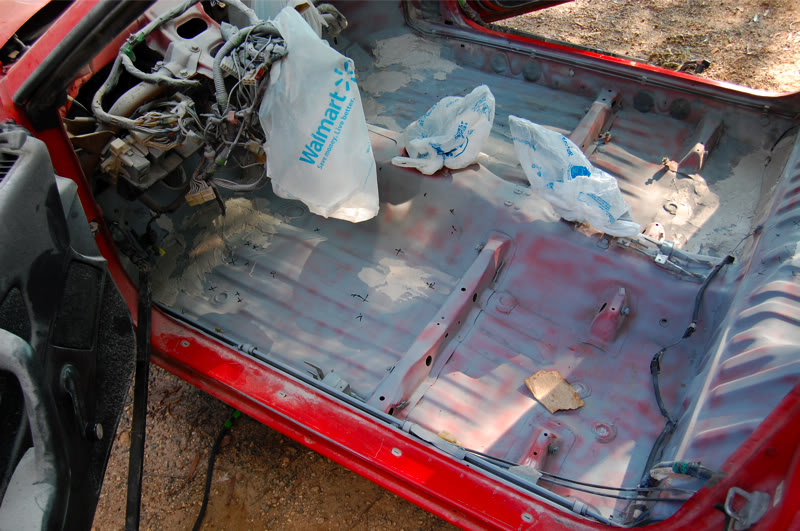
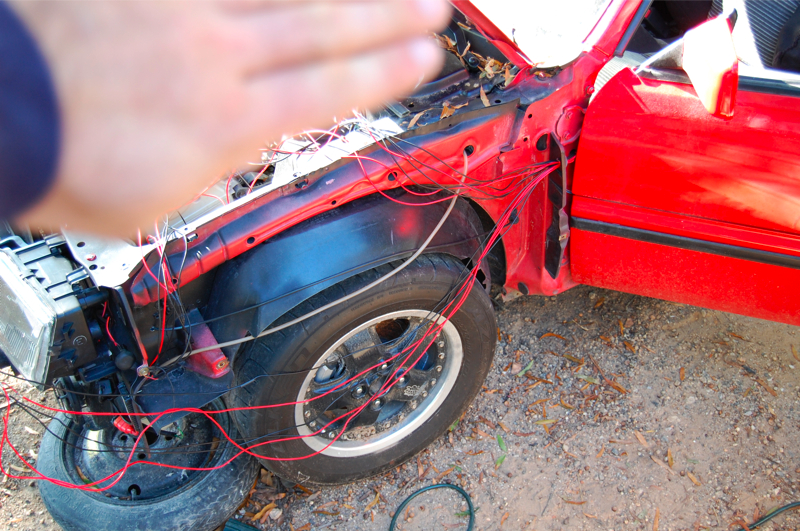
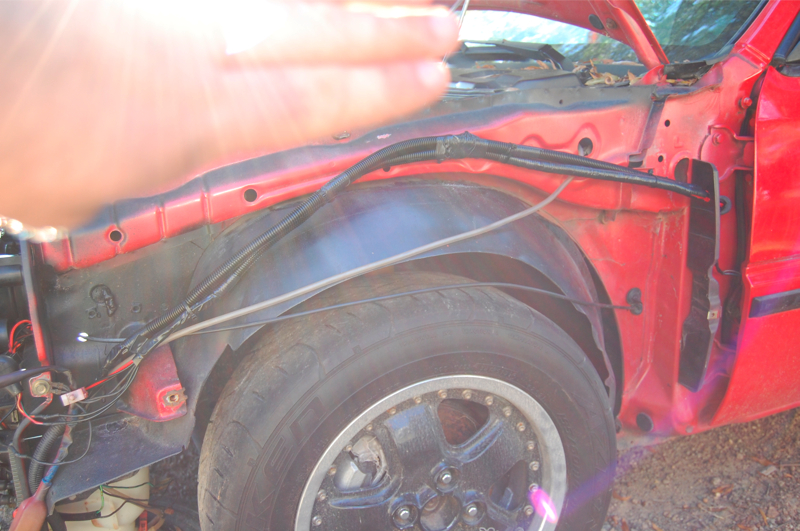
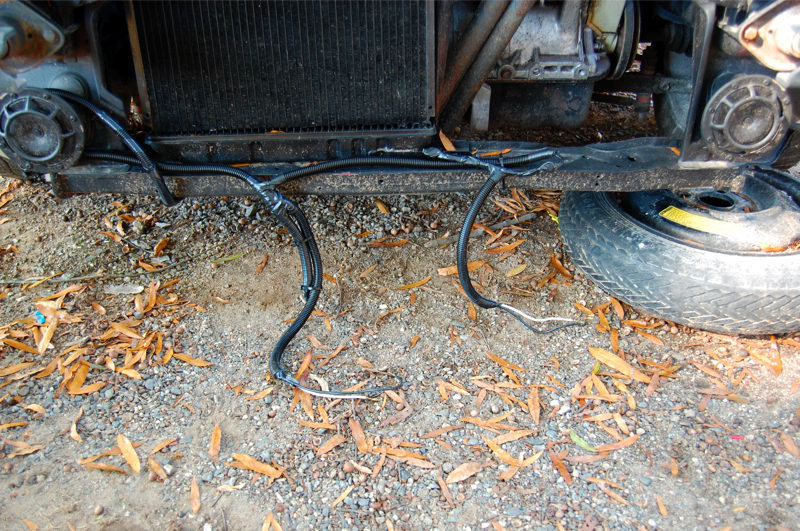
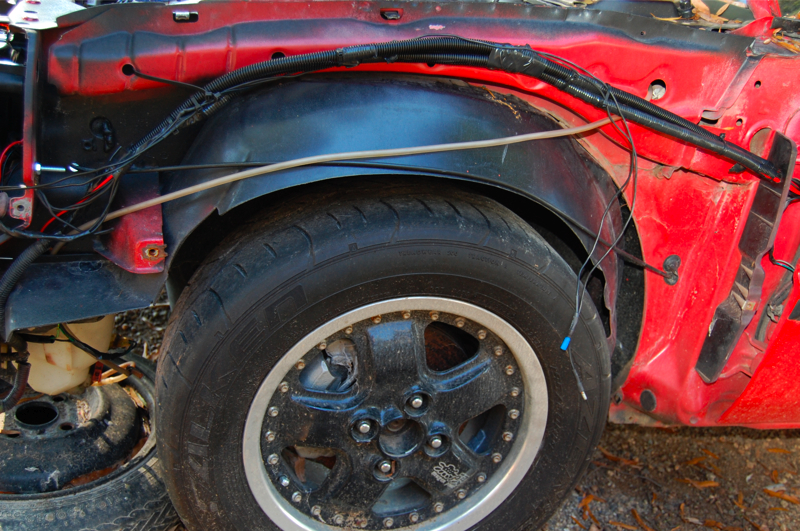
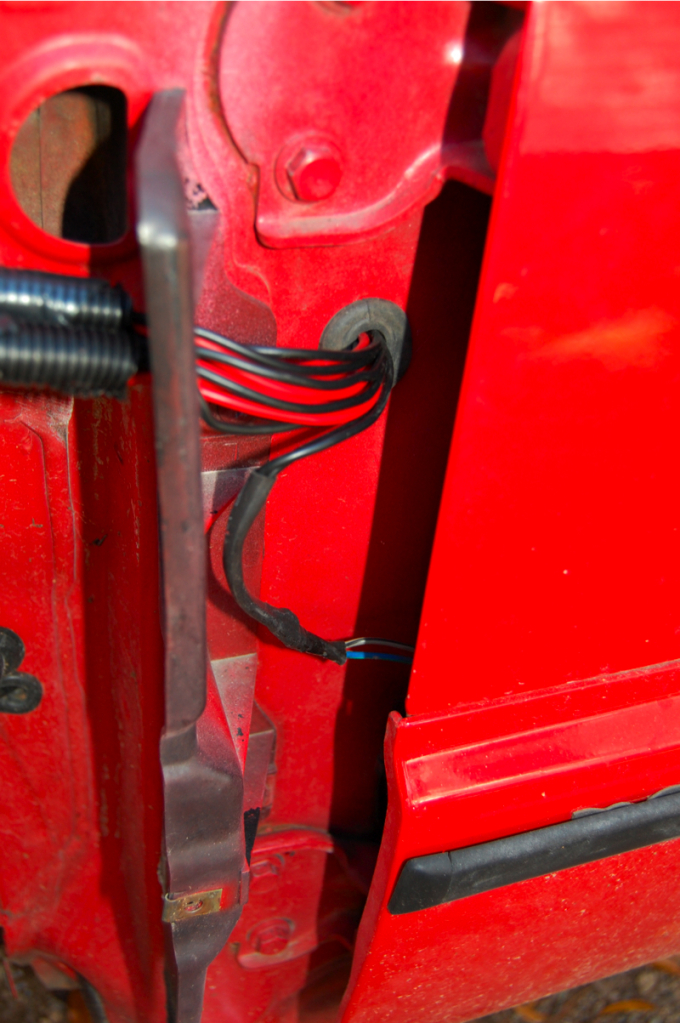
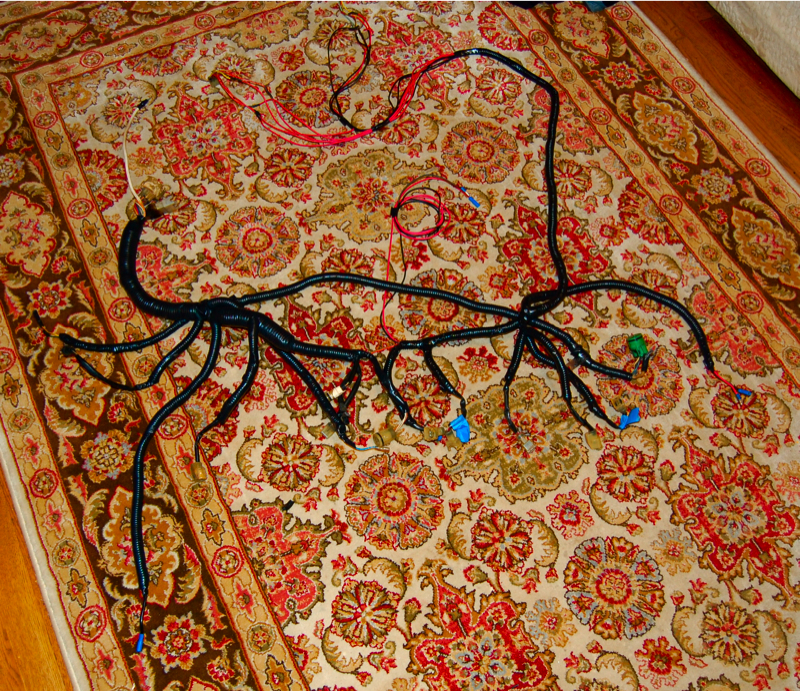
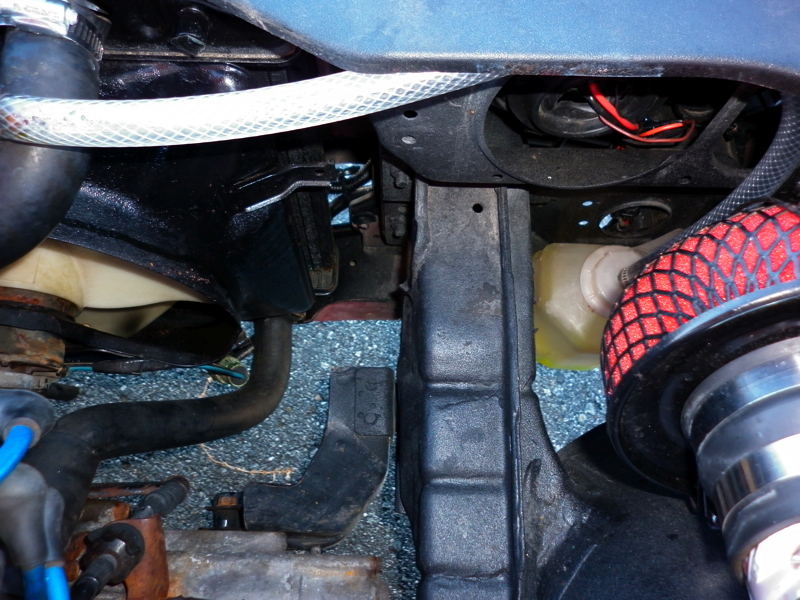
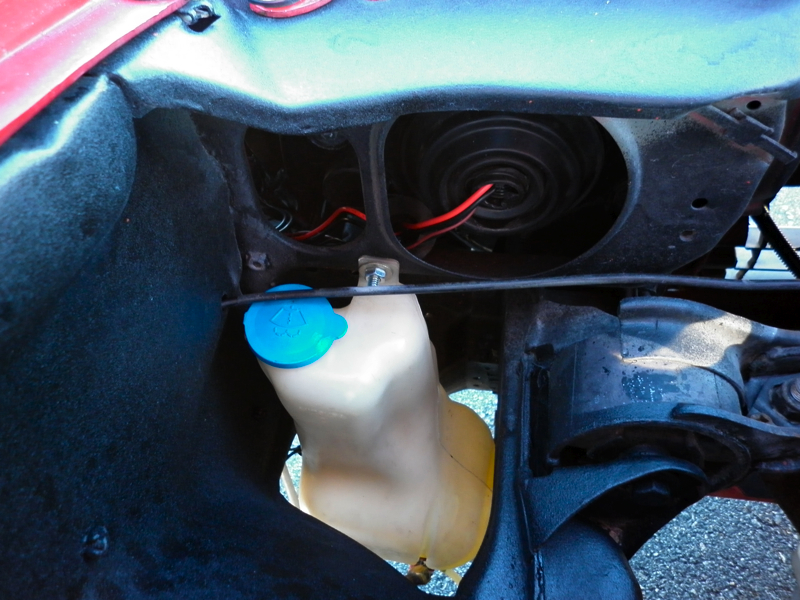
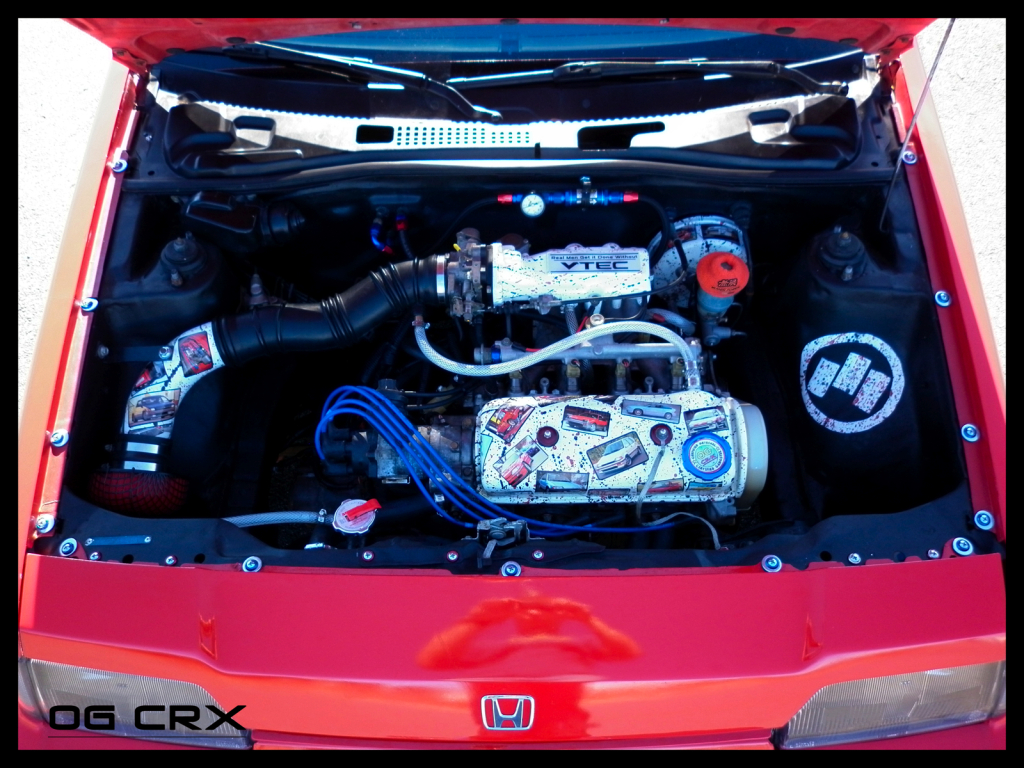
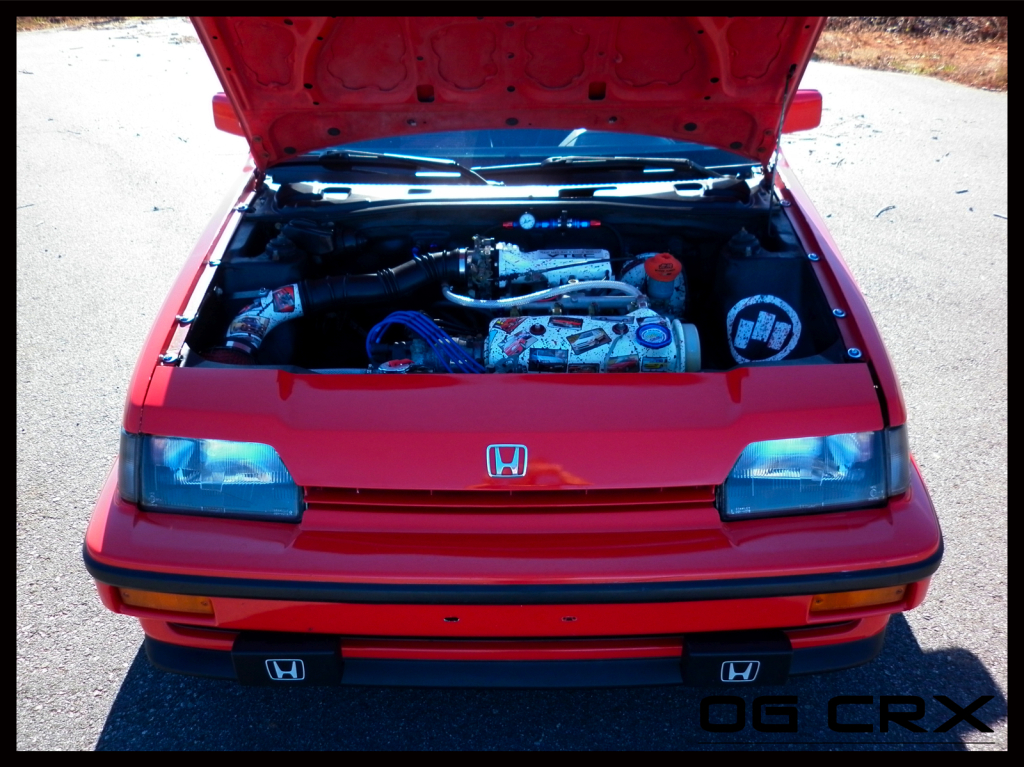
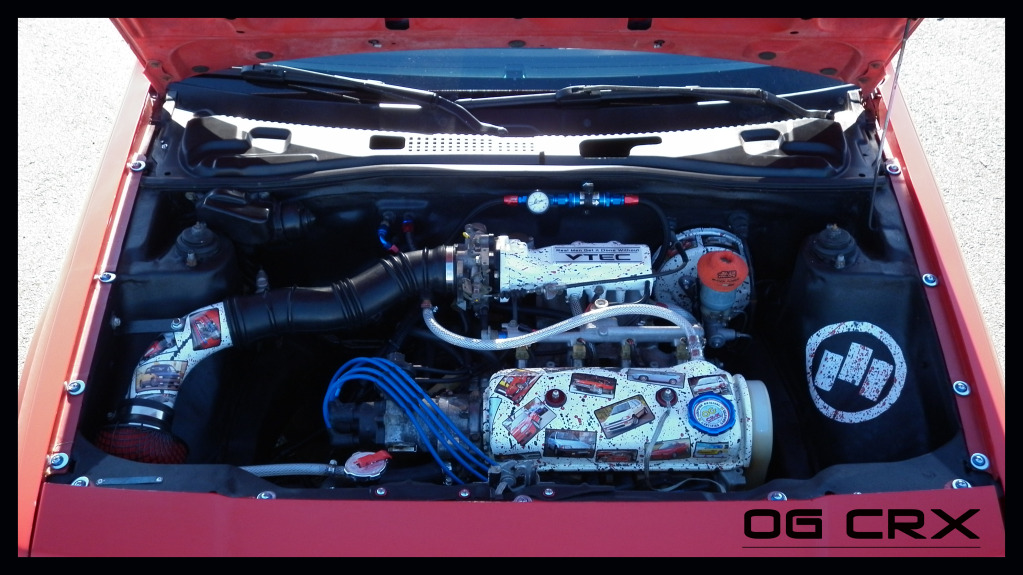
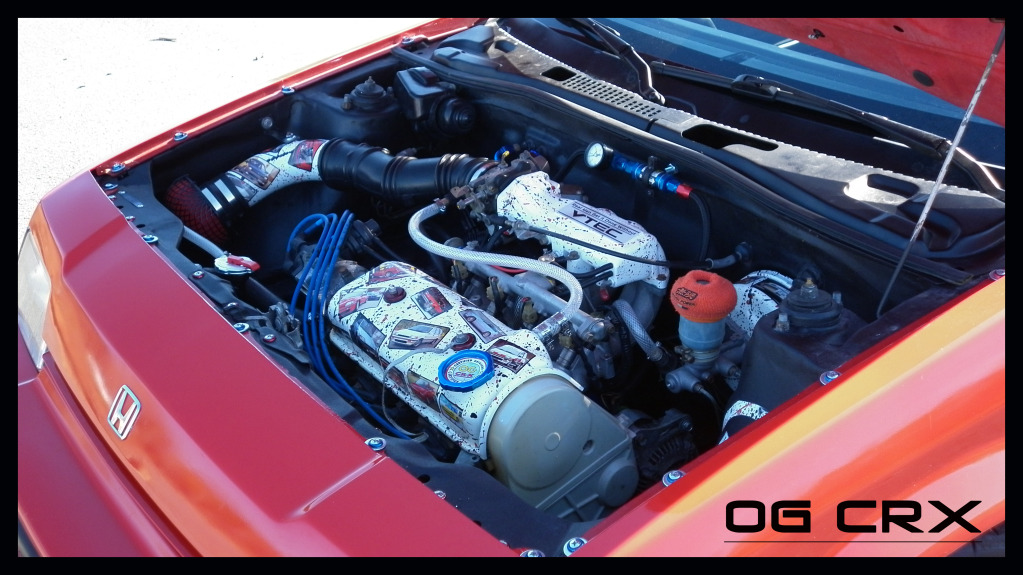
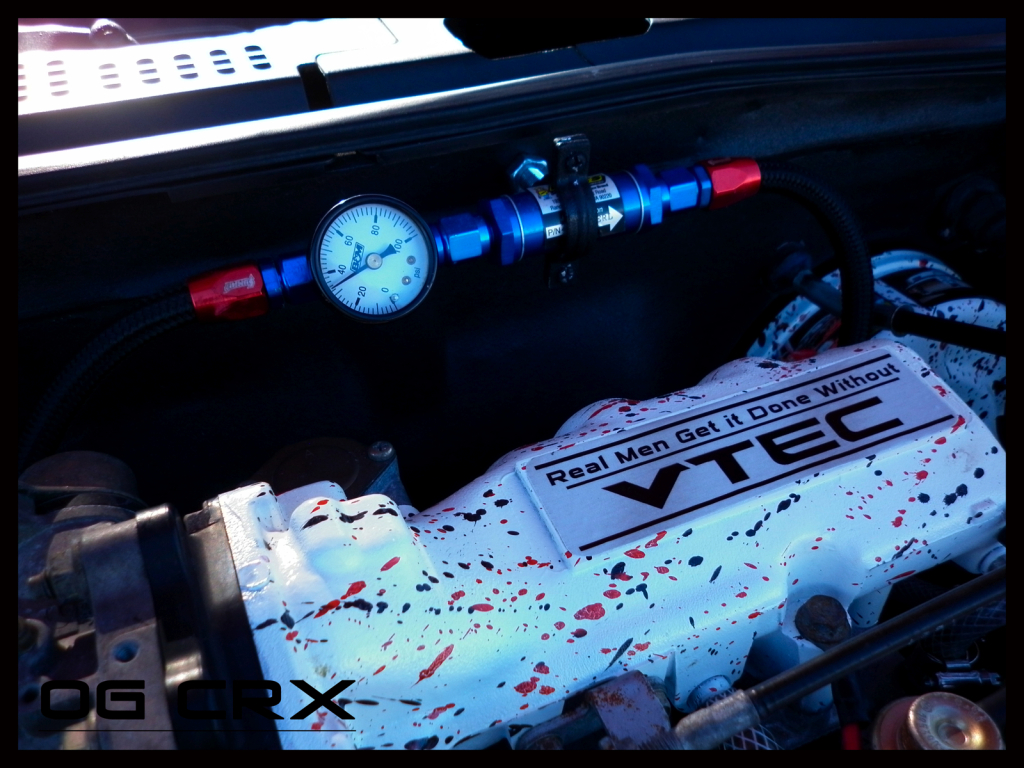
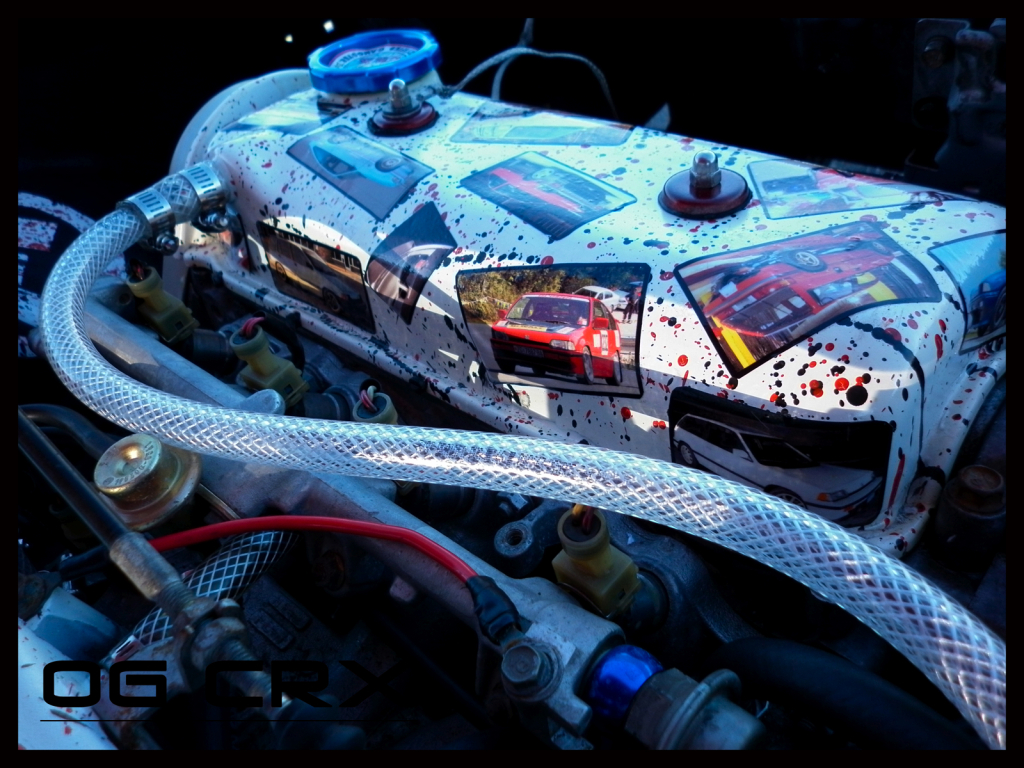
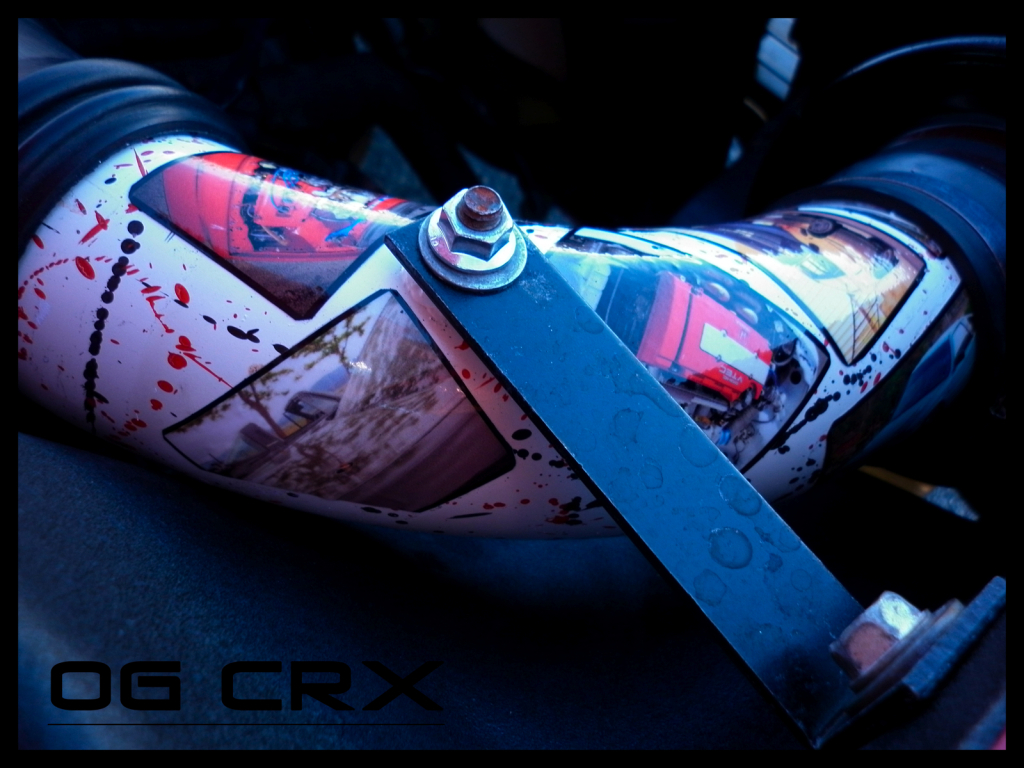
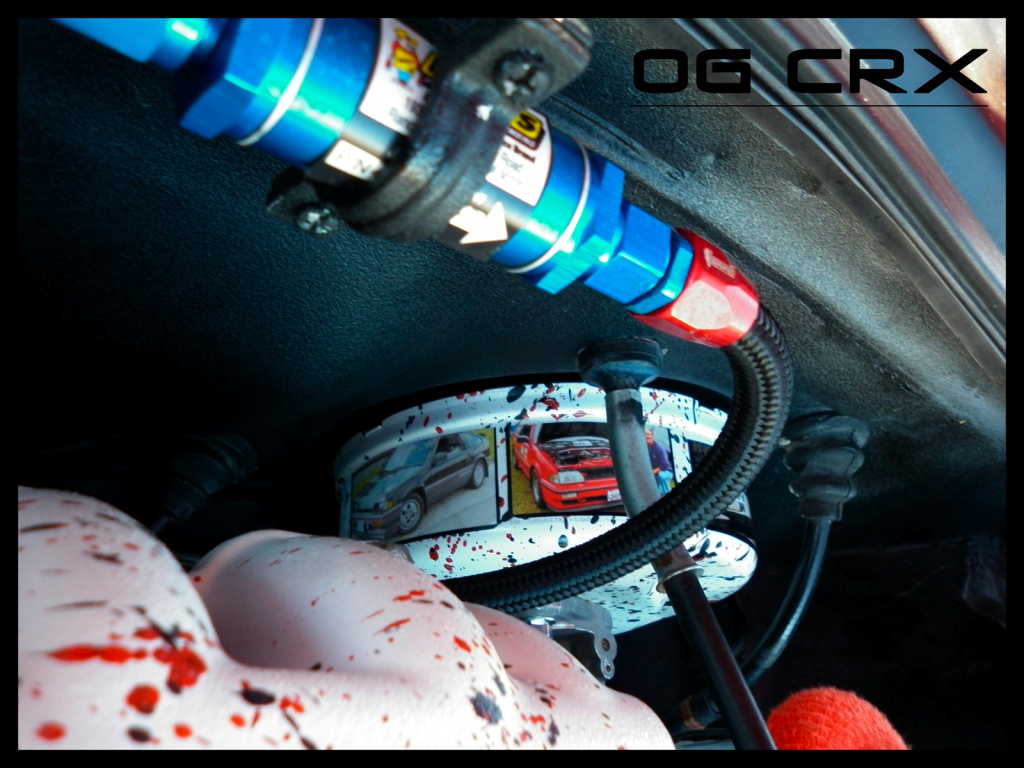
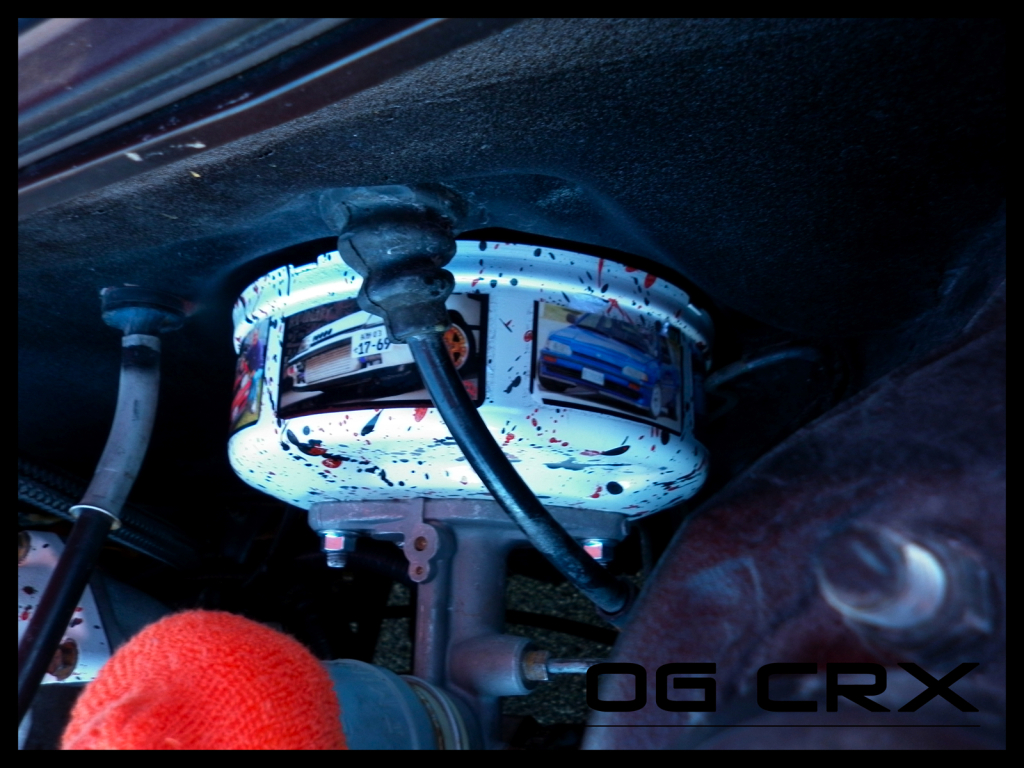
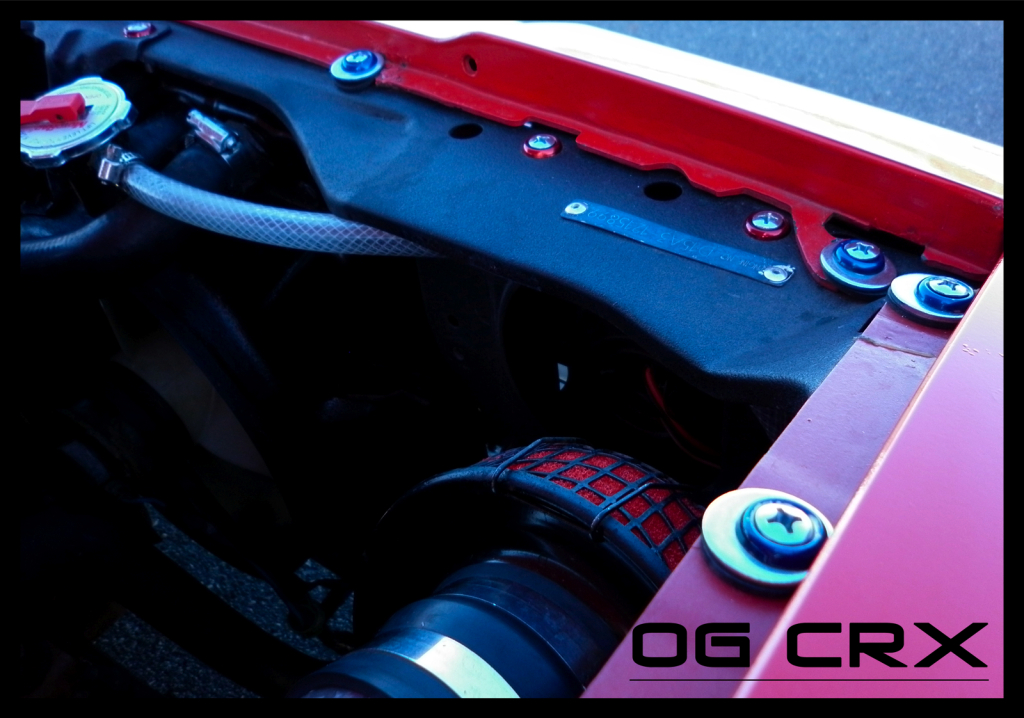
Since February, I have completely revamped the engine bay including a full shave and wire tuck, as well extensive rust repair to the interior, a battery relocation, and truck bed liner spray throughout. Lastly, a few needed upgrades to the exterior including a air relief cut to the rear bumper. I’ve learned a lot along the way, and can’t thank the community over at Red Pepper Racing enough for their ongoing support. I’d like to share the progress and final results with you all here as well. Please let me know what you think.
The pictures will explain everything:
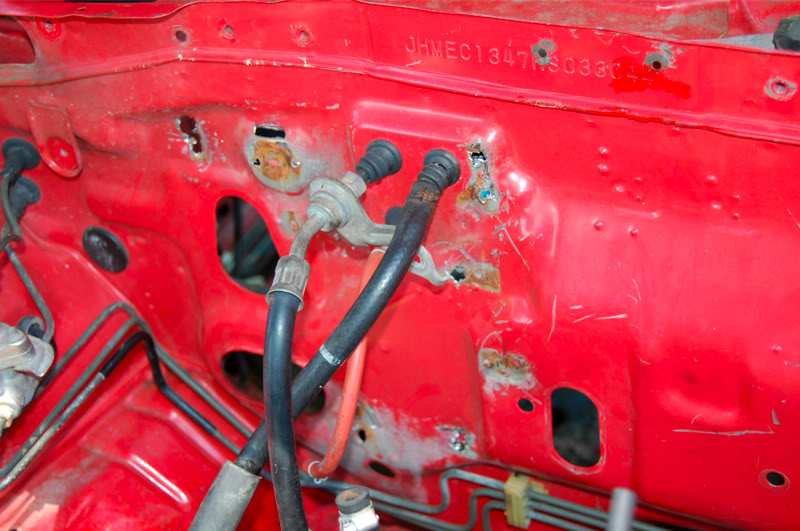
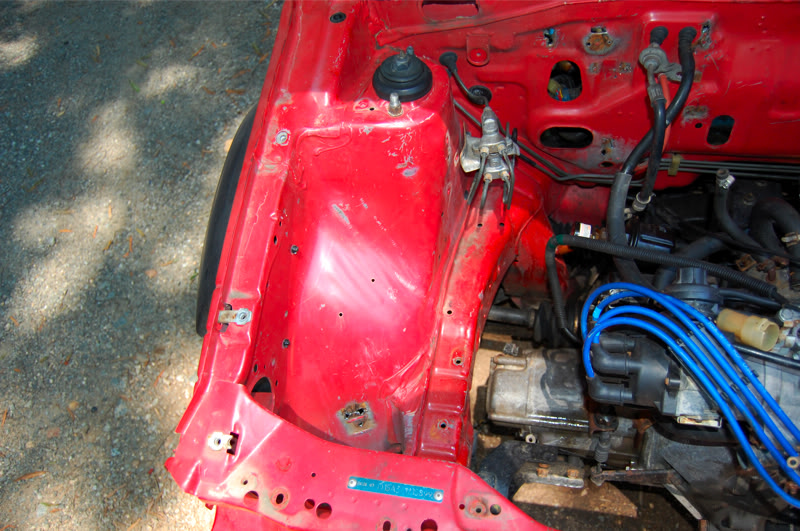

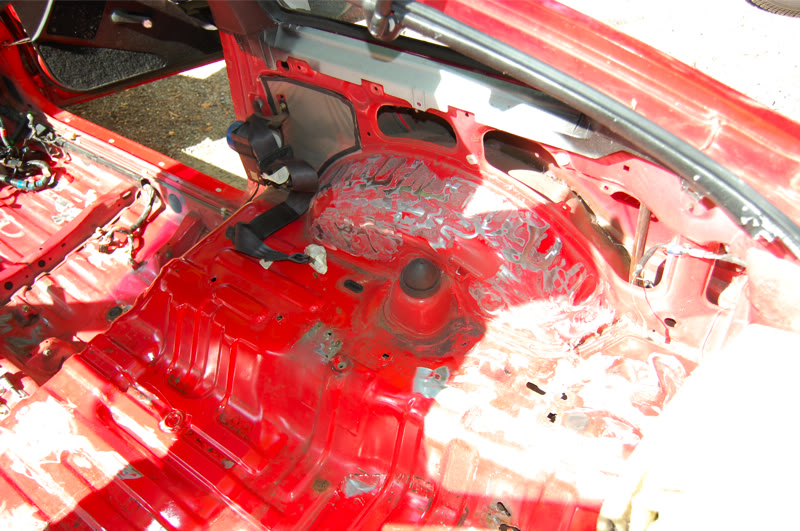

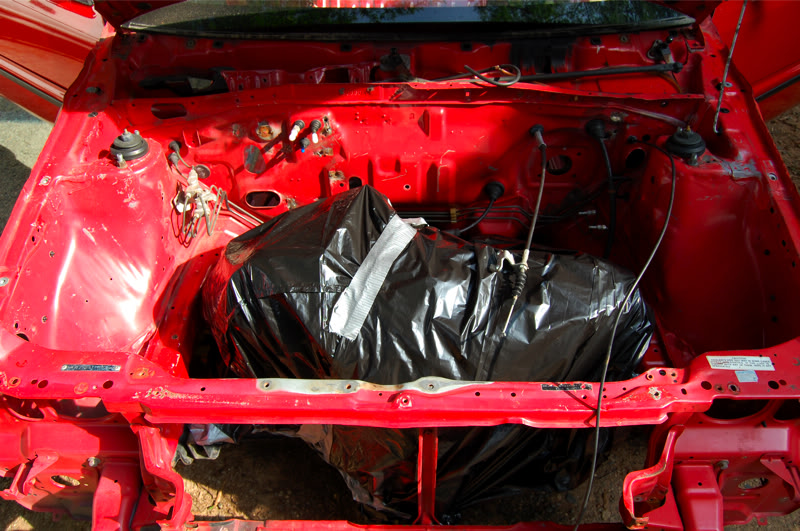

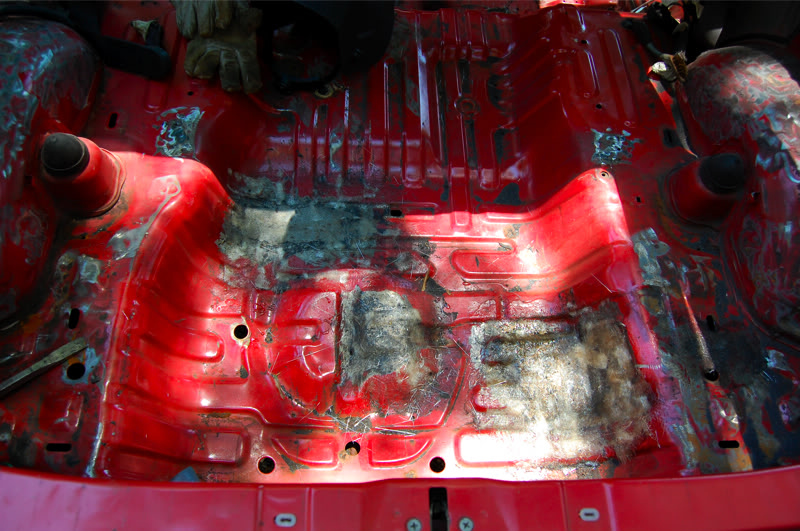


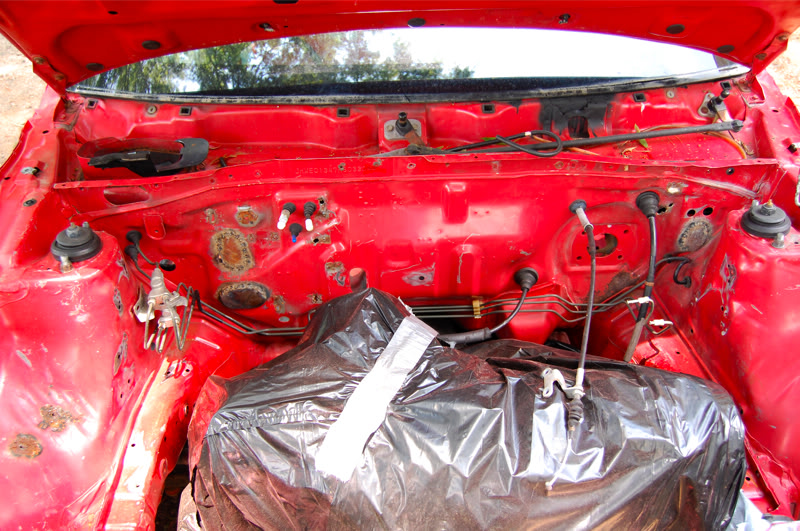
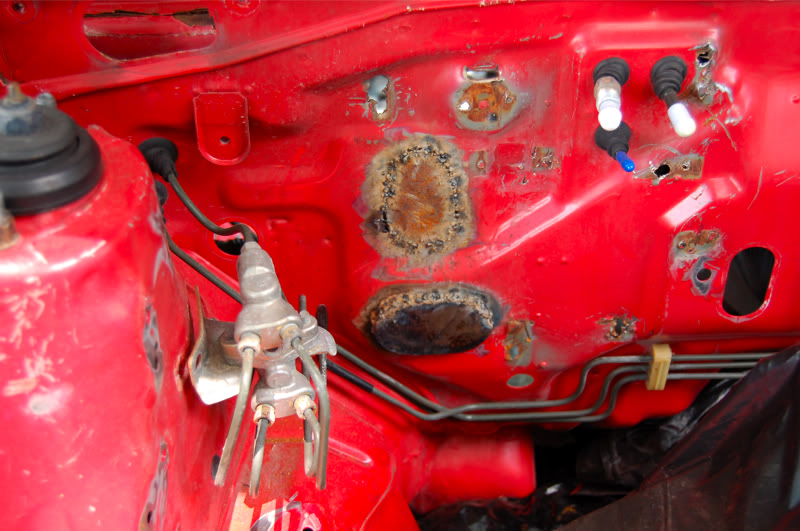
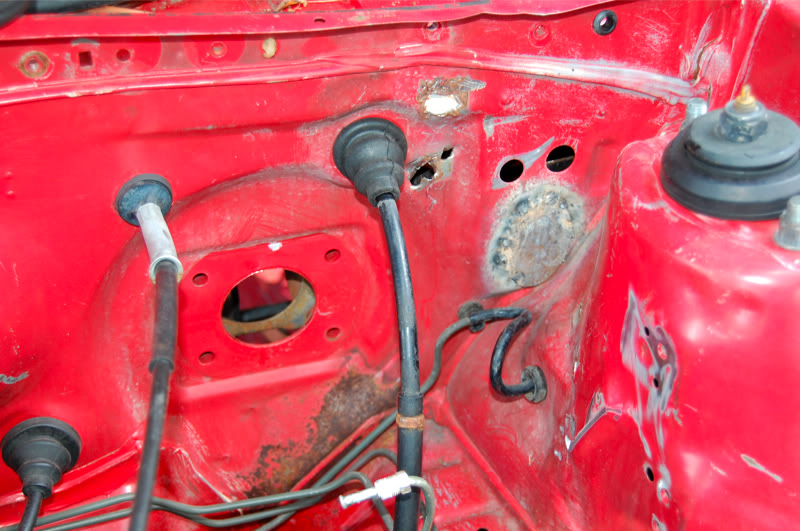
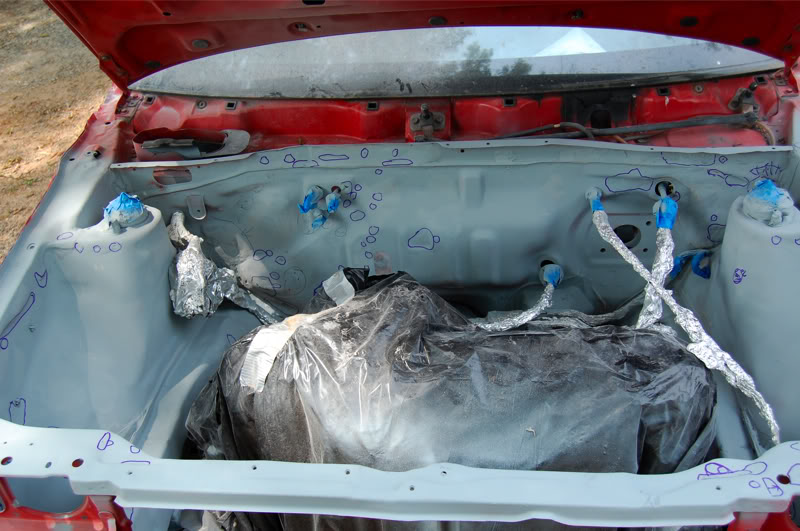
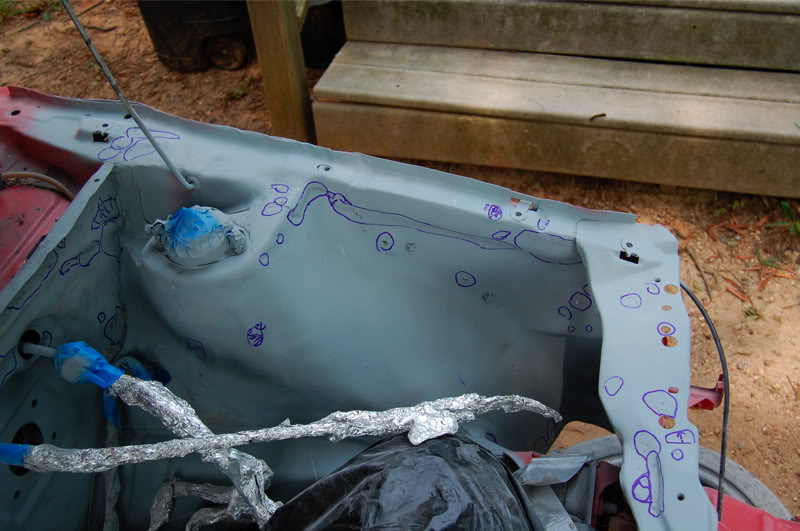
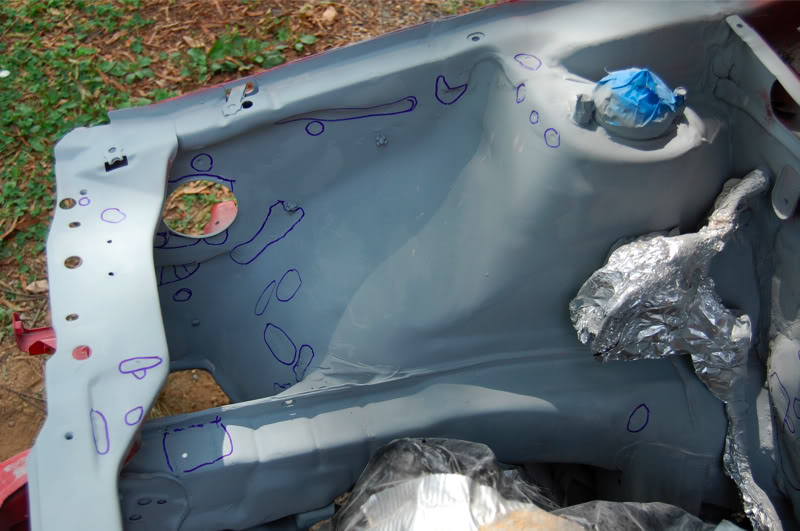
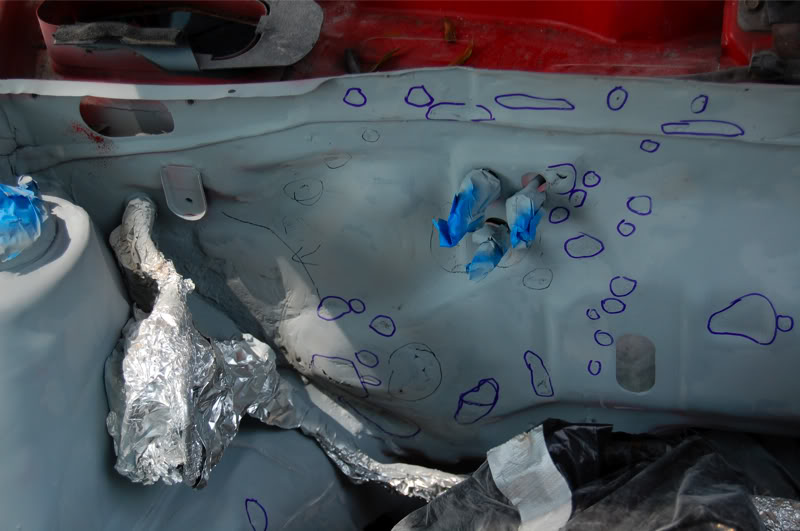
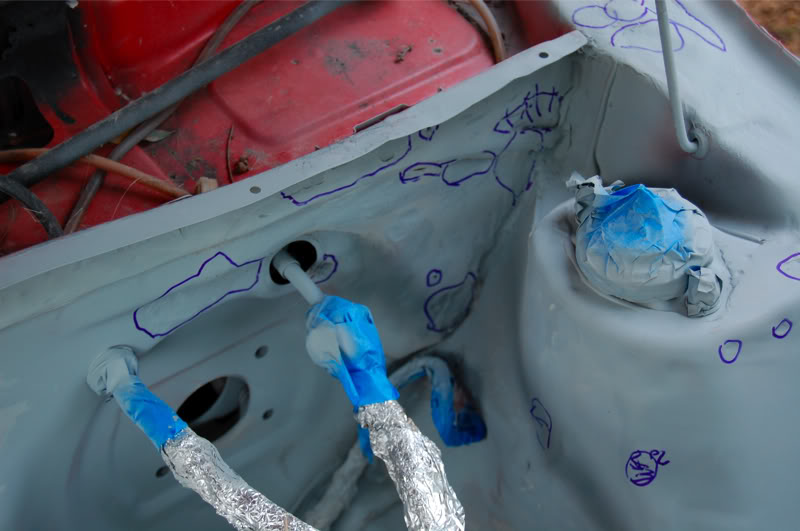
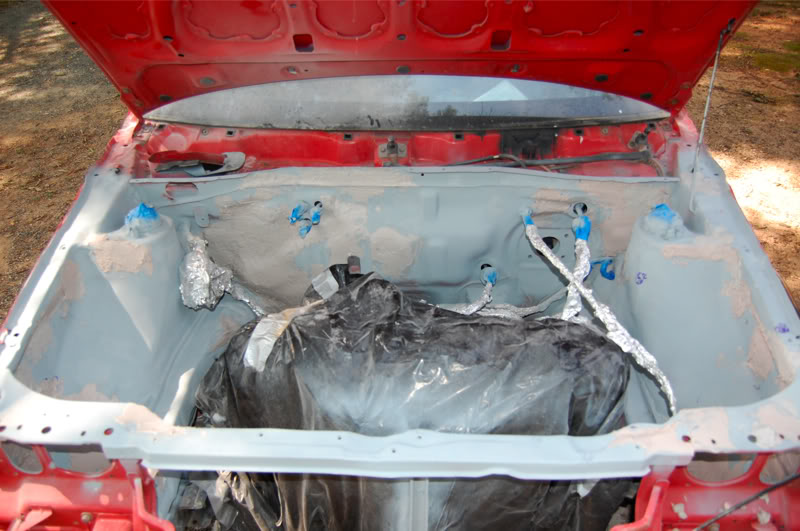
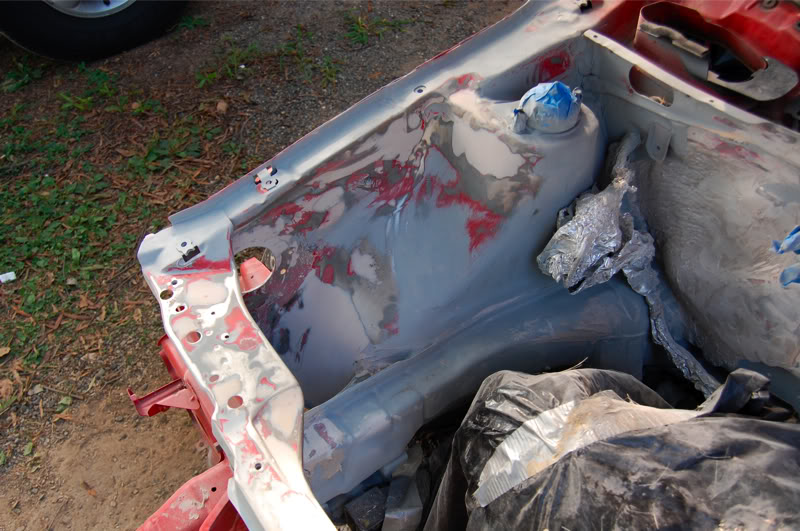
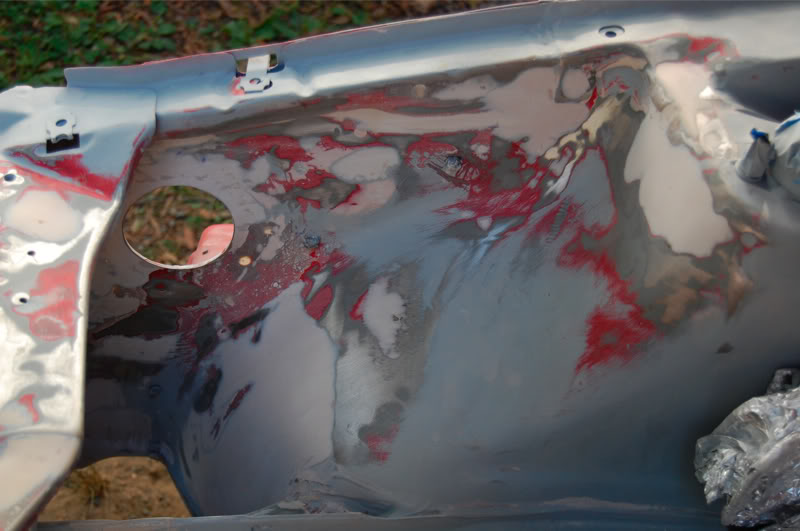
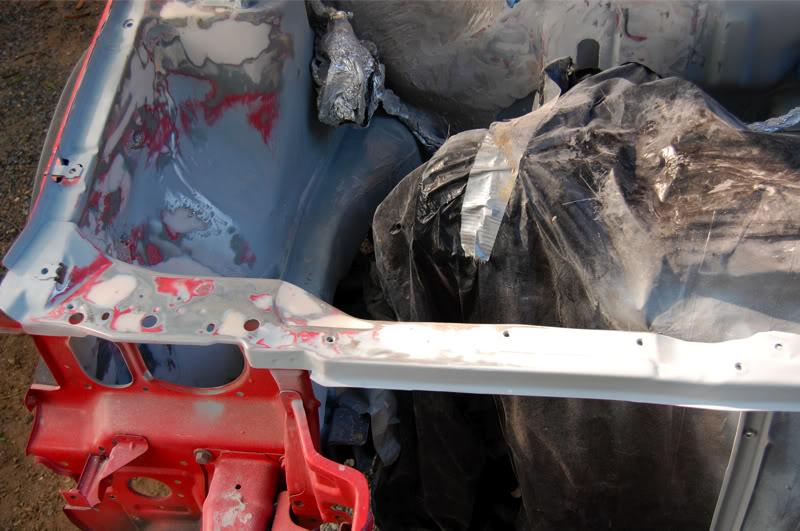

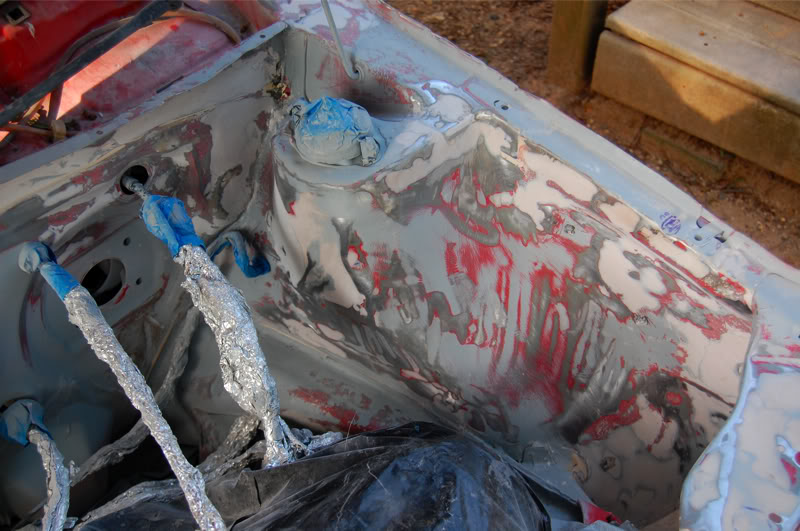
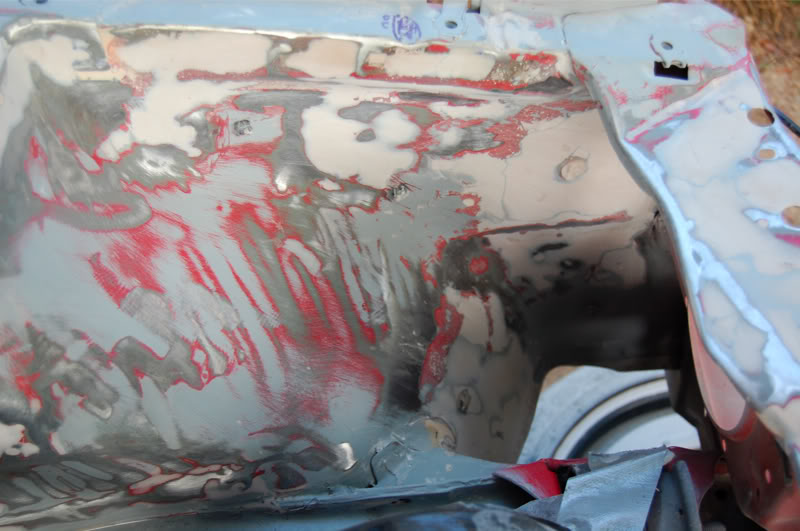
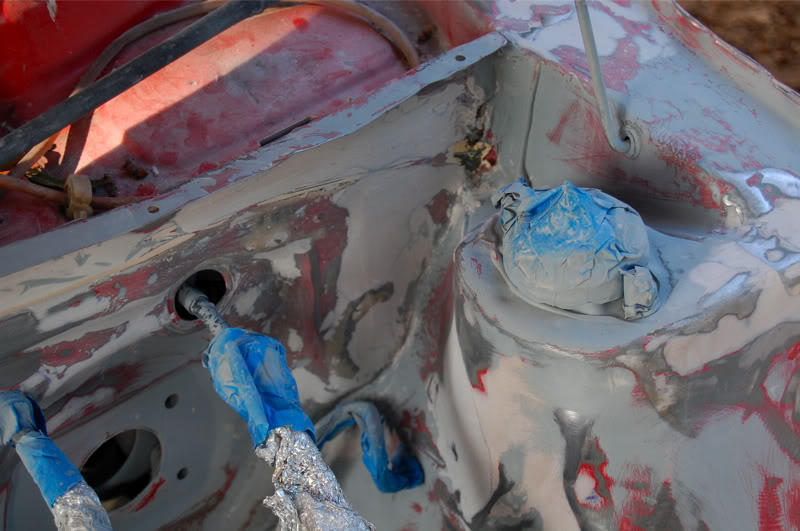
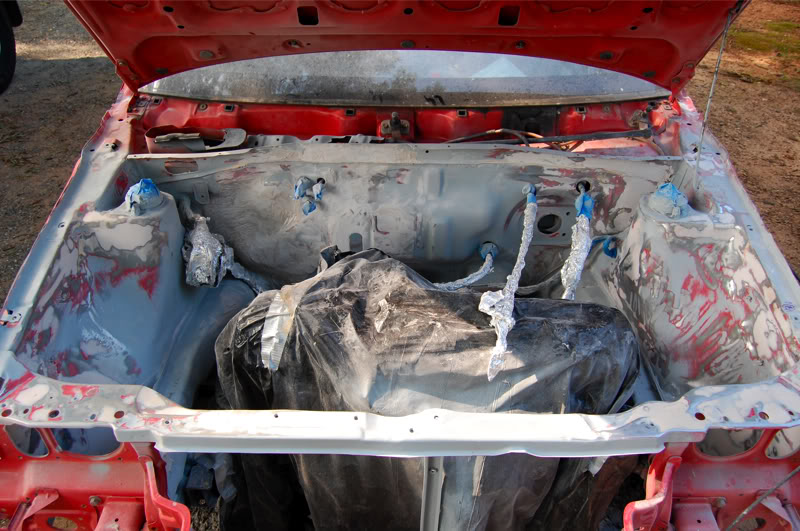
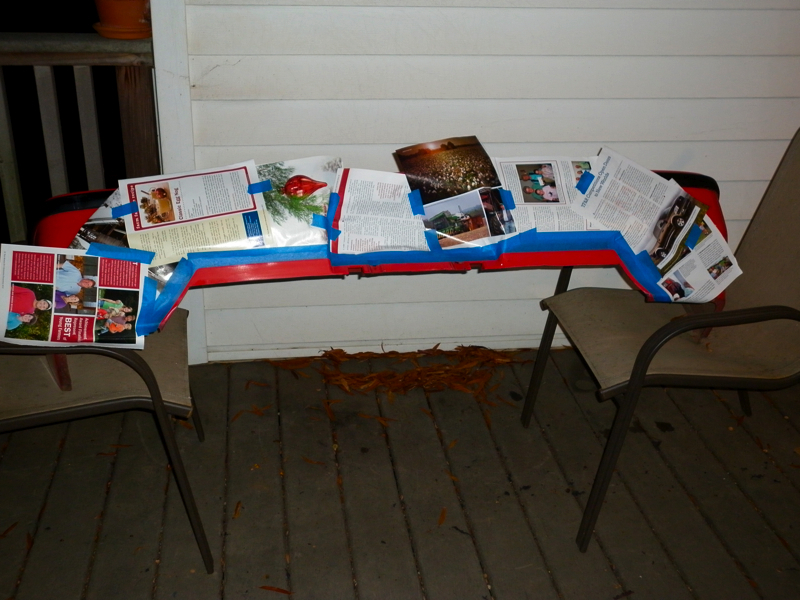
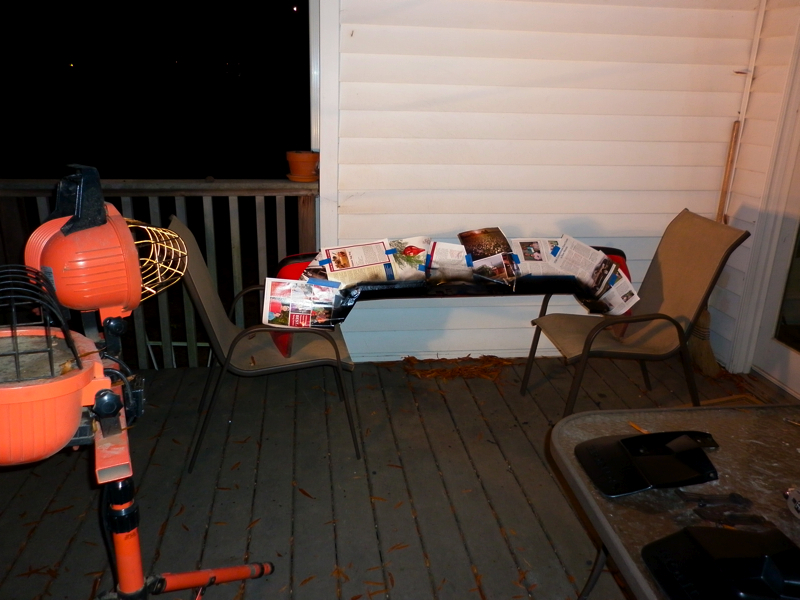
Primed w/ etching primer:


Wassup man fantastic job on the 1G CRX
freaking awesome job man!! i have my CRX 1987 but am still stuck with what to do next its in a terrible condition.my first car project
I have a 86 needs a little body work I don’t no where to find anything for it. I need a whole other one like you did. Mine doesn’t have liner either. If you know of any places where I might be able to find parts. Please email me.
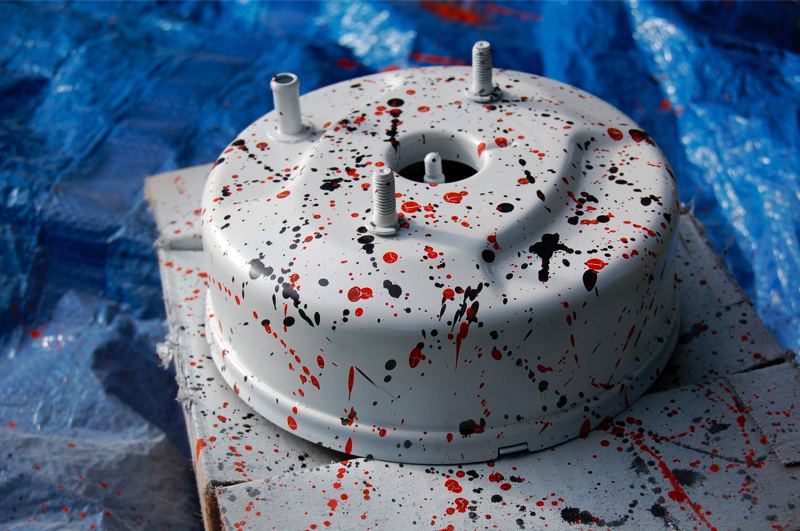
Nice!…that’s the cleanest 1st gen I’ve ever seen. Liked what you did with your booster and valve cover. Hope my Rex turns out half as good.
I just bought my first 1987 -have wanted one for 25+ years!!
Thank you for this awesome, step by step photo journal – The car looks (and no doubt runs) AWESOME!!!
Love the sight.. I’m doing the same thing with an 88.. I have some questions about painting the interior… Did you find it better to pint, or would you do a swap next time… If you could email me that would be great.. I’m sure more then be question might pop up.. I can use all the help I can get! 🙂
Great job I have a CRX that I need parts for but I’m having a hard time finding can you help?
Wendell,
What parts are you looking for ?
Awesome job great attention to detail. I got my first crux an 86 needsa lot of parts and work. Hope it turns out as nice as yours. If you know where to find parts please let me know. Thanms
I have the exact same car! it is awesome on the road! its just so different! but i am looking for some parts as well. I am actually looking for a fuel pump. Is their a website that you can order the parts from? I am from Guam. Another question is how much did it cost for you to restore this beauty? Any help is really appreciate it.