1975 Datsun 280z Restoration

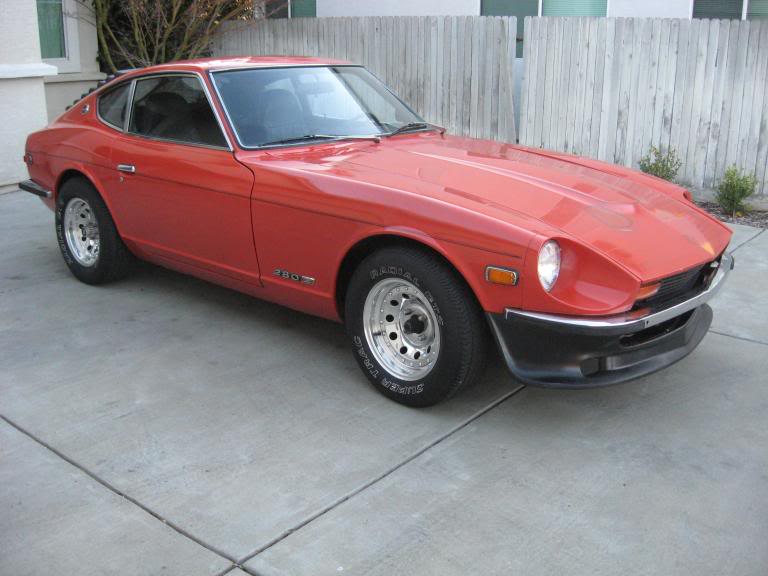
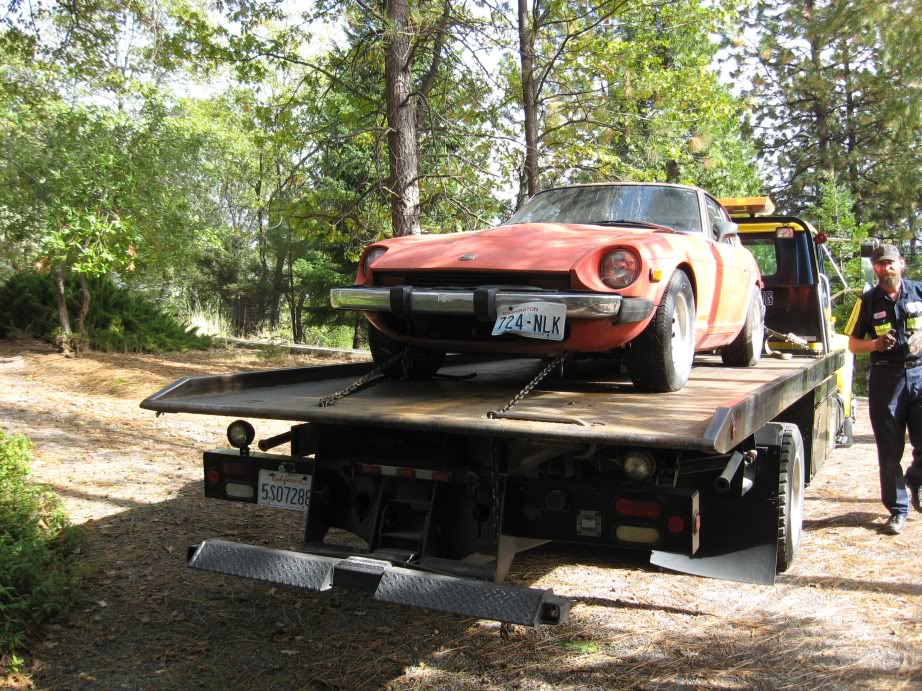
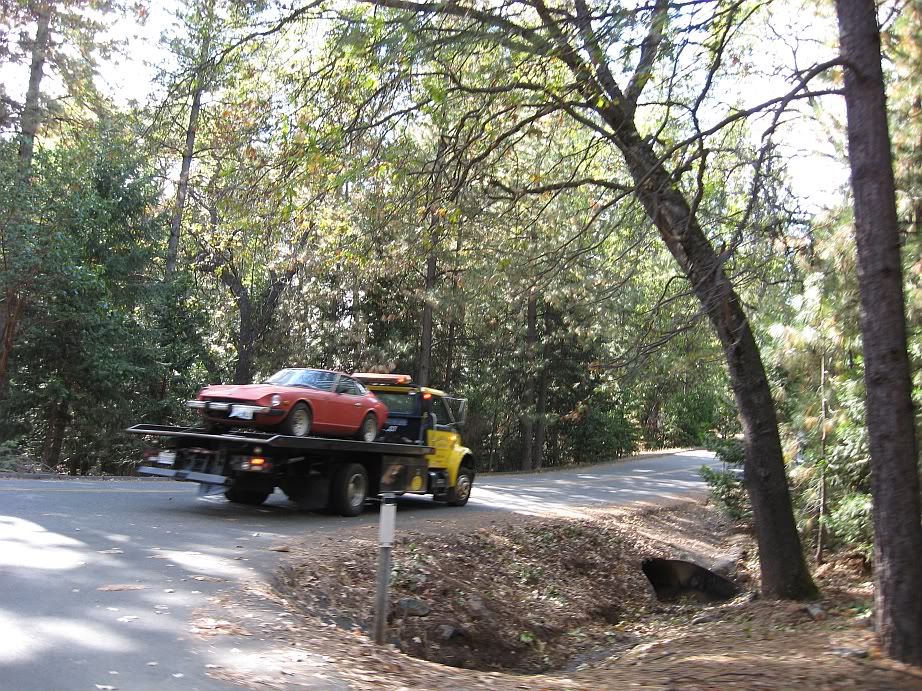
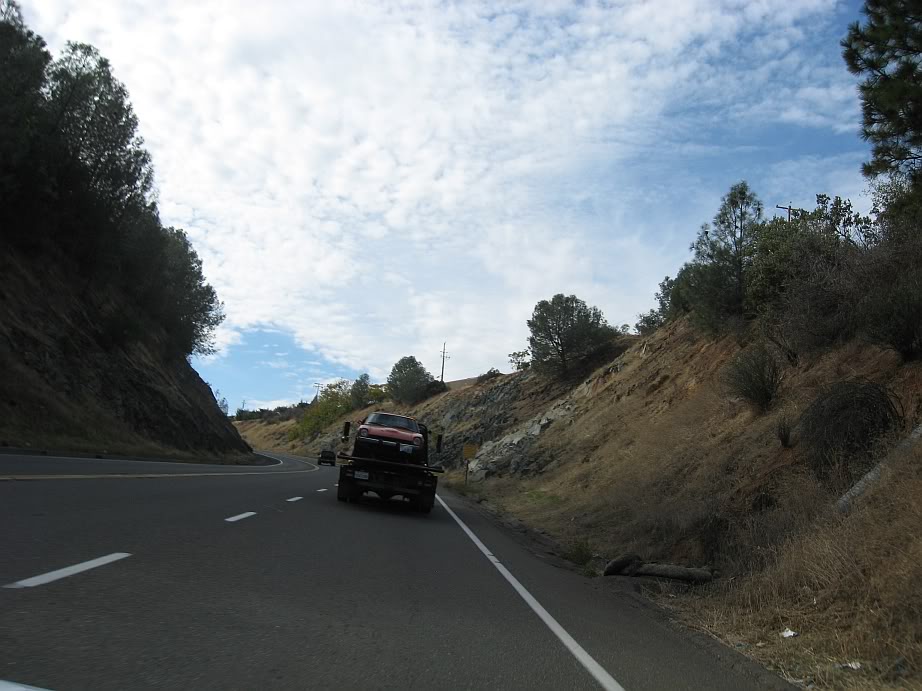
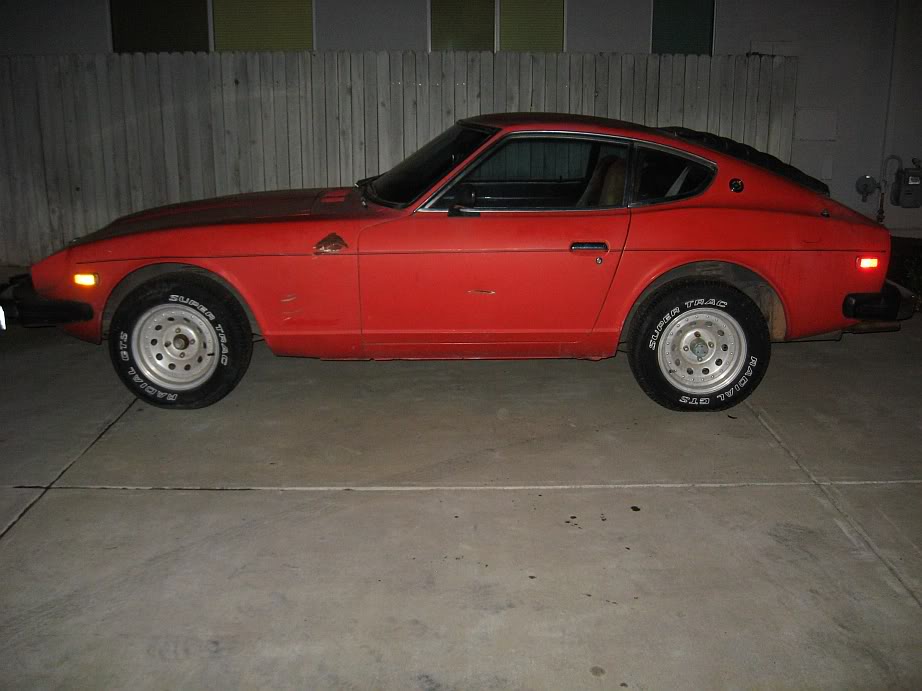
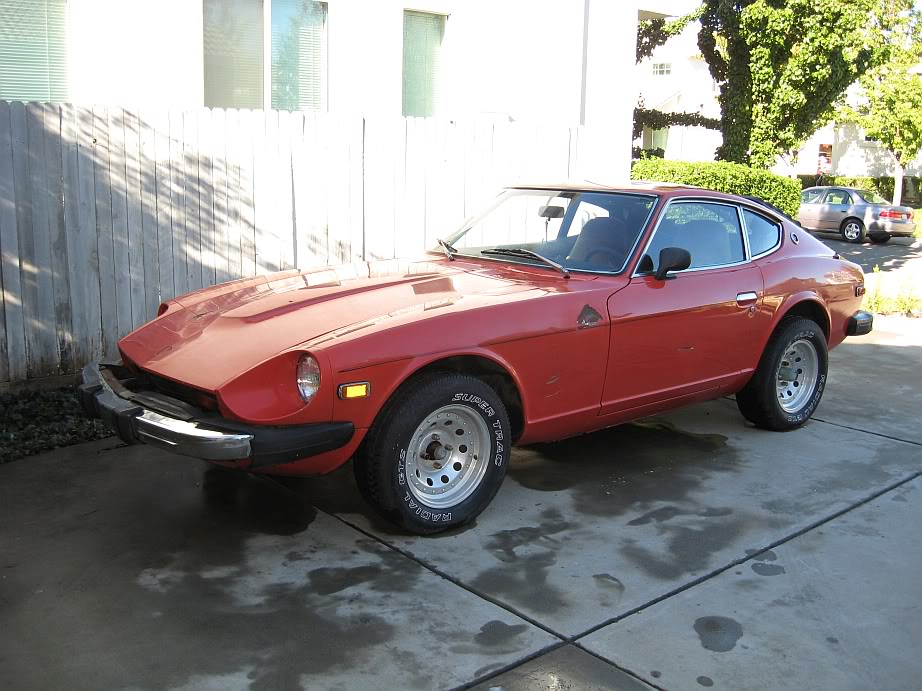
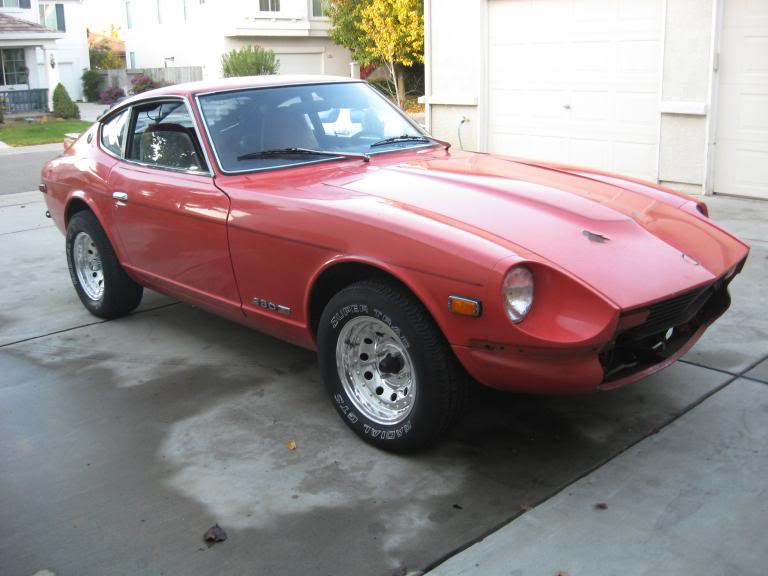
Today I picked up a car I’ve been dreaming about for years.
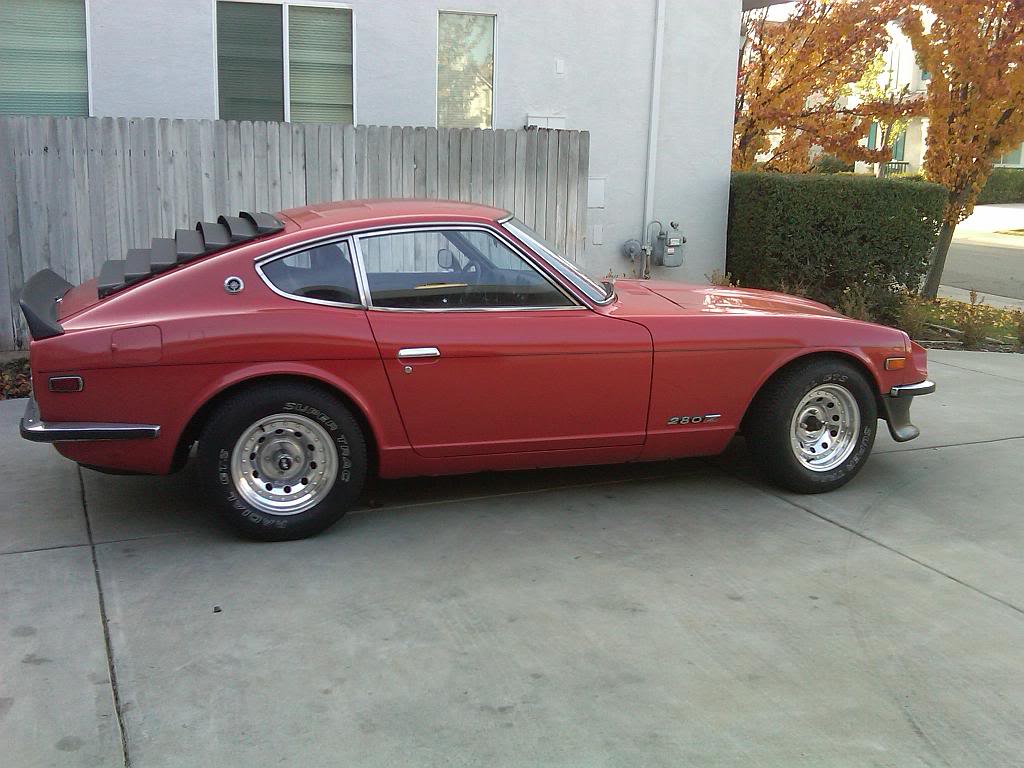
She’ss a little worse for the wear right now, been sitting 3 years or so inside. Minor rust issues, 140k needs some lovin!
Thankfully, the car is very complete and I wont have to source many parts.
I’ll fix what needs to be fixed in order to get the car drivable, then restore the interior and body, paint and then maybe a crazy swap in the future… 2jz? maybe.

Going to start cleaning her up tomorrow 😀
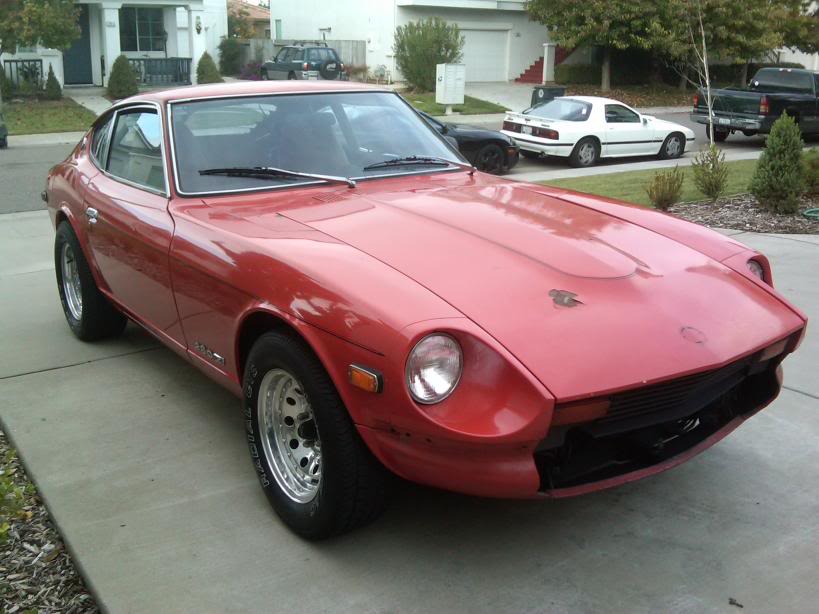
Little wash and wax is helping a lot lol
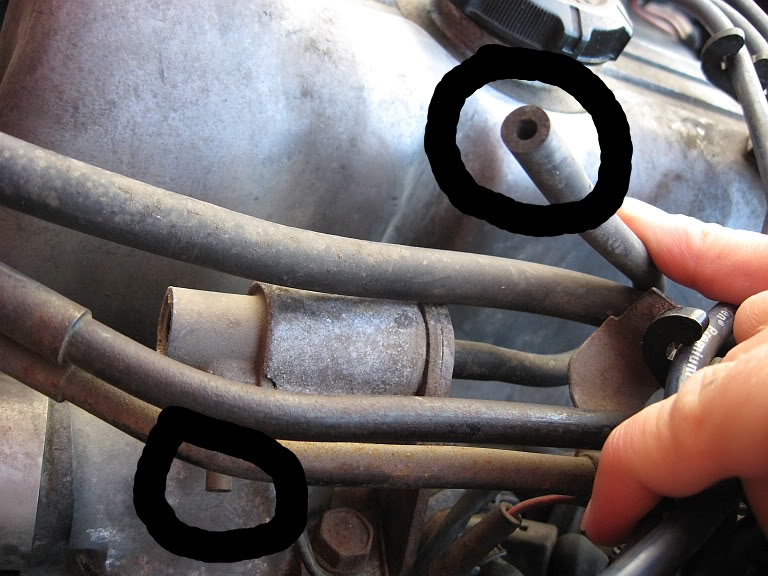
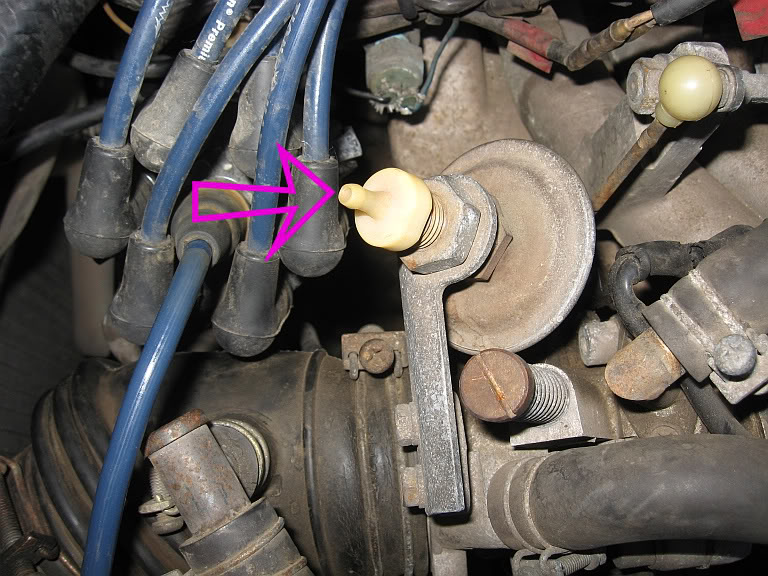
Okay replacing the temp sender and cleaning it’s connector + fixing an air leak + putting all the vacuum lines back to stock = no more overfueling. No more black smoke or eye tearing clouds. Car runs and idles better, HOWEVER
Looks like this issue was a two parter!
Spark is strong but inconsistent. part throttle and low rpm is very choppy. If you floor it, it picks up better.
part throttle acceleration and cruising is full of popping (through the intake manifold. it actually slams the afm door shut!) and misfires.
with the engine idling I was checking the timing. I notice that randomly at idle and especially when you stab the throttle, it looses spark and pops at the same time. I can see this because the strobe from the timing gun cuts out.
it gets more interesting. It doesn’t seem to do it on all cylinders! Its most visible on cylinder 1.
Its not the wires. I swapped them around and the problem stays with #1 mostly. The wires, cap, and rotor all look very new and clean.
I’ve tried 3 coils and the effect is the same. My ceramic resistor/isolator deal is cracked into two parts, but the problem exists even bypassing it and giving power to the coil directly.
I would jump right on changing the wires cap and rotor but they already look very good, like less than 5k good!
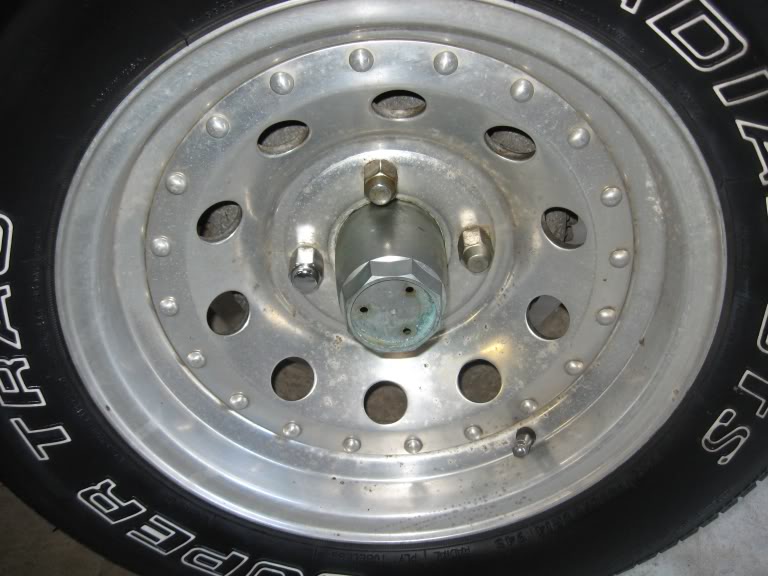
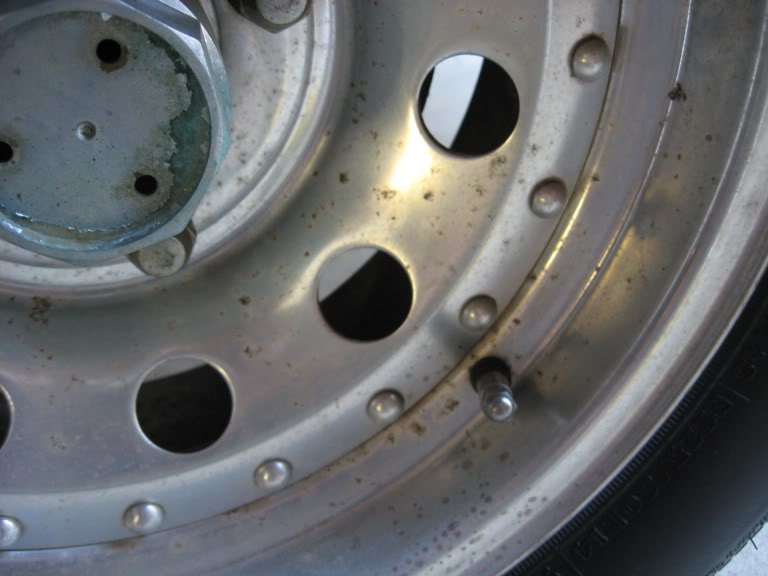
WHEEL POLISHING
I don’t think they have seen more than soap and water in 35 years 
One kinda done after a couple hours (no joke!) lots of imperfections but my hands hurt. This is hard work!
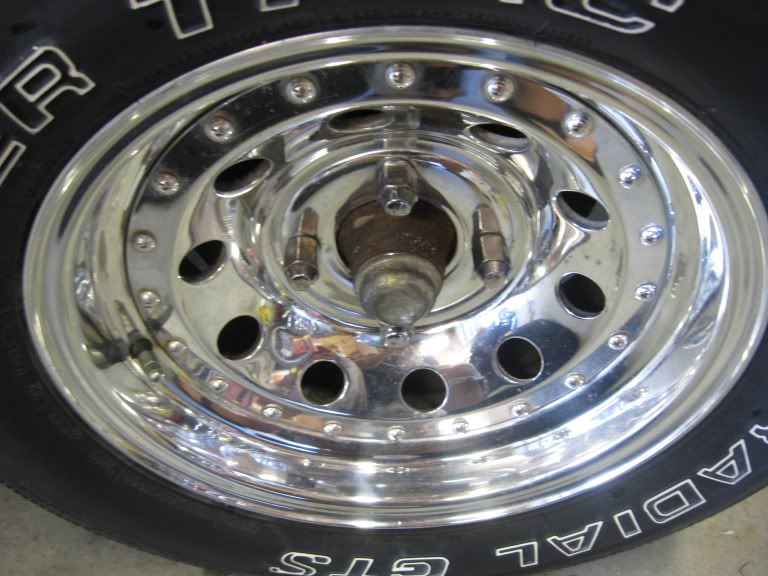
BEFORE

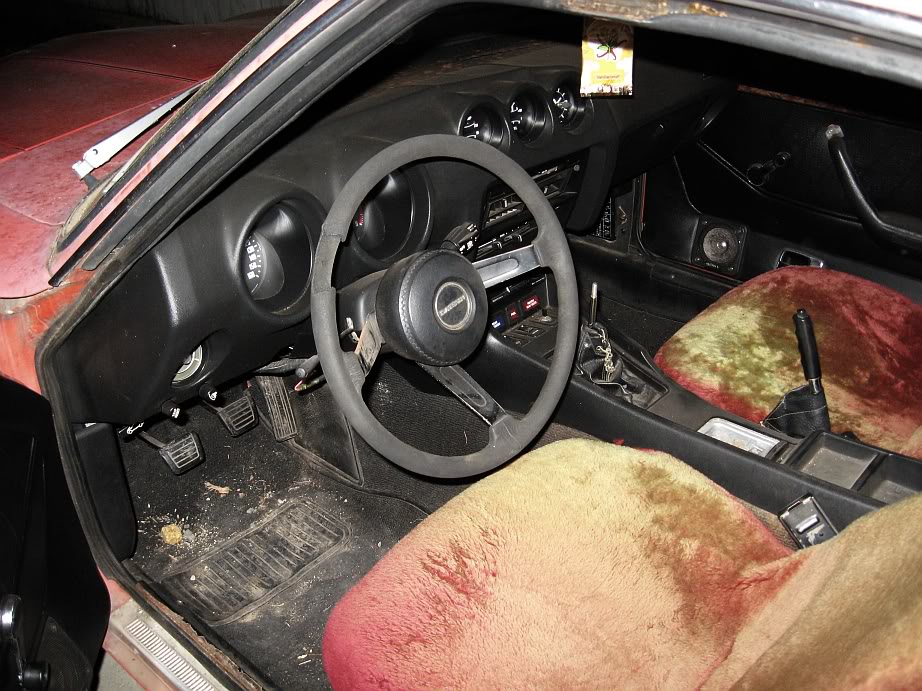
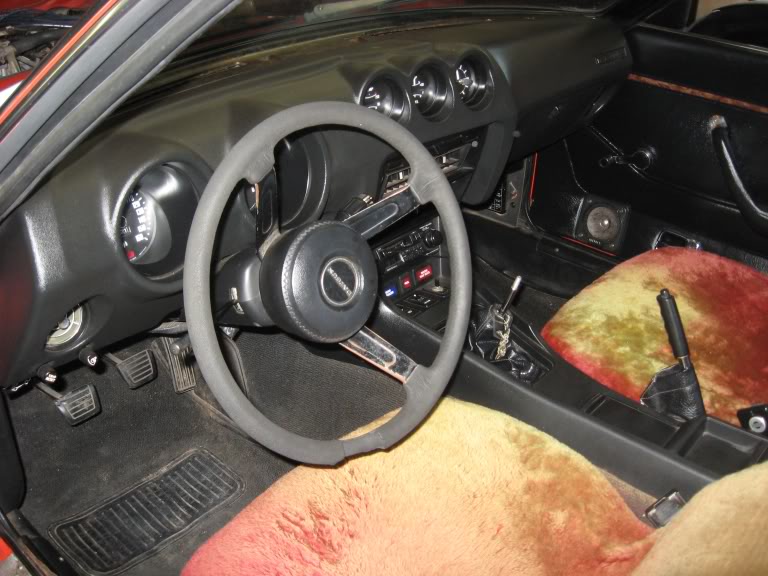
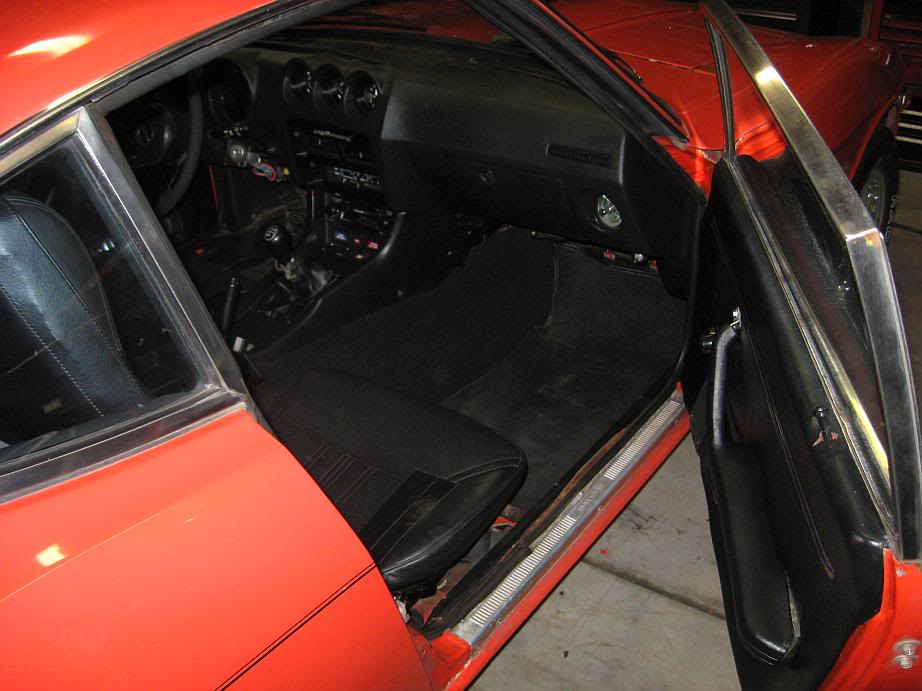
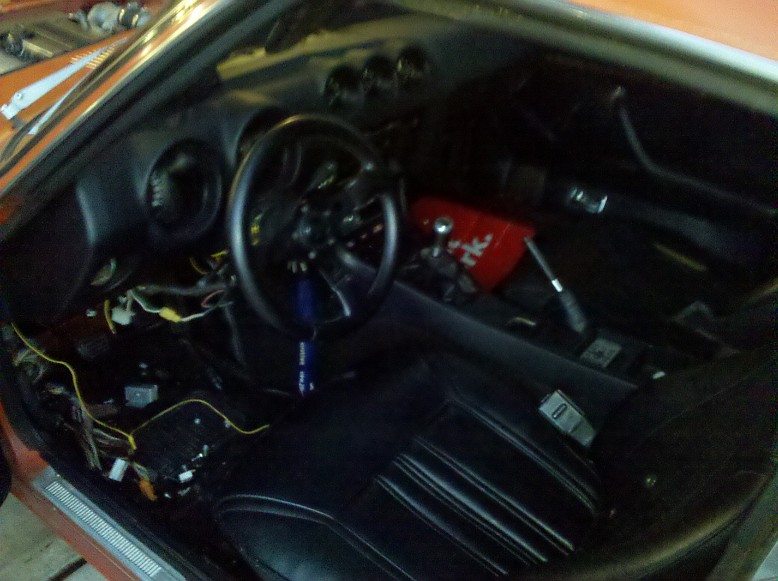
been cleaning up inside a bit… lots more will be done in here later
whats going on in your garage?
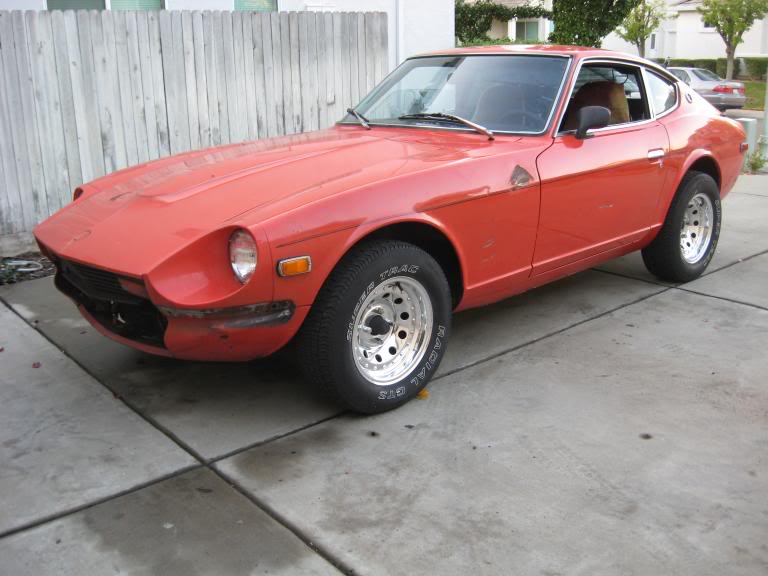
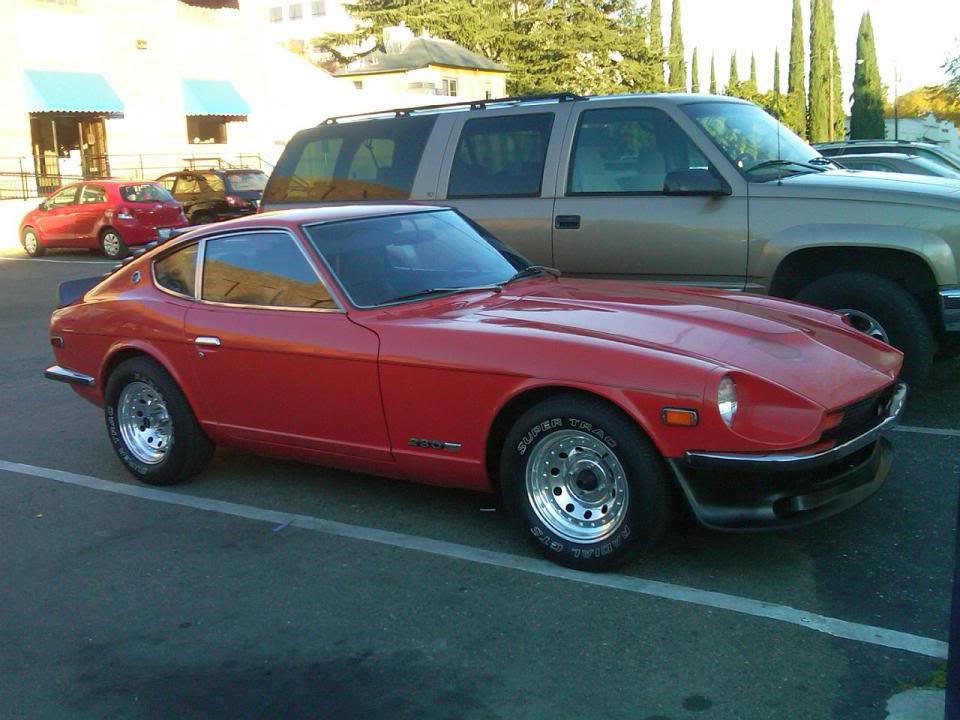
Bumpers mostly off, looks better and over 120lbs shed.

Drove the car about 250 miles today with the new suspension and tie rod ends.
WOW, it’s a completely different car. It still has the “old” feeling you could say, but the steering response is smooth. Handling is light years ahead of the blown stock parts.
Still needs some work to be really great, but I’m very happy with the results. The car is enjoyable to drive around town, and on the highway.
The suspension felt mostly smooth and not to rough – save for some crappy San Francisco Roads and some bad parts of the freeway.
Ride high has evenly dropped about 1.2 inches all around. Looks great but still easily covers speed bumps and steep driveways.
I averaged 25 mpg over the trip. Mostly freeway cruising about 70-85 mph, avg 75 or so with the 4 speed. This included some spirited back road driving, SF traffic and hills, some full throttle/high rpms. I would guess purely cruising at 65 it would do 28mpg, maybe better with a 5th gear (lol).
Around town the mpg is poor however… probably because I keep winding it out in the lower gears!
Alignment after the suspension and tie rods:
New stance:
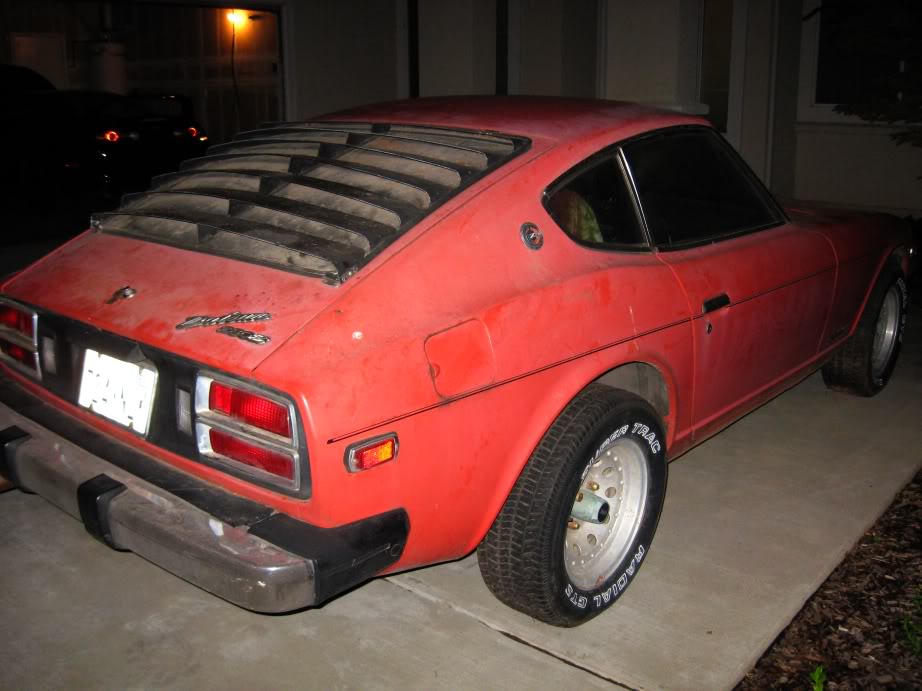
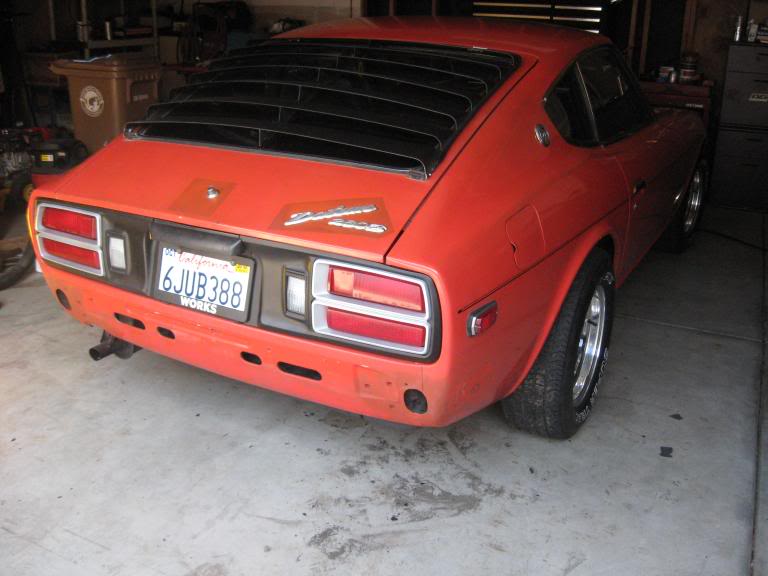
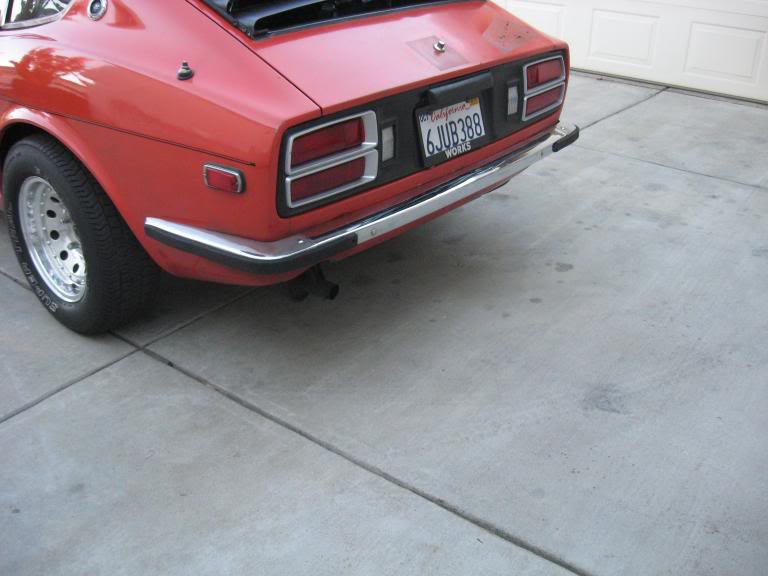
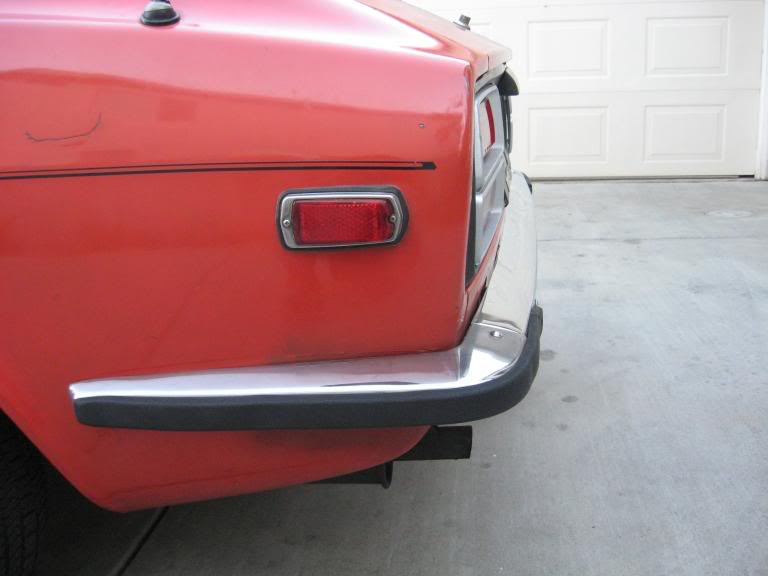
You guys might not have been able to tell, but the rear tail light surrounds looked like ass when I got the car. The chrome plate around the lenses was peeling off like crazy, and the black covers were very ugly, in consistent color and the corner was chipped off on the drivers side. You can kind of see it here:
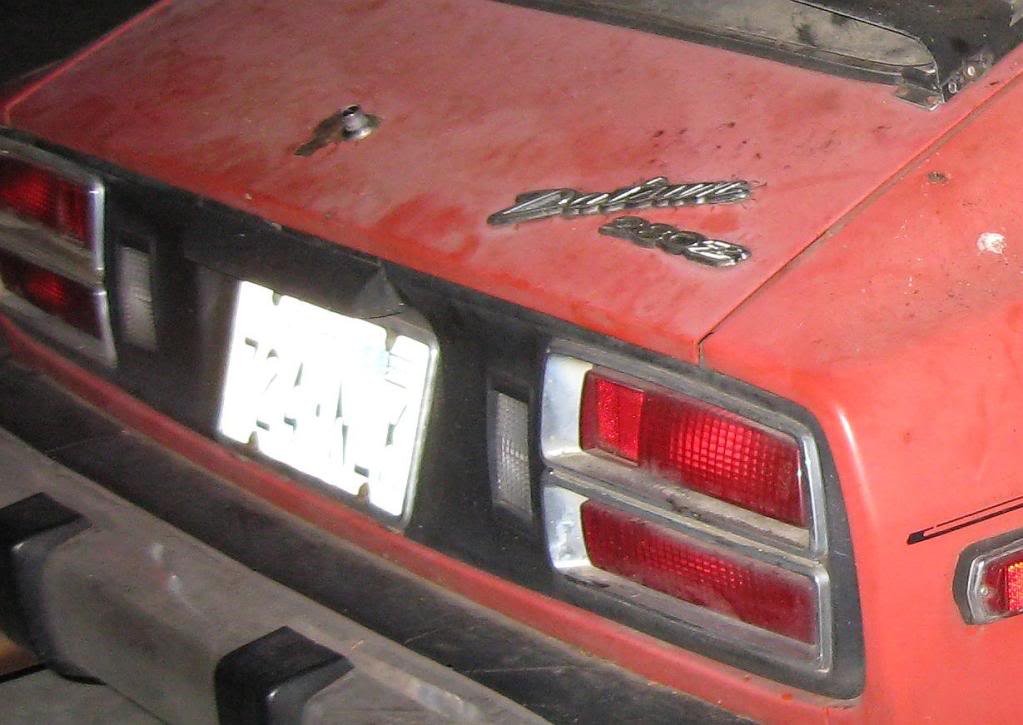
Notice the missing corner on the drivers side
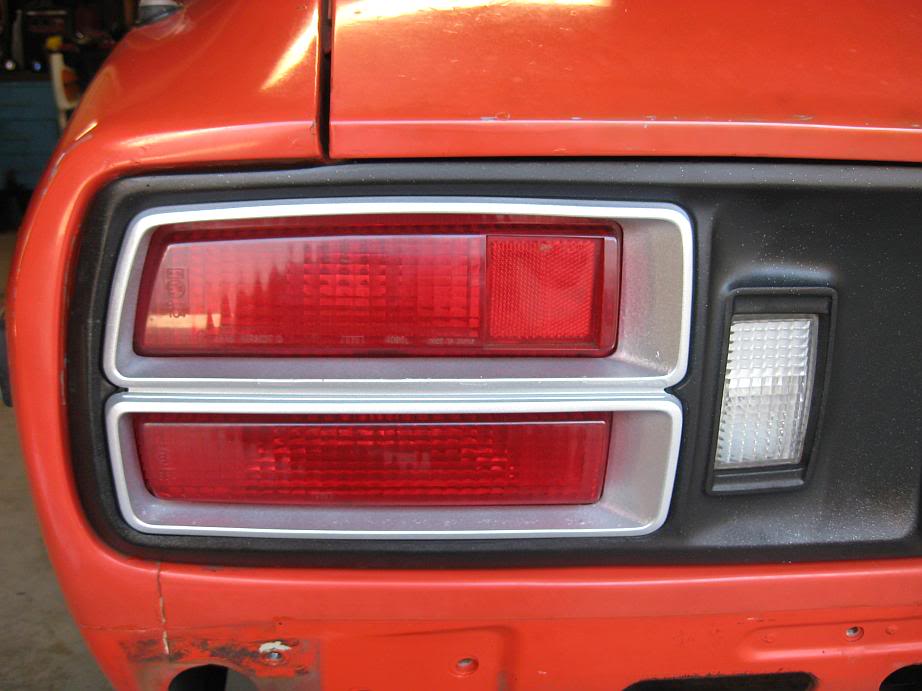
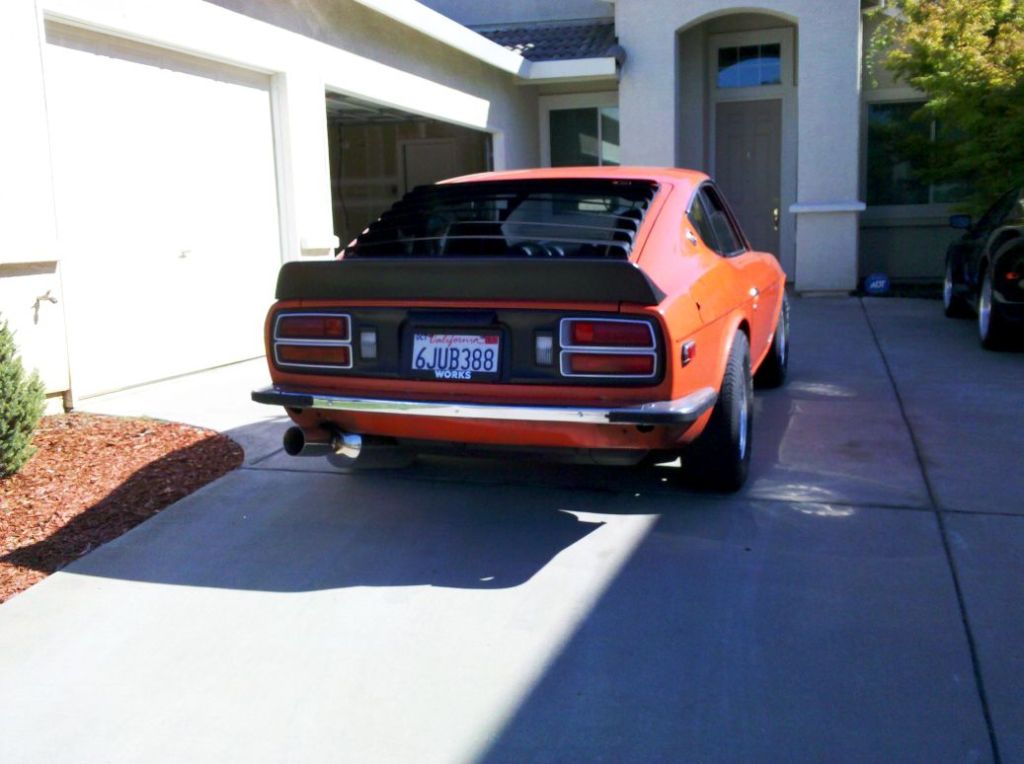
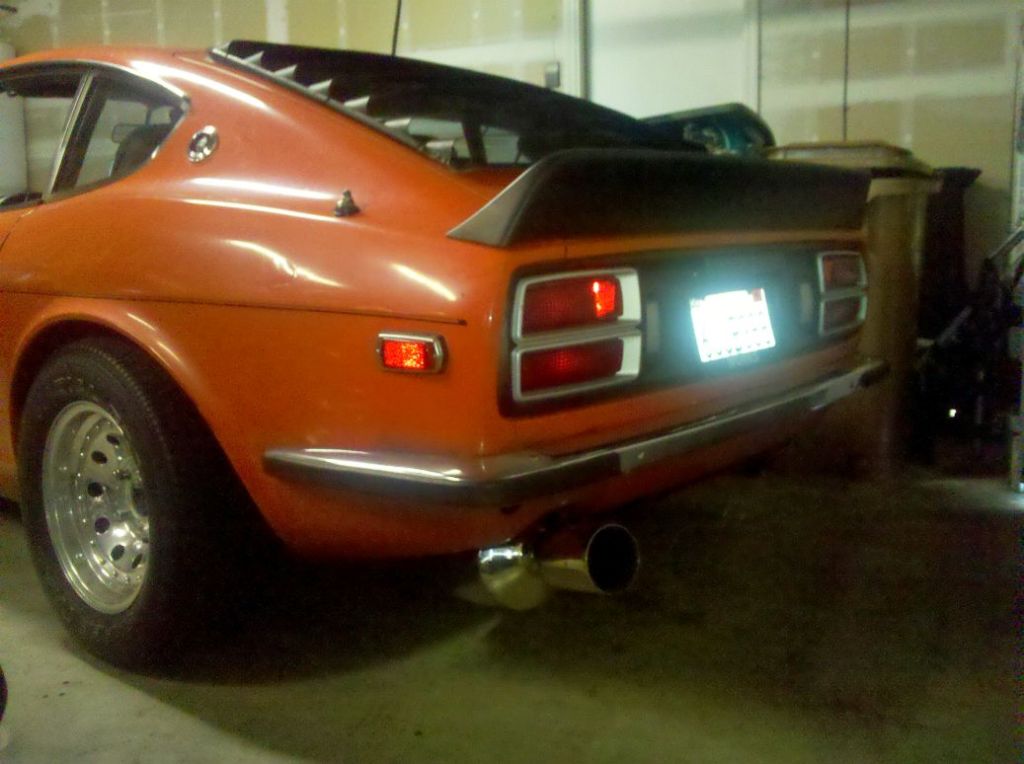
Anyways, I pulled them off, sanded off all the chrome plate and used a metallic kind of paint I had laying around. Looks even better in person.
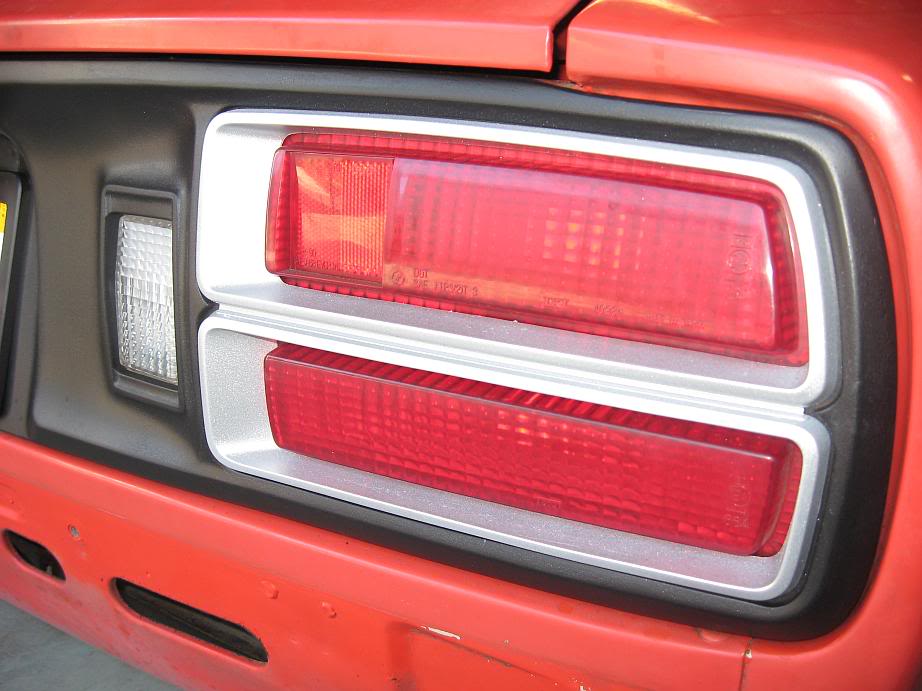
Rather than trying to find (and pay for) a replacement for the drivers side tail light surround, I decided to repair the crack and rebuild the missing corner using a special plastic type body filler. It cures only in sun light and has to be built up a 1/8 inch at a time. Then I sanded it down and refilled imperfections as needed. Took a while and it’s not perfect, but I think it’s pretty close:
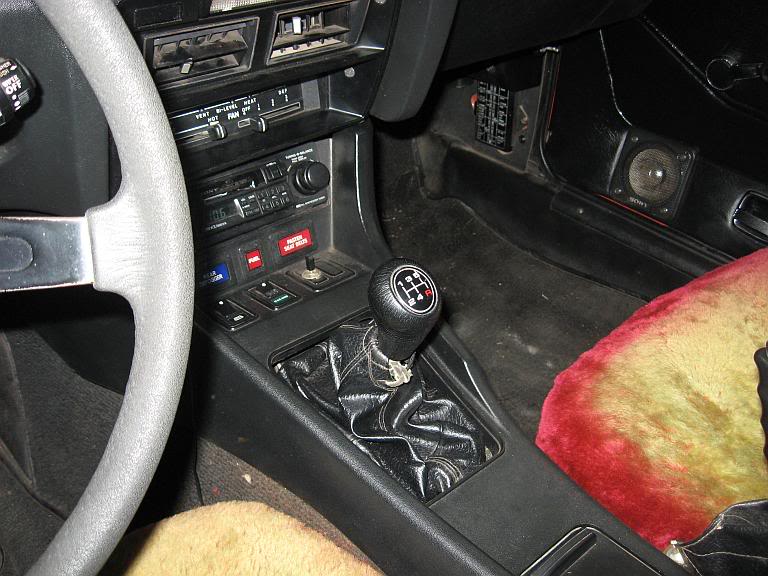
I made a custom short shifter using a stock FC shift knob.
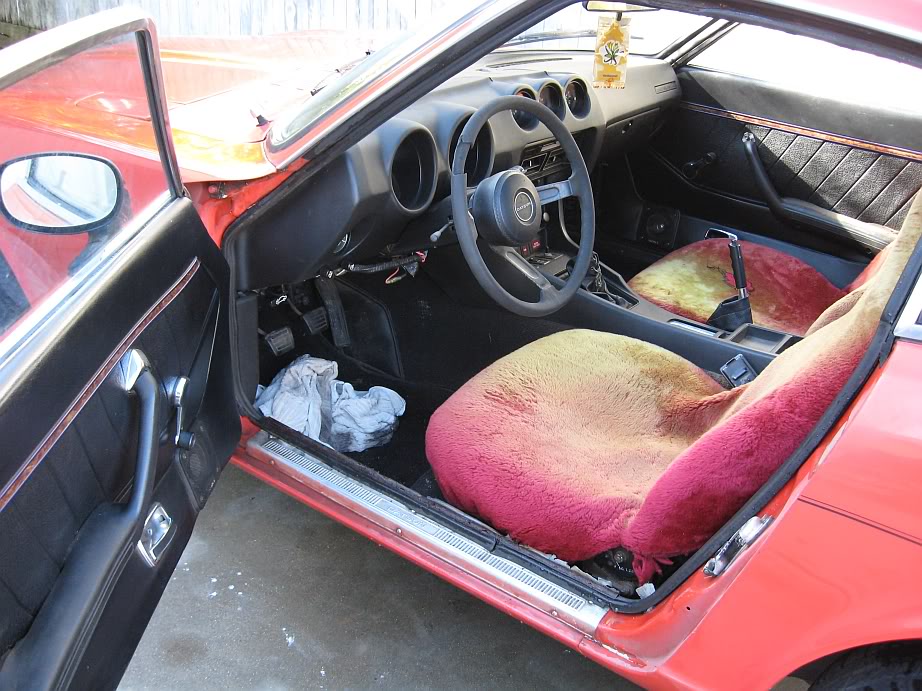
Cleaned up the interior some more and lost the seat covers…. passenger seat only had one rip, drivers is pretty bad. Covered it with some black gaffers tape for now.
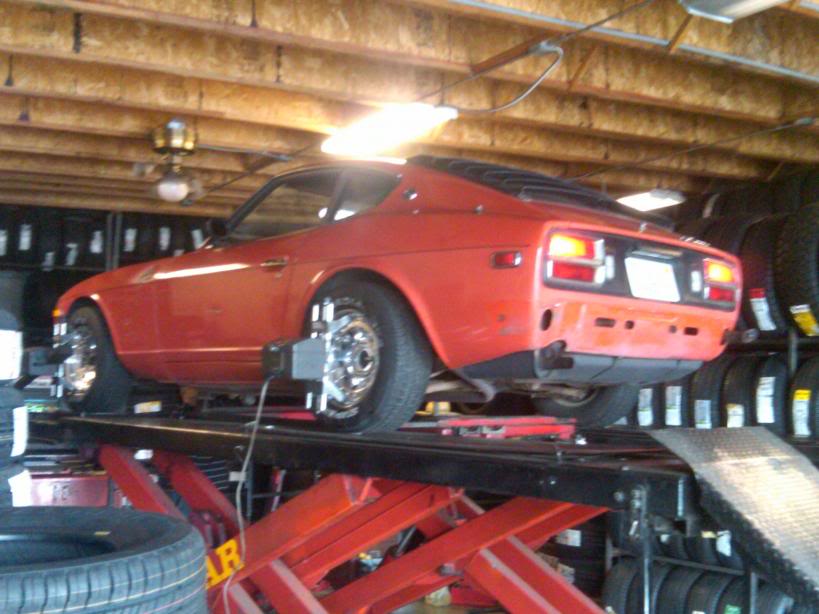
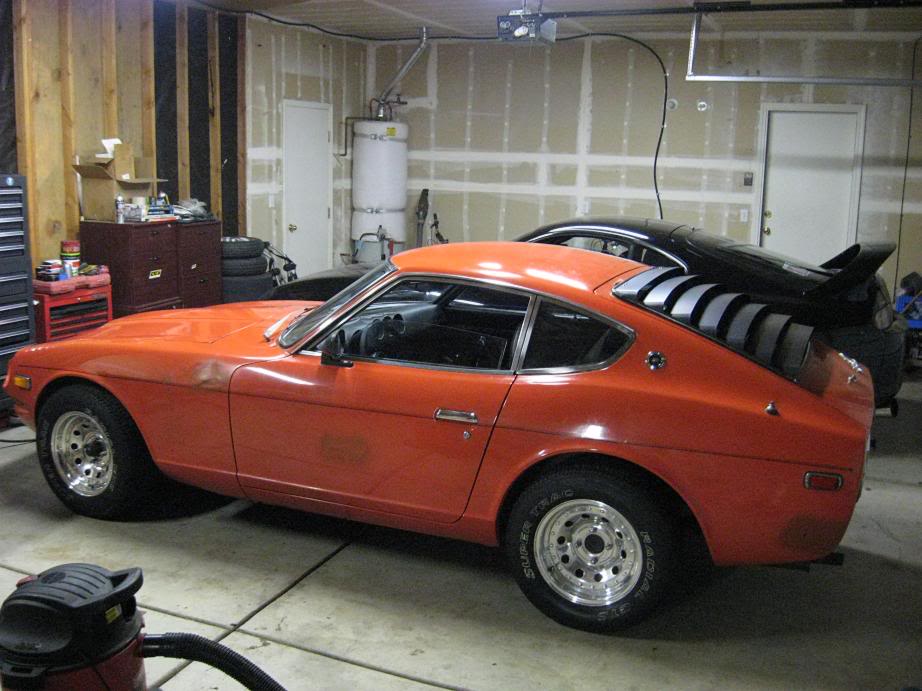
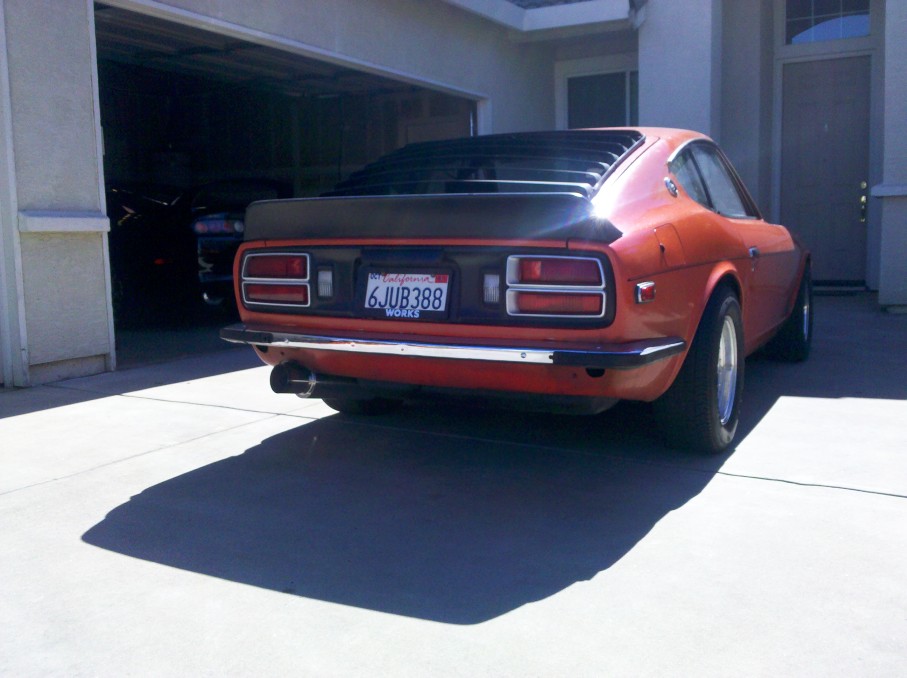
Here she is in the garage, I kinda wish it was a little lower but at the same time I think it looks about “right”. You will also notice I sanded down all the surface rust on the body and hit it with some primer – just to stop the rust for now.
I’ll be dropping the tank today to remove that stupid bumper support piece. I nearly ran outta gas on the way home last night to make it a bit easier.
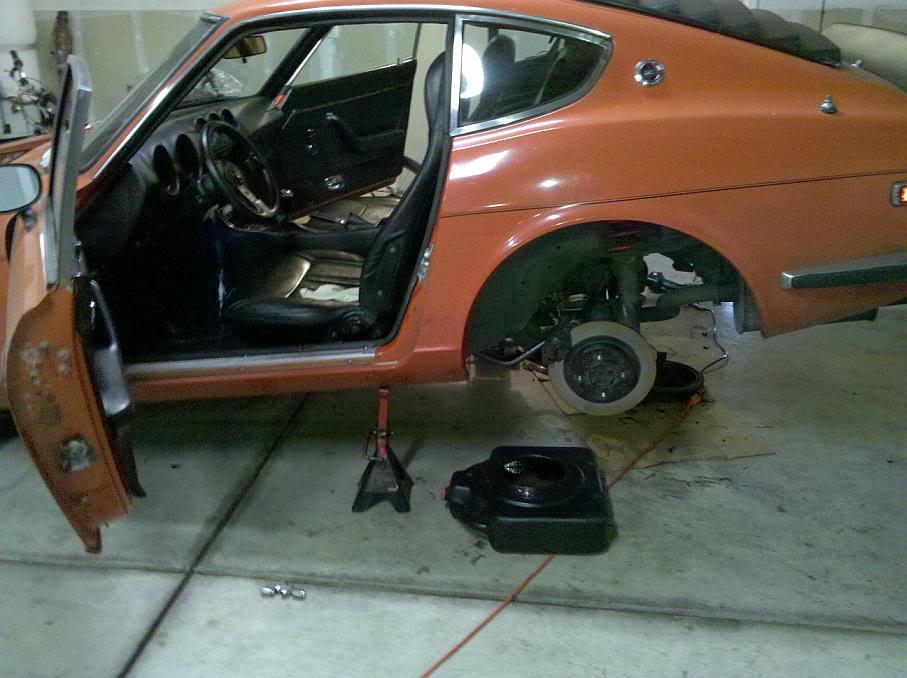
Dropped the gas tank to remove that stupid bumper support. Wasn’t really that bad.
Drained the remaining gas in the tank first…. Had about 2.5 gallons left in it. Funny cause it was already sputtering and driving crappy like that. The pick up for the external pump is pretty high.
Tank was very easy to drop, two straps and the filler neck, along with some small hoses and the level sensor.
The tank is amazingly 100% rust free inside, still has the coating 100% intact! amazing.
No hidden rust behind the tank or anywhere. happy about that! In fact I had the carpet out and the floor boards are also totally rust free!
Here is a picture of the bumper support gone. You’ll also notice the areas of rust removal and primer
Update:
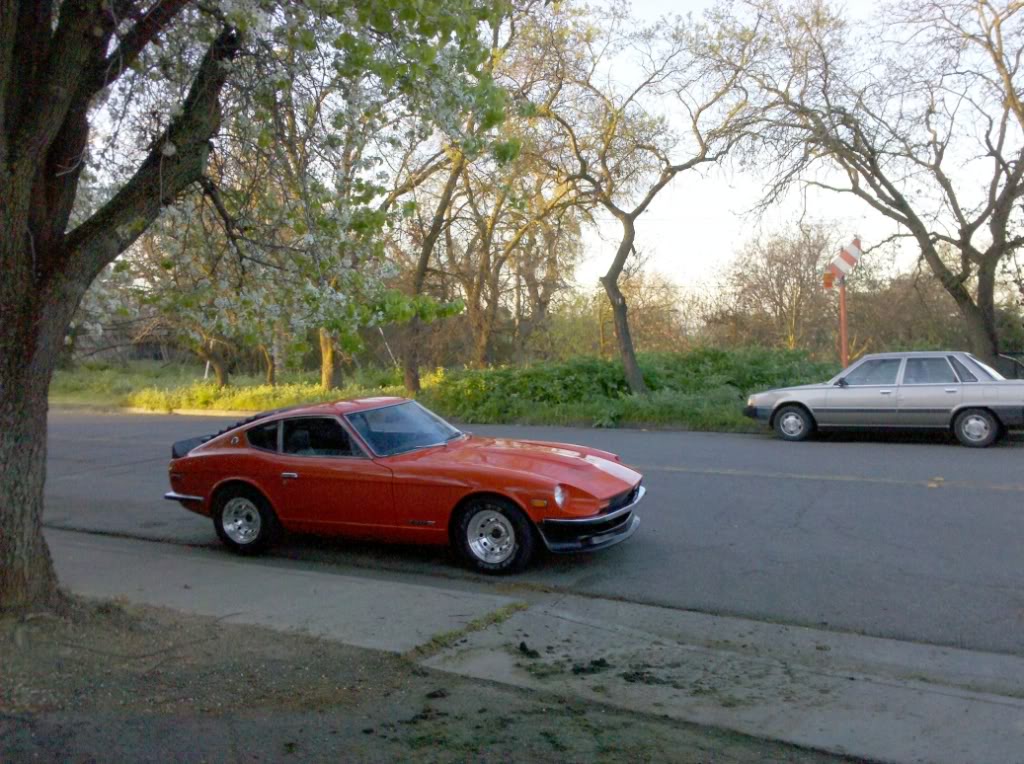
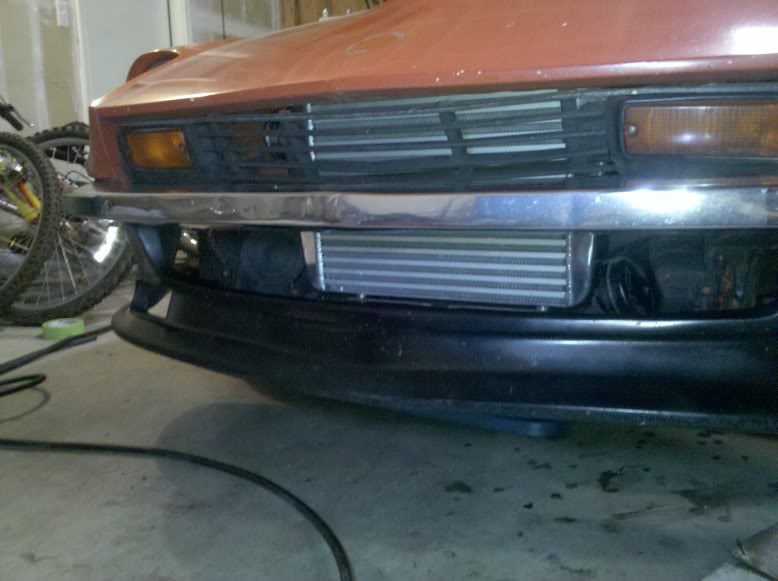
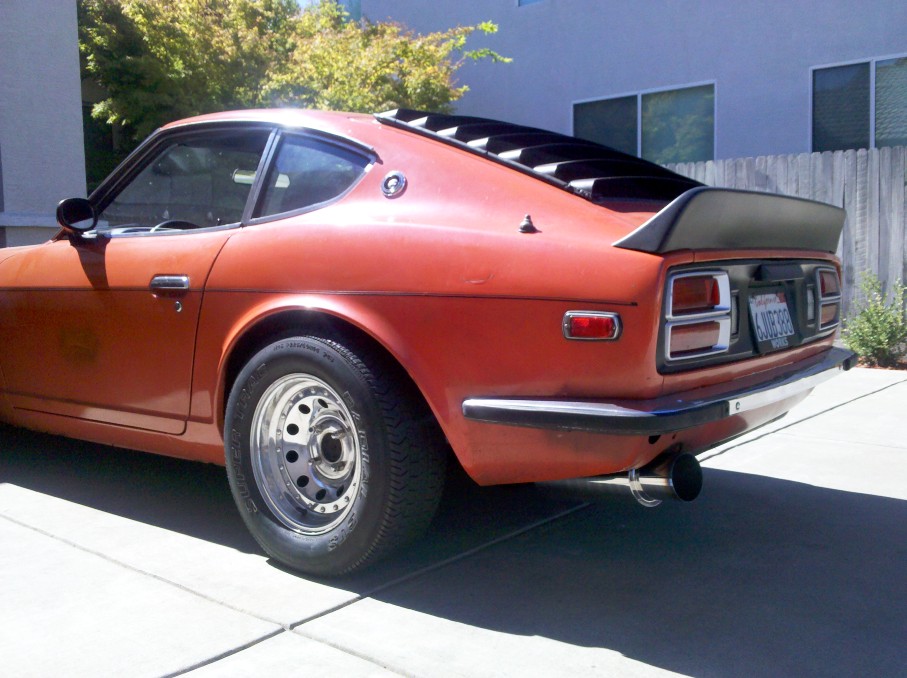
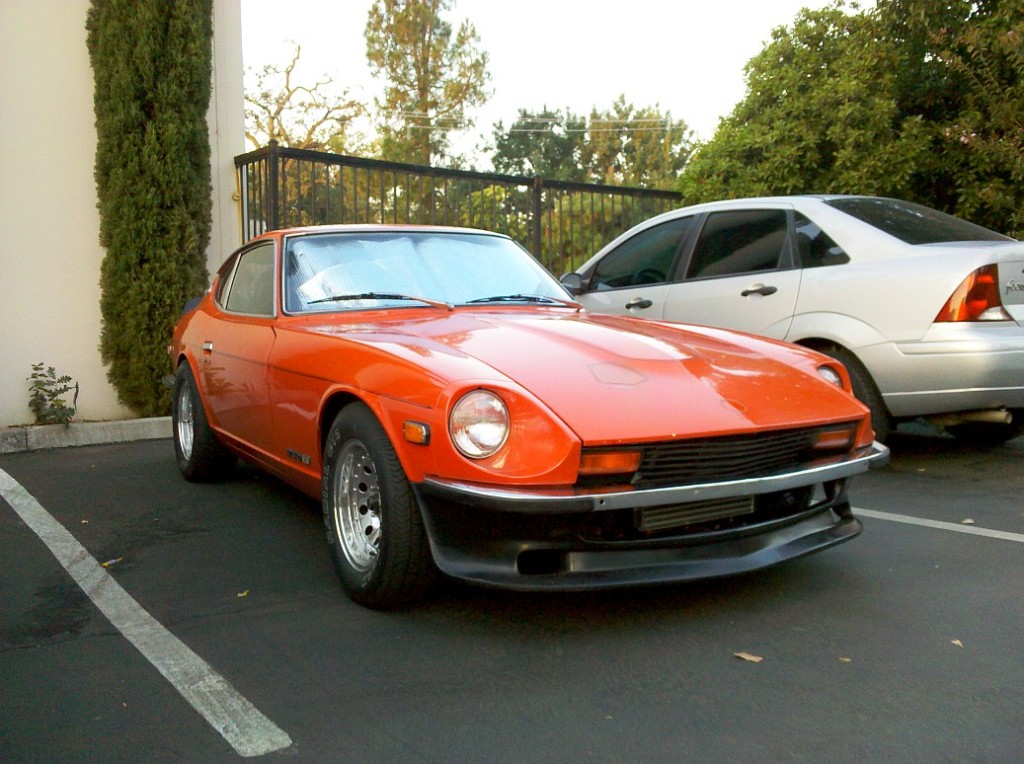
Traded some stock supra injectors for 240z thin bumpers msa replica spoiler and a xenon air dam. Also coming soon new seats steering wheel sway bars short steering arms dash cover and the later style voltage gauge where the amp gauge goes.
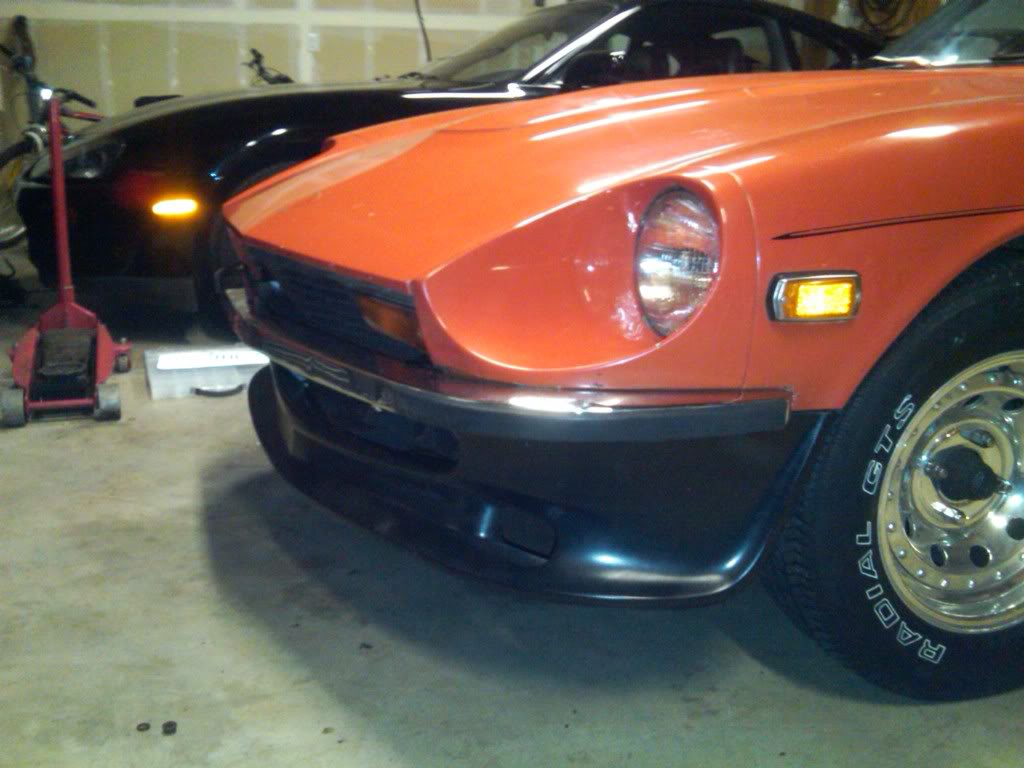
Only pic I took today that shows the spoiler… I’ll probably snap some more tomorrow.
Took the plunge today and cut 1 coil off the springs, love the way it looks – driving impressions later 😀
modern motorsport adapters!
Finally got around to installing them today 😀
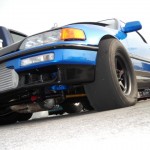
Just barely fits behind everyone favorite wheels!
About 3-4 mm clearance!
![]()
Here is a recent interior shot

And a preview of whats to come!

Outside my shop:
UPDATE:
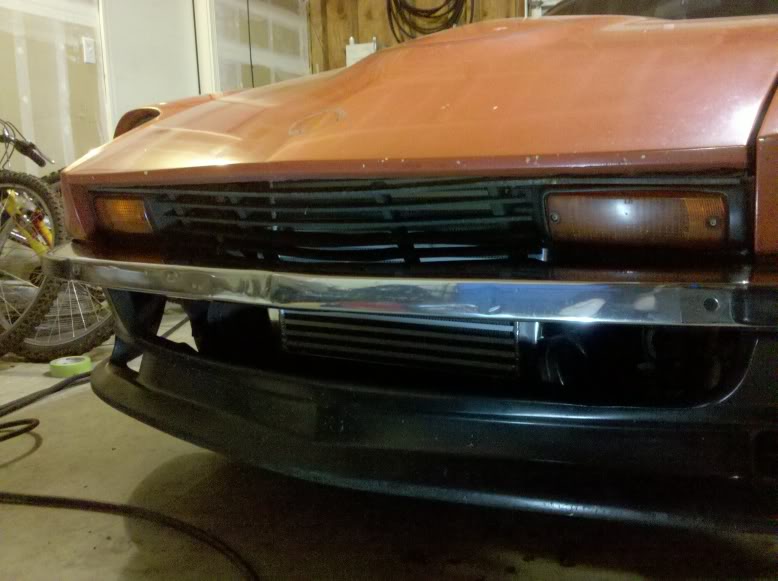
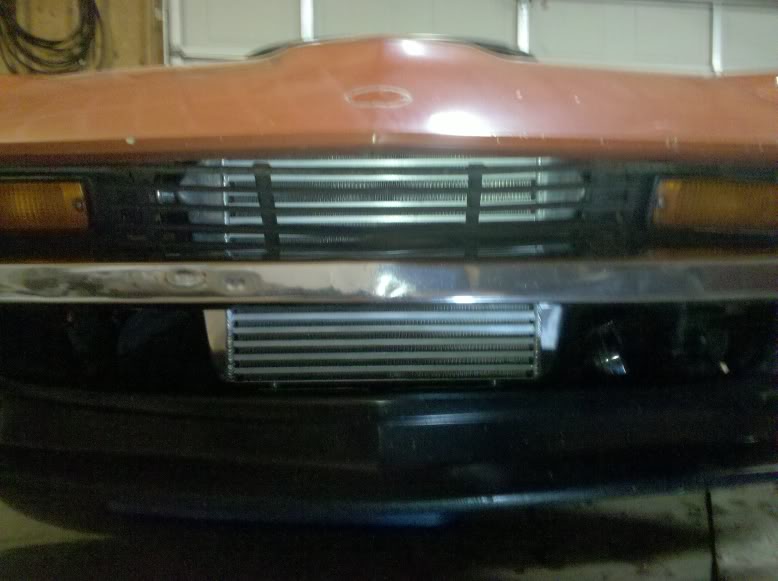
Well a small one. I found some time the other day to make some intercooler mounts and test fit it… looks pretty good and fits perfectly:
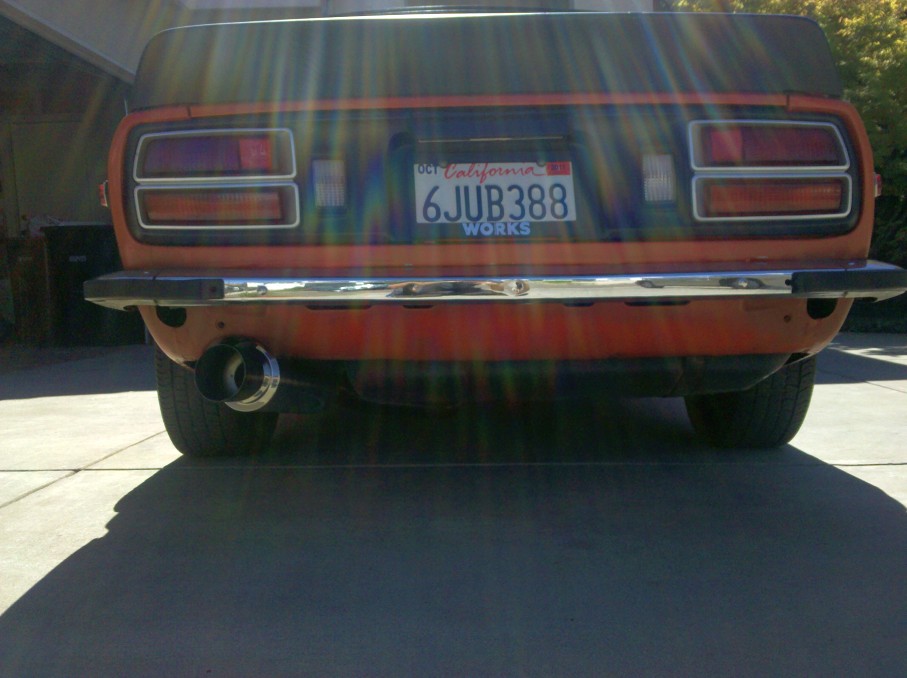
If necessity is the mother of invention, then boredom was this weekends daddy. I picked up a someone ricey muffler can for $20 this weekend of craigs. Decided to slap it on the Z after a few beers. I made a 2.5 inch exhaust out of spare pipes from the factory header back. It sounds great, very quiet, I wish it was actually a bit louder. Personally, I know it’s a big old can but I kinda like it, it looks better in person and quite aggressive 
Hate it, love it, it’s probably coming off when I do the swap.
Made a new header back exhaust, I wasn’t happy with the first one in terms of look, sound or fitment.
Its a tiny bit louder that the last set up (has the rear can and an evo 9 resonator)
Visually, I find it much more appealing.
MEGA UPDATE!
Sure is nice have a day off during the week. (I work four 10 hour days 
So this morning I did a brake upgrade on my customers V6 mr2 (1997 mr2 turbo JDM spec front brakes). Took about 2 hours he was very happy.
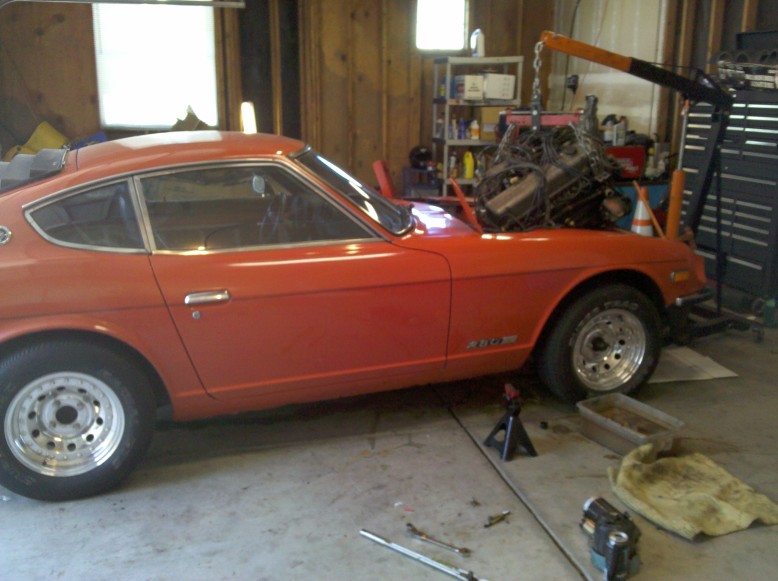
Then I pulled the motor out of the Z! OMG easiest car to work on ever. Took about an hour to have it out 😀
Then I headed over to my local JDM parts imported and took a look at what he had. He didn’t have any 2jzgte motors, but he had 2jzge and 1jzgte motors. I expected to go home motor-less but he offered me a deal I couldn’t refuse.
I got the complete swap with EVERYTHING I need for over $500 less that I expected to pay for JUST a 2jzgte engine.
FREE DELIVERY! The owner of the engine importer lives 2 blocks from me!
1jzgte complete swap with r154 trans
Drive shaft, worth over $100!
Power steering reservoir (again worth a lot) – Yes this Z will get power steering eventually, and AC!
A bunch of aluminum intercooler pipes and silicone couplers and even a ARC BOV! (worth like $200)
And a cold air intake that came in it’s toyota soarer clip
AND the radiator fan shroud from the soarer which should fit my mkiv supra. I’ve been looking for a good condition shroud for awhile and the are hard to find and expensive.
ALL of this for $500 LESS than I spend on my last engine only swap that took too months to arrive.
PICS PICS PICS!
Engine coming out:
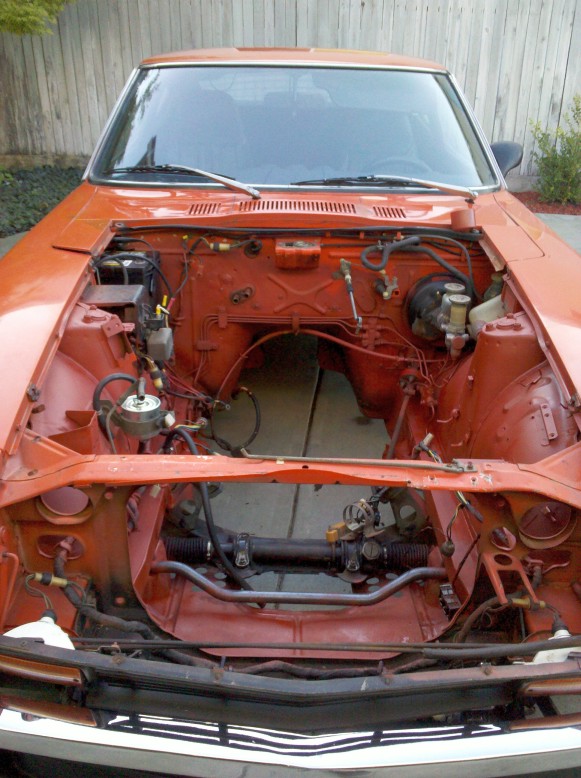
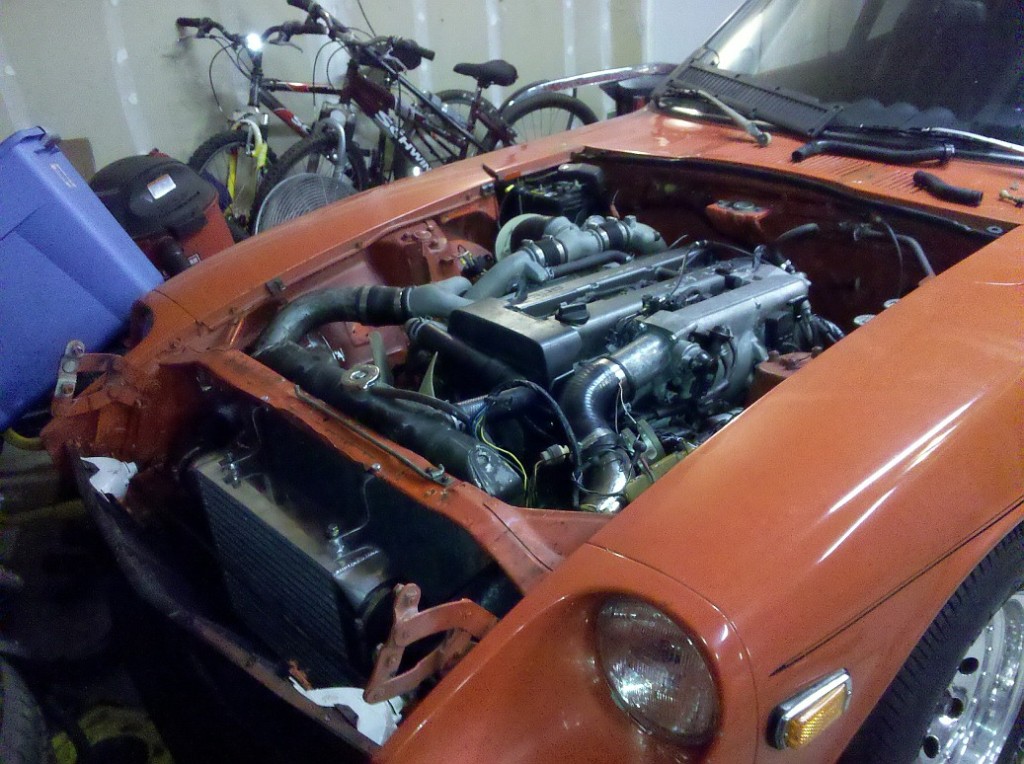
Pressure washed and primered engine bay. No more bare metal! Will probably paint factory orange in here… maybe. Don’t really care. It’s my daily!
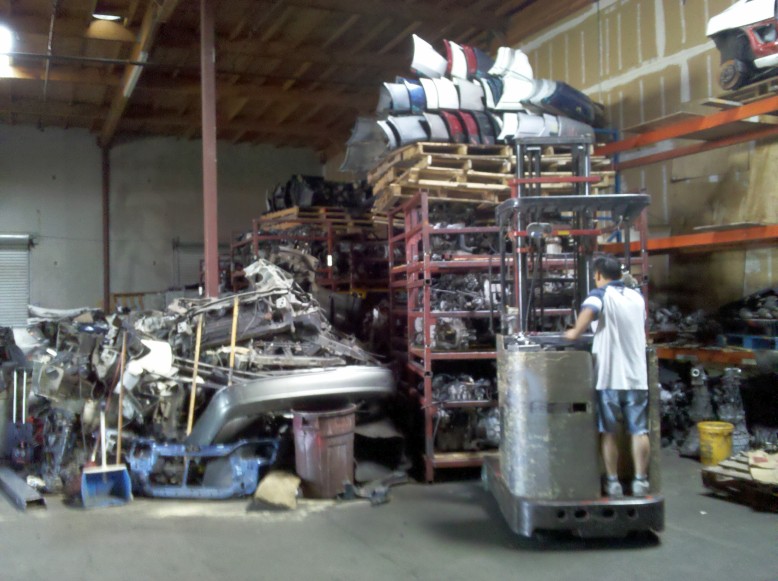
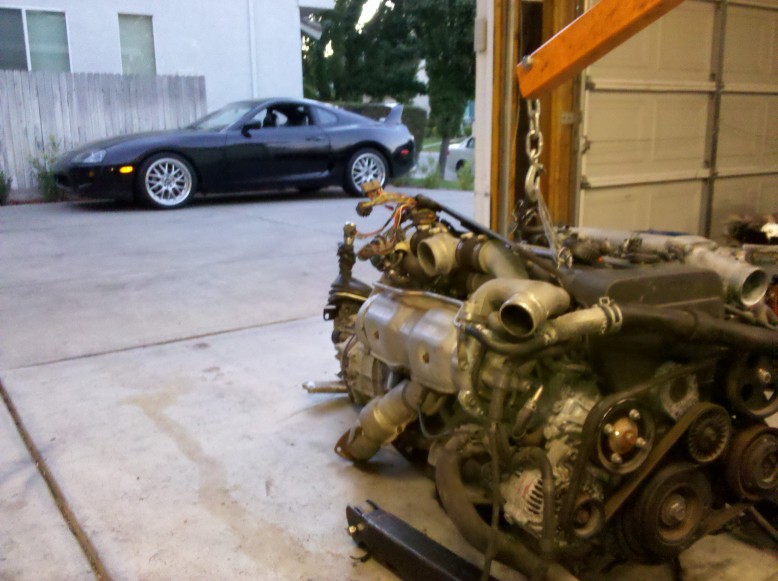
The guys over at Venus Automotive in Sacramento have everything you need, are friendly, will make you a deal no problem. They did the compression test right in front of me. HIGHLY recommended! That’s the owner and forklift master getting my 1jz from it’s proud top shelf storage
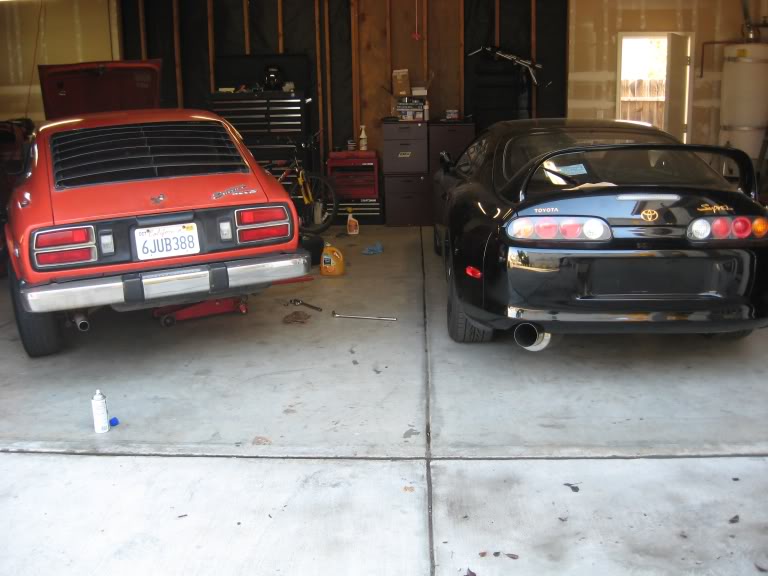
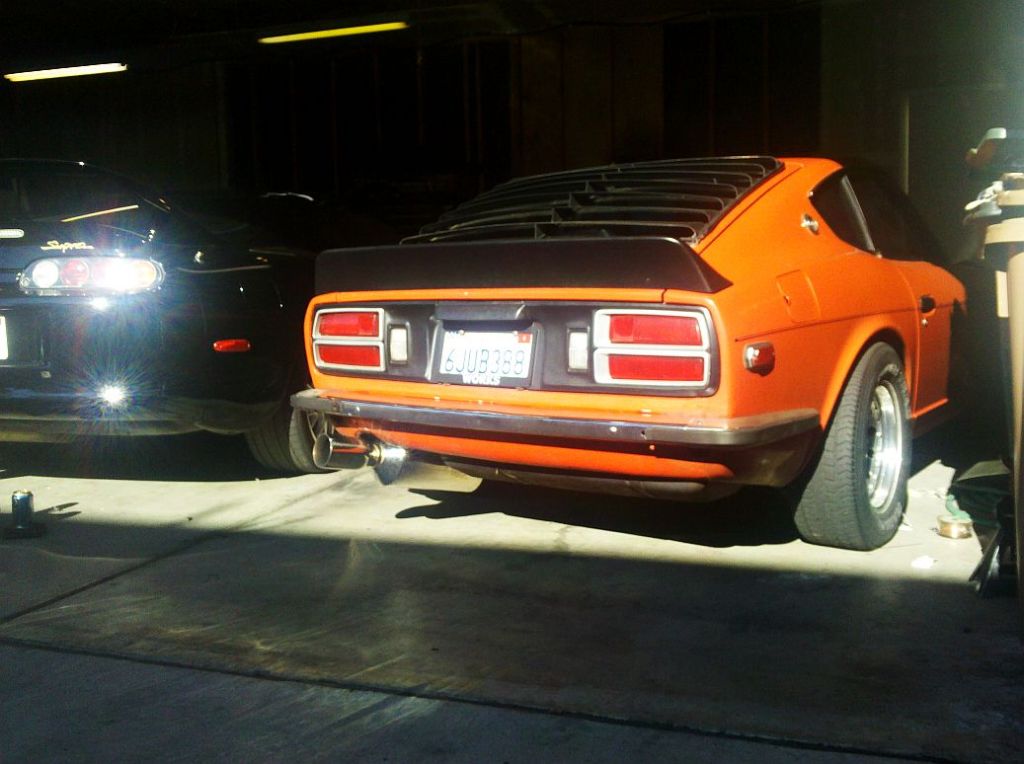
Here the engine sits, waiting to turn the Z into a rocket ship. The Z looks a little concerned.
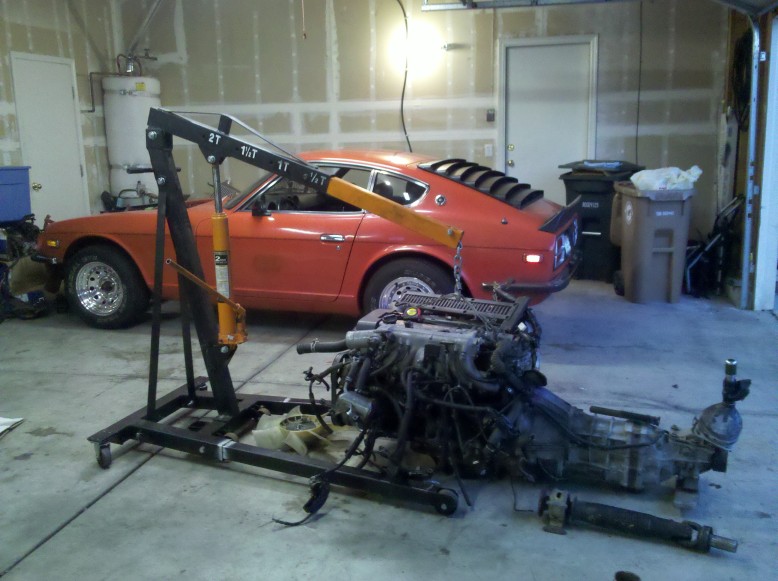
The supra looks interested, but knows she’s my TRUE love 😀
PROGRESS!
Spent 90% of my weekend in the garage.
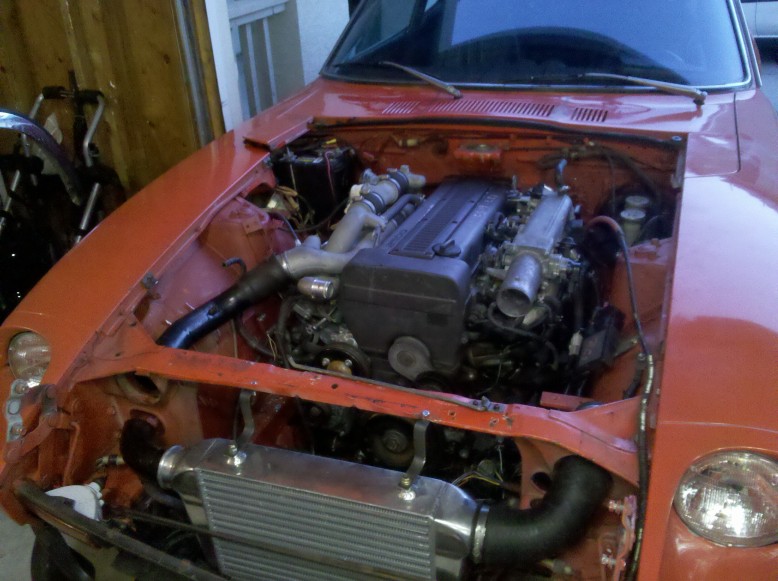
Mounts done, starting circuit done, power circuit done, and started mocking up charge pipes.
nice!
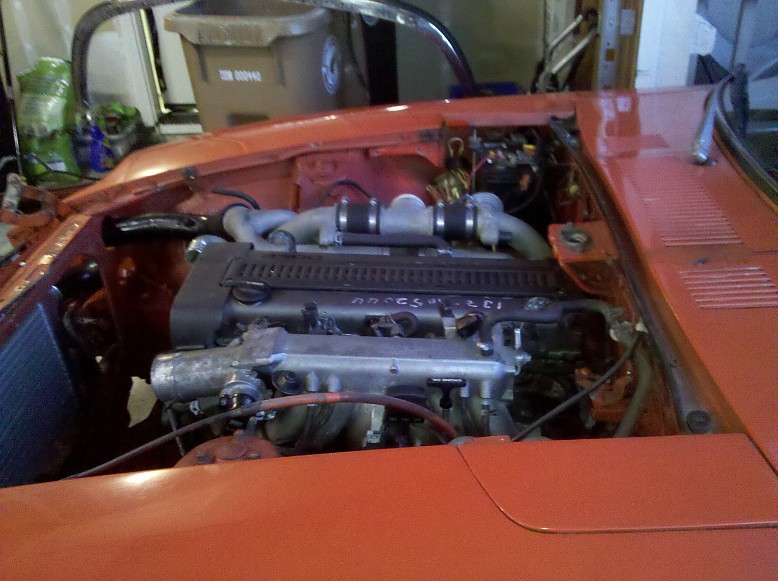
Close to the firewall
Very close! Should have good weight distribution.
Shifter lines up great. Still a lot of wiring to do.
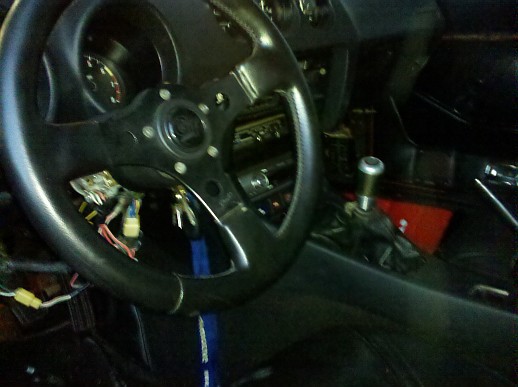
Sweet JDM shift knob that came with my swap…. I kinda dig it! Nice to be able to row through 5 gears on the Z

Supra getting jealous from all the attention being given to the Z.
That it for this weekend. I’ll get some more work done next weekend and maybe some weeknights.
UPDATE:
So I’ve been putting in about an hour or two on the car after work and spent my entire day off on it today.
Cooling system is done except for a single heater hose
Drive shaft done
Charge pipes hooked up (will refine the set up later)
Fuel pump in and working (Walbro 255)
Fuel lines routed
Clutch line done
Custom V belt done for no AC or PS pumps (40 inches, thanks Napa!)
Charging system wired up
Start up video. This is the second start, but it started right up on the first try.
Outside my shop this morning, almost 200 miles on the swap. Running great!
Finally found the right belt. It’s a 6 rib 990mm belt, of a d17 honda civic engine!
Works great for not running PS or AC.
Tach is working. Removed inline resistor and wired it directly to stock signal wire. Pretty accurate, with in 200 rpms at redline.
Videos soon!


well another classic 280z gets messed up!
what motor?
Awesome Restoration & Modification.
Yo ! nice !!!! thats sick. I just got a 280z about to do the whats seems typical now ls swap… going to daily drive it what do you think?
Impressive work man
I live in charlotte NC, I have a 260z 1974, new engine with a holley four barrel. I am looking for some one with engine and brake knowledge to restore it back to running condition. I have all the exterior part (new from catalog)and what the cost would be. the time of completion is not importance
(704) 607 6784